Tiny, useful, and endlessly giftable — crochet coasters are the perfect small project that lets you experiment with color, texture, and motifs. Below you’ll find a warm introduction with materials, sizing, and finishing tips, then five full coaster patterns with step-by-step instructions, stitch notes, variations, and care. Each pattern is written so you can pick it up and make a finished coaster in an evening.
Quick safety note: for coasters that will hold very hot mugs or teapots, use 100% cotton or cotton-blend yarn (better heat tolerance than acrylic), and consider adding a cork or leather backing for extra insulation and water resistance.
Before you start — materials, sizing, and general tips
Best yarn & hook choices
- 100% cotton (sport/DK or worsted): highly recommended — absorbent, sturdy, heat tolerant, and blocks well.
- Cotton blends (cotton/acrylic): acceptable and softer, but may have more stretch and slightly less heat tolerance.
- Acrylic: fine for casual decor coasters, but avoid when placing very hot items on them.
Suggested hook sizes:
- Sport/DK cotton: 3.5–4.5 mm
- Worsted cotton: 4.5–6.0 mm
Notions & extras
- Tapestry needle, scissors, stitch markers, blocking mat & pins.
- Optional: thin cork (pre-cut coaster discs), fabric glue or spray adhesive, heat-resistant interfacing, felt for backing.
Coaster sizing
- Standard coaster diameter: 3.75–4.5 in (9.5–11.5 cm) — big enough for most mugs.
- Larger drinkware (tumblers, travel mugs): 4.75–5.5 in.
Gauge & a small example calculation
Always swatch. Example method for planning width:
- Make a 1″ sample (in your chosen stitch). Suppose your gauge is 5 sc = 1″ (that is, 5 single crochet per inch). If you want a 4.5″ coaster diameter, compute how many stitches across you need:
- stitches per inch = 5.
- desired width = 4.5 inches.
- multiply: 5 × 4.5.
- 5 × 4 = 20.
- 5 × 0.5 = 2.5.
- 20 + 2.5 = 22.5 stitches.
- Round to a whole number and to match your stitch repeat — for example 23 stitches across (or adjust pattern rounds rather than a straight chain — most coasters are worked in rounds).
(You’ll usually work in rounds and increase until the flat circle reaches your desired diameter rather than making a straight foundation chain — the example shows how to think about scale.)
Finishing tips
- Blocking: Wet-block or steam lightly and pin to the exact diameter — this evens stitches and opens lace.
- Backing: glue a thin cork or felt circle to the underside for insulation and to prevent slipping. Use fabric glue or spray adhesive and trim to shape.
- Starch: If you want stiffer coasters (for lace patterns), lightly spray with diluted PVA or commercial fabric stiffener and dry pinned to shape.
Abbreviations (US): MR = magic ring, ch = chain, sc = single crochet, hdc = half double crochet, dc = double crochet, tr = treble, sl st = slip stitch, st(s) = stitch(es), rep = repeat, BLO/FLO = back/front loop only, sk = skip.
1. Crochet Heart in Circle Motif Coaster Pattern
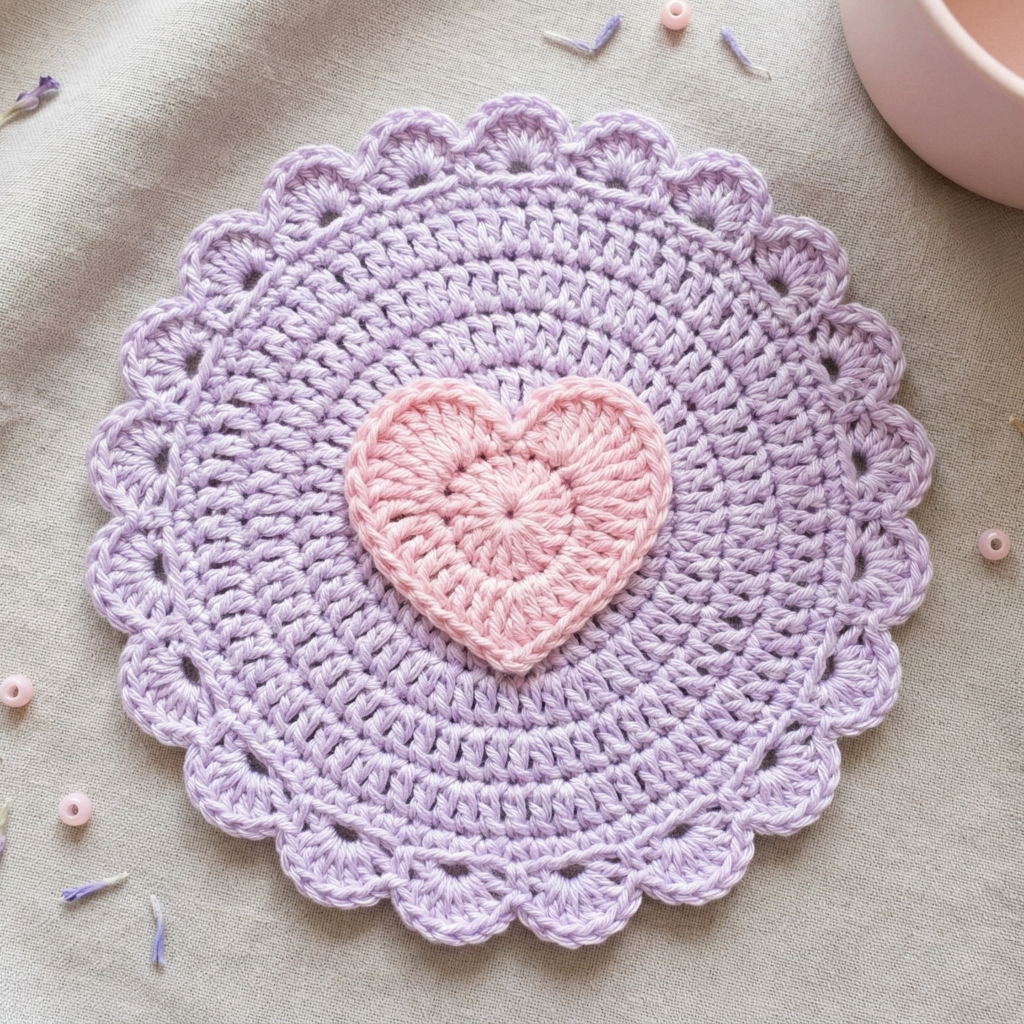
A sweet heart nestled inside a round coaster — romantic but subtle, perfect for gifts.
Skill level: confident beginner
Finished size (sample): ~4.25″ diameter (using worsted cotton and a 5.0 mm hook)
Materials: worsted cotton (~40–60 yd per coaster), 5.0 mm hook, tapestry needle, optional cork backing.
Concept
Work a flat circle base, then overlay a small raised heart worked separately and sewn on, or work the heart in relief using front-post stitches. Below are two options (A = appliqué heart sewn on; B = raised heart using post stitches).
Option A — Heart appliqué on circle (simpler, very sturdy)
Circle base
- MR, ch1. Round 1: 8 sc in MR. Pull tight. (8)
- Round 2: 2 sc in each st around. (16)
- Round 3: sc 1, inc rep around. (24)
- Round 4: sc 2, inc rep around. (32)
- Round 5: sc 3, inc rep around. (40) — check diameter; stop increasing when coaster reaches ~4.25″. For me 5 rounds with worsted + 5.0 mm gives ~4″; do one more increase round if you want larger.
- Round 6: sc around (even) to make a nice flat top; sl st and fasten off leaving a long tail for sewing the heart if using appliqué.
Tip: If the coaster ruffles, you increased too fast; if it bowls, you need an extra increase round.
Small heart appliqué (make 1 per coaster)
- Ch 5. Row 1: sc in 2nd ch from hook and next 3 ch (4 sc). Turn.
- Row 2: ch1, sc across (4 sc). Turn.
- Row 3: ch1, (sc2tog, sc2tog) across to create diamond and form sides; leave a long tail and shape into heart by folding and stitching bottom point and sides so top has two small lobes. Alternatively use a tiny ruffled heart pattern: MR, ch3, 6 dc in ring for lobe, make two lobes and join with a ch bridge.
Assembly
- Pin the heart centered on the coaster, using a tapestry needle and the long tail, sew through heart base and into coaster, catching back loops for secure seat. Hide the knot on the back and trim tail.
Optional: stiffen with diluted fabric stiffener if you like a crisp motif.
Option B — Raised heart in relief (worked on the coaster)
This uses front-post hdc/dc to raise a small heart shape on one round of the coaster. It’s a little more advanced because you place post stitches into a small area to sculpt a heart. For readers who prefer a simpler route, use Option A.
Finishing & variation ideas
- Make monochrome neutral coasters for a modern table or blush/pastel hearts for tea settings.
- Back with cork and trim with pinking shears or a small scalloped edge.
2. Crochet Cherry Blossom Coaster Pattern
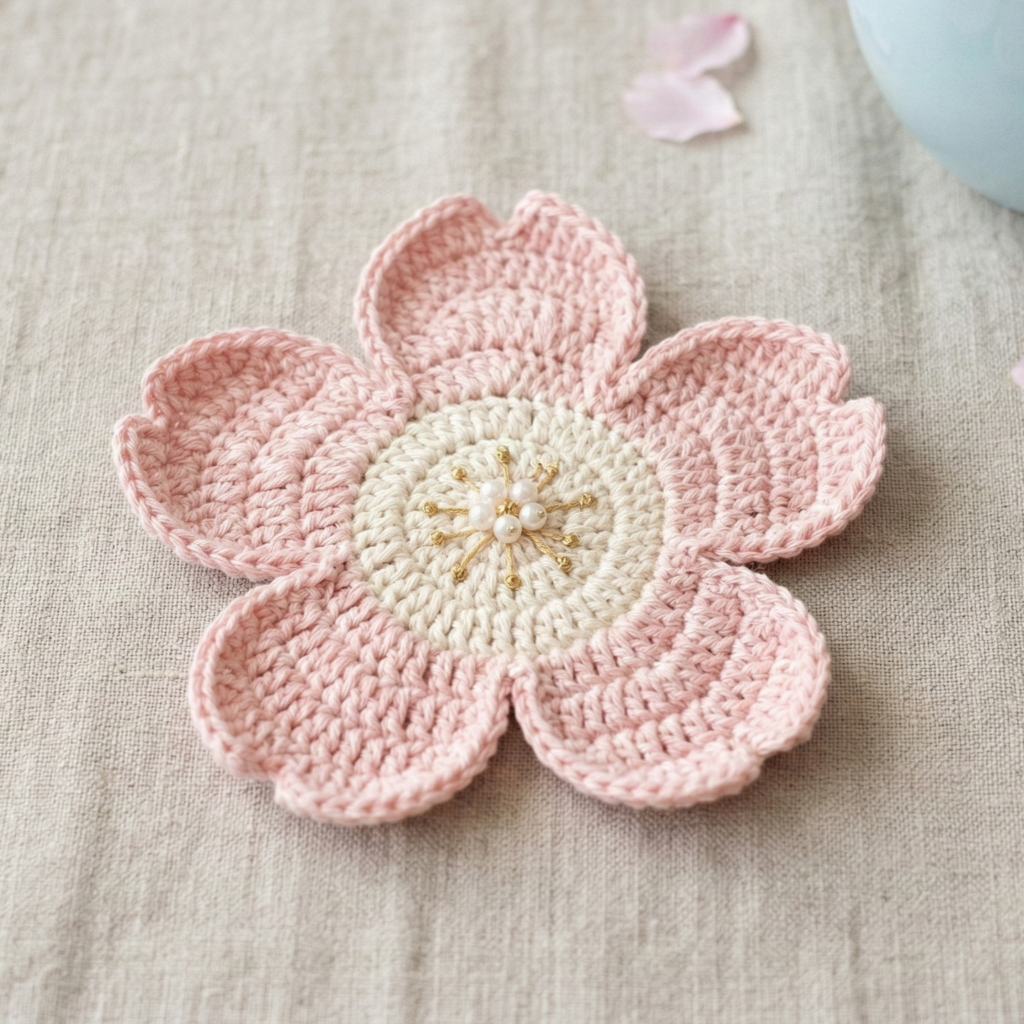
Soft, floral motif inspired by sakura — five tiny petals radiating from a central disk, worked in the round.
Skill level: intermediate (petal shaping & joined rounds)
Finished size (sample): ~4.25″ diameter (sport/DK cotton + 4.0 mm hook recommended)
Materials: DK cotton (~40–60 yd), 4.0 mm hook, tapestry needle, optional small bead for centre.
Overview
Make a circular coaster base, then crochet five petal clusters in the last round(s) and finish with a tiny center bead or French knot embroidery.
Step-by-step
Base circle (worked to one size smaller than final to leave petals visible)
- MR, ch1. R1: 8 sc in MR. (8)
- R2: inc around. (16)
- R3: sc1, inc ×8. (24)
- R4: sc2, inc ×8. (32) — stop here for a ~3.75–4.0″ center; petals will extend the diameter.
Petal round (make 5 petals spaced evenly)
We’ll place 5 petals around the outer edge; 32 stitches ÷ 5 ≈ 6–7 stitches spacing. To space evenly, mark every 6–7 stitches.
- Mark positions at sts: 1, 7, 13, 19, 25 (example). At each mark do the following petal:
Petal (worked into marked stitch)
- Sl st into marked st, ch1, (sc, hdc, 3 dc, hdc, sc) all in same stitch or chain space to make a rounded petal. Sl st back into next st to secure. Repeat at each mark. You will have 5 petals.
- After all petals are worked, join and fasten off. Add a tiny seed bead sewn into center or sew small French knots with contrasting color to make the blossom center.
Edge & finishing
- Work a final round of sc around the whole coaster catching base of petals and connecting them: sl st into base between petals, sc 2–3 across the base between petals to unify edge. This smooths gaps between petals.
Backing & stiffening
- Cut cork circle and glue to back for protection. Use light blocking to curve petals naturally.
3. Crochet Celtic Coaster Pattern
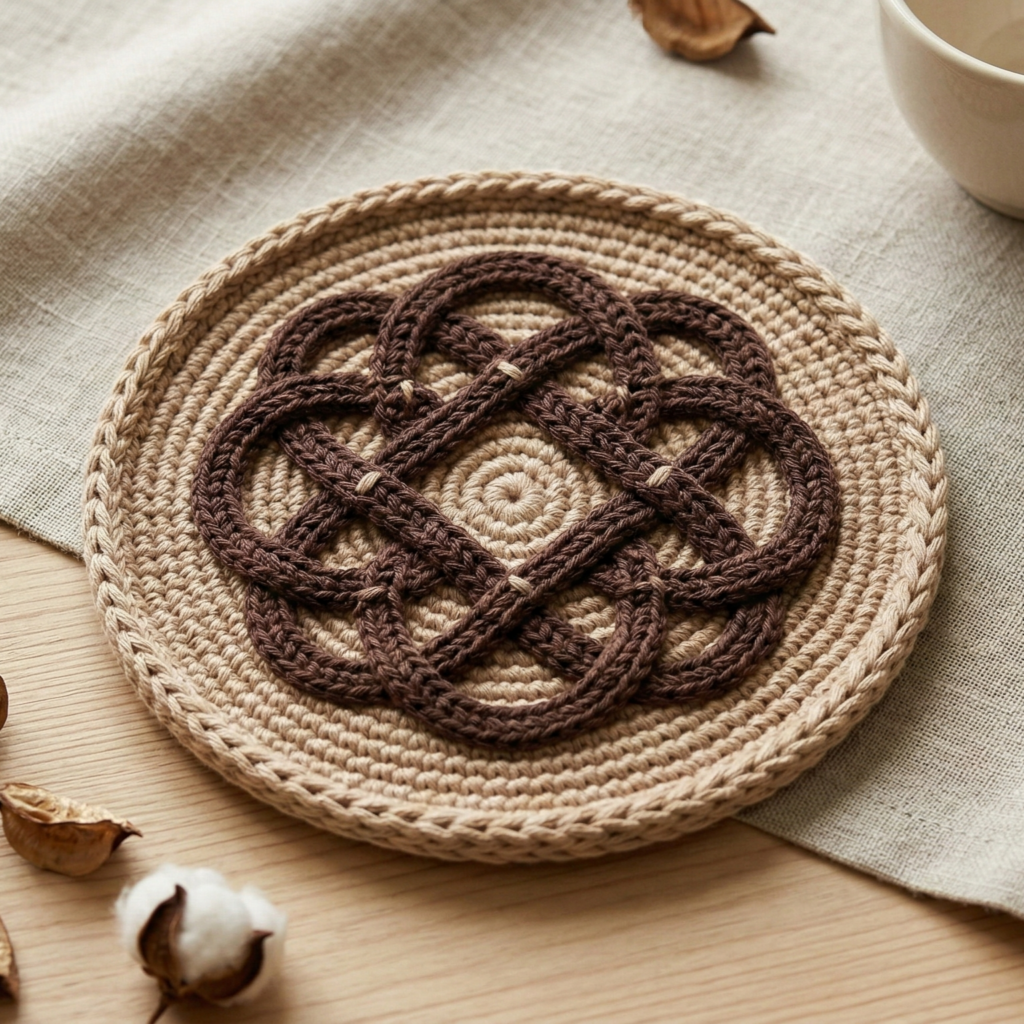
A woven Celtic-knot inspired center inside a round border — looks intricate, but built from simple over-under strips or surface crochet.
Skill level: intermediate (surface techniques)
Finished size (sample): ~4.25″ diameter (DK cotton + 4.0 mm hook)
Materials: DK cotton in two colors (main + accent), 4.0 mm hook, tapestry needle.
Two construction methods
- Method 1: Work a flat coil base, then surface-crochet an interlaced Celtic knot on top (less sculpted, cleaner).
- Method 2: Crochet narrow strips and weave them by hand into a knot, then sew in place (more three-dimensional).
I’ll describe Method 1 (surface crochet knot) because it’s fast and durable for coasters.
Base circle
- MR, ch1. R1: 8 sc in MR. (8)
- R2: inc around → 16
- R3: sc1, inc ×8 → 24
- R4: sc2, inc ×8 → 32 — continue until base ≈ 4″ diameter. Finish with sc round and fasten off.
Surface Celtic knot (visual overlay)
The knot is best drawn first. Sketch a simple continuous knot pattern that will fit in the center circle (approx. 2–2.5″ across). Use contrasting yarn and a tapestry needle for surface slip stitch:
- Thread contrast yarn onto tapestry needle (or use a thin yarn and a very small crochet hook for surface slip stitches). Starting near the center, use surface slip stitch to draw a continuous line that follows the knot shape. Surface slip stitch: with wrong side facing up, insert hook into the fabric, pull up a loop of the contrast yarn, then slip stitch in the normal way along the drawn path. Where lines cross, decide which strand should go over/under and use small stitches to anchor.
- To mimic an interlace: when two lines cross, stash a small short stitch under the crossing point and jump over with the working line to create the over/under effect.
- After finishing the knot, weave in tails on the back.
Edge
- Work a decorative crab stitch or reverse single crochet around the coaster for a clean, rope-like edge that complements the Celtic motif.
Alternative: woven strip method
- Crochet 4 narrow strips (sc 2–3 rows), lay them in an over-under woven knot on a table, sew intersections then stitch to the base. This produces a true 3D knot but is slightly more labor-intensive.
4. Crochet Vintage Flower Coaster Pattern
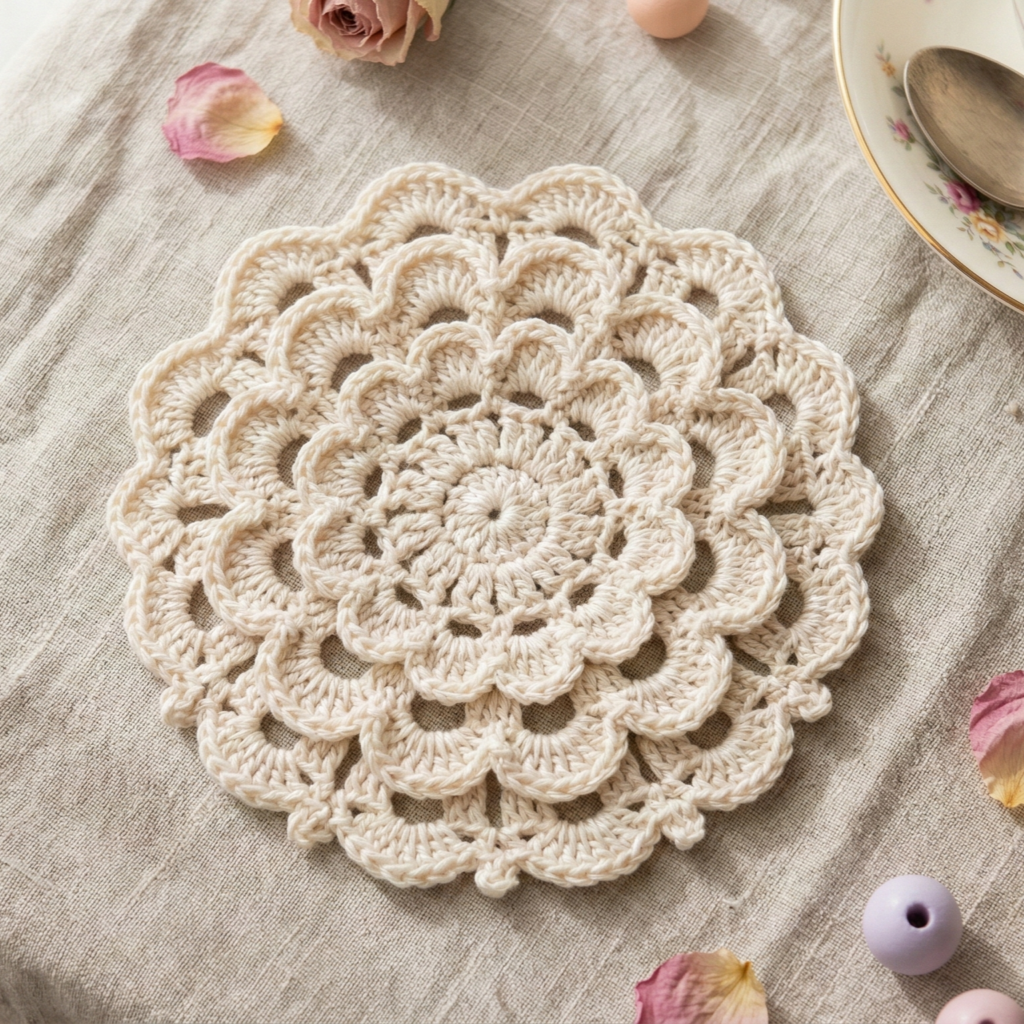
A lacy, vintage-inspired floral coaster built from a central flower with scalloped edging — romantic and classic.
Skill level: intermediate (lacy stitches & blocking)
Finished size (sample): ~4.5″ diameter (sport/DK cotton + 4.0 mm hook)
Materials: DK or sport cotton (~45–70 yd), 4.0 mm hook, blocking pins, optional starch.
General structure
- Round 1–3: small central disk
- Round 4–6: layered petals (shells and picots)
- Round 7: scalloped border to bring to coaster diameter
Step-by-step
Center & first petal layer
- MR, ch1. R1: 10 sc in MR. Pull tight. (10)
- R2: ch3, skip 1 st, sc in next around to make little loops (10 ch-spaces). Sl st.
- R3 (petals): In each ch-space: (sc, hdc, 3 dc, hdc, sc) to form rounded petals. Join.
Second petal layer (larger)
- R4: Work a sc round across petal middles to anchor petals. R5: ch4, sl st in center of each petal, ch4 to make loops for a second-layer shell.
- R6: In each loop work (sc, 5 dc, sc) to make larger shells — this creates the second, bigger layer of petals.
Scalloped border
- R7: sc around the outer edge to tidy; R8: sc 2, 7 dc in next st, sc 2 repeat for scallops until you reach desired size. Join, fasten off.
Blocking & stiffening
- Because this is lacy, block with pins to the exact 4.5″ diameter to open petals and scallops. For a slightly stiffer coaster, spray with diluted fabric stiffener or starch and dry pinned.
Backing recommendation
- For highly lacy versions, add a thin felt or cork back to prevent liquid seeps or cup movement.
5. Crochet Evil Eye Coaster Pattern
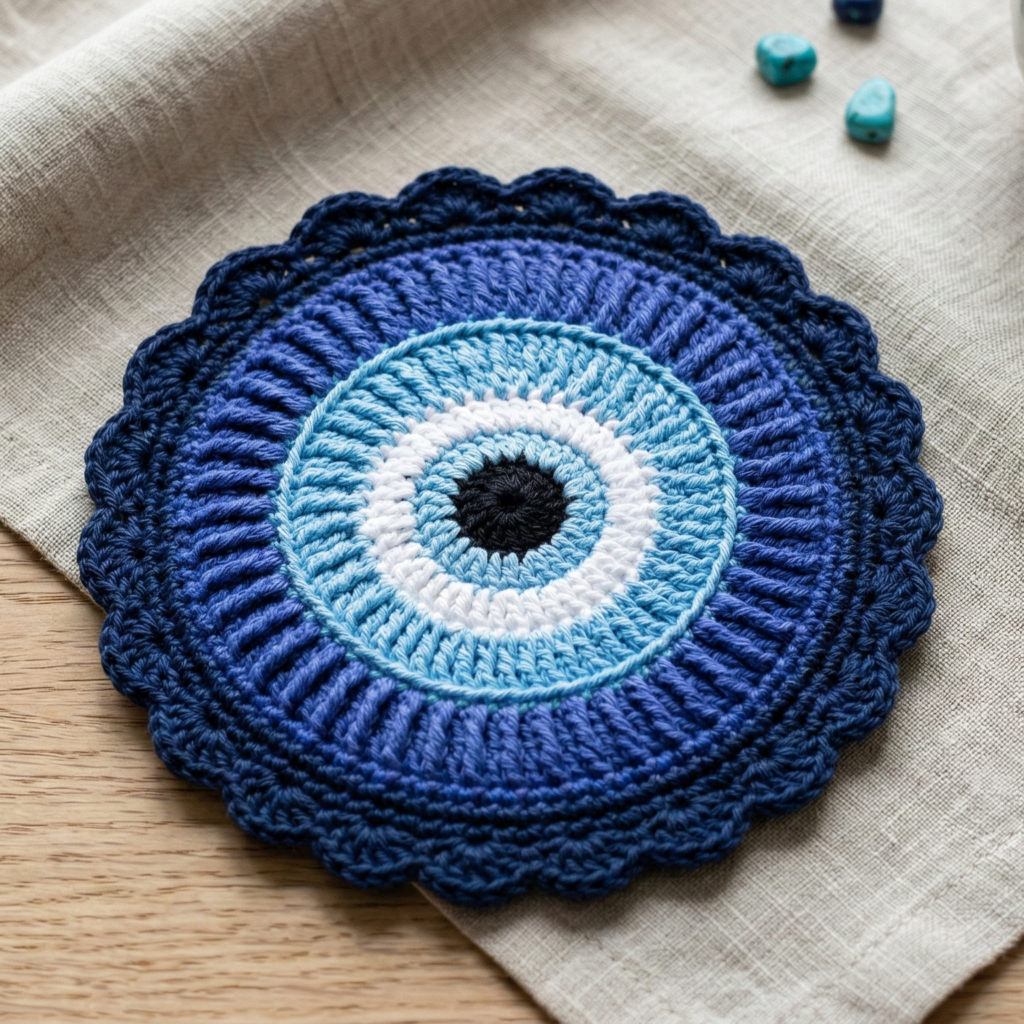
Bold concentric rounds in blues with a central “evil eye” motif — protective vibes and striking tabletop color.
Skill level: confident beginner
Finished size (sample): ~4″ diameter (DK cotton + 4.0 mm hook)
Materials: DK cotton in dark navy, medium blue, white, black (or accent colors), 4.0 mm hook, tapestry needle, cork backing optional.
Design idea
Work concentric rounds with color changes: black center for pupil → white → light blue → indigo rounds with textured stitch for a slightly raised eye, then finish with a firm sc outer round.
Step-by-step
- Center pupil (black)
- MR, ch1. R1: 6 sc in MR. (6) — pull tight and join. Fasten off black or change color to white.
- Iris ring (white)
- Join white in any st. R2: inc around (12). R3: sc1, inc around (18). Fasten off or change to light blue.
- Light blue iris
- Join light blue. R4: sc2, inc around (24). R5: sc around (24) — check diameter.
- Textured indigo band
- Join indigo (darker). R6: Work a textured round: for example, fpdc around next dc, bpdc around next dc to create a raised ribbed effect that contrasts with smooth previous rounds. R7: sc around.
- Outer border
- Finish with 1–2 rounds sc in navy to tidy, and add a final picot or shell round for decorative edge if desired: sc 2, 5 dc in next st, sc 2 around.
- Finishing
- Weave in ends. For practical coasters, cut a cork disc and glue to the back to protect tabletop, trimming to match coaster edge.
Variations
- Make multiple coasters in different shades (teal + navy, or monochrome black/white) for a dramatic set.
- For a more protective vibe, embroider a thin metallic ring around the iris.
Final finishing: backing, blocking, and care
Cork or felt backing (recommended for real use)
- Cut cork or stiff felt discs the same diameter as your coaster.
- Use fabric glue or spray adhesive to glue the coaster to the cork/felt. Press flat and allow glue to cure fully. This gives slip resistance and slight insulation from heat and moisture.
Blocking & shaping
- Wet block cotton pieces and pin them to the intended diameter on a blocking mat; let dry completely. Lace patterns benefit most. For quick shape-holding, starch lightly and dry pinned.
Care instructions
- Cotton coasters: machine wash gentle or hand wash; reshape and dry flat. Avoid high heat in the dryer if you used glued cork backing — remove cork before machine washing.
- If you added glued components, spot clean instead or replace backing prior to washing.
conclusion
There you go — five whimsical coaster patterns that cover sweet motifs (the Heart in Circle and Cherry Blossom), bold graphic work (Celtic and Evil Eye), and classic lacy charm (Vintage Flower). Each pattern is sized and explained so you can make single coasters or coordinate a whole set in complementary colors. Don’t forget to back your coasters with cork or felt for durability and tabletop protection.