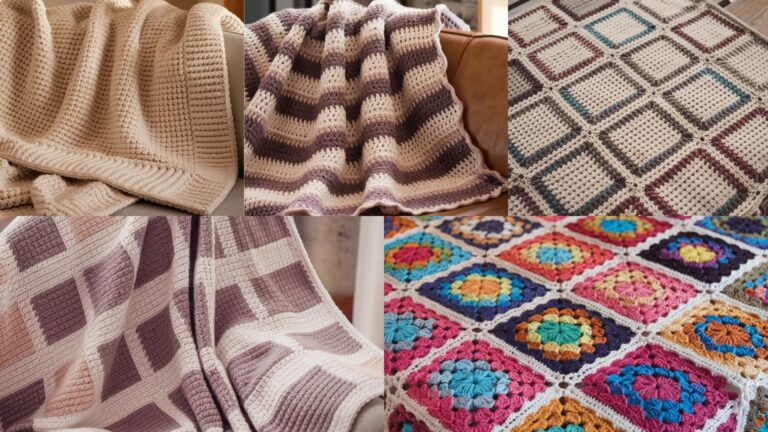
Crochet stitch patterns are one of the most rewarding parts of the craft because they let you turn simple yarn into fabric with texture, rhythm, and personality. A stitch pattern can completely change the mood of a project. With the right repeat, a plain blanket becomes more elegant, a scarf feels more modern, and a simple accessory suddenly looks professionally made.
That is what makes stitch patterns so useful for makers. They are not just decorative; they also help you build confidence, improve consistency, and explore new techniques without committing to a full complex project. Some stitches are soft and lacy, others are structured and bold, and some are perfect for beginners who want something beautiful but easy to repeat.
In this guide, you will find five trendy crochet stitch patterns that every maker should try. Each one is explained in a clear and practical way so you can follow along with ease. Whether you are making home décor, garments, gifts, or accessories, these stitch patterns will give your work a stylish and handmade finish.
Quick Notes
- Always check your stitch count before starting a new row.
- Use the correct hook size for your yarn to keep the texture balanced.
- Keep your tension even so the stitch pattern looks neat and consistent.
- Blocking can make lace and texture show much more clearly.
- Make a small swatch first if you want to test drape, spacing, or color changes.
- Some stitch patterns look best in solid colors, while others shine in stripes or two-tone designs.
Common Materials
- Yarn in the weight you prefer for the project
- Crochet hook matched to the yarn size
- Tapestry needle
- Scissors
- Stitch markers
- Measuring tape
- Blocking tools, optional
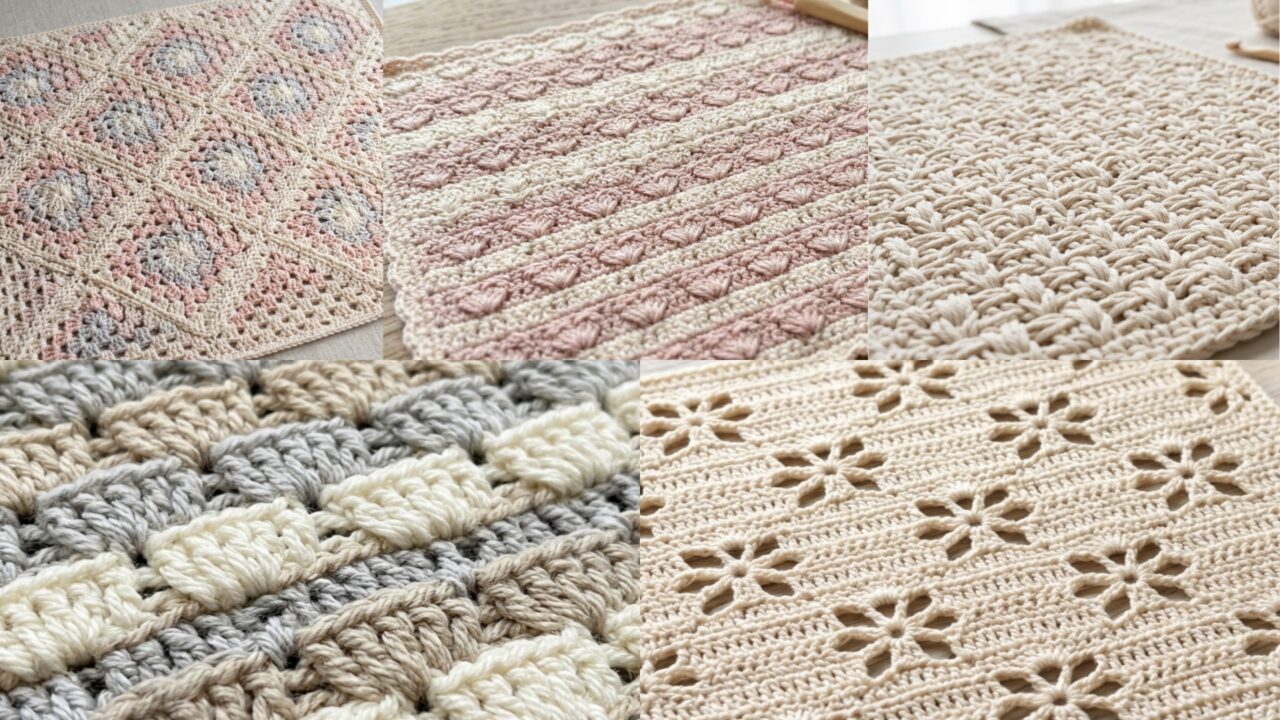
1. Crochet Heart Stitch Pattern
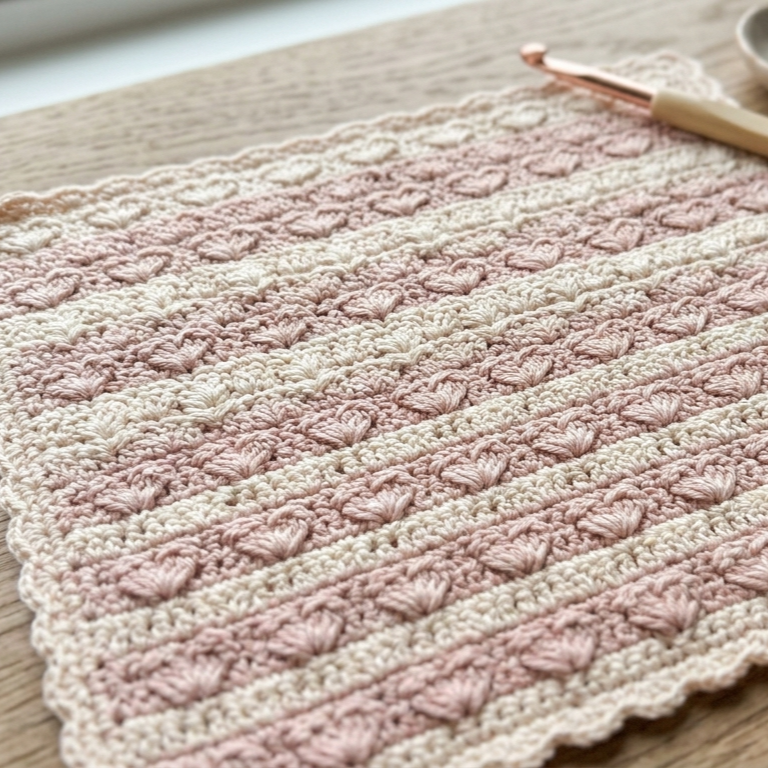
The crochet heart stitch pattern is sweet, decorative, and timeless. It creates a lovely heart-like texture that works beautifully for romantic projects, baby items, blankets, cushions, and gifts. The design may look intricate at first glance, but once you understand the repeat, it becomes surprisingly enjoyable to make.
Skill Level
Beginner to Intermediate
Materials
- Medium-weight yarn or fine yarn, depending on the project
- Crochet hook suitable for the yarn
- Tapestry needle
- Scissors
- Stitch markers, optional
Stitches Used
- Chain (ch)
- Single crochet (sc)
- Half double crochet (hdc)
- Double crochet (dc)
- Slip stitch (sl st)
Step-by-Step Guide
Step 1: Start with a foundation chain
Begin with a chain that matches the repeat of your chosen heart stitch version. A neat and even foundation is important because it helps the heart shapes sit evenly across the fabric.
Keep the chain relaxed so the first row does not pull inward.
Step 2: Work the base rows
Most heart stitch patterns begin with a base made from simple stitches such as single crochet or double crochet. These rows create a stable foundation for the decorative texture that comes later.
Take your time here, because the base rows determine how evenly the hearts appear.
Step 3: Form the heart shapes
The heart effect is usually created through a combination of taller stitches, clusters, and small spaces. These stitch groups create the rounded top of the heart and the pointed lower section.
Follow the repeat carefully. Even small differences in stitch placement can change the shape.
Step 4: Repeat the sequence
Continue the heart stitch repeat across the row. If the design calls for multiple rows, repeat the same method row after row so the hearts line up consistently.
This repetition gives the fabric its full decorative effect.
Step 5: Check your tension
Heart stitches look best when the tension is even and steady. If your stitches are too tight, the hearts may look compressed. If they are too loose, the edges may lose definition.
A consistent tension helps the motif stay clear and attractive.
Step 6: Add a finishing border
A clean border can improve the final look. A simple row of single crochet or a small decorative edge can frame the heart pattern beautifully.
Finishing
- Weave in all loose ends
- Block the piece if needed
- Add a border for a polished edge
- Check that the hearts are evenly spaced
Pro Tips
- Use one solid color if you want the texture to stand out clearly.
- Try soft pink, red, cream, or pastel shades for a romantic feel.
- This stitch looks especially lovely in baby blankets or decorative home pieces.
- Keep the edges straight so the design looks professional.
2. Crochet Lacy Star Stitch Pattern
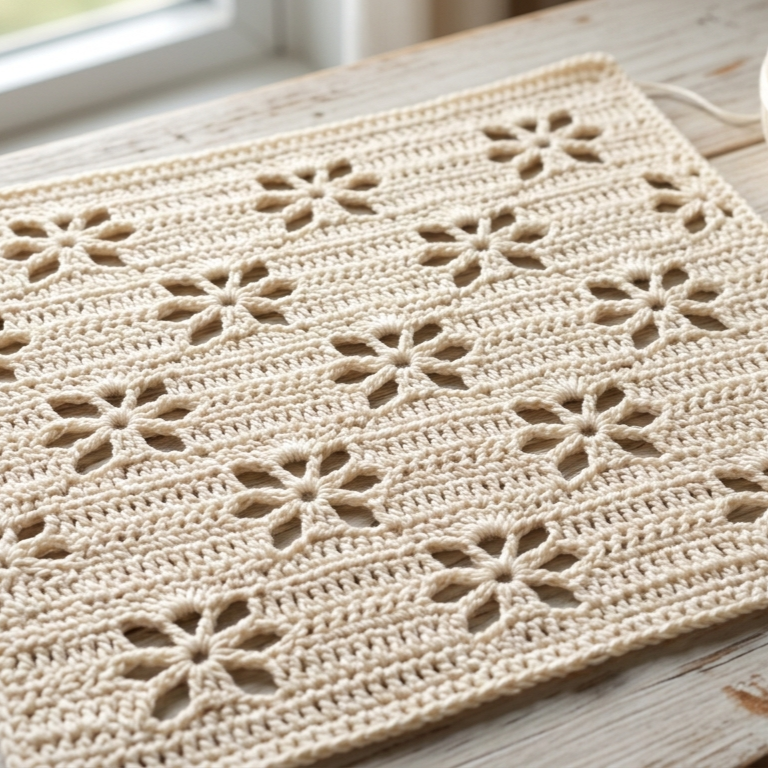
The crochet lacy star stitch pattern is elegant, airy, and full of delicate detail. It creates a light openwork texture that feels graceful and refined, making it a lovely choice for shawls, wraps, lightweight garments, decorative panels, and summer accessories.
Skill Level
Intermediate
Materials
- Fine yarn or lightweight yarn
- Crochet hook suited to the yarn
- Tapestry needle
- Scissors
- Blocking pins, optional
Stitches Used
- Chain (ch)
- Slip stitch (sl st)
- Single crochet (sc)
- Double crochet (dc)
- Treble crochet (tr), depending on the version
Step-by-Step Guide
Step 1: Make an open foundation chain
Start with a chain that gives the lace enough room to open. Lacy stitches need space, so avoid making the starting chain too tight.
An open foundation helps the star shapes form more clearly later.
Step 2: Build the star base
The star stitch is usually formed by working groups of stitches into the same stitch or space. These groups create the central points of the star motif.
Pay close attention to placement here, because the structure depends on consistency.
Step 3: Add chain spaces
The lacy appearance comes from the spaces between the star groups. These open chain spaces lighten the design and give it the airy, delicate quality that makes this stitch so attractive.
The balance between closed clusters and open spaces is what creates the star look.
Step 4: Continue the repeat across the row
Repeat the same stitch sequence across the row, making sure each motif lines up neatly. This keeps the lace looking balanced and symmetrical.
Lacy patterns are most beautiful when the repeats are smooth and evenly spaced.
Step 5: Follow the row pattern carefully
In the following rows, continue exactly as written in the stitch repeat. Some rows may look dense while others appear more open, and that contrast is part of the charm of the pattern.
Stay patient and work carefully through each section.
Step 6: Block the finished fabric
Blocking is especially important for lace. It opens the stitches, sharpens the star shapes, and gives the pattern a much cleaner finish.
Finishing
- Weave in all ends neatly
- Block the lace to open the design
- Add a border if needed
- Lay flat until fully dry
Pro Tips
- Light-colored yarn often shows lace detail better.
- Smooth yarn gives the clearest stitch definition.
- This stitch looks beautiful in summer garments and elegant wraps.
- Keep tension steady so the star points stay crisp.
3. Crochet Diamond Granny Stitch Pattern
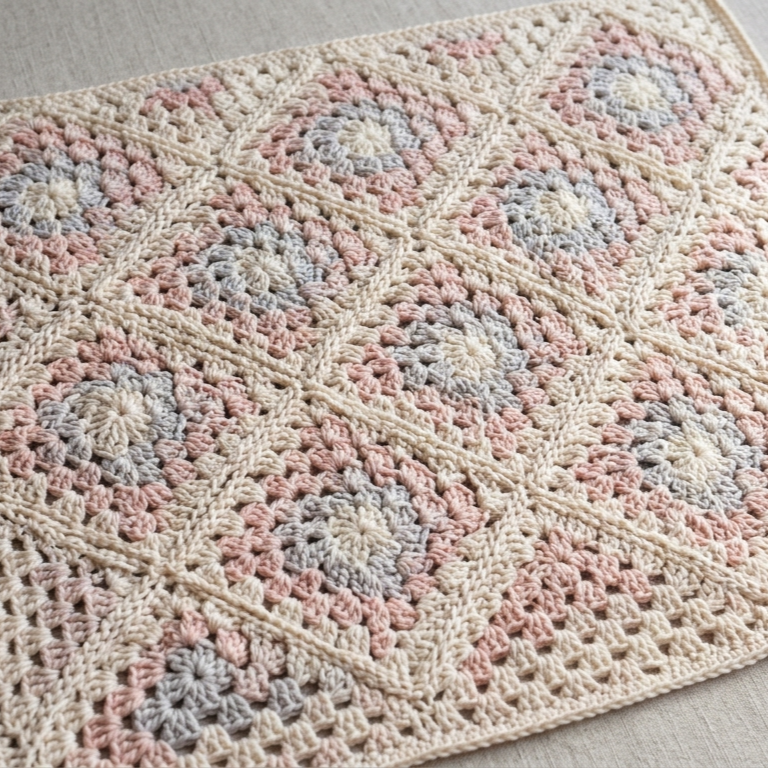
The crochet diamond granny stitch pattern takes the familiar granny-style look and gives it a fresh geometric twist. It creates a structured diamond effect that feels classic yet modern, making it perfect for blankets, bags, cushions, and decorative panels.
Skill Level
Beginner to Intermediate
Materials
- Medium-weight yarn
- Crochet hook for the yarn size
- Tapestry needle
- Scissors
- Stitch markers, optional
Stitches Used
- Chain (ch)
- Double crochet (dc)
- Slip stitch (sl st)
- Chain spaces
- Cluster stitches, depending on the version
Step-by-Step Guide
Step 1: Create the foundation row
Start with a chain length that suits the pattern repeat. The foundation should be even so the diamond motif can develop properly.
A straight foundation helps keep the geometry clean and balanced.
Step 2: Form the first diamond section
Work clustered stitches or granny-style groups into the foundation to begin shaping the center of the diamond. The placement of these clusters creates the angled lines of the design.
This is the point where the pattern starts to take on its geometric structure.
Step 3: Expand the shape
As you continue, increase or shape the stitch placement so the motif opens into a diamond. The chain spaces help define the edges and give the pattern its open, airy structure.
The diamond shape becomes more visible as the repeats continue.
Step 4: Repeat across the fabric
Continue repeating the motif across each row or round, depending on the style you are making. Be careful to align the diamond sections properly so the pattern stays consistent.
Even spacing is what makes the design look professional.
Step 5: Add color for more definition
This stitch looks especially striking in two-tone or multi-color versions. Color changes can highlight the diamond structure and make the pattern stand out more clearly.
A simple color palette can create a very modern finish.
Step 6: Finish with a neat border
A border can frame the diamond pattern and give the finished piece a cleaner, more polished appearance. This is especially useful for blankets and larger projects.
Finishing
- Secure all yarn ends
- Block lightly if the fabric needs shaping
- Add a border for structure
- Check the pattern alignment before finishing
Pro Tips
- Contrasting colors make the diamonds more visible.
- Keep your stitch count accurate to avoid shifting.
- This pattern works very well in larger projects.
- Smooth yarn shows the geometric design best.
4. Crochet Brick Stitch Pattern
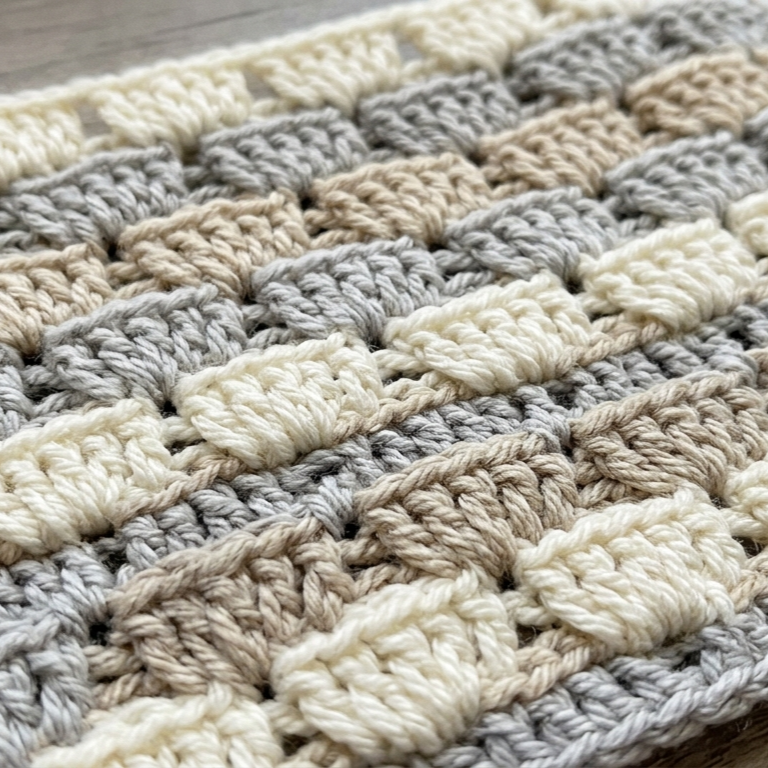
The crochet brick stitch pattern is bold, modern, and easy to recognize. It creates a stacked texture that resembles bricks laid in a wall, which gives projects a clean, organized, and contemporary look. It is a great stitch for makers who like structure and visual rhythm.
Skill Level
Beginner
Materials
- Medium-weight yarn
- Crochet hook matched to the yarn
- Tapestry needle
- Scissors
Stitches Used
- Chain (ch)
- Single crochet (sc)
- Double crochet (dc)
- Slip stitch (sl st)
Step-by-Step Guide
Step 1: Make the base row
Start with a foundation row in single crochet or double crochet. This gives the brick stitch a strong and even base.
A smooth base row helps the rest of the pattern sit properly.
Step 2: Offset the next row
The brick effect comes from shifting the placement of the stitches from one row to the next. Instead of stacking stitches directly above each other, move them slightly to create a staggered layout.
This offset is what gives the stitch its brick-like appearance.
Step 3: Continue the repeat
Keep repeating the same row structure. Each new row should maintain the offset so the brick effect remains visible and balanced throughout the project.
The pattern becomes stronger visually with each added row.
Step 4: Keep the tension consistent
Because the stitch pattern is structured, inconsistent tension can make the rows look uneven. Try to maintain the same stitch height and width across the project.
This helps the design stay neat and organized.
Step 5: Try different colors
Brick stitch looks great in solid colors, but it can also become more dynamic with two-tone stripes or alternating shades. Color can highlight the brick structure and make the texture more noticeable.
This is a simple way to make the stitch look modern.
Step 6: Finish the edges
A clean border can help frame the brick pattern and keep the finished piece looking tidy. This is especially useful for blankets, cushions, and other home items.
Finishing
- Weave in ends securely
- Block lightly if needed
- Add edging if desired
- Make sure the rows stay straight
Pro Tips
- This stitch is great for contemporary and minimalist projects.
- Medium-weight yarn usually gives the best texture.
- Keep the rows even to preserve the brick effect.
- It works beautifully in home décor and practical accessories.
5. Crochet Simple Weave Stitch Pattern

The crochet simple weave stitch pattern creates a textured, woven appearance that feels clean, versatile, and stylish. It is one of those patterns that looks more complex than it really is, which makes it especially appealing for beginners and makers who want an elegant result without too much difficulty.
Skill Level
Beginner
Materials
- Medium-weight yarn or fine yarn
- Crochet hook for the yarn size
- Tapestry needle
- Scissors
- Blocking tools, optional
Stitches Used
- Chain (ch)
- Single crochet (sc)
- Double crochet (dc)
- Front post and back post stitches, depending on the version
- Slip stitch (sl st)
Step-by-Step Guide
Step 1: Start with a foundation row
Begin with a straight foundation row in single crochet or double crochet. This gives the weave stitch a stable base and helps the woven texture stand out clearly.
Keep the foundation neat and even.
Step 2: Alternate stitch direction
The woven effect comes from alternating stitch direction or placement. In some versions, you may use front loop and back loop stitches. In others, you may use front post and back post stitches.
This alternating structure creates the illusion of woven strands.
Step 3: Continue the repeat
Repeat the same stitch sequence across the row and into the next rows. As the pattern grows, the woven look becomes more visible and textured.
The repeat should feel consistent and balanced.
Step 4: Keep the rows even
Because this stitch is simple, any inconsistency will show quickly. Try to keep your rows straight and your tension steady so the pattern stays uniform.
This helps the weave look smooth and polished.
Step 5: Experiment with color
This stitch looks especially nice in two colors. A gentle contrast can make the woven look stronger and more interesting.
Color changes are an easy way to give the pattern a fresh, modern feel.
Step 6: Add a clean finish
A border can help define the edges and make the stitch pattern look more complete. This is especially useful for blankets, bags, and home décor pieces.
Finishing
- Weave in ends carefully
- Block if necessary
- Add edging for shape
- Check that the weave texture is even
Pro Tips
- Smooth yarn helps the woven effect show more clearly.
- Great choice for beginners who want texture.
- Two-color versions often look the most striking.
- Works well in both decorative and practical projects.
Conclusion
Crochet stitch patterns are one of the best ways to grow as a maker because they teach you how texture, spacing, and repetition work together. A simple stitch can become something beautiful when it is worked with consistency and care. That is why learning a few strong stitch patterns is so valuable.
The heart stitch brings softness and charm, the lacy star stitch adds elegance, the diamond granny stitch gives structure and style, the brick stitch creates a bold modern feel, and the simple weave stitch offers a clean textured finish. Together, these five patterns give you a strong foundation for many different kinds of projects.
Once you become comfortable with them, you can use them in blankets, garments, accessories, home décor, and gifts. You can also combine them with different colors, yarn types, and borders to create your own signature look. That is the beauty of crochet: the more you learn, the more creative freedom you gain.
These stitch patterns are not just useful techniques. They are building blocks for making pieces that feel thoughtful, stylish, and handmade with care.