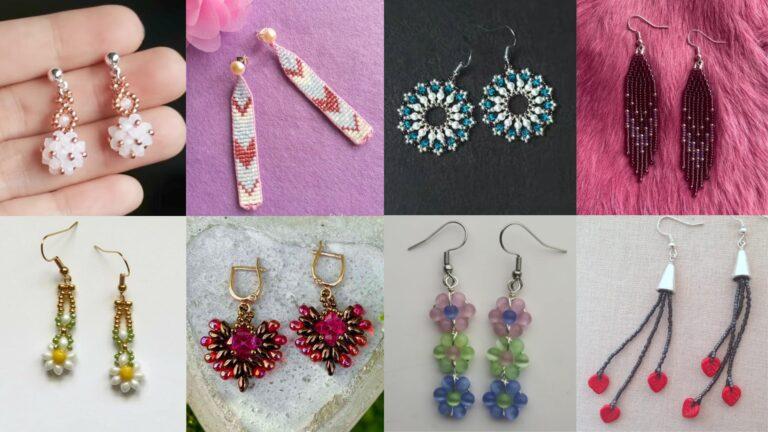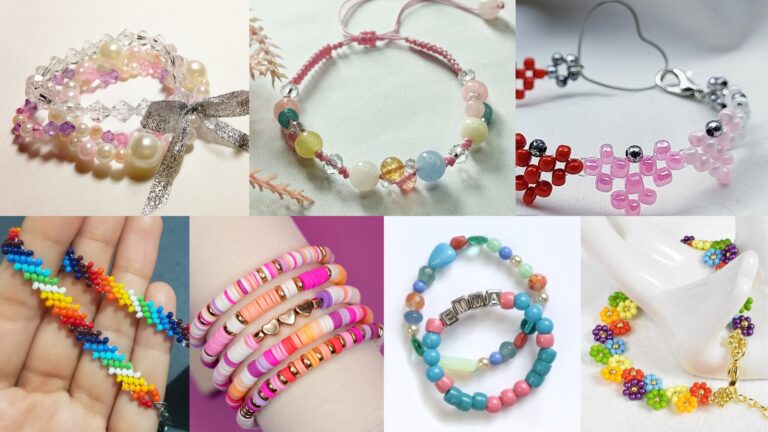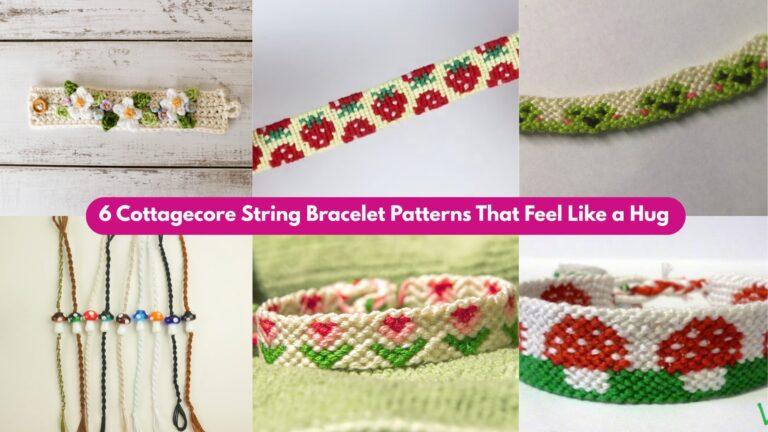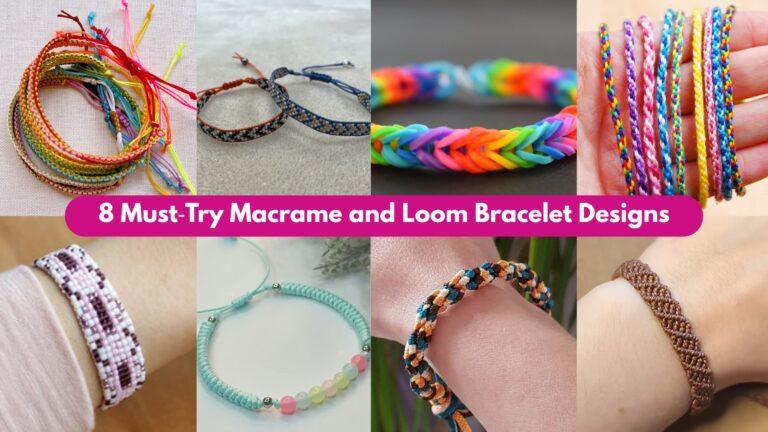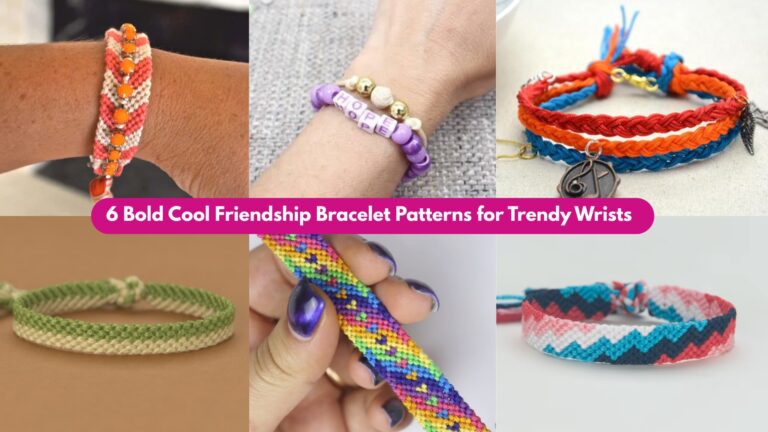
Tiny, portable, and endlessly customizable — crochet bracelets are perfect small projects to build skills, use up scrap yarn, and create quick gifts. Below are five bracelet patterns with full, very-detailed step-by-step instructions: Line Knit Heart Bracelet, Micro Sunflower Bracelet, Hearts Bracelet, Delicate Floral Cuff Bracelet, and Tulip Stitch Cuff Bracelet. For each pattern you’ll get: skill level, finished size and how to adjust it, exact materials, stitch abbreviations, gauge guidance, a careful stitch-by-stitch pattern, closure options, finishing tips, variations, and care instructions.
Quick shared notes (applies to all patterns)
- I use US crochet terms.
- For bracelets choose yarn and notions appropriate to wrists: fingering / sport / DK cotton or mercerized cotton work superbly because they’re comfortable against skin and hold shape. For chunky cuffs use worsted.
- Hooks: many of these patterns prefer a small hook (2.25–3.5 mm) for tight, tidy work unless specified otherwise.
- Finishes: popular closures are small buttons + buttonloop, lobster clasp + jump ring, or adjustable sliding knot cords. I show options for each pattern.
- Safety: for bracelets intended for young kids avoid long dangling elements or small loose beads — sew everything on securely.
Abbreviations (US)
- ch = chain
- sc = single crochet
- hdc = half double crochet
- dc = double crochet
- tr = treble crochet
- sl st = slip stitch
- st(s) = stitch(es)
- BLO/FLO = back/front loop only
- RS/WS = right/ wrong side
- rep = repeat
- MR = magic ring
- sk = skip
- inc = increase (2 sc in same st)
- dec = decrease (sc2tog)
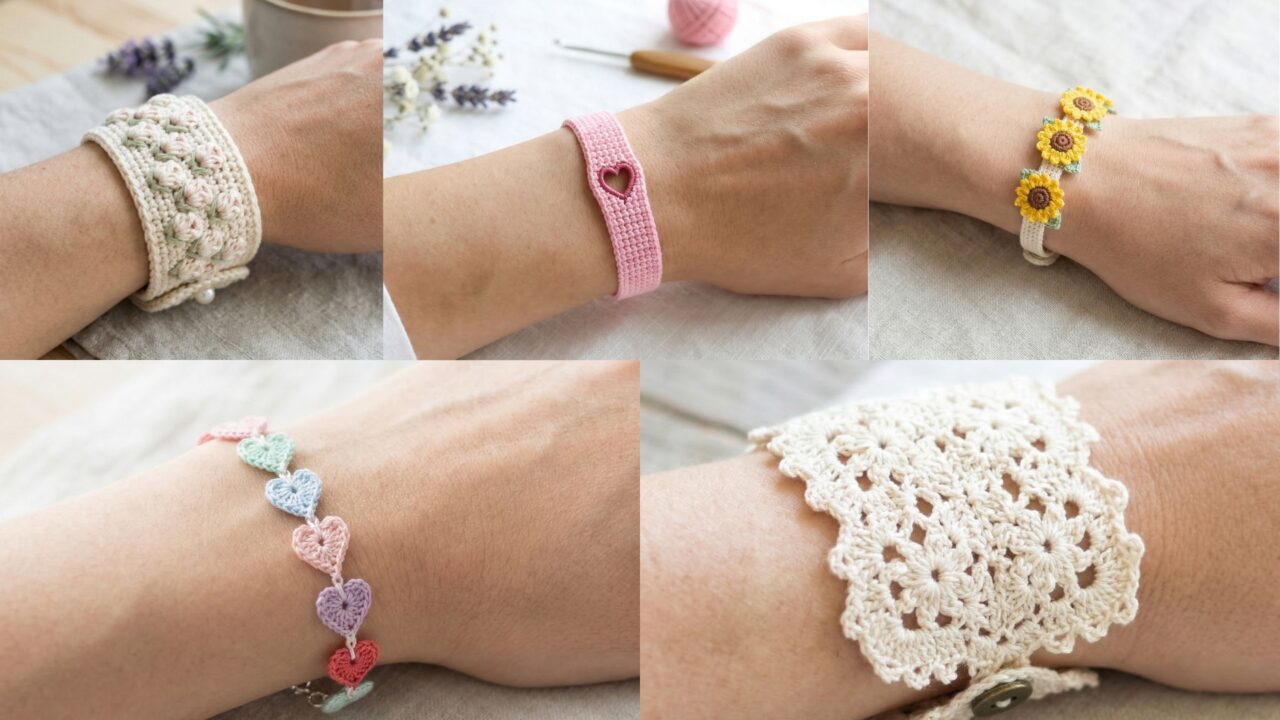
1. Crochet Line Knit Heart Bracelet Pattern
A slim, elegant bracelet with tiny knit-looking rows and a single centered heart — delicate and modern.
Skill level: Beginner — straight rows, simple shaping for heart applique.
Finished size: adult medium band ≈ 7.25–7.5 in (18.5–19 cm) circumference before closure; band width ≈ 0.4–0.6 in (1–1.5 cm). Make wrist measurement first and adjust chain length.
Materials
- Mercerized cotton fingering or sport weight — main color ~10–15 yds; contrast color for heart ~3–5 yds.
- Crochet hook 2.5–3.0 mm (or size to get dense fabric).
- Small button (6–10 mm) or lobster clasp + jump ring; tapestry needle, small pliers (for jump ring), scissors.
Gauge (informal)
- ~22 sc × 26 rows = 4″ in single crochet (varies with yarn). Bracelet uses a firm fabric; go down 0.5 mm if fabric is too loose.
Stitch style & concept
Work a narrow strip in sc in rows to mimic a knit line (tight sc). Add a tiny surface heart applique centered on band using a small motif or embroider a heart in contrast yarn. Join ends with a button loop or lobster clasp.
Pattern — band (make 1)
- Measure wrist. To estimate foundation chain: measure chain to reach wrist minus 0.25–0.5″ (for snug fit and closure overlap). Example: for 7.25″ finished, chain 20 (sample) and measure — chain count depends on your gauge. Important: chain loosely then measure against wrist before committing.
- Foundation: ch to target length for band width short edge (we’ll work across a narrow band). For a narrow band, chain 10–18 depending on desired width; cover wrist length with number of rows. Suggested: ch 30 for narrow length-to-fit, or chain directly to circumference? (Better approach below.)
Better approach (clearer):
- Work band as a strip: decide band length = wrist circumference – 0.25 to 0.5″. Decide band width (how many rows high) = 4–6 rows for slim. Chain a number of stitches to produce the width (ch 6–10), then work rows until strip length equals wrist circumference minus overlap. This is easier.
So: ch 8 (for ~0.4″ width). Turn.
- Row 1: sc in 2nd ch from hook and across. Turn. (7 sc)
- Rows 2–N: ch1, sc across; repeat until strip length equals wrist circumference minus 0.5″ (so you have space to overlap and close). Keep fabric tight and even. End on RS.
- Sew short edges together to form band, leaving a 0.5″ overlap for closure if using button — OR create a small loop: on one short end, fold 3–4 sts to WS and whipstitch to make loop (or use a ch6 loop and attach).
Heart applique (tiny knitted heart)
Method A — Tiny crocheted heart (fast)
- Make a small heart: ch4; Row 1: in 2nd ch from hook sc, hdc, dc across first side, then work around other side to complete heart small lobe: sc2tog or sl st to base. (This is compact; for clarity use standard 6–st heart below.)
Better explicit heart:
- MR, ch1, 6 sc into MR; pull tight. (6)
- Ch3, sl st into next sc around to make 3 loops.
- Into each loop: (sc, hdc, dc, hdc, sc). Fasten off, leaving tail to sew.
Place heart centered on band (front top) and sew through the band fabric with multiple passes to secure.
Method B — surface embroidery heart
- Use contrast yarn and a tapestry needle to stitch a tiny satin heart: a small triangle of straight stitches filled in makes a flat heart that won’t bulk.
Closure options
- Button: On one short end sew a tiny button on RS; on opposite end make a ch-loop (ch6) and sew the loop down to sit over button. Reinforce loop with a felt patch on WS.
- Lobster clasp: sew a small jump ring onto one short end (attach ring to end stitches by sewing through ring a few times) then attach lobster clasp to other end using jump ring.
Finishing & tips
- Weave in tails neatly inside band. Steam-press lightly if cotton to even rows. If band stretches over time, add a small interior lining strip (fabric) or stitch a parallel row along inside that reduces stretch.
Variations
- Add two tiny hearts instead of one; make heart in metallic thread for sparkle.
- Make as friendship bracelets: two narrow bands joined with a center heart.
Care
- Hand wash or machine wash gentle in mesh bag; reshape while damp.
2. Crochet Micro Sunflower Bracelet Pattern
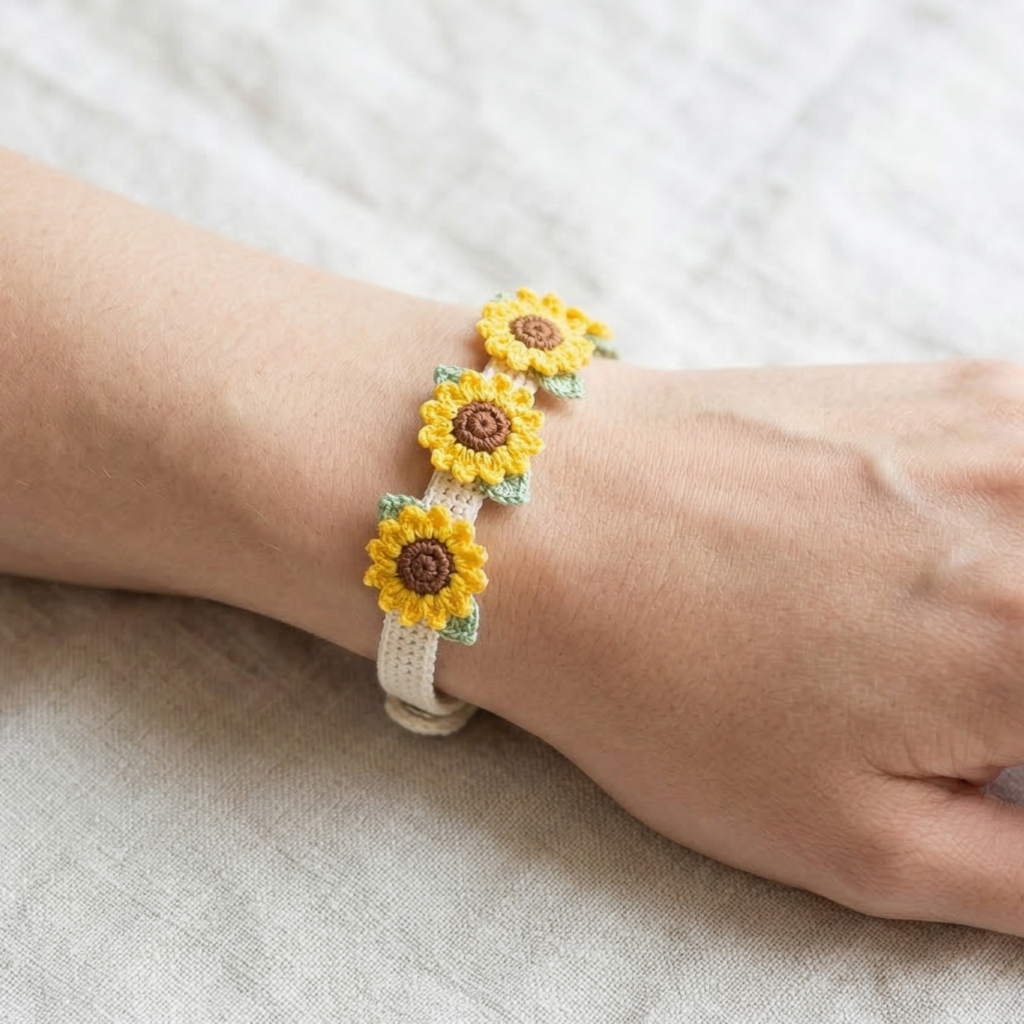
Sunny little micro sunflowers on a narrow band — punchy, cheerful, and great as a set.
Skill level: Beginner–Intermediate (tiny motifs + applique)
Finished size: band circumference 6.5–8 in (adjust), flower diameter ~0.6–0.9 in depending on yarn. You’ll place 3–5 micro sunflowers across the band.
Materials
- Fingering or sport cotton in three colors: yellow (petals), brown (center), green (leaves/accents). Small amounts ~15–25 yds total.
- Hook 2.5–3.0 mm (small to make compact flowers).
- Small snaps or button closures; tapestry needle.
Gauge & concept
- Make tight micro motifs (magic ring based) and sew them evenly spaced onto a crocheted or braided band.
Pattern — micro sunflower (make multiple)
Center (brown)
- MR, ch1, 6 sc in MR. Pull tight. (6)
- inc around → 12 sc. Fasten off brown, weave tail for sewing.
Petal round (yellow)
- Join yellow to any st behind center, ch4, sl st into next sc around to create loops for petals — space should yield about 6 loops (one loop per center st). Join.
- Into each ch4 loop work: (sc, hdc, dc, hdc, sc) — small petal. Fasten off leaving tail to sew.
Leaf accent (optional)
- Make tiny leaf(s): ch6, sc in 2nd ch from hook, hdc, dc, hdc, sc; sl st to base; fasten off and sew to back of sunflower.
Repeat to make 3–5 sunflowers.
Band (narrow base)
Option A — simple sc strip
- Chain number to make band width small (e.g., ch 7 for 4 rows tall) then sc across and repeat rows until length equals wrist circumference minus closure overlap. e.g., ch8, sc across, turn; repeat rows to length.
Option B — crochet cord (i-cord style) for dainty look
- Work a narrow tube: ch 6, sc across, then sc in each st for many rows until length equals wrist circumference — gives a neat cord-like band.
Assembly
- Pin sunflowers evenly across RS at equal spacing (e.g., three flowers: left, center, right). Sew centers to the band with strong passes. Add leaves if desired. If band is thin, tack each flower to multiple positions to prevent flipping.
- Closures: sew small snap sets (male/female) or add button + loop. For a delicate look use a tiny pearl button.
Finishing tips
- For a glossy sunflower, use mercerized cotton. For textured look, use mix of matte and shiny yarns.
- If you want sunflowers to be movable, mount them on a small felt circle and use a metal snap set so they can be removed and repositioned.
Care
- Hand wash recommended to preserve tiny shapes; reshape petals gently.
3. Crochet Hearts Bracelet Pattern
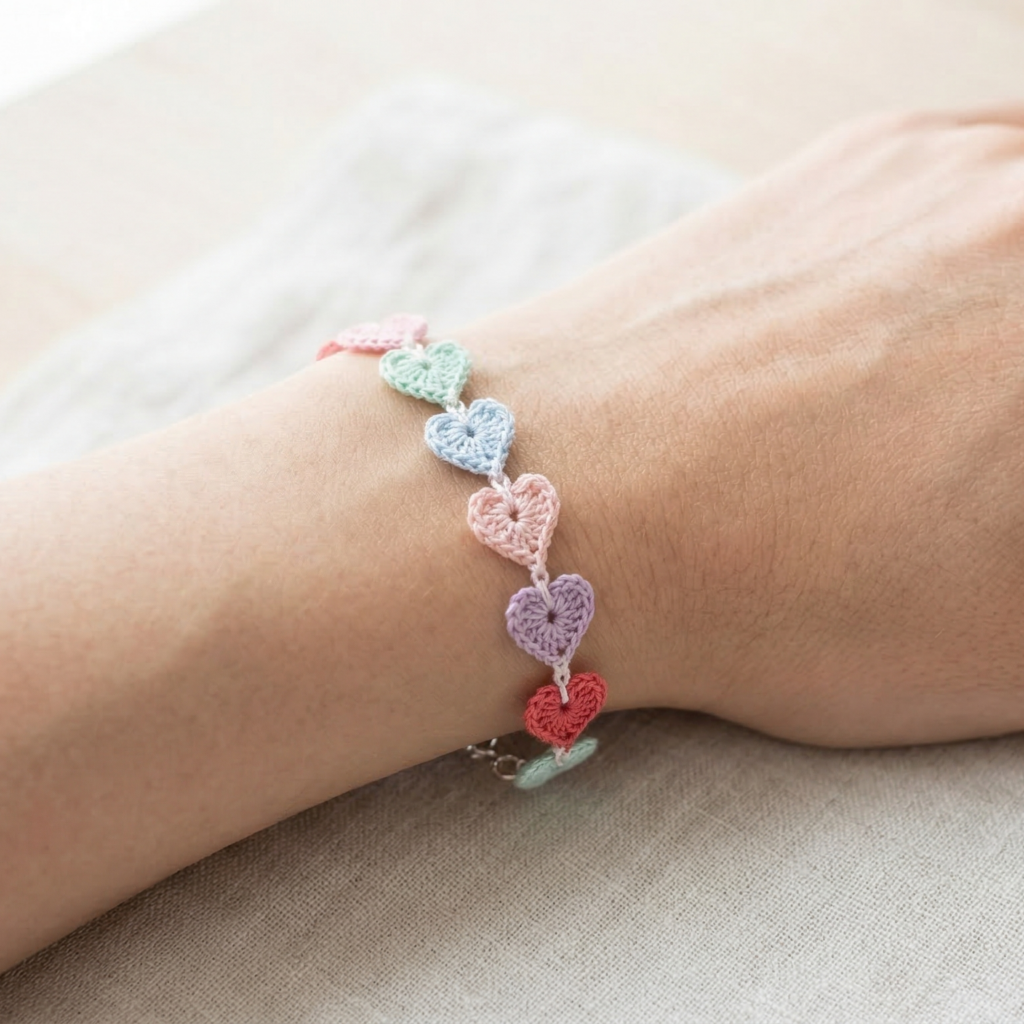
A repeating heart-chain bracelet — charming and perfect for gifting to friends.
Skill level: Beginner (repeats + joining)
Finished size: adjustable — typical adult length 7–8 in with repeating hearts across the band (3–5 hearts). Each heart ~0.6–1 in depending on yarn.
Materials
- Fingering or sport cotton in one or two colors; ~15–25 yds.
- Hook 2.75–3.5 mm, small closure (button or lobster clasp), tapestry needle.
Idea & construction
Make a narrow base band (cord) and add small hearts in a repeating chain pattern either crocheted as tiny motifs then sewn on, or worked directly onto the base with small looped heart motifs.
Pattern — tiny heart as chain-loop applique (fast)
- Tiny heart (flat)
- Ch4, sl st to first ch to make small ring or MR, ch1.
- Into ring: (sc, hdc, dc, hdc, sc) — fasten off leaving tail. This makes one small flat heart.
- Make as many hearts as you need (3–6). Space them by measuring band and dividing length by (number hearts + 1).
- Band: make a narrow chain band: ch to wrist circumference minus overlap, then sc rows across for width ~0.4–0.6 in. Alternatively make an i-cord style strap: ch 6, sc in each ch back and forth 4–6 rows.
- Assembly: pin hearts and sew strongly through centers and underside to band. Reinforce with small backstitch on WS.
Closure options & finishing
- Add a small button to one end and a tiny chain loop to the other. For an elegant option, attach a very small lobster clasp + jump ring (best for adjustable removal).
Variations
- Alternate color hearts and use tiny seed beads at heart centers (sew on well).
- Make double-strand bands with hearts spaced on each strand for a layered look.
Care
- Cotton bracelets wash easily; lay flat to dry.
4. Crochet Delicate Floral Cuff Bracelet Pattern
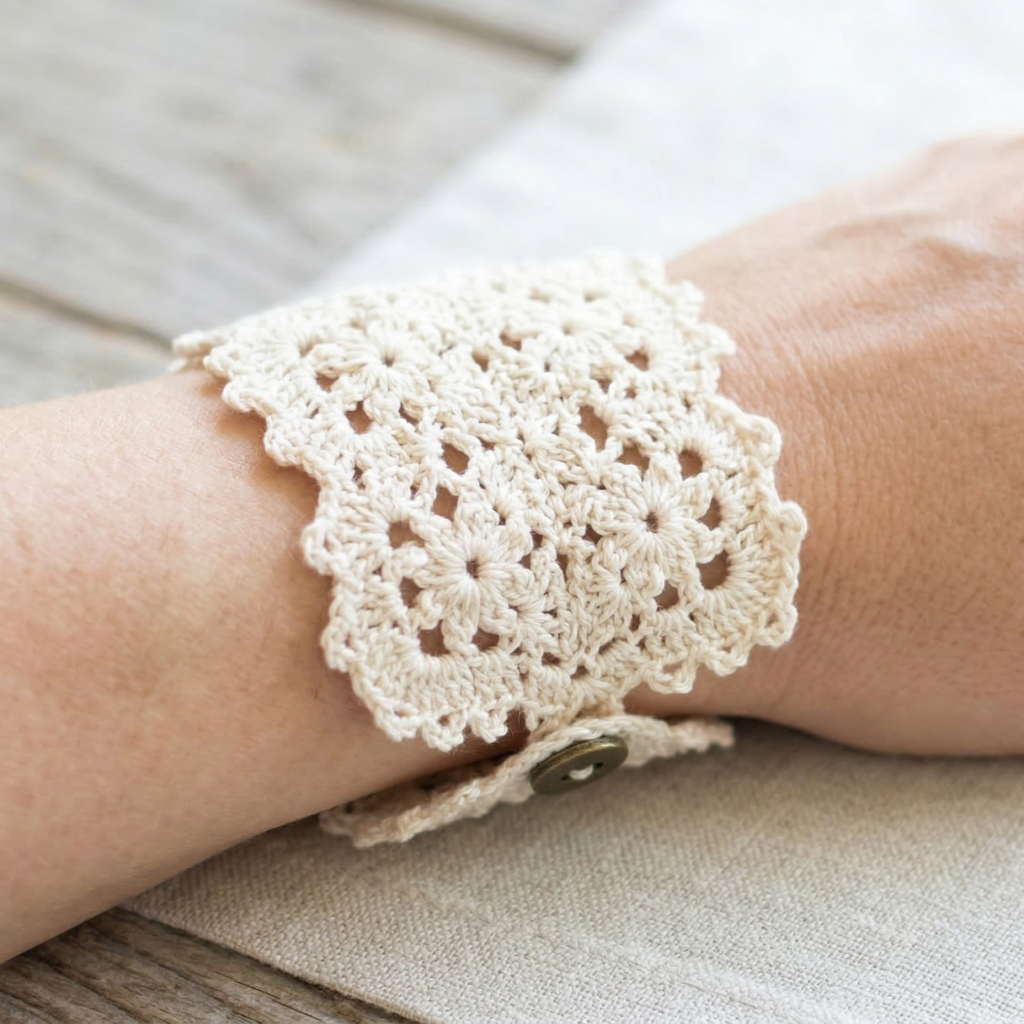
A lacy cuff with tiny floral clusters — feminine and a little vintage. The cuff is wider and behaves like jewelry.
Skill level: Intermediate (lace repeats + buttonhole shaping)
Finished size: cuff width 1.25–1.75 in (3–4.5 cm); circumference 6.5–8 in (measure wrist and allow overlap for button). Adjust width by number of pattern repeats.
Materials
- Sport or DK cotton for lacy drape, ~25–40 yds.
- Hook 3.0–3.5 mm, small decorative button for closure, tapestry needle.
Stitches & pattern concept
Use a repeating lacy motif (V-stitch + shell + picot) to create floral clusters that read as tiny blooms across the cuff. Work a rectangle then finish with a sc border and a button loop.
Stitch repeat (example)
- Lace repeat: Row A: ch3, sk 2, dc in next, ch1, dc (small V). Row B: shells into ch1 spaces: (sc, 3 dc shell, sc) to create a petal cluster.
Pattern — cuff rectangle
- Foundation chain: Chain a multiple of the lace repeat to get the width you want (for sample: ch 36 for 1.5″ width). Turn.
- Row 1 (base): sc across. Turn.
- Row 2 (lace start): ch3 (counts as dc), sk2, dc in next st, ch1, dc in same st — repeat to end. Turn.
- Row 3 (cluster): ch1, sc into each ch1 space from previous row and work a tiny shell in every other sc to create the flower base: sc, (3 dc in next st), sc — repeat. Turn.
- Rows 4–N: Repeat Rows 2–3 until piece reaches desired length measured across (wrist circumference minus overlap). For example, work until rectangle length = wrist circumference − 0.75″ (to allow overlap for button).
- Buttonhole: On one short end create a button loop: fold end 0.5″ and sc across to make a strong loop or make ch6 loop on RS and attach to edge. On opposite end sew button (reinforce with backing patch).
- Edging: Work a tidy round of sc around entire rectangle; in corners work 3 sc to avoid puckering; when you reach the button loop area, work extra sc to create a neat base.
- Assembly: Fold rectangle into cuff and whipstitch sides with invisible stitch so button and loop align. Alternatively, leave edges unseamed and wear as wrap with a single button.
Finishing & tips
- To keep lace from stretching, block fully and consider adding a narrow strip of cotton ribbon sewn inside as a stabilizer.
- For a vintage touch, use pearl buttons or an antique bronze button.
Variations
- Make cuff longer (2–3″ wide) for statement jewelry.
- Add tiny embroidered French-knot centers to each flower with contrasting thread.
Care
- Hand wash recommended; reshape and dry flat to keep lace crisp.
5. Crochet Tulip Stitch Cuff Bracelet Pattern
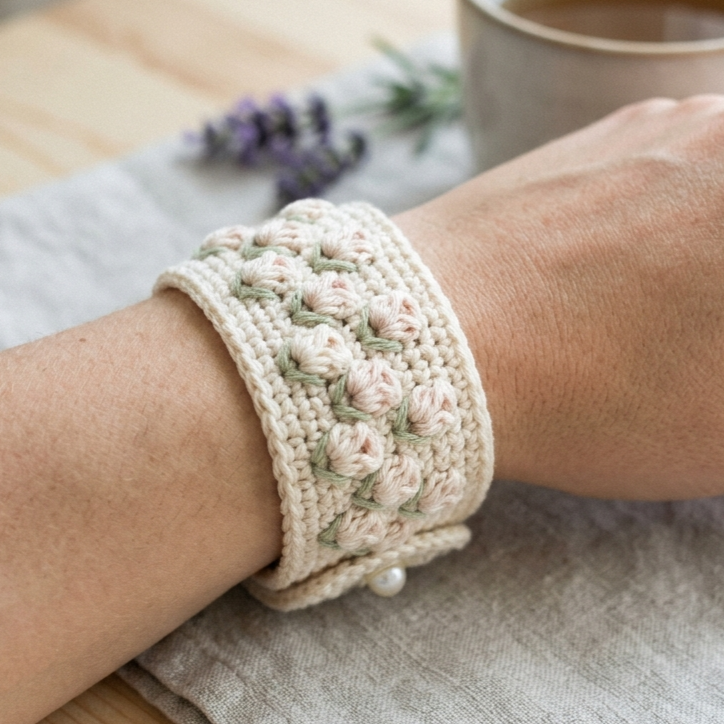
The tulip stitch makes an elegant repeating petal pattern — this cuff feels like wearing a tiny garden.
Skill level: Intermediate (tulip stitch clusters + shaping)
Finished size: cuff 1–1.5 in width for single repeat across; length adjustable to wrist circumference minus overlap. For wider cuffs repeat motif rows to reach desired width.
Materials
- Fingering or sport cotton or cotton-blend, 20–35 yds.
- Hook 3.0 mm (adjust to keep tulips neat).
- Small snap or button, tapestry needle.
Stitch concept — tulip cluster
Tulip stitch is commonly a cluster of trebles/dcs that create a pointed petal. The cuff uses staggered tulip clusters that interlock into a band.
Sample tulip cluster (one petal)
- A tulip may be made by working 3 tr in same space, then anchoring with a sc in the next row; variations exist — below is a compact approach using dc clusters for manageable height.
Pattern — cuff (make rectangle then finish)
- Foundation: chain multiple of 6 + 3 to fit width repeat. Example chain for narrow cuff ch 21.
- Row 1 (base): sc across. Turn.
- Row 2 (tulip row A): ch3 (counts as dc), sk 2, in next st work cluster: (dc3tog?) or (dc, ch1, dc) in same st to form a petal base, sk 2, dc — repeat across. Turn.
Practical cluster for clarity:
- Make petal base = in one stitch work (sc, hdc, dc, hdc, sc) — a short raised petal.
- Row 3 (anchor): ch1, sc across into petal bases to anchor them. Turn.
- Row 4 (offset tulips): offset petal bases so that in the next row petals sit between previous petals to create tulip garden effect. Repeat Rows 2–3 until cuff reaches width desired (1–1.5″ or wider).
- Buttonhole & closure: create a small loop at one short end (ch6, join) or leave a gap in seaming for a small snap. Sew a small button on opposite end.
- Finish: sc round for neatness and block lightly.
Finishing tips
- For clean edges, work sc in BLO or work a picot edge if you like tiny points.
- If cuff stretches, sew a narrow cotton tape inside to stabilize.
Variations
- Work tulips in two shades for ombré petals.
- Add tiny beads as dew drops by sewing them between petals.
Care
- Hand wash cotton cuffs, reshape while damp.
Conclusion
These five crochet bracelet patterns give you small, satisfying projects that span styles — from delicate knit-look lines and tiny sunflowers to lacey floral cuffs and tulip stitch elegance. A few final, practical pointers to help you deliver beautiful finished pieces to your blog readers:
- Always measure the wrist. People’s wrists vary widely — measure the actual recipient or include clear sizing instructions (XS/S/M/L). For comfort, aim for 0–0.5 in positive ease for snug bracelets, and 0.5–1 in for slightly looser. Cuffs with thicker fabric may need extra ease.
- Test gauge on a small swatch — especially for narrow bands where a tiny change in hook changes circumference a lot.
- Closures matter. For delicate bracelets, small buttons and ch-loops are elegant; lobster clasps give a polished, adjustable finish for giftware. Reinforce attachment points carefully.
- Secure embellishments. Sew beads, buttons and appliqués through multiple layers and hide knots inside fabric. Consider a small backing felt circle under appliqués to distribute stress.
- Finishing = professional look. Weave tails neatly, trim ends, and block pieces where appropriate. Add a simple gift tag with fiber content and care instructions for sale or gifting.
- Gift set idea. Make a trio: a line knit heart band, a sunflower band, and a tulip cuff for a lovely mixed set