When the weather turns chilly, a crochet cowl becomes one of the most useful and satisfying accessories to make. It is warm, wearable, quick to finish, and easy to customize with color, stitch texture, and fit. Unlike a long scarf, a cowl slips on easily and stays in place, which makes it a great everyday winter piece for adults and teens alike.
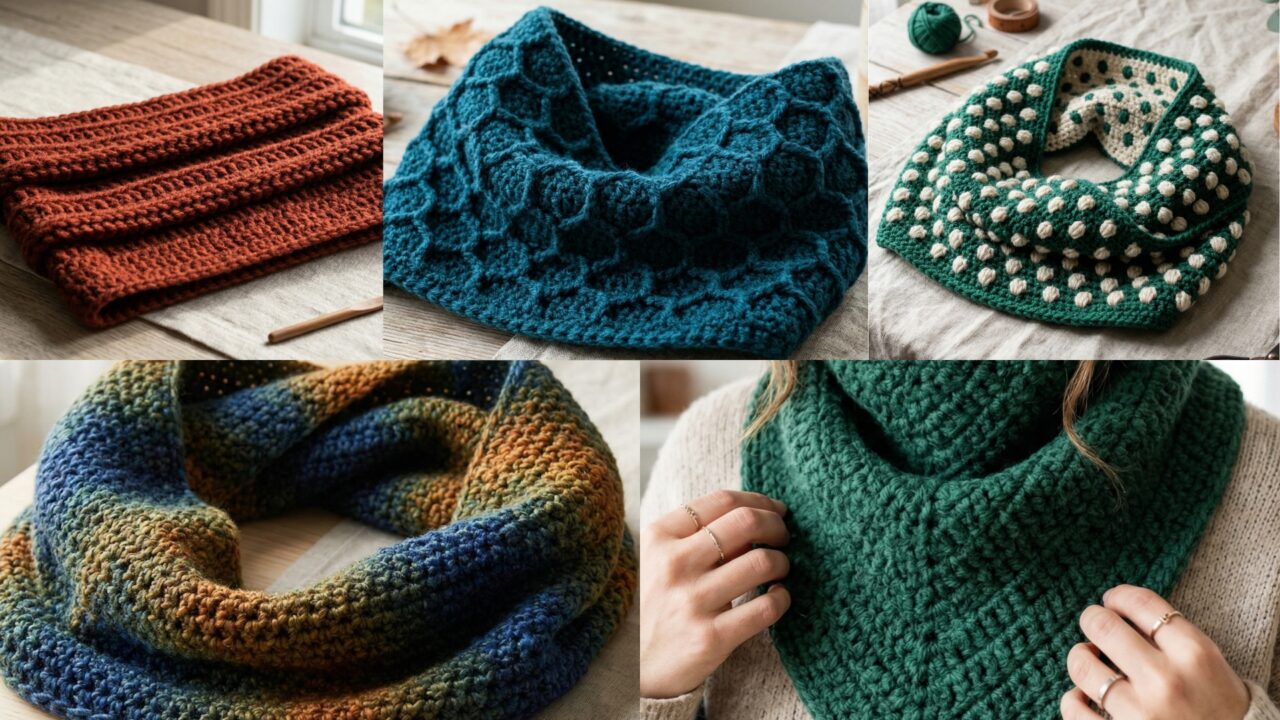
The five cowl patterns below are designed to be stylish, cozy, and practical. You will find a mix of texture and shape: a double-sided dotty cowl, a rich honeycomb cowl, a quick trifold one-hour cowl, a simple one-skein cowl, and a modern bandana cowl. Each section includes materials, skill level, finished size guidance, and a detailed step-by-step guide so the project feels easy to follow from start to finish.
A few quick notes before you begin:
Use soft yarn that feels comfortable around the neck, such as acrylic, wool blends, alpaca blends, or chunky cotton-wool blends. For winter wear, a yarn with warmth and bounce works especially well. A slightly smaller hook than the yarn label suggests usually gives a denser, cozier fabric. If you want a looser drape, size up the hook instead.
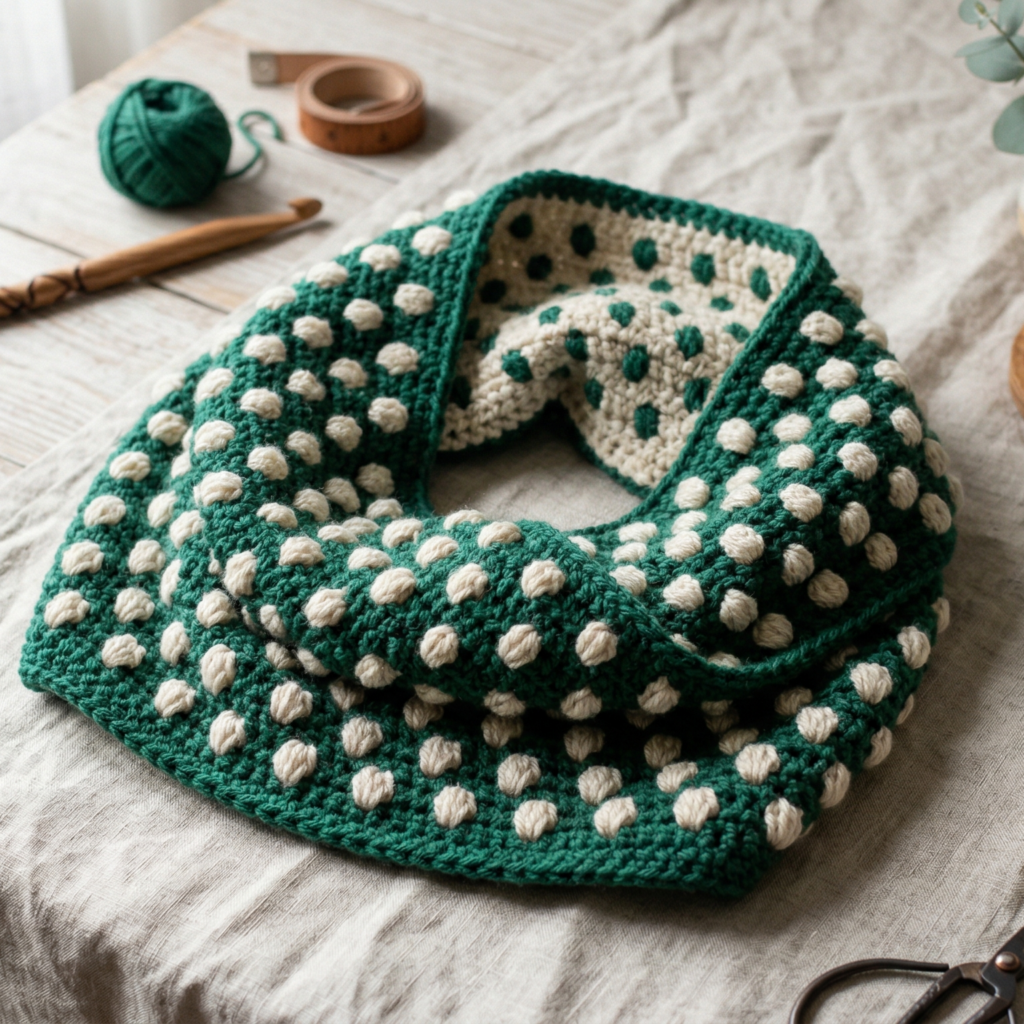
1. Crochet Double Sided Dotty Cowl Pattern
Skill level: Beginner to intermediate
Style: Textured, reversible, cozy
Finished size: approximately 8 to 10 inches tall and 24 to 28 inches around, depending on yarn and tension
This cowl has a fun dotted texture on both sides, so it looks good no matter how it folds. It is warm without being too bulky, and it works beautifully in solid colors or two-tone yarn combinations.
Materials
- Medium or worsted weight yarn
- Crochet hook, usually 4.5 mm to 5.5 mm
- Tapestry needle
- Scissors
- Stitch marker
Step-by-step guide
Step 1: Make the foundation chain
- Measure around the neck where you want the cowl to sit.
- Chain enough stitches to match that measurement.
- Keep the chain loose enough so it is comfortable, but not overly stretchy.
- Join the chain carefully without twisting it.
Step 2: Start the first row
- Work a round of single crochet or half double crochet across the chain.
- This creates a firm base for the dotted texture.
- Join the round neatly and place a stitch marker if helpful.
Step 3: Create the dotty texture
- Use a puff stitch, bobble stitch, or front-post stitch to form the dots.
- Work the dots evenly across the round.
- In the next round, offset the dots so they appear in a staggered pattern.
- Continue alternating plain and textured rounds until the cowl reaches the height you want.
Step 4: Make it double sided
- Keep the texture balanced so both sides look attractive.
- Use the same stitch pattern on both sides if you want a fully reversible effect.
- If you are using two colors, alternate them in a way that makes the dots stand out clearly.
Step 5: Finish the cowl
- Add one final round of single crochet to clean up the top edge.
- Fasten off and weave in all ends.
- Fold the cowl gently to check that the texture sits evenly.
Finishing tips
- Choose a soft yarn so the texture feels cozy against the skin.
- Keep the dots small if you want a more refined look.
- If the cowl feels too snug, add a few extra foundation stitches before joining.
Style ideas
Try cream with camel-colored dots for a neutral winter look, or use deep green with pale gray for something more modern.
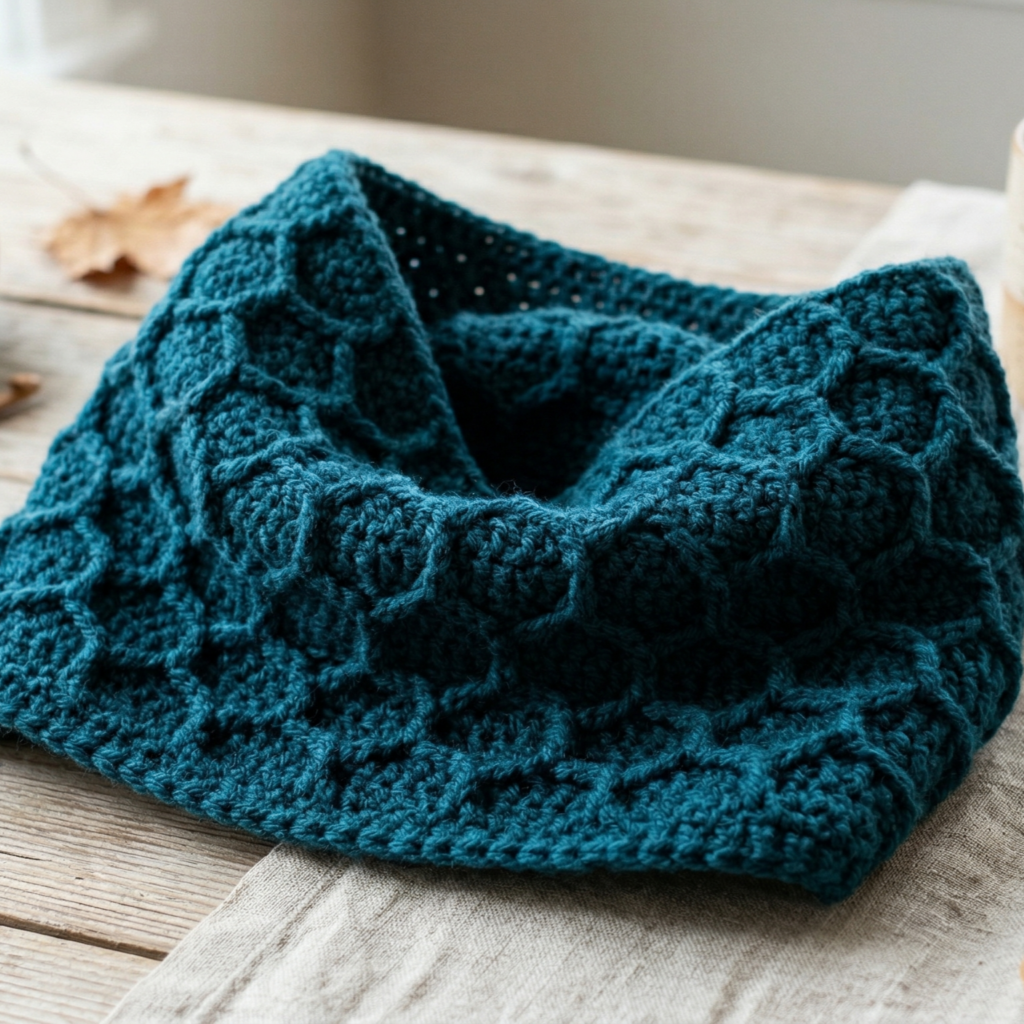
2. Crochet Honeycomb Cowl Pattern
Skill level: Intermediate
Style: Warm, structured, rich texture
Finished size: about 9 inches tall and 24 to 30 inches around
The honeycomb stitch gives this cowl a bold, sculpted look that feels especially perfect for cold weather. It has a lovely woven appearance and makes an excellent gift.
Materials
- Chunky or worsted weight yarn
- Crochet hook, usually 5.0 mm to 6.5 mm
- Tapestry needle
- Scissors
Step-by-step guide
Step 1: Chain the base
- Measure the neck circumference and add a little ease.
- Chain a number that works with the honeycomb stitch repeat.
- Make sure the chain is even and not too tight.
- Join in the round carefully.
Step 2: Begin the base row
- Work a row of single crochet or half double crochet.
- This gives you a clean start for the honeycomb structure.
- Keep the stitches even and firm.
Step 3: Work the honeycomb texture
- Use front-post and back-post stitches to build the honeycomb shape.
- Alternate the post stitches in a repeating pattern.
- Each round should support the next so the texture stands out.
- Continue until the pattern is clearly visible.
Step 4: Keep the shape even
- Check the cowl after every few rounds.
- Make sure the texture is not pulling too tightly.
- If it feels stiff, switch to a slightly larger hook.
Step 5: Finish the cowl
- End with a clean round of single crochet.
- Fasten off and weave in all loose ends.
- Fold or stretch the cowl slightly to open the stitch pattern.
Finishing tips
- Honeycomb stitch looks best in solid or semi-solid yarn.
- Chunky yarn makes the texture extra cozy.
- If you want a more delicate cowl, use a lighter yarn with the same stitch idea.
Style ideas
Dark teal, mustard, and charcoal all work beautifully for a strong winter accessory.
3. Crochet Trifold 1-Hour Cowl Pattern
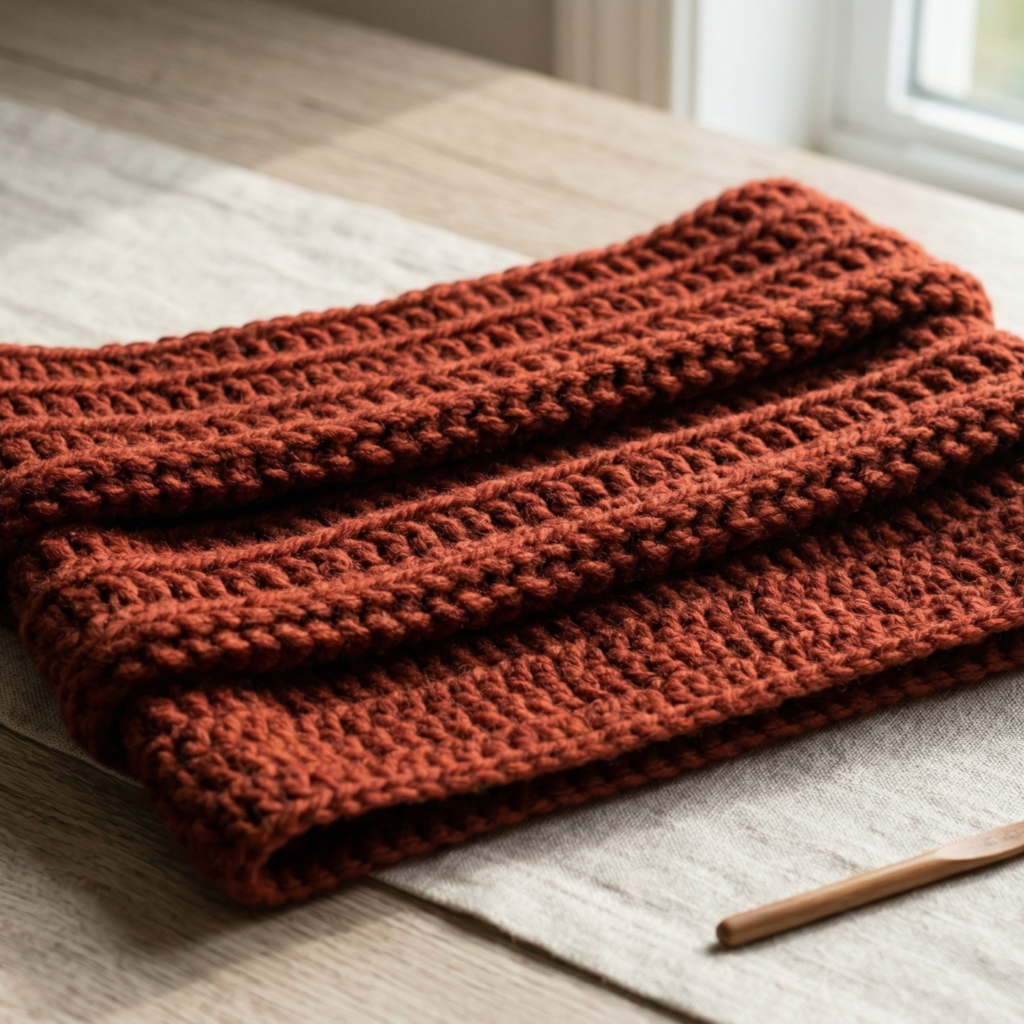
Skill level: Beginner
Style: Quick, modern, layered
Finished size: adjustable, usually around 8 to 10 inches tall when folded
This is a fast project that can be made in about an hour, depending on your speed. It is worked as a long rectangle and then folded into a trifold shape, which gives it a layered, stylish look.
Materials
- Bulky yarn or super bulky yarn
- Crochet hook, usually 7.0 mm to 9.0 mm
- Tapestry needle
- Scissors
Step-by-step guide
Step 1: Make the rectangle
- Chain the length you want around the neck.
- Work rows of single crochet, half double crochet, or double crochet.
- Continue until the rectangle is tall enough to fold into three sections.
Step 2: Add texture if desired
- You can keep the rectangle plain for speed.
- If you want texture, use alternating rows of front-loop-only and back-loop-only stitches.
- This creates a soft ribbed effect.
Step 3: Fold the cowl
- Lay the rectangle flat.
- Fold it into three sections lengthwise.
- The folded layers create a thick, cozy look around the neck.
Step 4: Join the ends
- Sew the short ends together to make a loop.
- Use a tapestry needle and matching yarn.
- Keep the seam neat and secure.
Step 5: Finish the edges
- Add a row of single crochet around the top and bottom if needed.
- Fasten off and weave in ends.
- Adjust the folds until the cowl sits comfortably.
Finishing tips
- This is a great last-minute gift.
- Bulky yarn gives the fastest result.
- Make the rectangle slightly wider if you want a more dramatic folded look.
Style ideas
Use soft neutrals for everyday wear or a bold color for a statement winter accessory.
4. Crochet One Skein Cowl Pattern
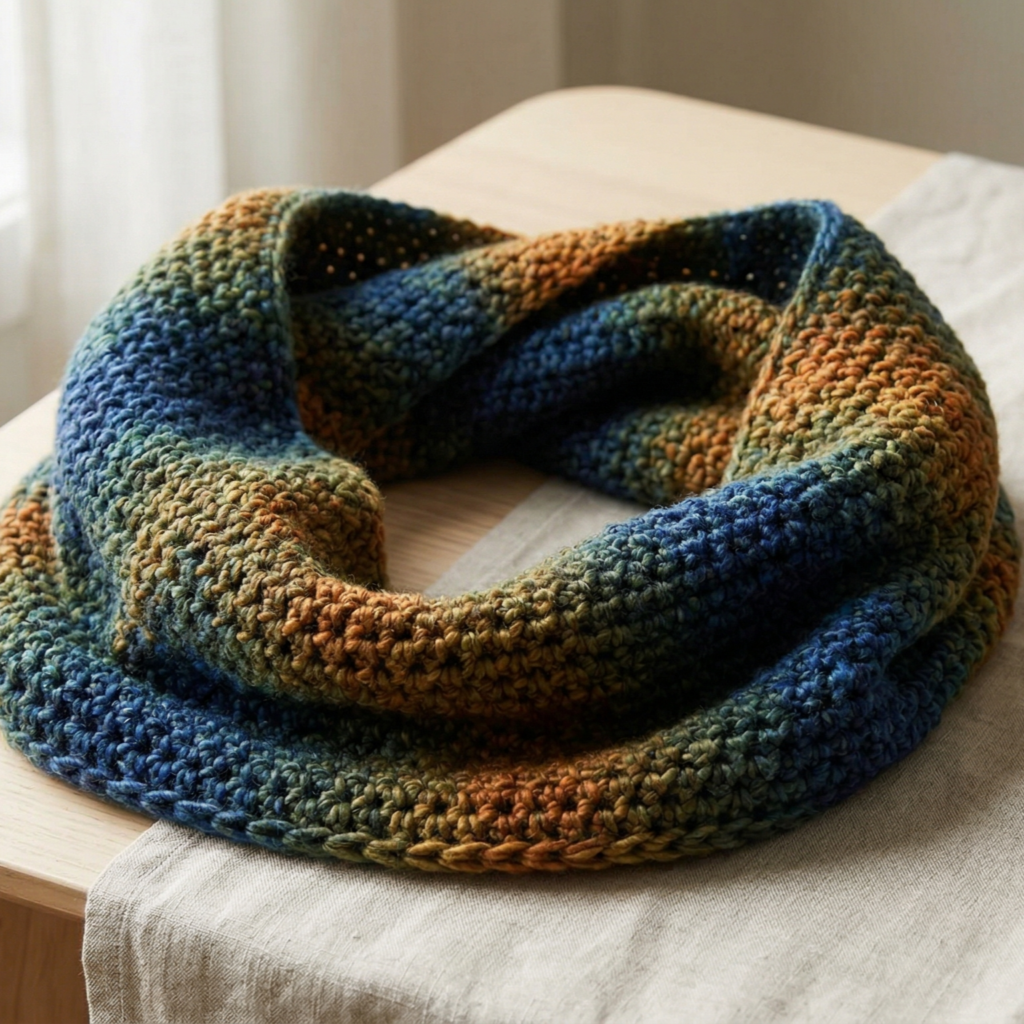
Skill level: Beginner
Style: Easy, practical, stash-friendly
Finished size: about 8 to 9 inches tall and about 25 to 30 inches around, depending on yarn
A one-skein cowl is perfect when you want a project that is simple, satisfying, and budget-friendly. It is also a great way to use up a beautiful skein you have been saving.
Materials
- One skein of worsted or bulky yarn
- Crochet hook, usually 5.0 mm to 6.5 mm
- Tapestry needle
- Scissors
Step-by-step guide
Step 1: Decide the stitch
- Pick a simple stitch pattern such as half double crochet, moss stitch, or shell stitch.
- Choose one that fits the yarn you are using.
- Keep the stitch repeat easy to follow.
Step 2: Make the foundation
- Chain enough stitches to fit loosely around the neck.
- Join to form a ring.
- Be careful not to twist the chain.
Step 3: Work the body
- Continue crocheting in the chosen stitch pattern.
- Repeat until you are close to finishing the skein.
- Check the height often so you do not run out too early.
Step 4: Shape the final rounds
- End with a neat round of single crochet or half double crochet.
- This helps the top edge stay smooth.
- Fasten off and weave in the end carefully.
Step 5: Block or shape
- Lay the cowl flat and smooth the stitches gently.
- Adjust the loop so it sits comfortably.
- If needed, add a small decorative border.
Finishing tips
- A variegated skein can create a beautiful color shift with very little effort.
- Moss stitch makes the cowl look polished and modern.
- A slightly larger cowl feels extra cozy when wrapped twice.
Style ideas
One-skein cowls look lovely in hand-dyed yarns, ombre shades, or soft winter neutrals.
5. Crochet Bandana Cowl Pattern
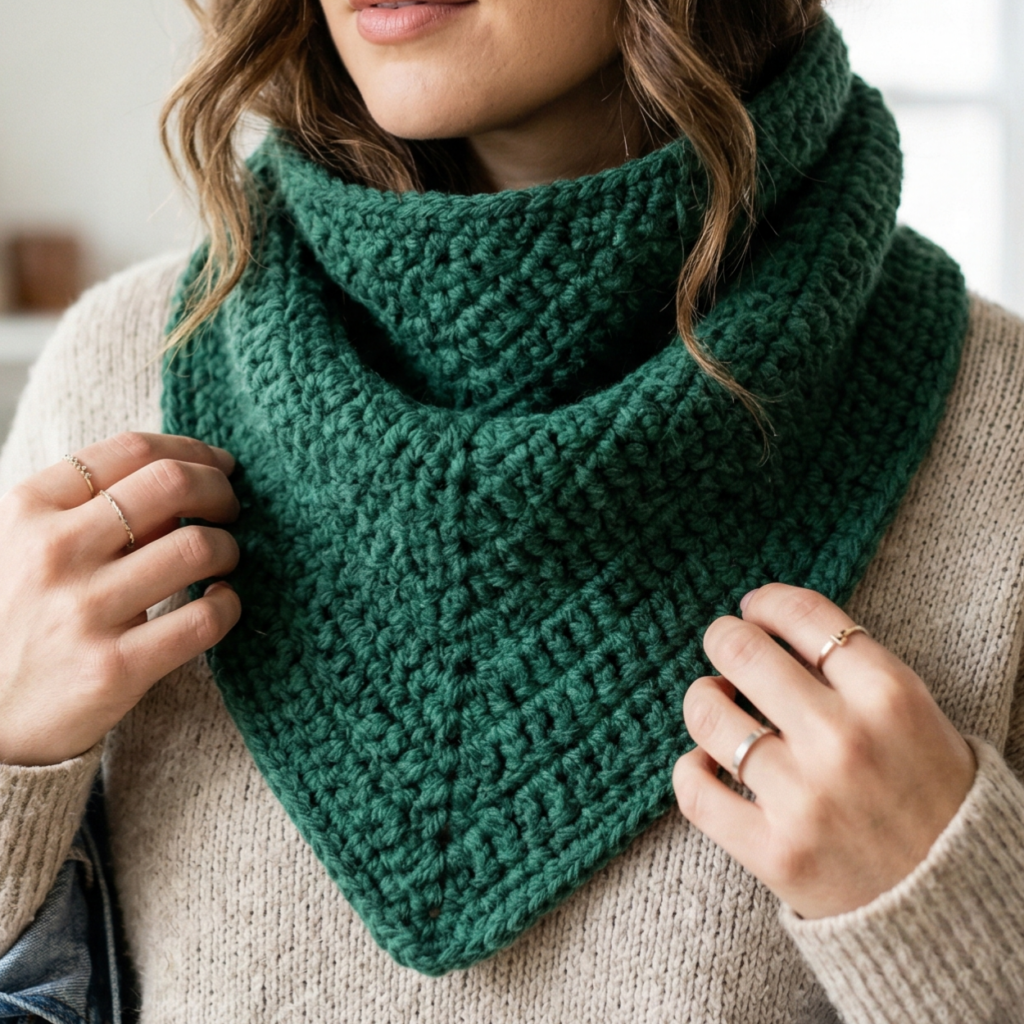
Skill level: Beginner to intermediate
Style: Fashion-forward, practical, cozy
Finished size: adjustable based on neck and shoulder width
The bandana cowl combines the warmth of a cowl with the stylish triangle shape of a bandana. It sits nicely around the neck and shoulders, making it perfect for layering under jackets or sweaters.
Materials
- Medium or bulky yarn
- Crochet hook, usually 5.0 mm to 6.5 mm
- Tapestry needle
- Scissors
Step-by-step guide
Step 1: Start the triangle top
- Begin with a small foundation chain or magic ring.
- Work increases on each side of the triangle.
- Keep the center point neat and balanced.
Step 2: Build the triangle
- Continue increasing at the edges of the triangle.
- Work rows or rounds depending on the shape you prefer.
- Repeat until the triangle is large enough to cover the front of the neck and upper chest.
Step 3: Add the cowl section
- Once the triangle is the right size, continue working straight rows or short rounds around the neck area.
- This creates the wrapped cowl portion.
- Keep the fabric soft but secure.
Step 4: Shape the neck opening
- Measure the opening so it sits comfortably.
- Make sure it is not too tight around the neck.
- Add a few rows if you need more coverage.
Step 5: Finish the edges
- Work a border of single crochet around the triangle and neckline.
- This helps the bandana shape stand out.
- Fasten off and weave in ends.
Finishing tips
- The bandana shape looks especially good in textured yarn.
- Use a neutral color for everyday wear or a deep jewel tone for a bolder accessory.
- Make the point of the triangle extra neat for the best drape.
Style ideas
This cowl looks great with coats, sweaters, and simple tees layered under jackets.
Conclusion
Crochet cowls are one of the most useful cold-weather projects because they are fast, stylish, and easy to personalize. Whether you want the playful texture of a dotty cowl, the rich look of honeycomb stitches, the quick comfort of a trifold one-hour design, the simplicity of a one-skein project, or the modern style of a bandana cowl, there is a pattern here that can fit your mood and your yarn stash.
These cowls are also excellent gift ideas because they feel thoughtful and handmade without requiring a huge amount of time. A soft yarn, a comfortable fit, and a neat finish are all it takes to turn a simple project into a favorite winter accessory. Once you make one, it is easy to experiment with color, texture, and size to create a whole collection.