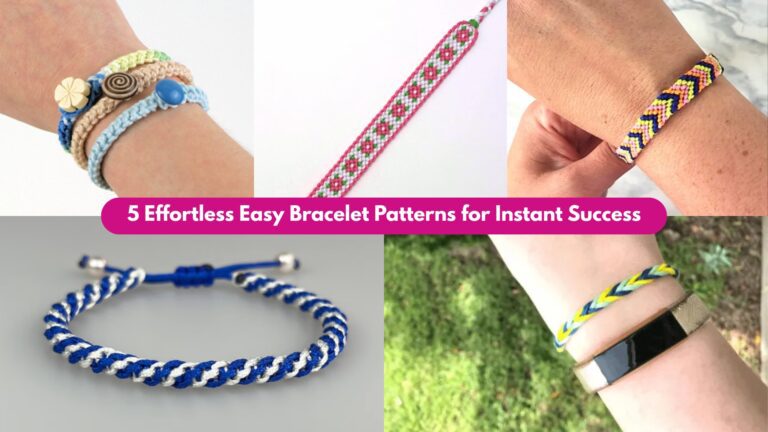
Small, fast, and ridiculously satisfying—crochet bracelets are the perfect project when you want a handmade accessory that looks polished but doesn’t eat your evening. Below you’ll find five complete bracelet patterns (materials, skill level, exact step-by-step instructions, sizing notes, finishing and styling tips). Each design is written so you can make it quickly — most take 20–50 minutes depending on skill and embellishing — and they’re easy to scale or customize.
Quick notes & abbreviations (read first)
- ch = chain
- sl st = slip stitch
- sc = single crochet
- hdc = half double crochet
- dc = double crochet
- tr = treble (UK = treble)
- picot = ch 3, sl st in first ch (or ch 2 for smaller picot)
- st(s) = stitch(es)
- rep = repeat
- BLO / FLO = back loop only / front loop only
- … = repeat section between asterisks
Tools & yarn guidance common to all patterns:
- Use cotton DK / fingering / crochet thread for bracelets — cotton gives structure and keeps detail sharp. For chunky cuffs use bulky yarn and a larger hook (instructions note alternate sizes).
- Typical final circumference targets: 6.5–7.5 in (16.5–19 cm) for women’s wrists, 7.5–8.5 in (19–21.5 cm) for men’s — measure the wearer and subtract ~0.25–0.5 in for a snug fit (no gap).
- Recommended hooks: 2.0–4.0 mm depending on yarn weight. Adjust hook to get a firm fabric.
- Fastening: small buttons, lobster clasps, snaps, or tie loops — all covered below.
- You can line cuffs with thin felt for comfort and to hide stitches/ends.
1. Crochet Bohemian Cuff Bracelet Pattern
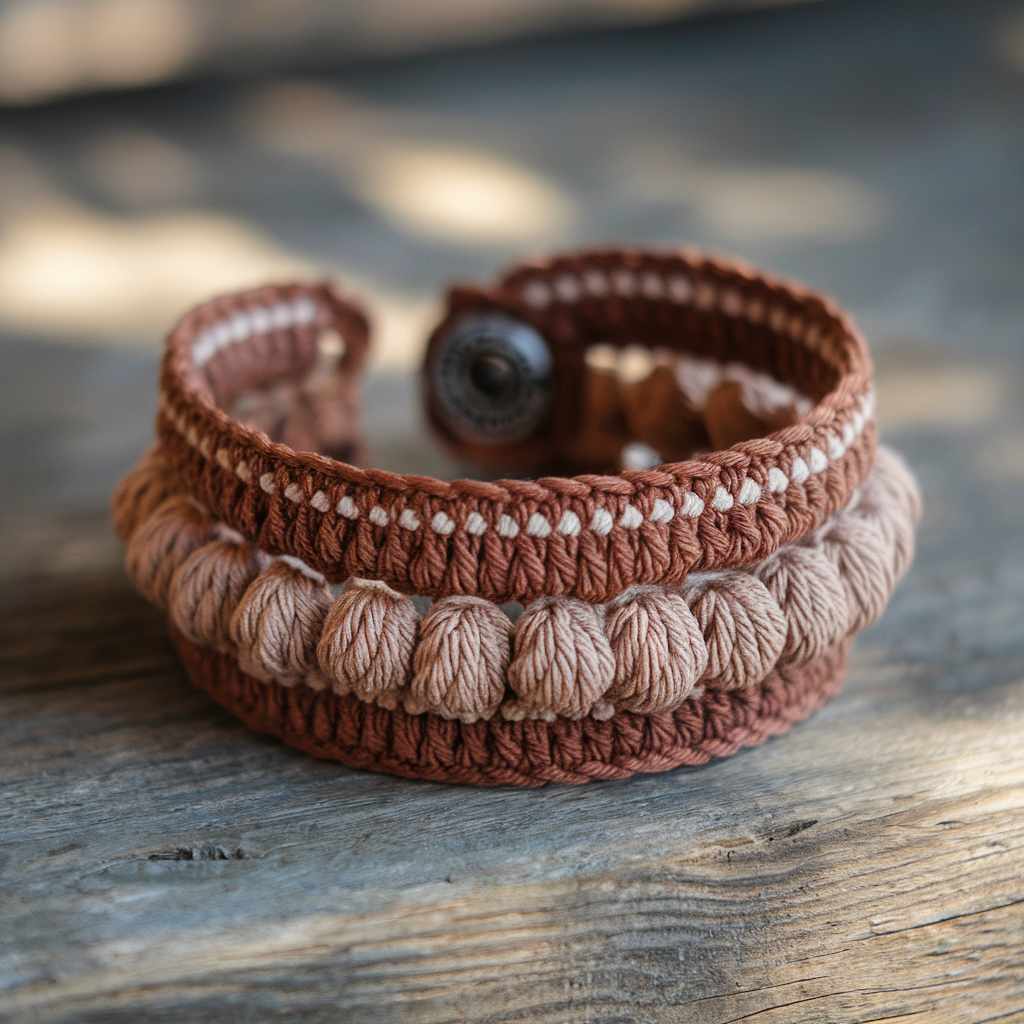
Textured, layered, great with beads and charms — a statement cuff with two simple textured rows that read complex.
Skill level: Easy → Intermediate
Finished size: ~7″ circumference × 1.5″ wide (adjustable)
Materials:
- Cotton DK (or worsted held double for thicker cuff) — ~30–50 yds
- Hook: 3.5 mm for DK; 5.0–6.0 mm if using bulky/held-double
- 1 small button or snap (10–12 mm)
- Optional: 6–8 small seed beads or charms
- Tapestry needle, scissors
Stitch vocabulary used: sc, hdc, puff stitch (3-loop puff)
Gauge (example): 16 sc × 10 rows = 2″ (adjust hook to get firm fabric)
Pattern — step-by-step
Base band (worked flat)
- Measure wrist circumference desired (example: 7″). Foundation ch = length to reach that measurement in sc. For sample: ch 48 (check gauge and adjust). Do not join; work flat rows.
- Row 1: sc in 2nd ch from hook and across. Turn.
- Row 2: ch 2 (counts as hdc), hdc in next st across. Turn.
- Rows 3–6: Repeat Row 2 (or until band reaches ~1.25″ wide). For wider cuff repeat more rows — aim for final width ~1.25–1.75″. Fasten off with long tail.
Decorative boho row (puffed texture)
5. Rejoin at one short edge if you want the texture centered — otherwise continue from the top row’s right side. Attach yarn and work one decorative row across: ch 1, puff stitch in next st (yo, insert, pull loop — repeat 3 times, yo and pull through all loops, ch1 to secure), sc in next st — repeat across alternating puff and sc. This creates raised boho bumps. Fasten off.
Bead/Charm placement (optional)
6. Use tapestry needle and cotton thread to stitch seed beads along the puff row, or attach small charms between puff clusters.
Assembly & closure
7. Fold band so short edges meet. Sew short edges together using mattress stitch for neat join, leaving one edge open if you want a slit closure — but for a cuff with button: at one end create a small loop: ch 6, sl st to base to form loop, fasten off and weave in tail. Sew a button to the opposite short end matching the loop position. Alternatively, attach snap hardware.
Finishing
8. Weave in ends and block lightly. If the fabric is a little soft, glue a thin felt strip to the inside center to stabilize and increase comfort. Trim excess felt.
Styling & notes
- For a more layered look make two or three thin cuffs with complementary colors and stack them.
- Use a wooden or antique metal button for a true bohemian vibe.
- To make it masculine, use earthy colors and a dark metal snap.
2. Crochet Teeny Tiny Flower Bracelet Pattern
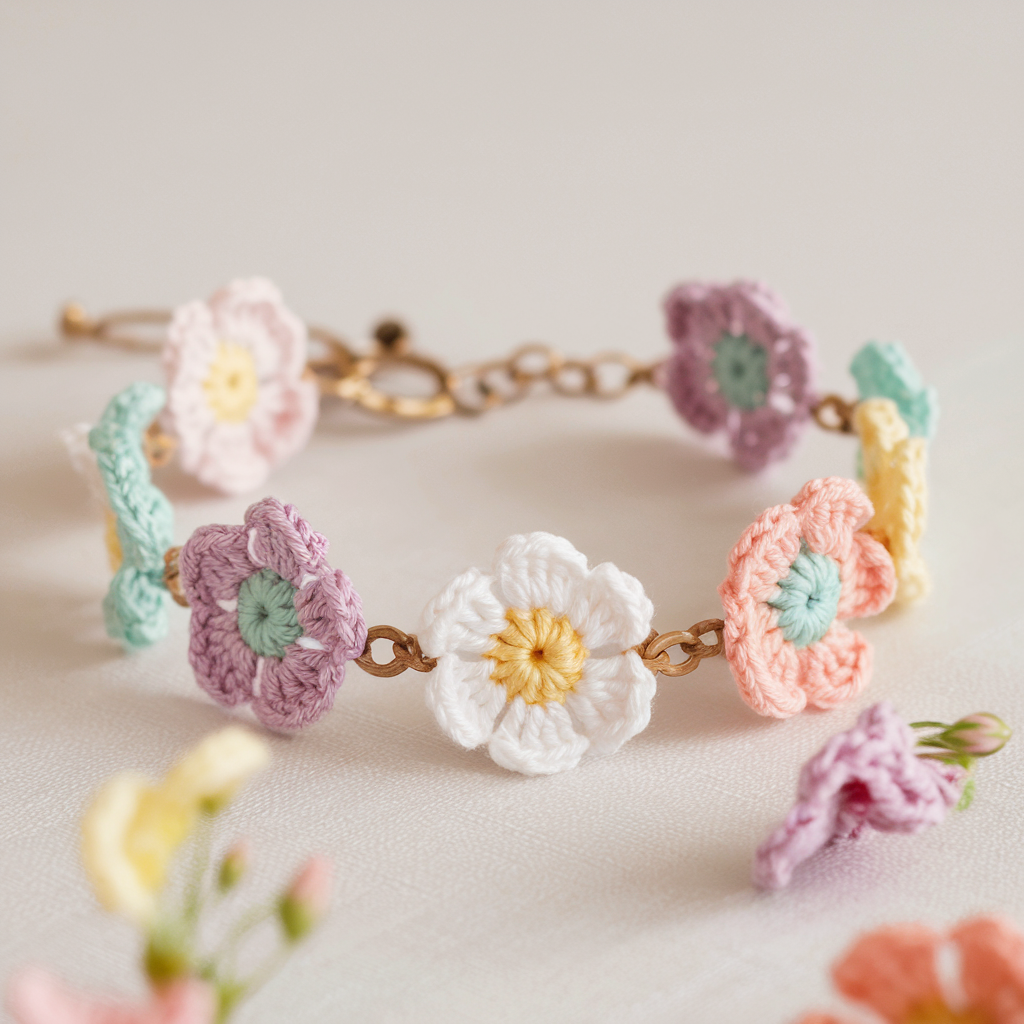
Delicate and sweet—perfect for kids or for stacking. Quick little chain of tiny flowers joined by chain loops.
Skill level: Beginner
Finished size: one flower ≈ 0.75 in, length assembled to wrist size (e.g., 7″)
Materials:
- Crochet thread size 10 or fingering cotton — small quantities in 1–3 colors
- Hook: 1.75–2.5 mm (thread) or 2.5–3.5 mm for fingering
- Small button or lobster clasp (tiny)
- Tapestry needle
Stitch vocabulary: MR, sl st, sc, picot
Pattern — make one tiny flower (repeat for many)
- MR; ch 1, work 6 sc into MR. Pull tight and join with sl st. (6 sc)
- Ch 3, sl st into next sc — repeat around to make 6 chain loops for petals. Join.
- Into each loop make (sc, picot, sc) — i.e., sc, ch 2 sl st into 1st ch for small picot, sc. Repeat for all petals. Fasten off leaving tail for sewing.
Assembly into bracelet
- Make enough flowers to span wrist with small chain gaps between them. Example for 7″ wrist: make 12–14 flowers (spacing depends on flower diameter).
- Use a short chain connector: after sewing each flower in place, ch 3 between flowers and sl st to next flower’s base (or hand-sew them together with yarn). Another option: stitch flowers into a lightweight cotton ribbon to keep them aligned.
- Make a small button loop at one end (ch 5 and sl st base) and sew a tiny button at the other end for closure. For a subtle finish, use a small metal lobster clasp and jump ring.
Variations & tips
- Make the center color pop by using contrast for the central sc before petals.
- Add tiny seed beads in flower centers for sparkle—sew in after assembly.
- Great as a kid’s bracelet or stacked with a plain chain.
3. Crochet Flower Bracelet Pattern
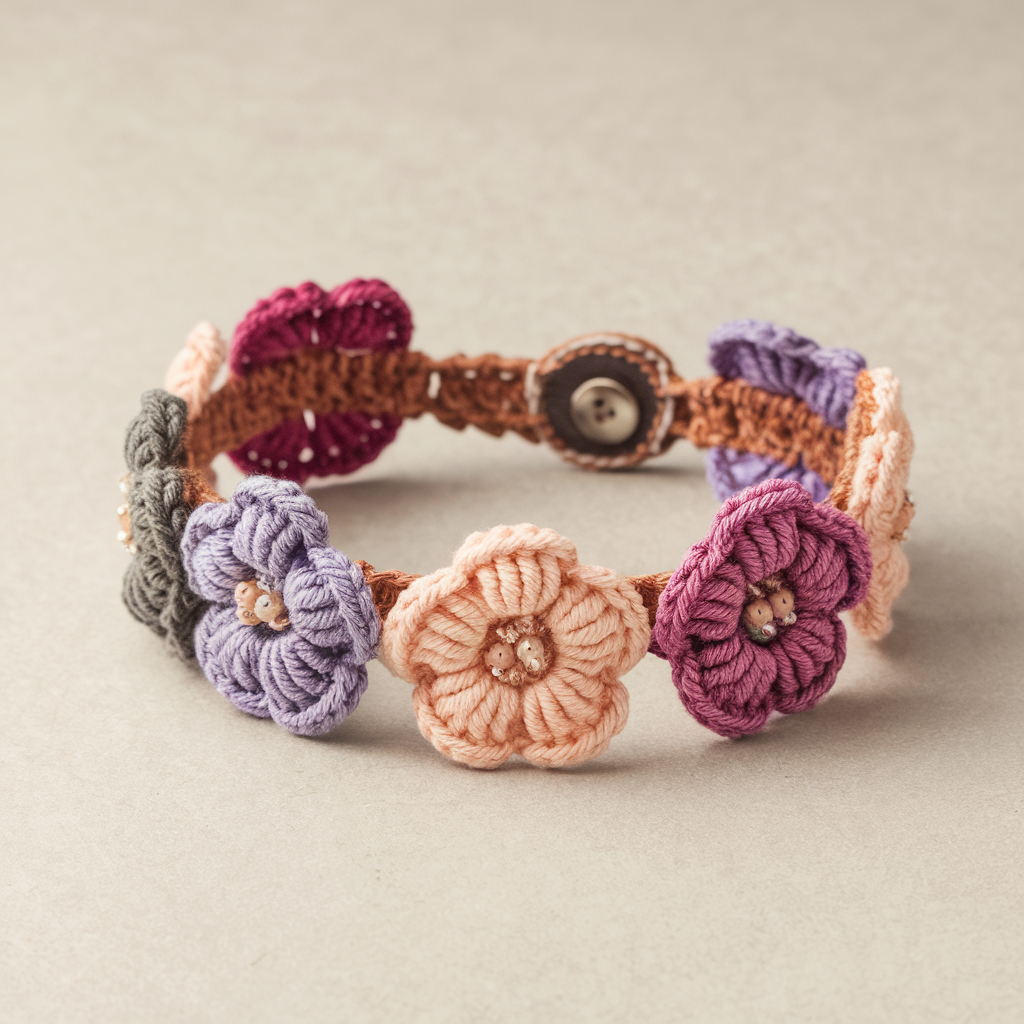
A slightly bolder floral bracelet with larger blossoms and a pretty strap — works as a statement or elegant cuff.
Skill level: Beginner → Intermediate
Finished size: ~7″ circumference × floral width approx 1″ per flower cluster
Materials:
- Fingering or sport cotton (main + contrast colors) — 30–60 yds
- Hook: 3.0–3.5 mm
- 3 small buttons or one longer toggle/button closure
- Tapestry needle, optional small beads for centers
Pattern — Petal motif (one flower)
- MR, ch 1, 6 sc into MR; pull tight and join. (6)
- Ch 5, sl st into next sc repeat 6 times — creates 6 loops. Join.
- Into each loop: (sc, hdc, 3 dc, hdc, sc) — full petal. Join. Fasten off.
Band (straps to join flowers)
- Make a strap by ch to wrist length minus flower widths (measure). For 7″ wrist and 5 floral motifs each 1″ wide, ch length ~2″ less than wrist and then you’ll sew flowers onto strap. Example: ch 30 → sc across for narrow strap: Row 1 sc in 2nd ch and across; Row 2 ch 1, sc across; repeat 4–6 rows for a firm strap. Fasten off.
Assembly
- Sew flowers evenly along the strap — center them and attach with small stitches through flower base and strap. Reinforce each flower with several passes.
- Add bead centers if desired (sew glass seed bead into center).
- Attach a small button at one end and create a button loop at the other end (ch 6 and sl st back into strap) or use a clasp.
Finishing touches
- For a polished look, sew a slim strip of felt to the underside of the strap before gluing or sewing to hide tails and increase comfort.
- Make a cuff version by making two parallel straps and sewing them together with flowers across both for wider statement piece.
4. Crochet Buttoned Cuff Bracelet Pattern

A classic cuff with a tidy texture and a secure button closure. Works well for men and women depending on yarn and button choice.
Skill level: Beginner
Finished size: ~7″ circumference × 1″–1.25″ wide (adjust)
Materials:
- Cotton DK or sport weight — 40 yds
- Hook: 3.5 mm
- 1 medium button (12–16 mm)
- Tapestry needle
Stitch vocabulary: hdc, BLO for rib effect
Pattern — ribbed cuff
- Measure wrist and chain to that length in multiples of 1 for sc/hdc ratio. Sample: ch 48. Don’t join; work flat.
- Row 1: hdc in 3rd ch from hook and across. Turn.
- Row 2: ch 2, hdc in BLO across (creates horizontal ridges). Turn.
- Repeat Row 2 until band is about 1″–1.25″ wide (or preferred width). Fasten off leaving long tail.
Button loop and fasten
- Decide which short end will have the button. On the opposite short end make a button loop by folding the end slightly: join yarn to the edge and ch 6, sl st into the base to form the loop; repeat 1–2 times to make a sturdy loop. Fasten off and weave ends.
- Sew button securely to the other short end making sure loop catches the button when folded.
Optional decorative edge
- Add a round of sc or reverse single crochet (crab stitch) around the long edges for a neat finished edge.
Tips
- For a masculine look choose darker colors and a matte wooden or metal button.
- For stretchier fit use smaller hooks and tighter tension; for slouchier cuff use larger hook.
5. Crochet Lacey Bracelet Pattern
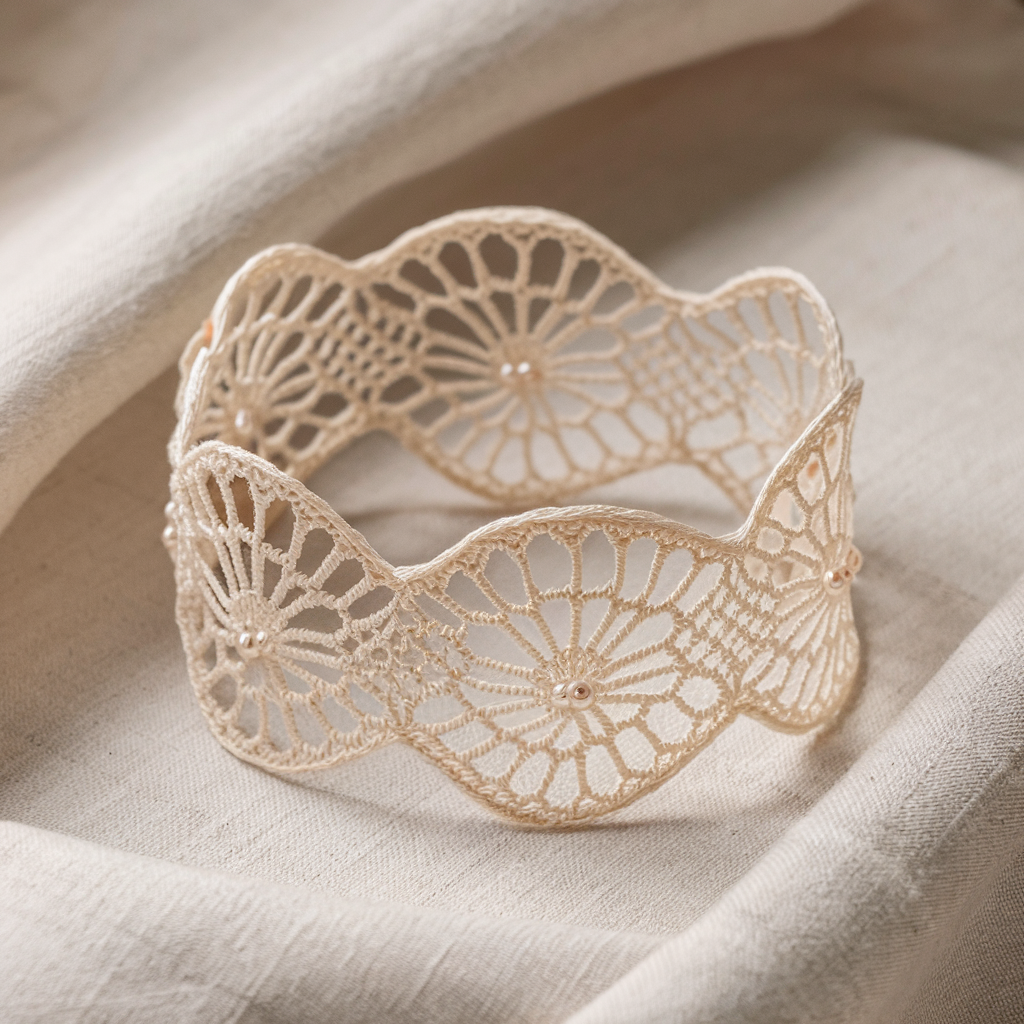
Airy, elegant lace bracelet that’s perfect for evening wear — makes a delicate band with a pearl or button closure.
Skill level: Intermediate (lace stitches and picots)
Finished size: ~7″ circumference × 0.5–1.0″ wide depending on pattern repeats
Materials:
- Sport or fingering yarn (cotton or silky blend) — 30–50 yds
- Hook: 2.5–3.5 mm
- Small pearl/button for clasp
- Tapestry needle
Stitch vocabulary: shell (5 dc in one st), picot ch 3, sc, ch-sp
Pattern — simple lace band (repeat motif)
Foundation chain: Ch 40 (or measure wrist and ensure multiple of pattern repeat, e.g., multiple of 8 + 2 for turn).
Row 1: sc in 2nd ch from hook and across. Turn.
Row 2 (lace row A): ch 5, skip 3 sts, sc in next st repeat across leaving last sc; turn.
Row 3 (lace row B): ch 3 (counts as dc), 5 dc in ch-5 loop (shell), ch 1, sc in next sc repeat across. Turn.
Row 4: ch 1, sc across, placing sc into shell centers as anchor. Turn.
Repeat Rows 2–4 until band reaches desired width (1–1.25″ typical). Finish with one tidy sc row.
Edging & picot
- Work a final round of sc around band. On one short end create a picot loop: ch 5, sl st back into base repeat 2–3 times to create a multi-loop clasp that fits over a pearl/button sewn on the opposite end. Or make a single picot loop sized to fit the pearl. Fasten off.
Finishing & accents
- Sew a small pearl or button on the opposite end. Use a strong anchor thread and stitch through multiple times.
- For sparkle, sew tiny seed beads along the shell centers as you stitch the final row.
Variations & tips
- Make it wider by adding extra repeats of Row 2–4 to create a cuff-like lace band.
- Line with thin felt if you want a firmer piece that holds shape.
Finishing touches, care & styling tips (applies to all bracelets)
- Weave in ends carefully and hide under stitches or inside lined felt. Use a small tapestry needle and duplicate stitch technique to secure tails.
- Lining: for comfort and a clean interior, glue or stitch a thin strip of felt to the inside perimeter of cuffs. This hides knots and increases wear life.
- Closure choices: button loops (easy), snap fasteners (robust), lobster clasps + jump rings (adjustable) — choose by look and wearer need.
- Washing: cotton bracelets can be hand-washed and reshaped flat. Avoid machine drying which can distort shape. For beaded or embellished pieces remove beads if possible or spot clean.
- Gifting & presentation: tie on a tiny swing tag with care instructions and yarn details. Stack several bracelets on a small card for a pretty set.
Troubleshooting & quick fixes
- Bracelet too loose? Re-make with one or two fewer foundation chains, or switch to smaller hook for tighter fabric.
- Bracelet too stiff? Switch to a lighter yarn or larger hook and block for softness.
- Button loop too big? Tighten with additional sl st rounds or reduce chain length in loop.
- Puckering in lace? Block gently, or add lining to smooth.
Conclusion
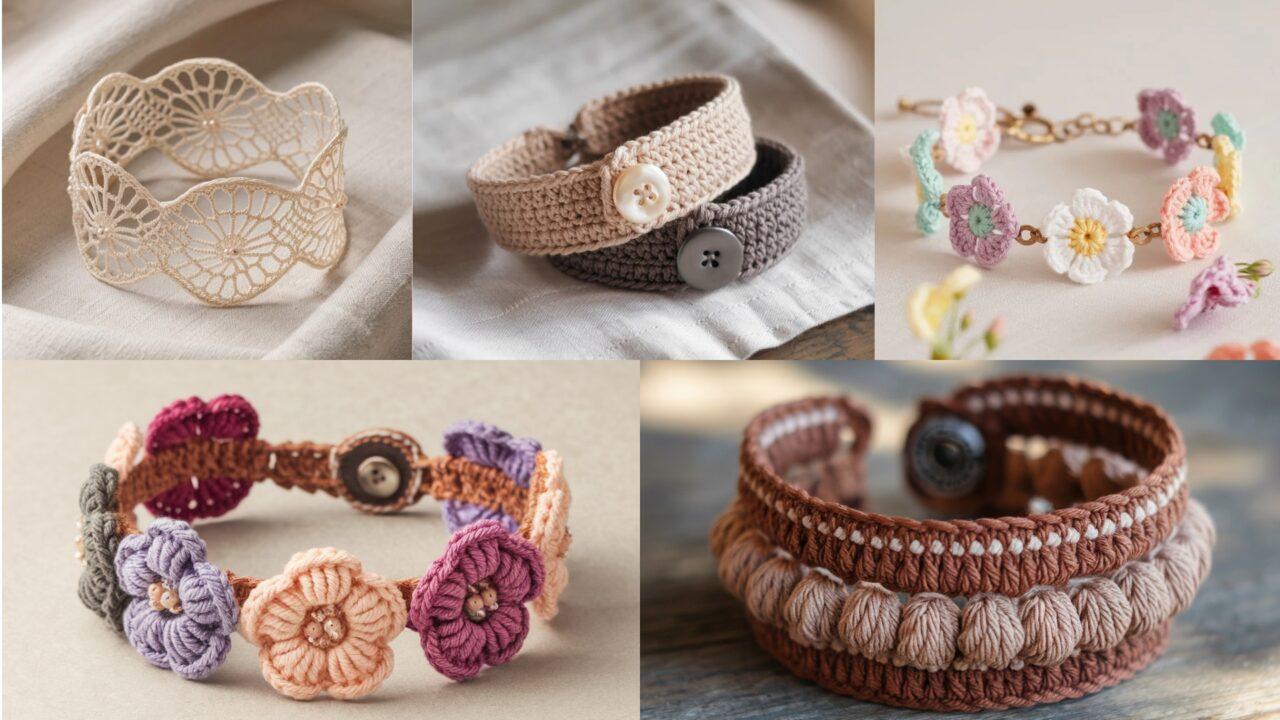
You now have five fast, stylish crochet bracelet patterns to suit every mood — boho cuff for layered looks, tiny flower dainties, elegant floral strap, buttoned everyday cuff, and a lacy evening band. These designs are intentionally easy to customize: swap yarn weights, change colors, add beads, or scale widths to make everything from child-friendly wristwear to grown-up statement cuffs.