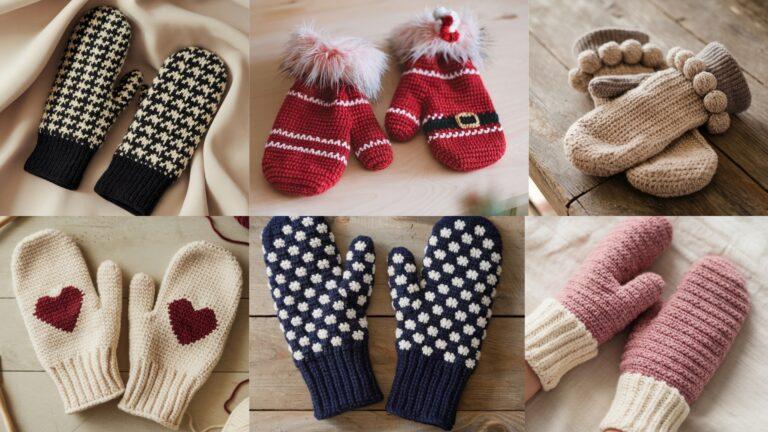
Soft, well-fitting mittens are one of the most practical items you can crochet for a baby: they keep tiny hands warm, protect delicate skin from scratches, and make sweet handmade gifts. Because baby mittens are small and quick, they’re perfect stash-buster projects — and they’re forgiving when you need to scale sizes for newborns or older infants. In this collection you’ll find five distinct mitten designs that prioritize comfort, stretch, and safety: a plush velvet style for warmth, a floral-accent Blooming Berry pair, a playful Pom-Pom version (with safety notes), a Scratch Mitt built specifically to prevent self-scratching, and a classic Ribbed Baby Mitten that grows with the baby.
Each pattern below includes: recommended yarn & hook, skill level, finished size guide (newborn sample + tips to scale to 0–3 and 3–6 months), a clear step-by-step construction, variations, finishing and safety notes, and easy care tips so the mittens stay soft and wearable. Use these as-is for a fast make or adapt stitch counts to your gauge for custom sizing.
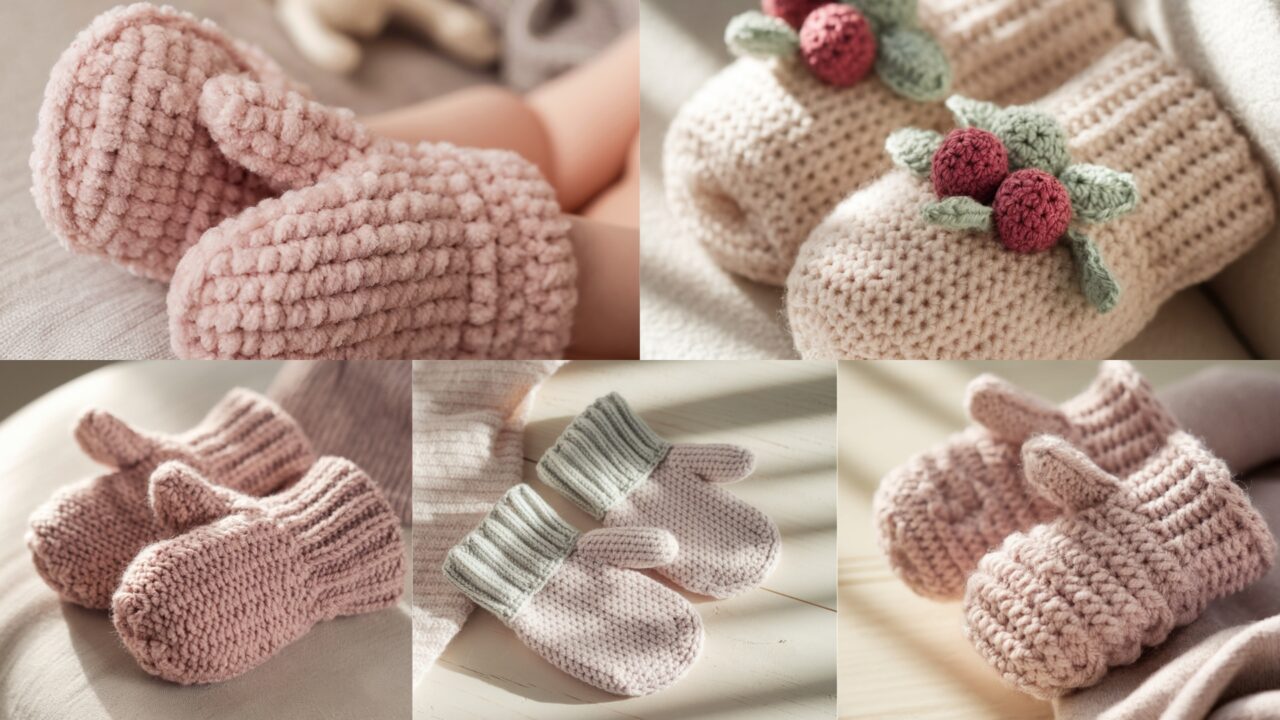
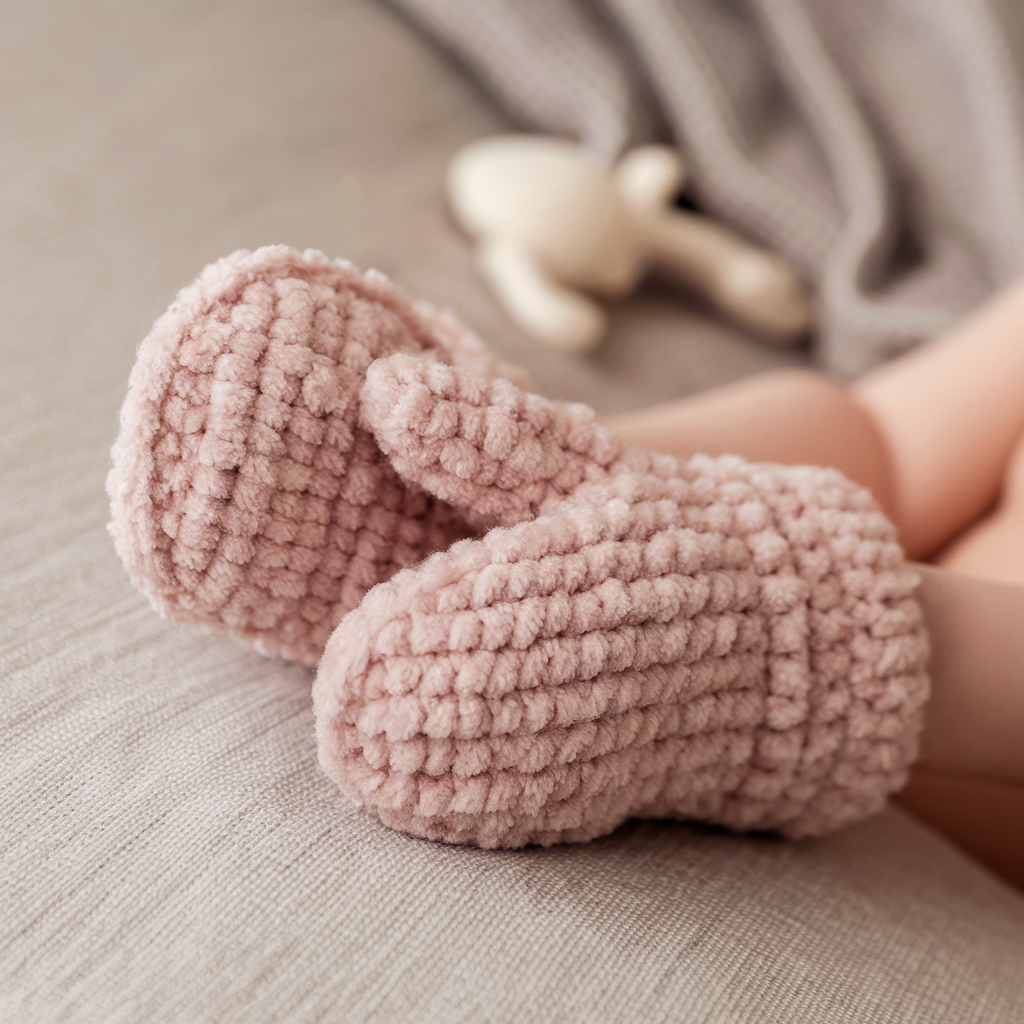
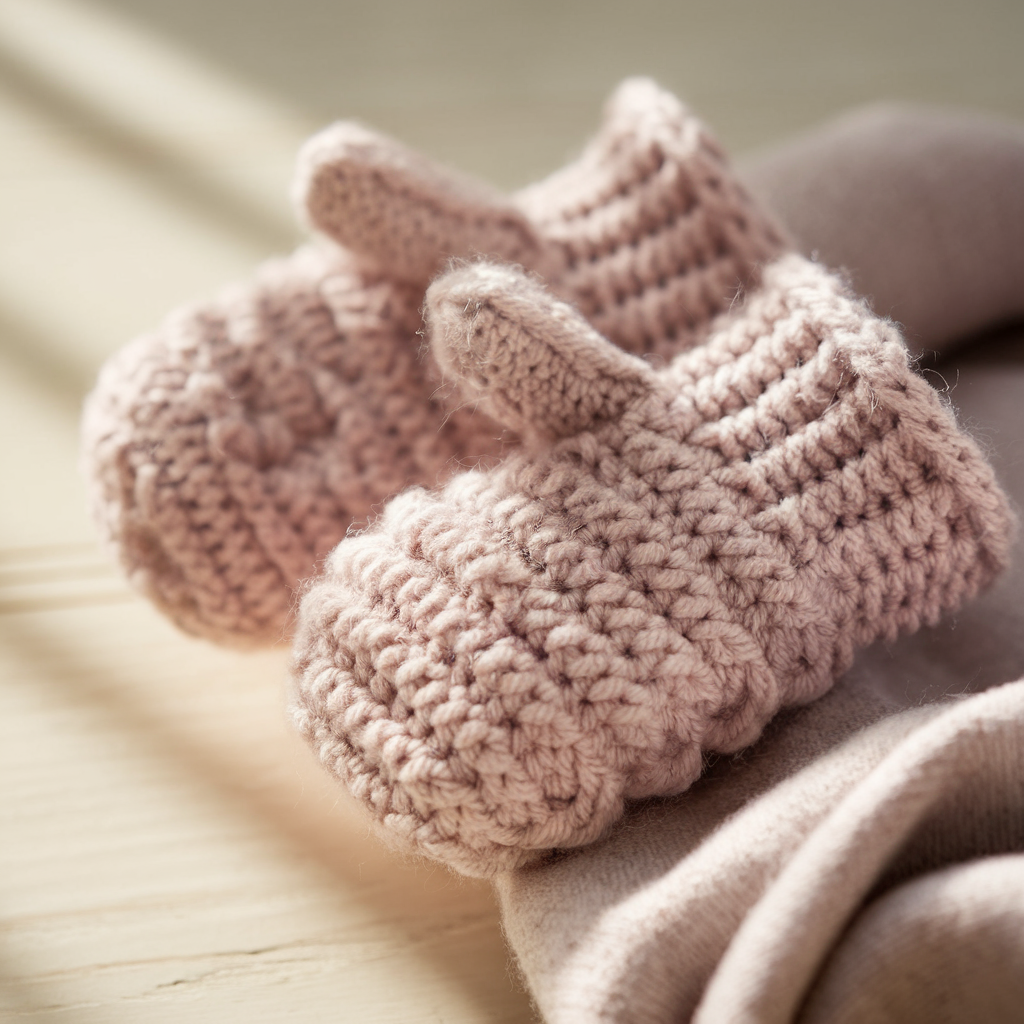
1. Crochet Velvet Baby Mittens Pattern
Skill level: Beginner–Confident beginner
Why it’s lovely: Velvet (chenille) yarn produces an ultra-soft, cuddly mitten that feels like a cloud against baby skin — great for cold weather or photo props. The pattern is intentionally simple so the plush fiber is the star.
Materials
- Velvet/chenille yarn (super-bulky or bulky; e.g., Bernat Blanket/Velvet style) — small amounts (≈ 25–40 g per pair for newborn)
- Crochet hook 5.0–6.5 mm (match yarn label; smaller hook for denser fabric)
- Yarn needle, scissors
- Optional: 30–35 mm soft elastic (if you want a secure wrist)
- Gauge: not critical; aim for a dense fabric to reduce stretch through thumb opening
Finished sizes (approx) — newborn sample
- Newborn (0–3 lb): circumference ~3–3.5 in; length (cuff to top) ~3.5–4 in
- 0–3 months: circumference ~3.5–4 in; length ~4–4.5 in
- 3–6 months: circumference ~4–4.5 in; length ~4.5–5 in
Construction — step-by-step guide (newborn sample)
This mitten is worked flat as a small tube, seamed, then thumb opening is closed and top tapered.
- Make the cuff (band): Ch 18 (adjust to fit elastic/cuff circumference — chain shorter for denser yarn). Join to form loop (avoid twist). R1–R4: sc in each ch around (4 rounds) — cuff height ~1 in. If you want folded cuff, work 6–8 rounds and fold.
- Hand tube: R5: ch1, sc in each st around; R6: sc around. Continue sc rounds until the mitten reaches desired overall length minus 1 in (for shaping top). For newborn with bulky velvet, this will be R5–R9 (total rounds from cuff ~6–8) — check against baby’s hand length.
- Shape top (decreases): R (dec1): sc 3, sc2tog repeat around; R(next): sc 2, sc2tog repeat; R(next): sc1, sc2tog repeat; R(final): sc2tog around until 6 stitches remain. Draw tail through remaining sts and close. (Adjust decrease rounds to match your stitch counts; the aim is a gentle taper.)
- Thumb (optional mini opening): Option A — leave a 4–6 stitch gap at top of cuff before seaming to form thumb opening (for newborns thumbless style usually okay). Option B — make a tiny thumb tube: pick up 6–8 stitches along the side where thumb goes and work 3–4 rounds of sc, then decrease and close. Because chenille stretches, keep thumb opening snug.
- Seam & finish: Fold tube and whipstitch side seam using mattress stitch for a flat join; weave in ends. If using elastic, thread short elastic through cuff and secure ends inside seam.
Variations
- Make the cuff taller and fold for an extra cozy wrist.
- Add a tiny embroidered heart near cuff with contrasting yarn (use careful stitching and secure ends for safety).
- For less bulk, make the same pattern in DK cotton with a 3.5–4.0 mm hook.
Finishing & safety
- Velvet yarn can hide knots — double-check your tails are securely woven in.
- Avoid attaching loose beads or sequins; keep décor sewn flat.
- If you used elastic, stitch the ends well into seam and hide knots inside so nothing irritates baby skin.
Care
- Most chenille/velvet yarns are machine washable on gentle — check label. Wash in a mesh bag and reshape while damp. Air dry flat.
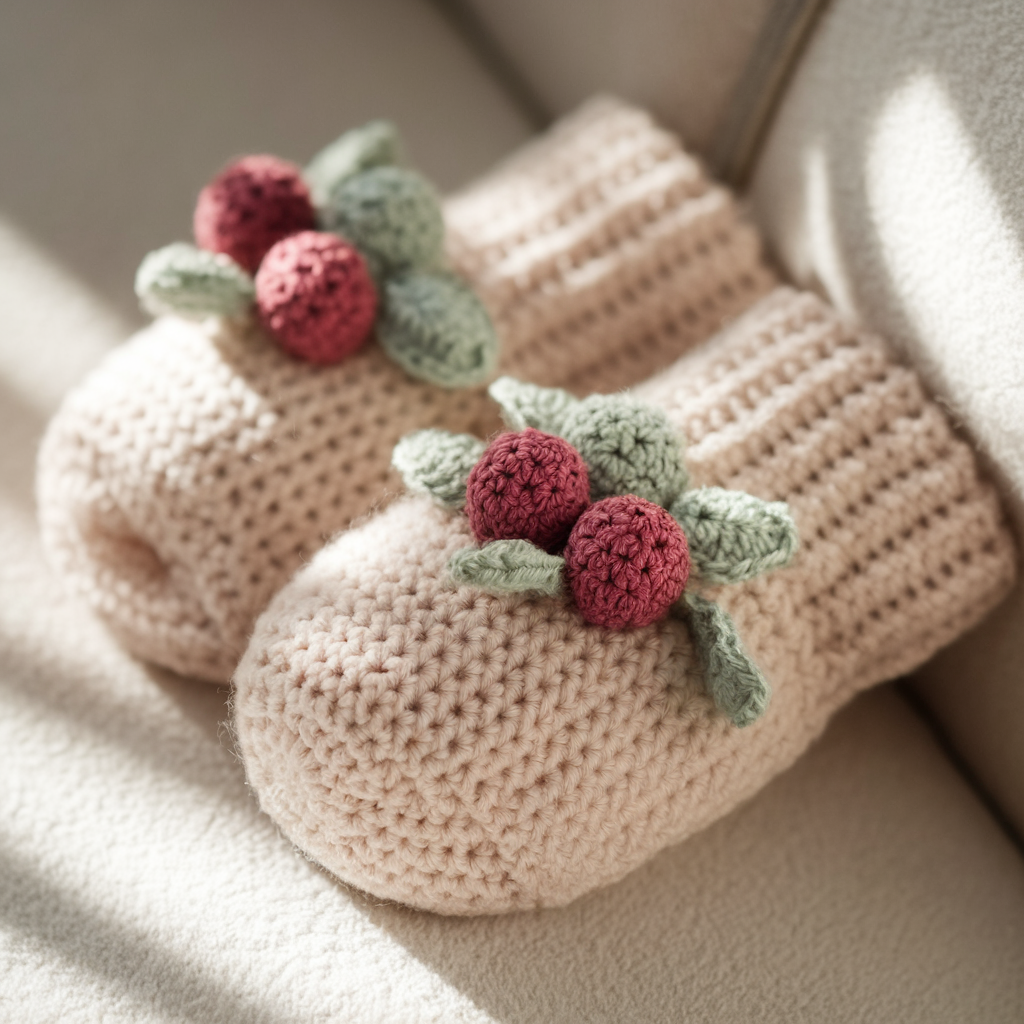
2. Crochet Blooming Berry Baby Mittens Pattern
Skill level: Intermediate (small appliqué + assembly)
Why it’s lovely: Combines a soft base mitten with little berry or petal appliqués that give a crafted, heirloom look without adding bulk.
Materials
- Soft DK cotton or cotton-blend yarn for mitten base (e.g., Lily Sugar’n Cream or similar)
- Small contrast scraps (berry red/rose + sage green) for appliqués
- Hook: 3.5–4.0 mm for base; 2.5–3.0 mm for tiny appliqués
- Yarn needle, small amount fiberfill (optional for puffed berries)
Finished sizes (approx)
- Newborn: base circumference ~3.5 in; length ~4 in
- 0–3 months: ~4 in circumference; length ~4.5 in
- 3–6 months: ~4.5 in circumference; length ~5 in
Construction — step-by-step guide (newborn sample)
This pattern builds a tidy cotton mitten with sewn berry petals on top.
- Cuff & hand tube: Ch 24 join (for newborn DK; adjust to your gauge). R1–R3: sc in each st around (3 rounds) for cuff. R4–R8: hdc or sc around to build the hand tube until about 0.75–1 in from desired top.
- Thumb option: For a no-thumb mitten (common for infants), continue as a closed tube. To add a thumb, create a small flap as described in Velvet pattern (pick up stitches at side and work short tube).
- Top shaping: Decrease evenly across several rounds: work sc rounds with sc2tog placements to gently close top; finish by pulling tail through remaining stitches.
- Make Blooming Berry appliqués (make 6–8): Small petal motif: MR; ch1, 6 sc in ring; sl st to join. Form 3 petal loops around by ch4, sl st into next st — in each loop work (sc, hdc, dc, hdc, sc) and fasten off. For a puffed “berry” make a tiny 6-st circle, add a very small filling, and close. Attach a tiny green leaf (ch4, sc decreasing) behind each berry.
- Attach appliqués: Arrange motifs across the mitten top (either in a cluster or scattered). Sew each securely with tiny stitches, catching a bit of base fabric so motifs don’t pull away. Hide knots inside.
Variations
- Create a band of blossoms around the cuff instead of top.
- Work petals in tonal colors for vintage look (dusty rose + cream + sage).
Finishing & safety
- Keep appliqués flat; use light tamping so berries don’t snag on clothes. Sew all seams twice for durability. Avoid beads/securely sew any tiny accents.
Care
- Cotton is machine washable; use gentle cycle and air dry to maintain shape. Re-flatten appliqués after washing.
3. Crochet Pom-Pom Baby Mittens Pattern
Skill level: Confident beginner
Why it’s lovely: Cute and fun — pom-poms add personality. This pattern includes safety options (removable pom-poms or embroidered puff centers) so parents can choose.
Materials
- Soft DK yarn or acrylic baby blend for base; fuzzy pom-pom yarn or make small yarn pom-poms with same yarn
- Hook: 3.5–4.0 mm
- Small snap or button if you want removable pom-pom (optional)
- Yarn needle, scissors
Finished sizes
- Same as previous examples (newborn ~3–4 in circumference). Pom size: 1–1.5 in (small).
Construction — step-by-step guide (newborn sample)
- Build the base mitten: Ch 22, join; R1–R3 sc for cuff; R4–R8 hdc/sc for hand tube; decrease rounds to close top as in earlier patterns. Add thumb if desired.
- Make pom-poms: Option A — small yarn pom-pom made with cardboard or pom-pom maker (aim for compact small pom). Option B — make small fluffy bobble using fuzzy yarn. If you plan to give to infants, consider embroidered puff stitch circles instead of loose pom-poms (see safety note).
- Attachment options:
- Permanent: Sew pom firmly to mitten top with multiple passes, burying tail into base.
- Removable (recommended for gifting): Use a small snap set: sew one half of sew-on snap to mitten top, attach the other half to pom base. This makes pom detachable for washing and removes choking risk if parent prefers.
- Final embellishment: Add a tiny contrasting stitch ring around pom base for a finished look.
Safety note
- For infants under 12 months, avoid permanently sewn small detachable parts. Offer a pom-pom that’s removable or choose an embroidered puff (crocheted rosebud or small tuft worked into motif) instead of a loose pom.
Variations
- Make two small pom-poms per mitten for a playful look.
- Use a contrasting color pom to match baby’s outfit.
Care
- Removable pom-poms can be removed before washing; otherwise, hand wash and reshape pom.
4. Crochet Scratch Baby Mittens Pattern

Skill level: Beginner
Why it’s lovely: Designed specifically to prevent newborn scratches — soft, snug, and without thumb holes. Ideal for hospital boxes and newborn essentials.
Materials
- Soft cotton or bamboo yarn (DK) — breathable and gentle
- Hook: 3.5 mm
- Yarn needle, optional elastic thread for wrist snugness
Finished sizes
- Newborn: cuff circumference ~3 in; total length ~3.5–4 in (covering hand fully). This pattern intentionally omits thumb opening.
Construction — step-by-step guide (newborn sample)
- Cuff: Ch 16, join. R1–R5: sc in each stitch for a snug cuff that will stay on the wrist (5 rounds). Optionally work 1–2 rounds in BLO to make a foldable cuff.
- Full hand tube: R6–R10: sc around (or hdc for slightly loftier texture) until the tube measures approx 3.0–3.5 in from cuff (enough to fully cover fingers).
- Top shaping and closure: Decrease gradually: R(dec1): sc 3, sc2tog repeat; R(dec2): sc 2, sc2tog; R(dec3): sc1, sc2tog; R(final): sc2tog around; draw tail and close. This leaves a soft rounded tip covering the fingertips.
- Elastic option: If you want the cuff to be extra snug, thread a short piece of elastic through last cuff round and tie inside seam, or use a round of slip stitches in smaller hook for a firmer cuff.
- Finish: Seam side with small stitches, weave in ends.
Variations
- Add a tiny applique (flat star or heart) on outside of cuff for identification (ensure flat and secure).
- Make in breathable bamboo for warmer climates.
Safety
- No thumb hole and soft cuff reduce chance of mitt slipping off but always check fit frequently to ensure exchange of heat and comfort.
Care
- Cotton machine washable; warm water and gentle detergent OK. Dry flat or low tumble.
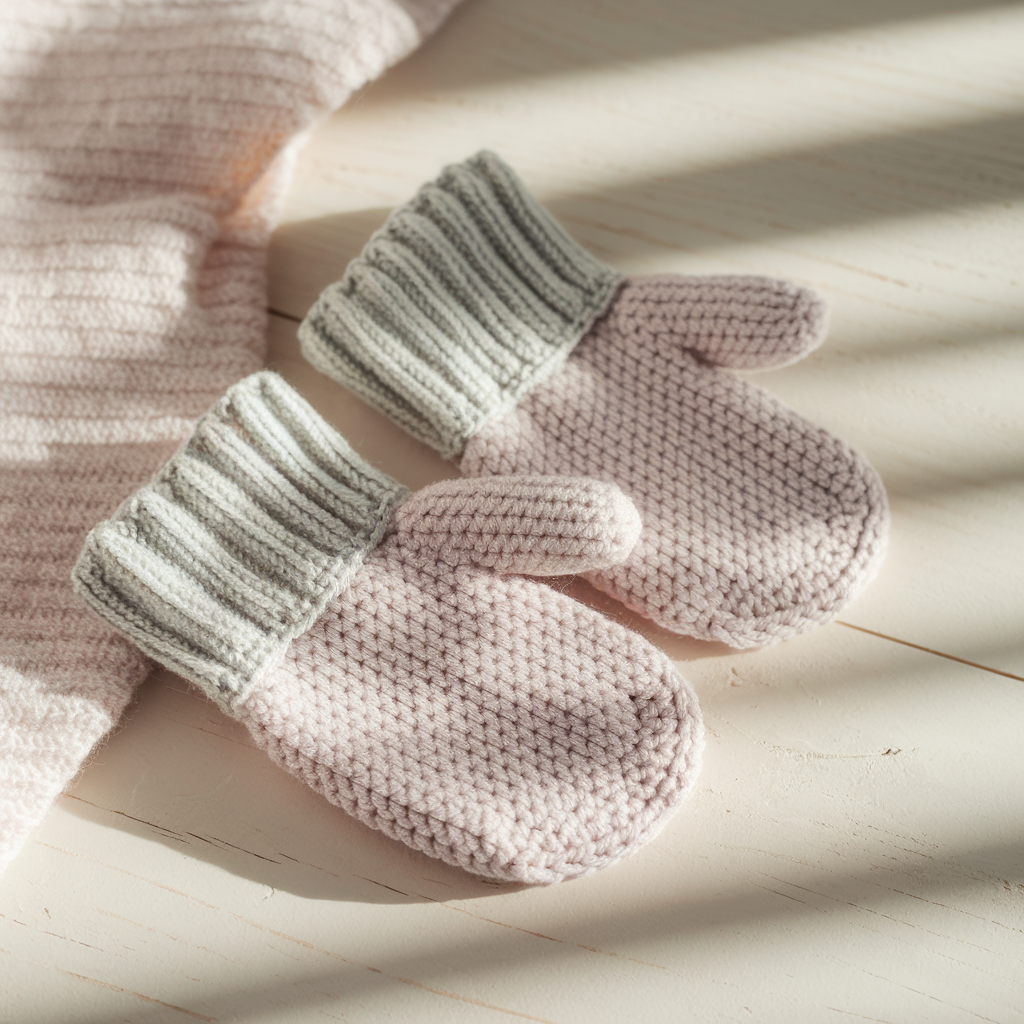
5. Crochet Ribbed Baby Mittens Pattern
Skill level: Beginner–Intermediate (post-stitch work for ribbing)
Why it’s lovely: Ribbing gives stretch and snug fit; this classic style grows with baby and makes a neat wardrobe staple.
Materials
- DK cotton or cotton blend yarn
- Hook 3.5 mm (or 3.0 mm for firmer ribbing)
- Yarn needle, scissors
Finished sizes
- Newborn sample: cuff circumference ~3–3.5 in; length ~4 in. Ribbed mittens can stretch up to the next size.
Construction — step-by-step guide (newborn sample)
- Make a ribbed band (worked flat): Ch 26 (adjust for circumference and gauge). Row 1: sc in 2nd ch from hook and across; turn. Row 2–6: ch1, sc in BLO across (or alternatively hdc in BLO) to create a ridged fabric you can fold for double cuff. Work until band height ~1.25 in. Fold and seam short ends to make a cuff loop.
- Hand tube (join and work in rounds): Join top edge and work rounds in dc or hdc to build hand length (approx 6–8 rounds for newborn). Because cuff is ribbed and folded, the fabric is snug but comfortable.
- Top shaping: Decrease rounds as in earlier patterns to close top: distributed sc2tog rounds until small opening, pull tail to close.
- Thumb (optional): Work tiny thumb tube by picking up stitches at side and working 3 rounds; secure. Ribbing gives enough stretch that thumbless design often suffices.
- Finish: Weave ends, press seam.
Variations
- Use contrasting color for the inside of folded cuff.
- Add a small knitted ribbon or crochet tie snug inside cuff to keep mittens paired.
Finishing & care
- Machine wash gentle; ribbed structure keeps shape well. Tumble low or air dry.
Styling tips for all patterns
- Pair mittens with a matching hat and booties for a complete baby set.
- For gift sets, use a small muslin bag and include care instructions.
- Make two sizes and mark with tiny sewn tag inside cuff for quick sorting (NB / 0–3m).
Conclusion
Crocheting baby mittens is satisfying — they’re fast to make, practical, and deeply appreciated by new parents. The five patterns above cover a range of needs and aesthetics: from the ultra-cozy Velvet Mittens to heirloom Blooming Berry appliqués, playful Pom-Pom options with safe alternatives, ultra-practical Scratch Mittens, and a stretchy classic Ribbed style. Use the step-by-step guides as templates and adapt stitch counts to your gauge and the baby’s measurements. Always prioritize flat, secure decoration and avoid loose attachments for infant wear.