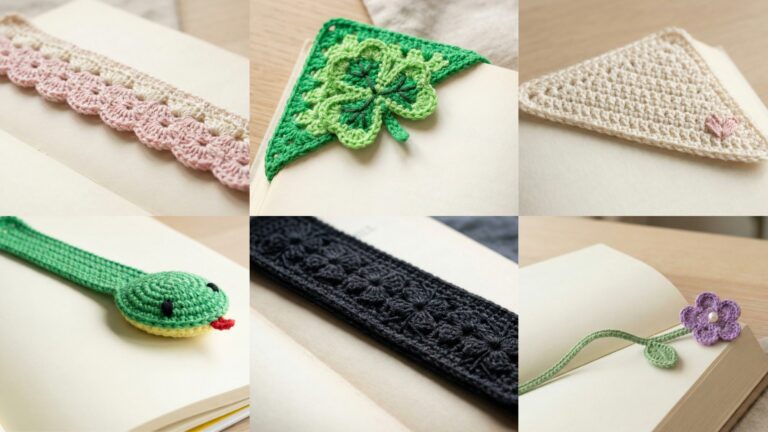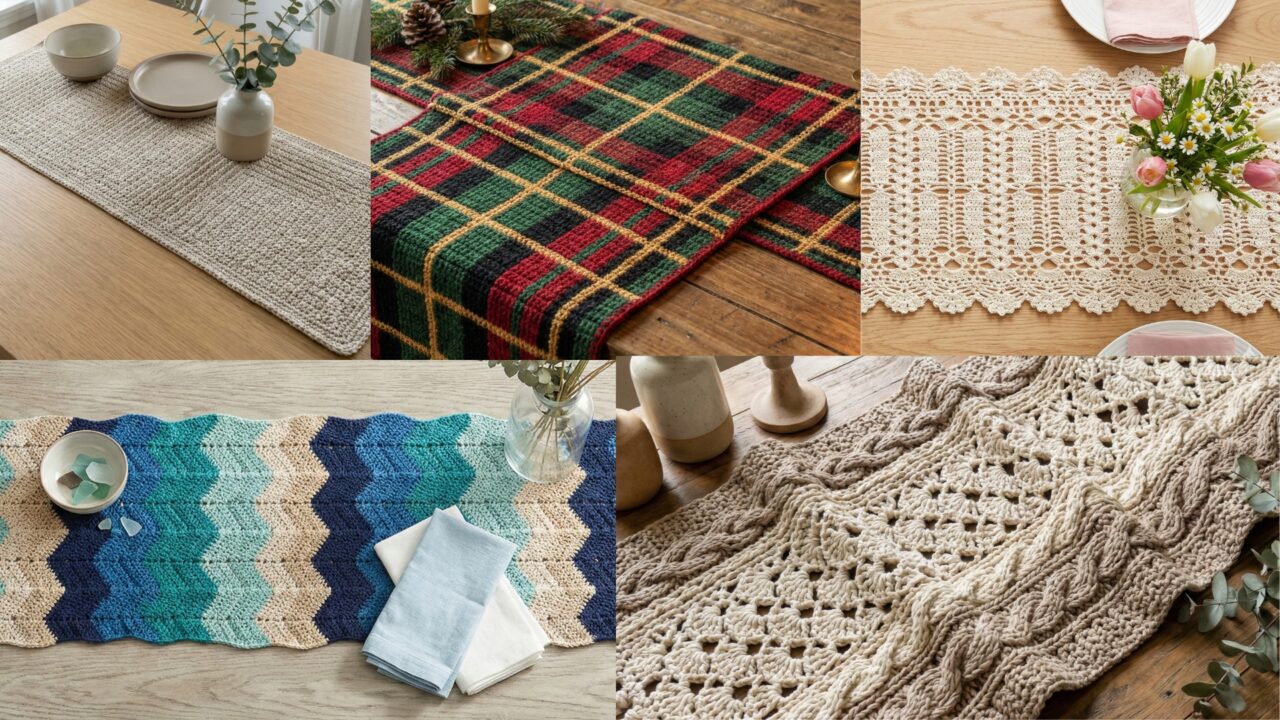
Table runners are gratifying, practical projects — big visual impact for relatively small time and yarn. Below you’ll find one concise introduction that covers materials, sizing, gauge and a simple method for scaling; then five fully detailed table-runner patterns with clear step-by-step instructions, stitch counts, finishing, variations, and care. Each pattern gives a sample size you can follow exactly plus notes for scaling up or down.
All instructions use US crochet terms.
Starter primer — materials, sizing, gauge & scaling (read first)
Yarn & hook
- For table runners choose fibers that block and lie flat:
- Cotton / cotton-blend for crisp stitch definition and machine-washable runners.
- Linen, bamboo, or mercerized cotton for elegant sheen and drape.
- Use worsted/DK for chunkier textures or sport/fingering for delicate lacy runners.
- Typical hooks: 3.5–5.5 mm depending on yarn and desired drape. If using cotton and you want a firmer fabric, use a smaller hook than label suggests.
Notions
- Tapestry needle, blocking mat & pins, measuring tape, stitch markers, optional fabric backing or felt (for heavy use).
Common finished sizes & how to plan
- Standard runner widths: 12–18 in (30–45 cm). Common lengths: 36 in (3 ft), 48 in (4 ft), 60 in (5 ft), 72 in (6 ft). Choose length to fit your table (runner usually runs the length of the table with some overhang).
- Decide your target finished width (FW) and length (FL). Example sample runner: FW = 14 in, FL = 60 in — a versatile size.
Gauge & stitch math (digit-by-digit)
Always make a 2–4 in swatch in the stitch pattern you’ll use and measure stitches per inch (spi) and rows per inch (rpi). Then compute foundation chain length.
Example: target FW = 14 in; your swatch shows 4 sts per inch in the stitch row used for width. Multiply 14 × 4 = 56 stitches. If the stitch pattern requires a multiple (e.g., multiple of 3 + 2), round to the nearest valid multiple — e.g., 56 is multiple of 7×8 but if pattern requires multiple of 3 +2, choose 56 → 56 = 3×18 + 2 (ok). Use this method to determine foundation chains.
Edge & finishing
- Pick an edging that complements the pattern: single crochet rounds for tidy, scallops for feminine, picot for vintage, fringe or tassels for boho.
- Block everything before seaming, sewing on fringe, or photography — blocking transforms stitchwork and flattens edges.
1. Crochet Moss Stitch Table Runner Pattern
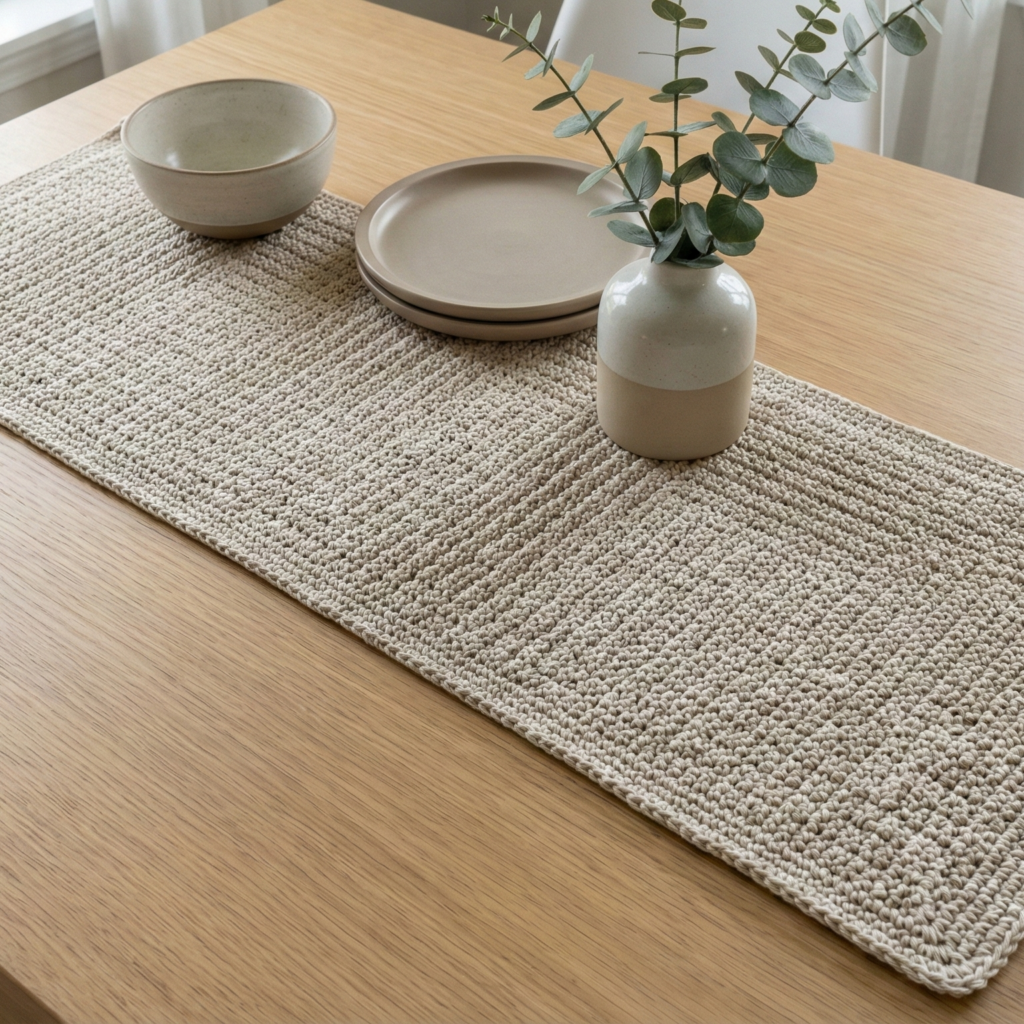
(Textured, modern, very quick — great for everyday use)
Skill level: Confident beginner
Sample finished size: 14 in (W) × 60 in (L)
Yarn: DK cotton, ~600–800 yd depending on length.
Hook: 4.0 mm
Gauge (example): 4 moss repeats = 1 in (find your own by swatch). Moss stitch presented as linen/moss stitch (alternating sc and ch1 spaces).
Why this pattern
Moss/linen stitch makes a dense, squishy fabric that lies flat and shows off natural fibers. It’s reversible — same on both sides — so ideal for a runner.
Abbreviations
- sc = single crochet
- ch = chain
- st = stitch
- mss = moss/linen stitch (sc in next st, ch1, skip 1 st, sc in next ; or sc in ch1 spaces when worked in rows)
Step-by-step (14 × 60 in sample)
1. Swatch & calculate
Make a 4 in swatch in moss stitch to determine spi. Example: 4 moss repeats = 1 in; target width 14 in → 14 × 4 = 56 repeats → pattern multiple is usually even; foundation chain = 56 × 1 (for seed repeats) + 1 turning ch = 57 ch. If pattern uses sc in chain spaces, add 1 extra turning chain if required.
2. Foundation chain
Chain 57 (or calculated number). This gives (56 moss units) across.
3. Row 1 (foundation row)
Sc in 2nd ch from hook and in each ch across. Turn.
4. Row 2 (start moss stitch)
Ch1 (does not count), sc in next st, ch1, skip next st; repeat to the end; sc in last st. Turn.
5. Row 3
Ch1, sc in ch-1 space from previous row, ch1, skip next sc; repeat to end; sc in last ch-1 space. Turn.
6. Repeat Rows 2–3 until runner length reaches 60 in (measure periodically). Because moss stitch is dense you’ll hit length quickly. For sample gauge assume rpi = 3.5 rows/in → 60 in length needs 210 rows (verify with swatch). Adjust as needed — runner makes quickly.
7. Edge finish
Work a neat border: with same color, sc evenly around the entire runner: three rounds of sc, placing 3 sc in each corner to round them. Alternatively do a picot: sc, ch3, sl st in 3rd ch every 6–8 sts on final row for a subtle scallop.
8. Blocking & finishing
Wet block or steam-block cotton: pin to 14 × 60 in rectangle, smooth, and let dry. Weave in ends.
Variations & styling
- Use two-tone moss (stripe every 10 rows).
- Make a place-mat set by making 4 runners at 14 × 15 in (quick weekend project).
Care
- Machine wash gentle, reshape and air-dry; avoid tumble drying high heat for cotton.
2. Crochet Spring Table Runner Pattern
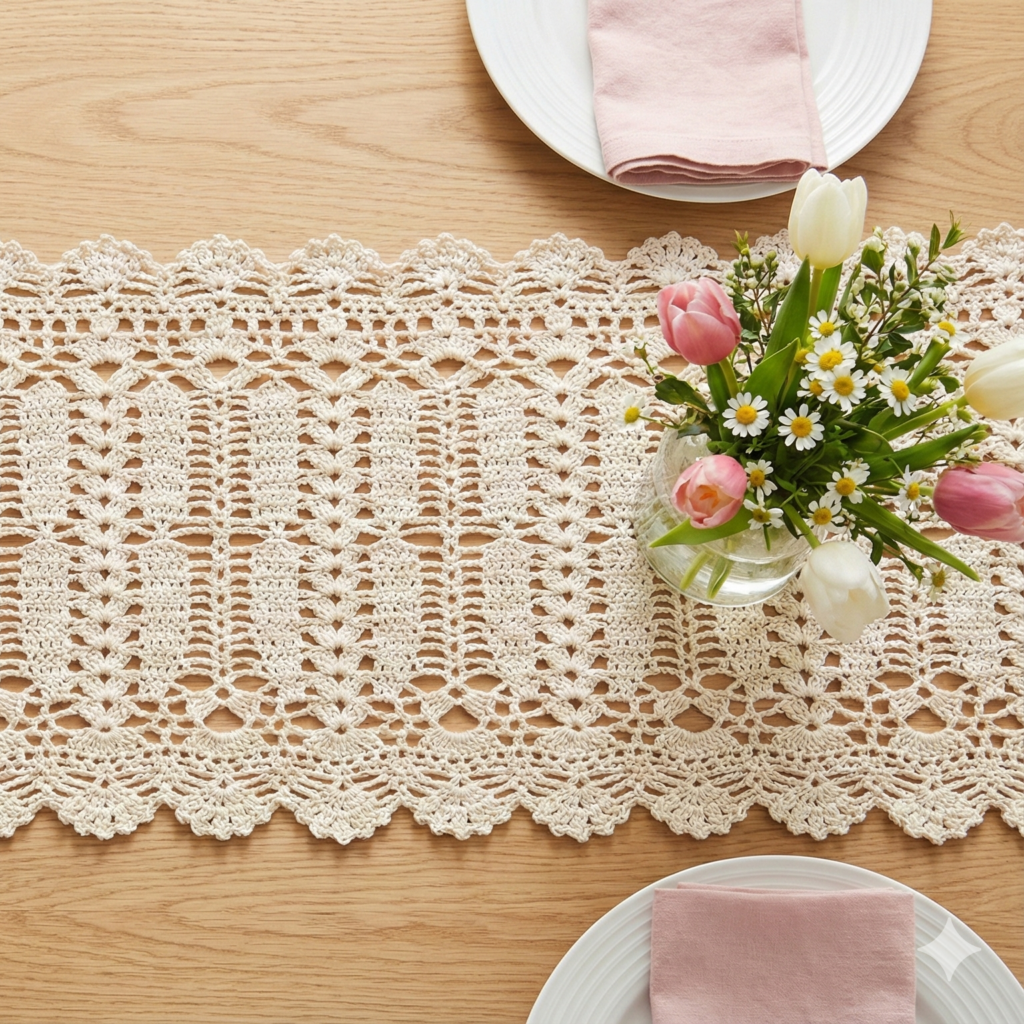
(Lacy, floral-inspired openwork for spring and Easter tables)
Skill level: Intermediate (lace repeats and blocking)
Sample finished size: 16 in × 48 in
Yarn: Sport-weight cotton or cotton-blend, ~700 yd.
Hook: 3.5 mm
Gauge: depends on lace repeat — swatch to find spi
Why this pattern
Openwork floral runners look delicate, photograph beautifully, and stretch the yarn yardage into a scenic piece.
Stitch notes (example lace repeat)
A friendly spring repeat: V-stitch (dc, ch1, dc) in same st, chain arches, and small shells for edging. The repeat is often a multiple of 8 + 1 for balanced edges.
Step-by-step (16 × 48 in sample)
1. Swatch & calculation
Make a 4 in swatch in the lace pattern and calculate stitches per inch. Suppose swatch shows 2 V-st groups = 1 in and you want width 16 in → need 32 V-st groups. If repeat multiple is 8, compute foundation chain accordingly; for simplicity assume foundation ch = (8 × 4) + 1 = 33 ch to make 32 groups. Use pattern multiple formula in pattern header.
2. Foundation & first lace row
Chain foundation: ch 265 (this is hypothetical — always recalc). For the sample, use a provided multiple: ch 257 + 3 turning ch (this will be given by your swatch). For clarity, here is an explicit pattern repeat approach you can adapt:
Foundation: Chain a multiple of 8 + 5. For 16 in width and my gauge that equals ch 101 + 3 turning ch. (You will compute your own.)
Row 1: dc in 4th ch from hook (counts as dc + ch1 space), ch2, skip 2 ch, (dc, ch1, dc) in next ch repeat to last 3 ch; end with dc in last ch. Turn.
Row 2: ch3, V-stitch in ch-1 space of previous row’s V-stitch (dc, ch1, dc), ch2 repeat across. Turn.
Row 3: Work small shell motifs on top of V-stitches: skip V-stitch center, sc in next st, shell (5 dc) in ch-2 arch, sc across. This creates floral petal highlights when repeated.
3. Repeat pattern rows
Repeat Rows 2–3 (or full lace repeat defined) until runner length ~48 in. Because lace is airy, you’ll need fewer rows; measure.
4. Edging
For a spring look, make a scalloped shell border: sl st in next st, (5 dc) in next st, sl st in next st around, spacing shells on the centers of V-stitches. Pin and block to measure.
5. Blocking
Block thoroughly to open lace: pin edges straight, stretch gently to full 16 × 48 in rectangle, allow to dry. Blocking sets lace and helps runner sit flat on a table.
Variations & styling
- Make a central stripe of contrasting color for wake of bloom.
- Add tiny crochet flowers (3–5 rows) sewn into shell centers to echo spring blooms.
Care
- Cotton lace: hand wash or machine gentle; reshape and dry flat to preserve blocking.
3. Crochet Sea-Wave Table Runner Pattern
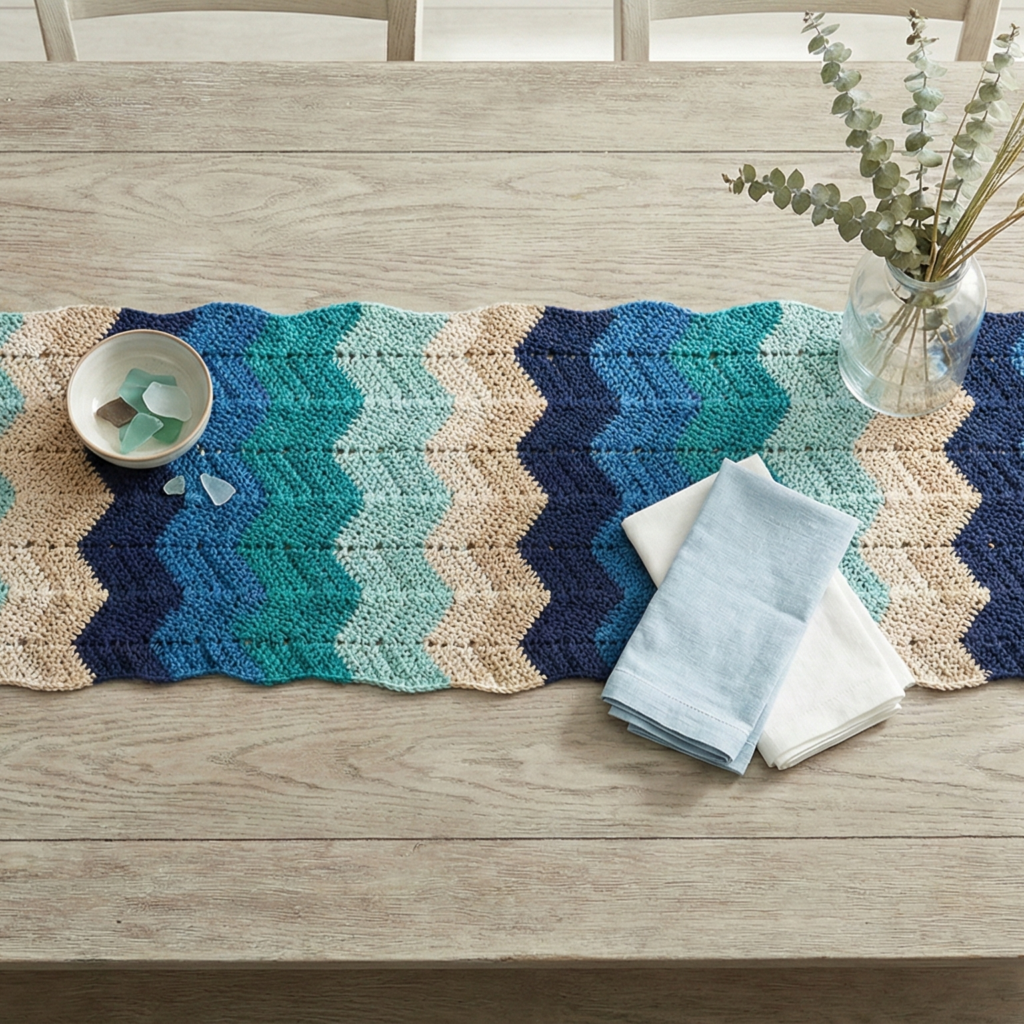
(Ripple/chevron with undulating seaside colors — coastal tables)
Skill level: Confident beginner → intermediate (chevron shaping, color changes)
Sample finished size: 14 in × 72 in (long runner for dining table)
Yarn: DK or worsted cotton for square stitch clarity, ~900–1200 yd depending on length.
Hook: 4.5 mm (with worsted) or 4.0 mm (DK)
Gauge: chevron repeat measurement (stitches per ripple)
Why this pattern
A ripple runner with color changes evokes the sea and suits long tables. Chevron patterns are rhythmic and relaxing to crochet.
Stitch notes
Standard ripple is made by increases and decreases to create peaks and valleys. Typical chevron repeat: multiple of 14 + 3 (varies by pattern).
Step-by-step (14 × 72 in sample)
1. Swatch & calculate
Do a swatch in chevron repeat to find how many stitches represent one peak. Example: one complete ripple = 14 sts and measures 2 inches across at your gauge; target width 14 in → need 7 ripples → total foundation = 14 × 7 + 3 = 101 ch.
2. Foundation chain
Chain 101 + 2 turning ch depending on pattern (here ch 102).
3. Row 1 (base row)
Row 1: sc in 2nd ch from hook and across (or dc depending on final texture) — this anchors foundation. Turn.
4. Row 2 (chevron pattern)
If using dc ripple: ch3 (counts as dc), dc in next 2 sts, dc2tog over next 2 sts (valley), dc in next 6 sts (slope), (2 dc, ch2, 2 dc) in next st (peak), dc in next 6 sts, (dc2tog) over next 2 sts repeat across; end with dc in last st. This is a standard chevron schematic: two decreases for valley, group of 6 dc slope, cluster (2dc,ch2,2dc) for peak. Exact numbers adjust to your chosen ripple.
5. Continue
Repeat Row 2 until runner reaches 72 in. Change colors every 8–12 rows for broad bands (sea blues and teal), or every 2–4 rows for narrow stripes.
6. Edge & finishing
Work 2 rounds of sc in the final color around runner, doing 3 sc in each peak ch-space to maintain shape. Optionally add fringe at both ends: cut yarn to 8–10 in strands and attach in groups every other valley stitch; trim to uniform length.
7. Blocking
Block flat; chevron will drape nicely.
Variations & styling
- Use gradient yarns for ombré ocean effect.
- Make a beach set: runner plus matching napkin rings in ripple stitch.
Care
- Cotton: machine wash gentle; reshape and dry flat. Avoid heavy tumble drying to prevent fringing tangles.
4. Crochet Boho Chic Table Runner Pattern
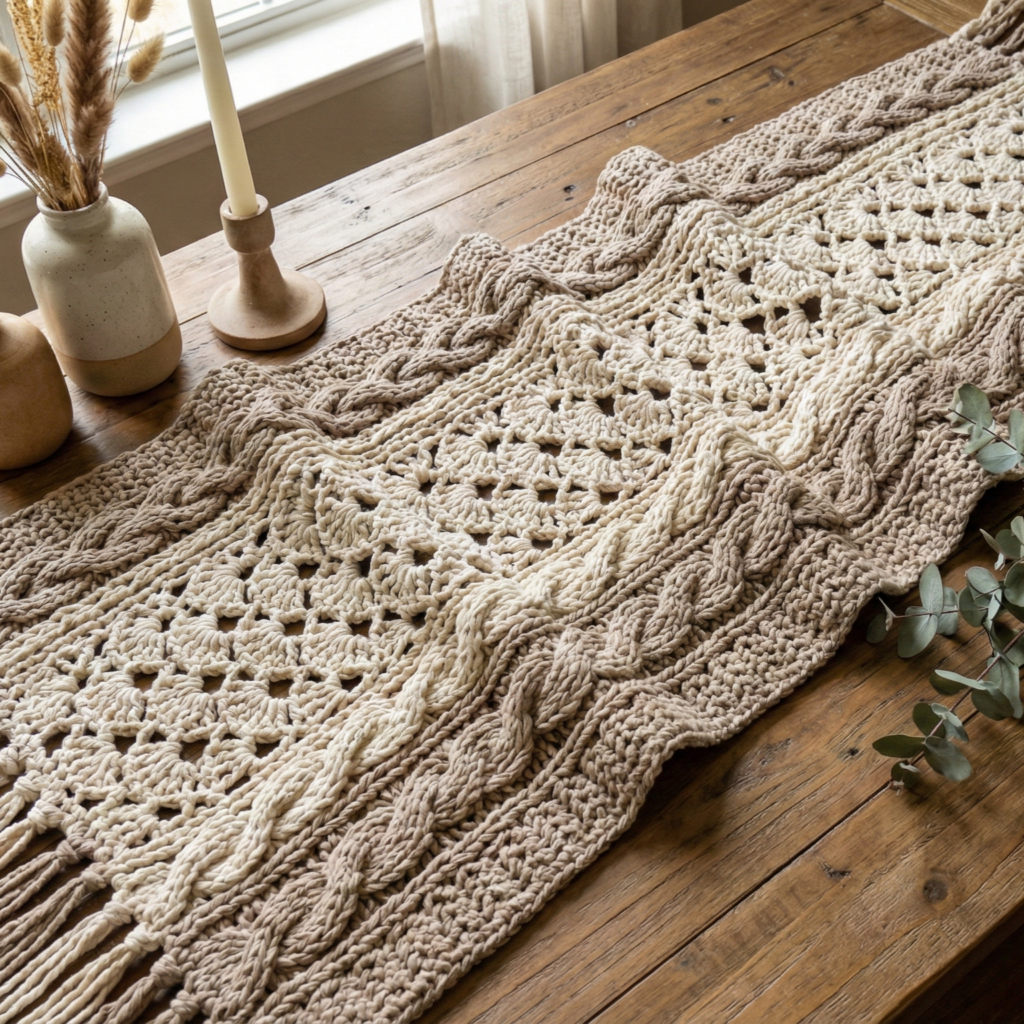
(Bohemian textures: openwork + fringe + tassels — dramatic and modern)
Skill level: Intermediate (combining stitches and sewn-on tassels/fringe)
Sample finished size: 18 in × 60 in (wider, for centerpiece tables)
Yarn: Bulky cotton rope or t-shirt yarn for texture; or DK held double for a chunky boho look. ~800–1200 yd.
Hook: 6.0–8.0 mm depending on yarn thickness.
Gauge: depends on yarn — swatch to find rows/inch.
Why this pattern
Boho runners are statement pieces — chunky texture, lacy panels and long tasseled fringe make tables look intentionally styled.
Pattern highlights
- Alternating panels: one panel of open shells, one panel of tight cable-like post stitches; repeat across width.
- Edge with long fringe or looped tassels.
Step-by-step (18 × 60 in sample)
1. Swatch & calculate width
Decide on panel widths: e.g., for 18 in width use 3 panels each 6 in wide. Swatch panel patterns and compute foundation chain for total.
2. Foundation chain
Chain appropriate number (example multiple-of-12 + 6 for pattern symmetry). For 18 in with my bulky gauge pick ch 54 + 6 = 60 ch (this is illustrative — recalc by swatch).
3. Panel A — open shell lace
- Row pattern (example): Row 1: sc across. Row 2: ch3, skip 2, (5 dc in next) shell, skip 2, sc in next, repeat. Works to create large shells for boho lacy look. Repeat for required number of rows to achieve 6 in panel height. Work panels across in stripes or joined in the same row.
4. Panel B — textured post stitch
- Use fpdc/bpdc ribs: Row: fpdc 4, bpdc 4 across to create thick vertical rope bands. Repeat to match shell panel height. Alternate panels across row for a mixed-texture striping.
5. Join & repeat across length
Work the runner as one wide panel incorporating both panel patterns across a row: e.g., [shell panel (12 sts) | fpdc rib (12 sts) | shell panel] repeat across width. Continue row repeats until length = 60 in.
6. Fringe / tassels
- Add long fringe at both ends: cut groups of yarn 12–18 in (depends on desired tassel length), fold in half and knot using a latch method into every 2–3 sts across short edge; trim ends evenly. For looped tassels twist and knot for extra boho texture.
7. Finishing & blocking
Block to set shells; for t-shirt yarn blocking is minimal — pin and shape gently. Trim fringe as needed.
Variations & styling
- Add macramé knots at ends for extra boho craft crossover.
- Use neutral natural tones for earthy tables or saturated jewel tones for eclectic styling.
Care
- Thick cotton or t-shirt yarn: spot clean or machine gentle; reshape while damp; re-tie fringe if needed.
5. Crochet Tartan Plaid Table Runner Pattern
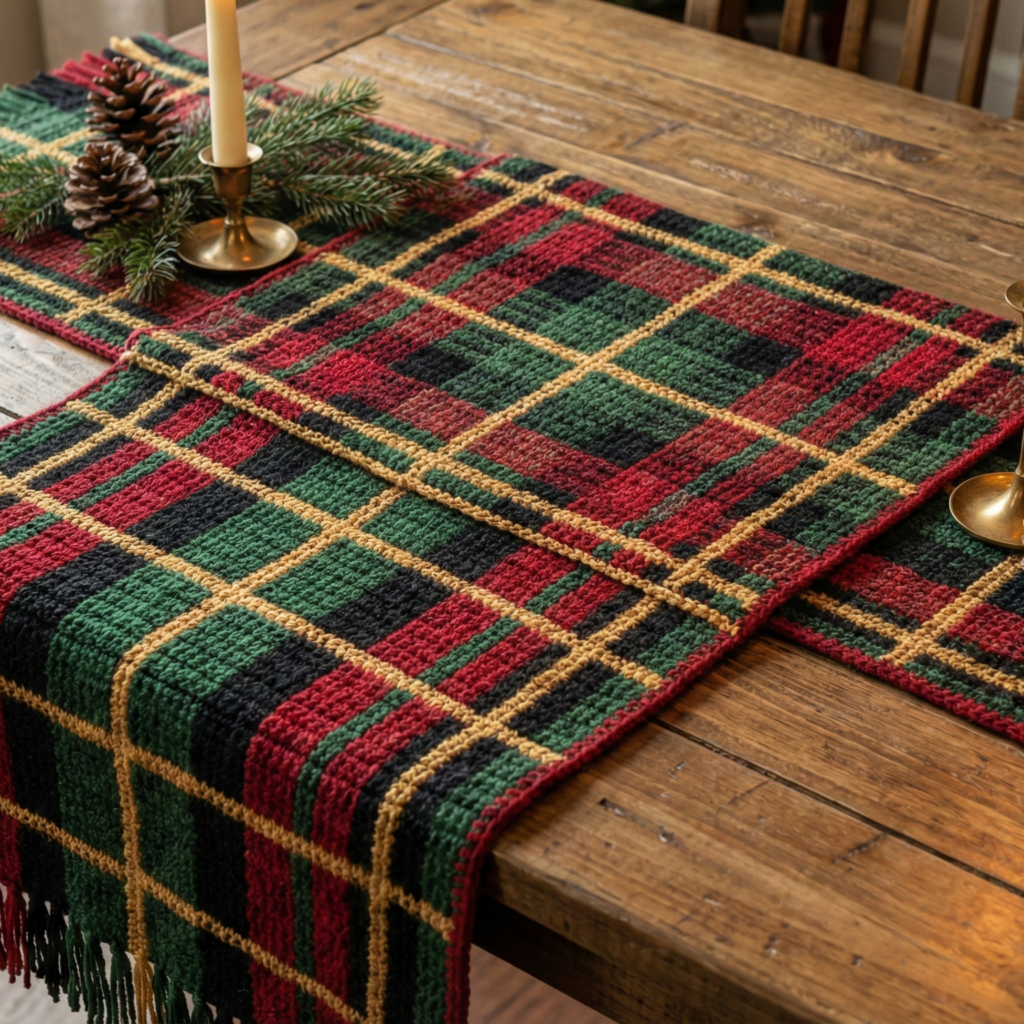
(Classic plaid in crochet — graphic, cozy, perfect for holidays)
Skill level: Advanced beginner → intermediate (tapestry colorwork or intarsia/mosaic techniques)
Sample finished size: 14 in × 72 in (long holiday runner)
Yarn: DK or worsted cotton in 3–5 colors (contrast stripes), ~1000–1400 yd.
Hook: 4.0–5.0 mm
Gauge: determine stitches per inch for your chosen technique
Why this pattern
Plaid is fundamentally stripes layered and intersected — you can create it with tapestry crochet (carrying floats) or with mosaic crochet (safer floats). The runner mimics woven tartan with color bands.
Technique options
- Tapestry crochet (carry unused colors across WS; works best with shorter floats and thicker yarn).
- Mosaic crochet (work in two colors per row with slip-stitch mosaic technique to avoid long floats).
Step-by-step (14 × 72 in sample using tapestry/two-color stripes)
1. Design your tartan
Sketch the plaid: choose background color (A) and overlay stripes in colors B, C, D. Decide stripe widths (e.g., B = 2 in, C = 0.5 in, D = 1 in). For a 14 in width consider symmetrical arrangement across center.
2. Swatch & calculate
Swatch in tapestry sc (single crochet colorwork) to find stitches per inch (spi). Suppose spi = 4 sc/in. For a 14 in width you need 14 × 4 = 56 sts. Choose foundation chain accordingly (56 + 1 turning ch). For color stripes decide how many rows per stripe: if rpi = 3 rows/in and stripe width 2 in → 6 rows in that color.
3. Foundation & base
Chain 57 (or as calculated). Row 1: sc in 2nd ch and across in Color A.
4. Build tartan stripe bands (tapestry sc)
- Work rows in sc in Color A for the background band height. When a vertical stripe B intersects, switch to Color B in that stitch and carry Color A across on wrong side. Use the tapestry technique: hold MC in dominant hand and float CC across and trap with overworked stitches where needed. For vertical B bands, you will change color in those stitch positions for the entire runner length. For intersecting horizontal stripes, simply change the working color for specified number of rows across the whole row. This creates plaid intersections.
5. Continue rows following your tartan chart
Work row-by-row strictly following the stripe chart you created: vertical stripe placement is controlled by changing stitch color at specific stitch numbers; horizontal stripe thickness by changing yarn between rows. Keep floats short — trap long floats with an overlying stitch every 4–6 sts for secure fabric.
6. Edge
Finish with 2 rounds of sc in Color A for clean edges; optionally add a mini-fringe in the narrow stripe color for a woven-look edge.
7. Blocking & finishing
Block gently. Tapestry colorwork tends to be less stretchy and more like fabric. Press lightly if appropriate.
Variations & styling
- Make a holiday tartan using red/black/green/gold.
- Use mosaic crochet for a reversible runner with less yarn carrying.
Care
- Colorwork cotton: machine wash cold to prevent bleeding; test a small swatch for colorfastness.
conclusion
You now have five distinct table-runner patterns that suit everyday, seasonal, coastal, boho and formal tables. A few practical finishing tips and styling ideas:
Final tips for success
- Swatch & recalc: Always swatch in the actual stitch and yarn. Stitch patterns change spi substantially. Use the digit-by-digit method in the primer to compute foundation chain and rows.
- Consistent edge: Rounds of sc or a 1×1 rib in a slightly smaller hook create tidy, non-curling edges. If your runner will see heavy use, consider a sewn fabric backing (felt or cotton) stitched to the underside.
- Block well: Lace and stitch definition depend on blocking. Pin to exact rectangle, steam, and let dry fully. For cotton, wet-blocking is ideal.
- Small repairs: Keep a small yarn tail inside runner for emergency repairs. For fringes, keep a small spare length for re-tying.
- Photographing for the blog: flat-lay on neutral wood or linen, include props (centerpiece, vase), and shoot overhead and detail close-ups of stitch texture. For seasonal runners show with holiday-appropriate settings.
- Gifting ideas: pair a runner with matching napkin rings, a set of coasters (moss stitch or tartan mini-coasters), or a small centerpiece (crochet bowl) for a coordinated handmade gift set.
Care & labeling to include with gifts
- Recommend washing instructions appropriate to fiber: e.g., “Cotton — machine wash gentle cold; reshape and lay flat to dry. Handwash recommended for delicate lace-runner. Avoid bleach.”
- Note: for large/more delicate runners advise spot clean or hand wash to preserve blocking.