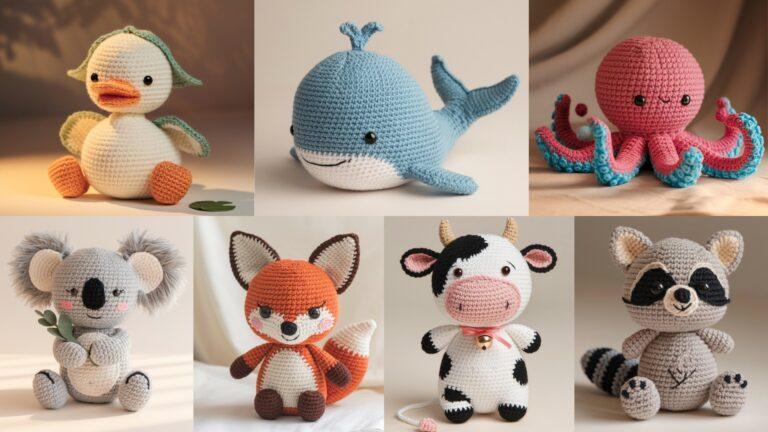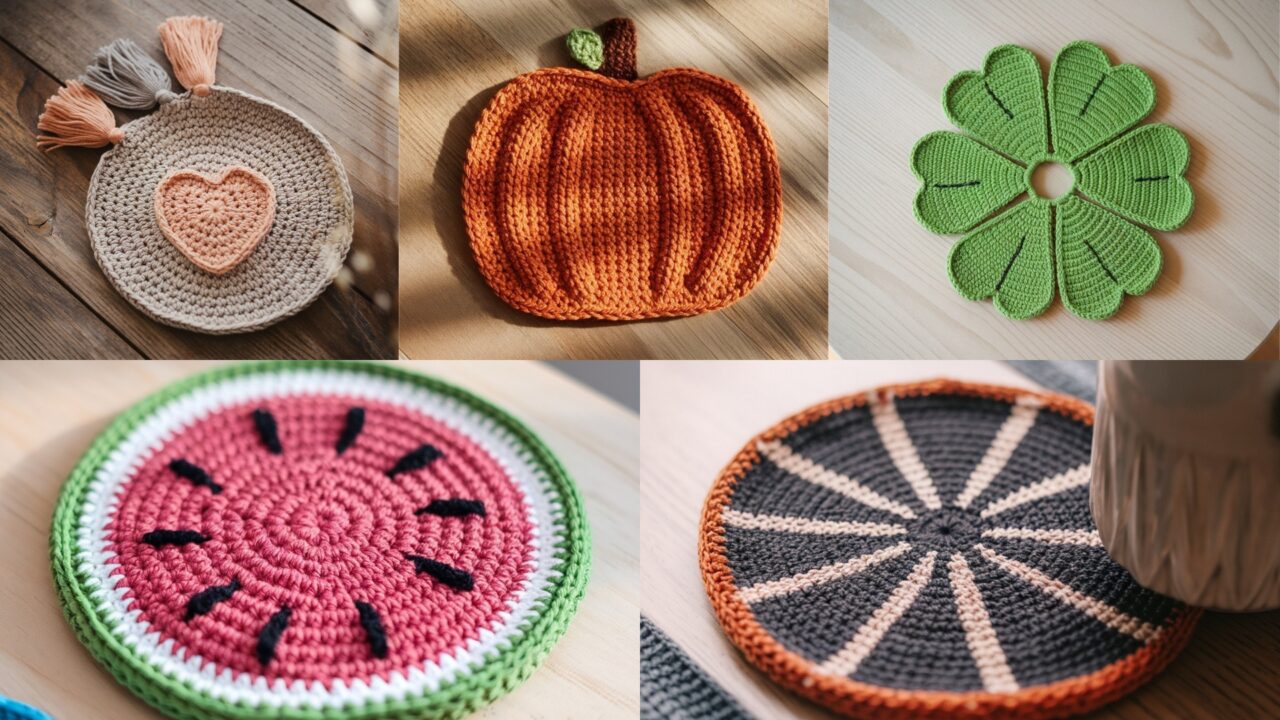
Small, fast, and actually useful — that’s the point of a good coaster. They’re the perfect gift because they’re cheap to make, practical, and people will actually use them instead of stuffing them in a drawer like the last “artisan” candle you bought. Below are five thoroughly tested coaster patterns: watermelon, boho heart, wheelie (spoked wheel), fall pumpkin, and clover. Each pattern includes: skill level, materials, finished size, gauge notes, clear stitch-by-stitch rounds, finishing, variations, and care tips. No fluff. Make several, wrap them in a stack, and pretend you found them at a boutique.
Quick common notes (read this — it saves time)
- Yarn: 100% cotton (worsted weight / category 4) is the best choice — washable, heat-resistant, and flat. Sample projects use worsted cotton + 4.0 mm (G) hook.
- Finished size baseline: Each coaster below finishes ~4.25–4.75″ (11–12 cm) diameter unless otherwise noted. That fits a mug and leaves room for condensation without wasting table space.
- Elastic behavior: Cotton stretches a little. If you prefer a firmer coaster, use a slightly smaller hook or a denser stitch (hdc/sc).
- Abbreviations (US terms): MR = magic ring; ch = chain; sc = single crochet; hdc = half double crochet; dc = double crochet; tr = treble; sl st = slip stitch; inc = 2 sc in same st; dec = sc2tog; BLO/FLO = back/front loop only; sp = space. Work in joined rounds (sl st join) unless specified.
- Blocking: Wet-block each coaster flat after finishing to even stitches. Cotton loves to be pinned and left to dry.
- Finishing trick: Weave tail through 20–30 mm of stitches and bury the knot under the coaster so it can’t be tugged out. A tiny drop of clear fabric glue under the knot adds peace of mind.
1. Crochet Watermelon Coaster Pattern
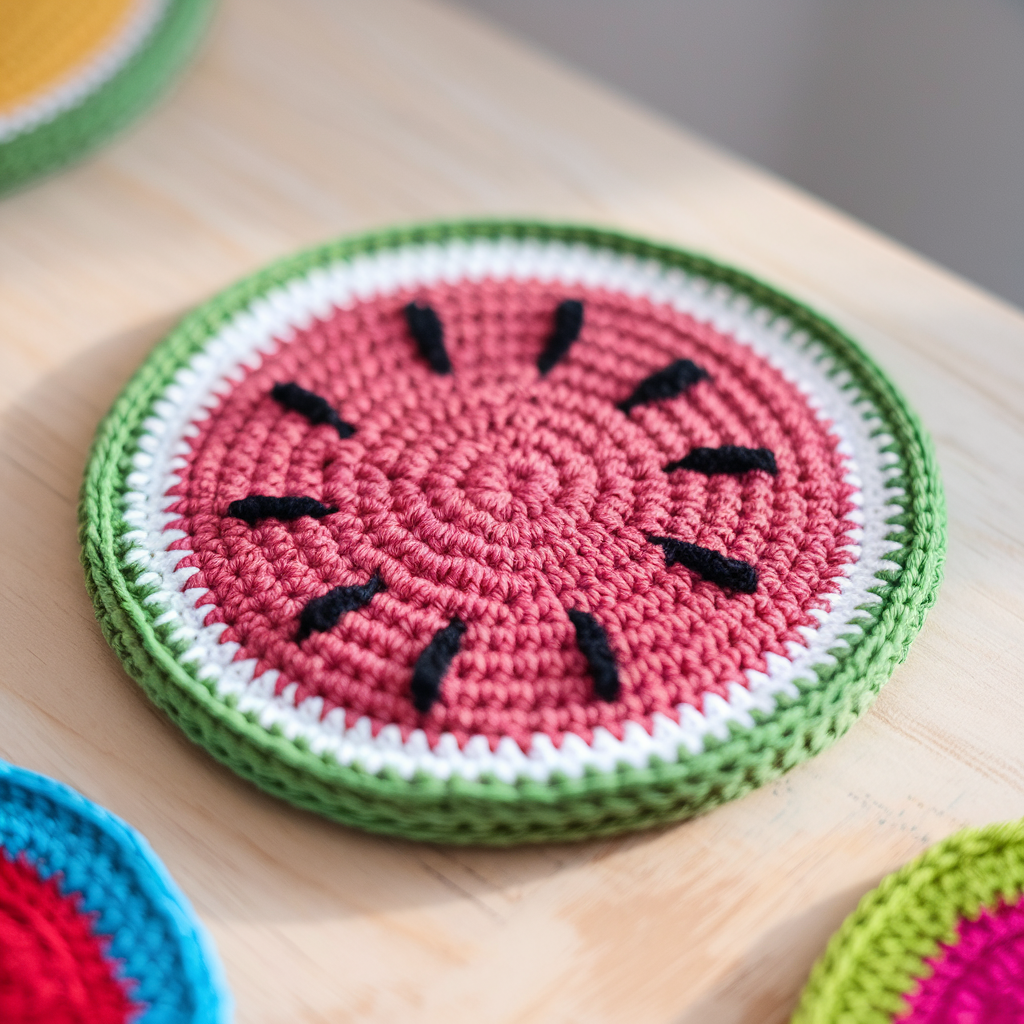
Bright, summery, and cute — a mug-size watermelon round with rind stripe and embroidered seeds. Fast and giftable.
Skill level: Confident Beginner
Materials: worsted cotton in Pink (A), White (B), Green (C), small amount Black (for seeds); 4.0 mm hook; tapestry needle; blocking pins.
Finished size: ~4.5″ (11.5 cm) diameter.
Gauge (informal): work 6 rounds = ~2.0–2.25″ across (varies by tension). Adjust rounds for size.
Construction overview
Work a flat circle in pink (center), then change to white for a thin rind transition, then to green for the outer rind. Add embroidered seeds with black yarn.
Step-by-step (round counts for worsted + 4.0 mm)
Center pink circle
- MR, R1: ch1, 6 sc into MR; pull closed. (6)
- R2: inc around — 12.
- R3: sc 1, inc around — 18.
- R4: sc 2, inc around — 24.
- R5: sc 3, inc around — 30.
- R6: sc 4, inc around — 36.
- R7: sc 5, inc around — 42. (At this point pink circle ≈ 3.75–4″; choose to continue one more round of pink depending on how large you want flesh.)
- Optional R8 (if you want slightly bigger pink area): sc 6, inc around → 48.
White rind stripe
9. Join white (B) in next st, R1 (white): ch1, sc in each st around — 1 full round of white (keeps color transition neat). Join, fasten off white.
Green rind
10. Join green (C): R1 green: sc in each st around — join.
11. R2 green (edge finish): sc in each st around; sl st to join. Or for decorative scallop: sc, sk1, (3 dc in next), sk1 around for a scalloped rind. Fasten off and weave ends.
Embroidered seeds
12. Using tapestry needle & black yarn, embroider small seeds across the pink area: make 6–10 small straight stitches or tiny french knots arranged in a semi-random arc. Keep shapes tapered: start short, pull through, and taper the stitch slightly to look like seeds.
Finishing
- Block flat on a pin board to set the circle.
- Weave in tails. Trim and hide the seed knot tails on the underside.
Variations
- Make mini-watermelon coasters by stopping a round earlier (about 30 sts) for cocktail-size mats.
- Use variegated pink yarn for a natural melon look.
- Add a tiny loop of colored yarn and a charm to make it a hanging trivet for novelty kitchens.
2. Crochet Boho Heart Coaster Pattern
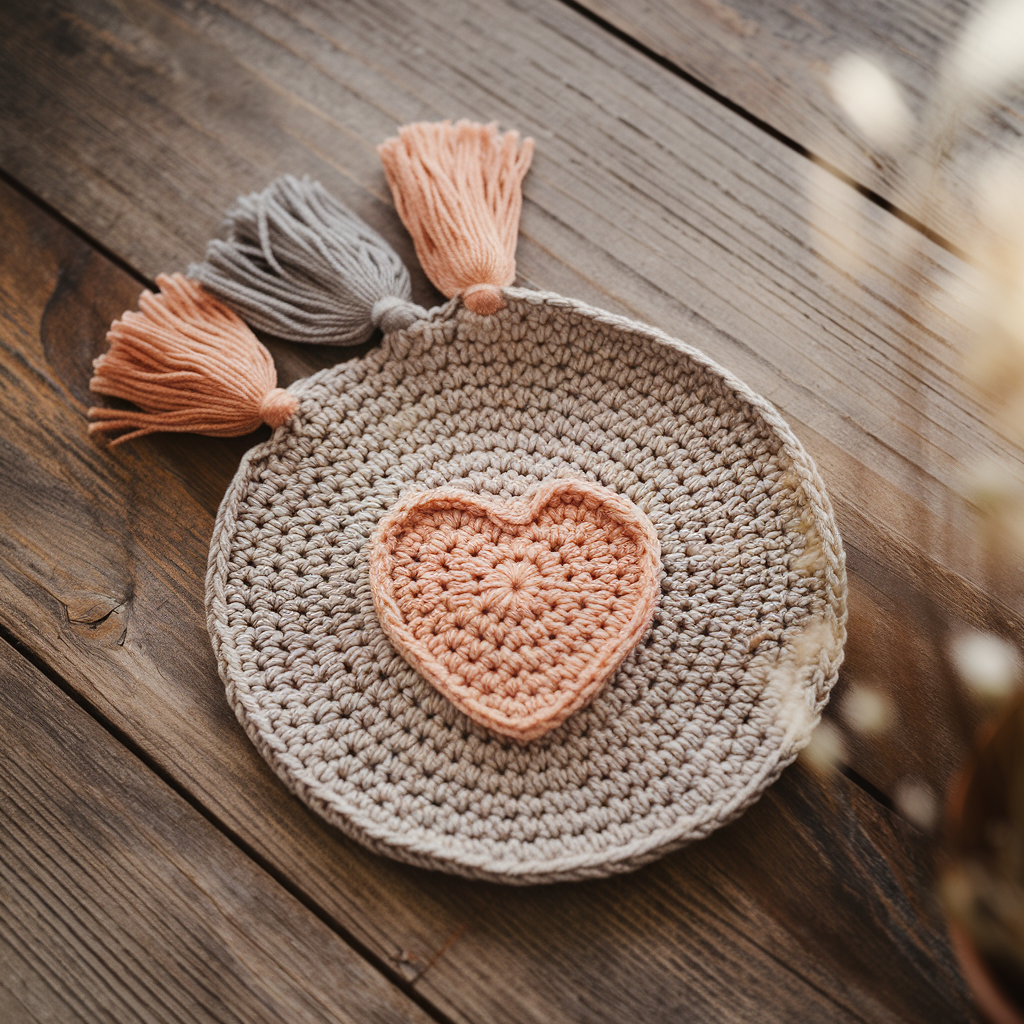
A coaster with a heart motif and a relaxed boho fringe or tassel — chic on a nightstand and surprisingly gender-neutral if you pick the right colors.
Skill level: Intermediate (shape + small embellishment)
Materials: worsted cotton in two colors (Background A and Heart B), 4.0 mm hook, tapestry needle, optional small tassel maker or scrap card for tassels.
Finished size: heart sits on a round coaster ~4.5″ diameter; heart motif ~3″ tall.
Construction overview
Make a round coaster base in color A, then crochet a heart overlay in color B and sew it centered on top. Add a short tassel or fringe on one side for boho vibe.
Round coaster base (same technique as basic circle)
- MR, R1: ch1, 6 sc in MR (6).
- R2: inc around → 12.
- R3: sc, inc → 18.
- R4: 2 sc, inc → 24.
- R5: 3 sc, inc → 30.
- R6: 4 sc, inc → 36. (Add R7 if needed for size.) Fasten off and weave tails.
Heart applique (flat heart worked in rows)
Use a small heart pattern that fits on coaster.
Heart (work flat)
- With Color B, ch 8. Row1: sc in 2nd ch from hook and across (7 sc). Turn.
- Row2: ch1, sc across 7. Turn.
- Row3: ch1, sc2tog at first 2 sts (dec), sc across until last 2 sts, sc2tog at end — reduces to 5 sc. Turn.
- Row4: ch1, sc across 5. Turn.
- Now create left lobe: ch1, sc2tog (left decrease) work 3 sc in the next st to create a small popcorn/lobe: (5 dc cluster?) — OK, more reliable method: make two circular lobes separately and sew onto a triangle base.
Safer method: make two small round lobes and a triangle base, then sew together.
Lobes (make 2)
- MR, ch1, 6 sc in MR; pull tight; R2: sc, inc → 9; fasten off leaving tail.
Triangle base
- ch 6, Row1: sc in 2nd ch from hook across (5), Row2: dec at start/end to shape into triangle: ch1, sc2tog at start, sc1, sc2tog -> 3 sts; ch1, sc across -> 1 or 3 rows to taper.
Assembly
- Arrange triangle base and sew both lobes to the top corners of triangle so you get a heart shape. Sew securely, then sew heart to center of coaster with small whipstitches around edge.
Tassel/fringe
- Make 3–5 short tassels with scrap yarn and attach to one side of coaster for boho look — tie securely and trim evenly.
Finishing
- Block the coaster with heart in place to flatten everything evenly. Sew in tails securely.
Variations
- For a cleaner look, do an intarsia-style heart: change color on the coaster rounds and work heart into the round (advanced colorwork).
- Make a set of three hearts in varying sizes and mount them on a single long runner.
3. Crochet Wheelie Coaster Pattern
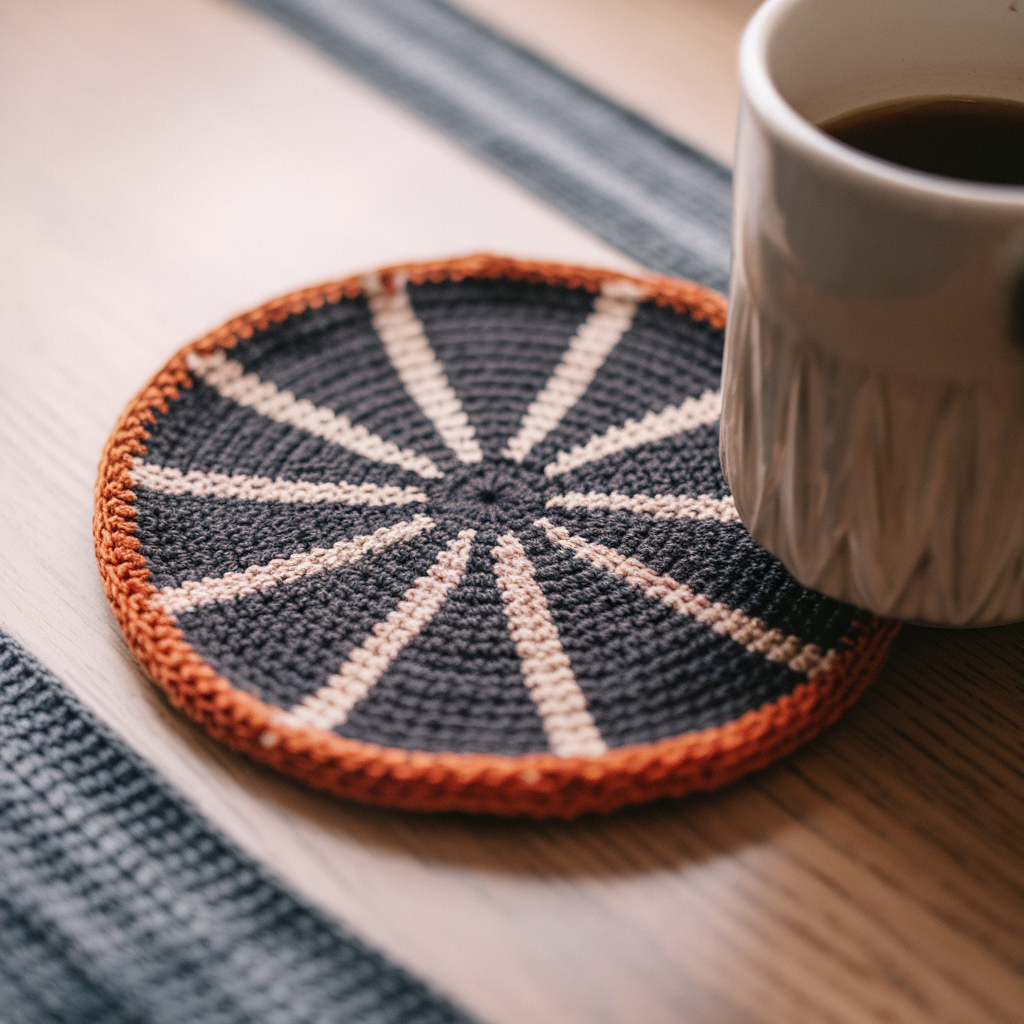
Mid-century modern meets mug coaster — a circular coaster with bold spokes radiating from the center. Surprisingly simple but visually powerful.
Skill level: Confident Beginner (post stitches + weaving)
Materials: worsted cotton (Main A and Accent B), 4.0 mm hook, tapestry needle.
Finished size: ~4.25–4.75″ diameter.
Construction overview
Work a centered circle base in Main A. Create evenly spaced post stitches that form raised spokes; alternatively create surface slip-stitch spokes in Accent B and secure. I give two methods: post-stitch raised spokes and surface-spoke embroidery.
Base circle
- MR, R1: ch1, 6 sc in MR. (6)
- R2: inc around → 12.
- R3: sc, inc → 18.
- R4: 2 sc, inc → 24.
- R5: 3 sc, inc → 30.
- R6: 4 sc, inc → 36. (Adjust rounds so final diameter ~4–4.5″.)
Spoked wheel — Option A: front-post spokes (textured)
- Mark 8 equally spaced stitch positions around final round (36 sts / 8 = 4.5 → choose every 4 or 5 sts to get 8 spokes: pattern = 4,5,4,5 to distribute). Place stitch markers to mark your spoke anchor points.
- Next round: ch1, sc evenly until just before a marker, then work fpdc (front-post double crochet) around the corresponding stitch from R4 or R5 below to start a raised column from center outward. Continue sc between spokes. You’ll create short fpdc columns of 3–5 stitches tall that radiate outward; repeat at each marker. For a wheel effect, make spoke columns taller in the center and taper toward rim: e.g., near center 5 fpdc tall, mid 3 fpdc tall, outer 1 fpdc tall; this makes a tapered spoke.
- Finish top round with sc to tidy edge.
Spoked wheel — Option B: surface-sl st spokes (clean lines)
7b. Using Accent B, attach with sl st at center or just outside center; ch to long length and lay across coaster radially, working surface sl st along laid yarn into base rounds to secure. Repeat for 8 spokes evenly spaced. This yields crisp flat spokes and easier uniformity.
Edge finish
- One round sc in Main A or Accent B to tidy outer edge. Optionally add a crab-stitch (reverse sc) for a polished look.
Finishing
- Block flat. For the post-stitch version, steam lightly to set columns. For surface-sl st spokes, be careful not to pull too tight (keeps coaster flat).
Variations
- Make 6 spokes for a more minimalist look, or 12 for a starburst.
- Use contrast color for outer edge ring for a vintage vibe.
4. Crochet Fall Pumpkin Coaster Pattern

Seasonal classic: a round coaster that reads pumpkin with ribbed segments and a tiny stem knob. Great for selling as a set.
Skill level: Confident Beginner → Intermediate (post stitches for ribs + small applique)
Materials: worsted cotton Orange (main), Brown or Dark Green (stem), 4.0 mm hook.
Finished size: ~4.5″ diameter.
Construction overview
Work a flat round base in orange. Use post stitches (fpdc/bpdc) to make vertical ribbing that mimics pumpkin sections. Add a small stem appliqué and optional leaf.
Flat round base (orange)
- MR, R1: ch1, 6 sc in MR. (6)
- R2: inc around → 12.
- R3: sc, inc → 18.
- R4: 2 sc, inc → 24.
- R5: 3 sc, inc → 30.
- R6: 4 sc, inc → 36. (You may do one more round if you want larger placemat.)
Pumpkin ribs (post stitch method)
- Decide number of ribs: 8 ribs is classic. With 36 sts, place markers every 4 or 5 sts. Use fpdc/bpdc vertical columns along radial lines:
- R7: ch1, sc to first marker.
- R8: Working in front of the coaster, place a fpdc around the post of the stitch at marker 1 (from previous rounds) and make a short column of 4 fpdc in successive rounds (i.e., work fpdc for 3–4 rows to build a raised column). Repeat for each marker around to form ribs. Alternatively, make two rounds of front-post half-double crochet around the stitches at marker positions so you have raised ridges that look like pumpkin segments.
- After building all ribs, finish with a tidy sc or picot edge.
Stem & leaf applique
Stem
- With Brown: ch 6, sl st back 5 to make a thick tube (or single crochet back and forth for 6 sts to make small tube), fasten off leaving long tail. Stuff slightly or leave flat. Sew to top center.
Leaf
- With green: ch6, sc, hdc, dc, hdc, sc across chain then sl st to base and shape leaf; sew next to stem.
Assembly
- Sew stem and leaf very securely through the coaster layers with multiple passes. If selling, add a dab of glue inside stem base then stitch for insurance.
Finishing & care
- Block flat. The ribs will stand up slightly but should lay comfortably under a mug.
Variations
- Make a set in different pumpkin sizes (coaster, trivet, mini trivet).
- For spooky season, embroider a tiny jack-o’-lantern face in contrasting color and sell as Halloween novelty.
5. Crochet Clover Coaster Pattern
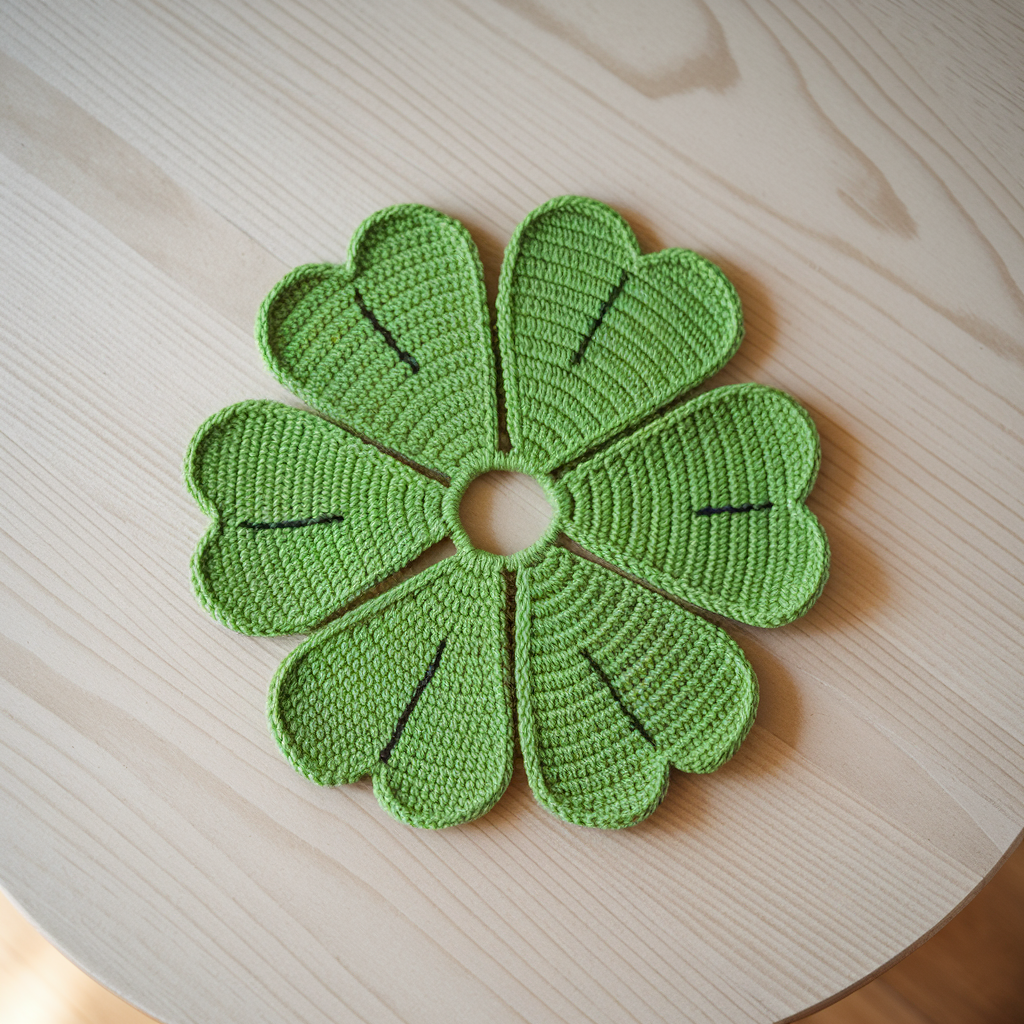
Lucky and elegant — a four-leaf clover coaster built as a circle with four petal lobes, perfect for St. Patrick’s gifts or subtle natural themes.
Skill level: Confident Beginner
Materials: worsted cotton green shades (Main + Accent), 4.0 mm hook.
Finished size: ~4.25–4.5″ diameter.
Construction overview
Make four small heart/petal motifs joined at the center to form a clover on a round backing, or work petals directly around a central ring for a seamless look. I’ll give the direct method that yields a single flat piece.
Direct clover (worked in rounds, 4 lobes joined)
Center
- MR, ch1, 8 sc in MR; pull tight. (8)
- R2: ch3, turn working shells into each of the 8 sc around to form 4 lobes as pairs of sc spaces.
Petal formation (four lobes)
We’ll make 4 lobes; each lobe is a small petal cluster.
- Attach yarn at position for first lobe:
- Lobe: ch 3, (2 dc, ch2, 2 dc) in same st (creates a fan/petal), sl st into the sc two st to the right (or into the next designated join point). Repeat to make second lobe adjacent so you create a pair — continue around to make 4 lobes total (space your lobes evenly — if you started with 8 sc in center, place lobes into every 2nd sc to make 4 lobes).
- You’ll have four fan-petal shapes radiating from the center. Fasten off.
Backing rim
5. Join main color around the outside of petals with sc in gaps to create a continuous round: sc in each outer dc of petal, sc in ch spaces between petals, around, making sure to add 4–6 increases evenly to flatten the backing. Aim for 36–40 sc around final round for ~4.25″ finished size (adjust if your gauge differs).
Finishing
- Weave in ends behind center. Optionally embroider tiny veins on petals with darker green to make it realistic.
Variations
- Make three-leaf shamrock (omit one lobe) for more botanical accuracy.
- Add a small stem strip sewn to back for a literal shamrock coaster.
Final finishing & care (applies to all patterns)
- Blocking: Wet-block cotton coasters flat, pin to shape, and let dry completely. This evens stitches and makes stacking neat.
- Weaving tails: Weave each tail back through at least 20–30 mm of fabric or through several rounds and tie with a secure knot before trimming. A tiny dot of clear fabric glue under the knot is fine for gifts.
- Wash care: Machine wash gentle cold and air-dry flat when using 100% cotton. Avoid high heat in dryer to prevent shrinkage and curling.
- Durability: If you expect wet glasses, consider backing coasters with thin cork circles glued to the underside — this protects tables and keeps coasters from slipping. Cork can be cut using a craft knife and glued with fabric glue.
conclusion
There. Five coaster patterns that actually get used: watermelon (fun and seasonal), boho heart (giftable and cute), wheelie (modern and graphic), fall pumpkin (seasonal bestseller), and clover (charming and simple). Each one is designed to be fast to make, easy to wash, and lovely stacked as a gift set. Make a set of four in coordinating colors, block them flat, tuck them with a ribbon and a small tag, and you’ve got a present people will actually leave on a table — not in a drawer.