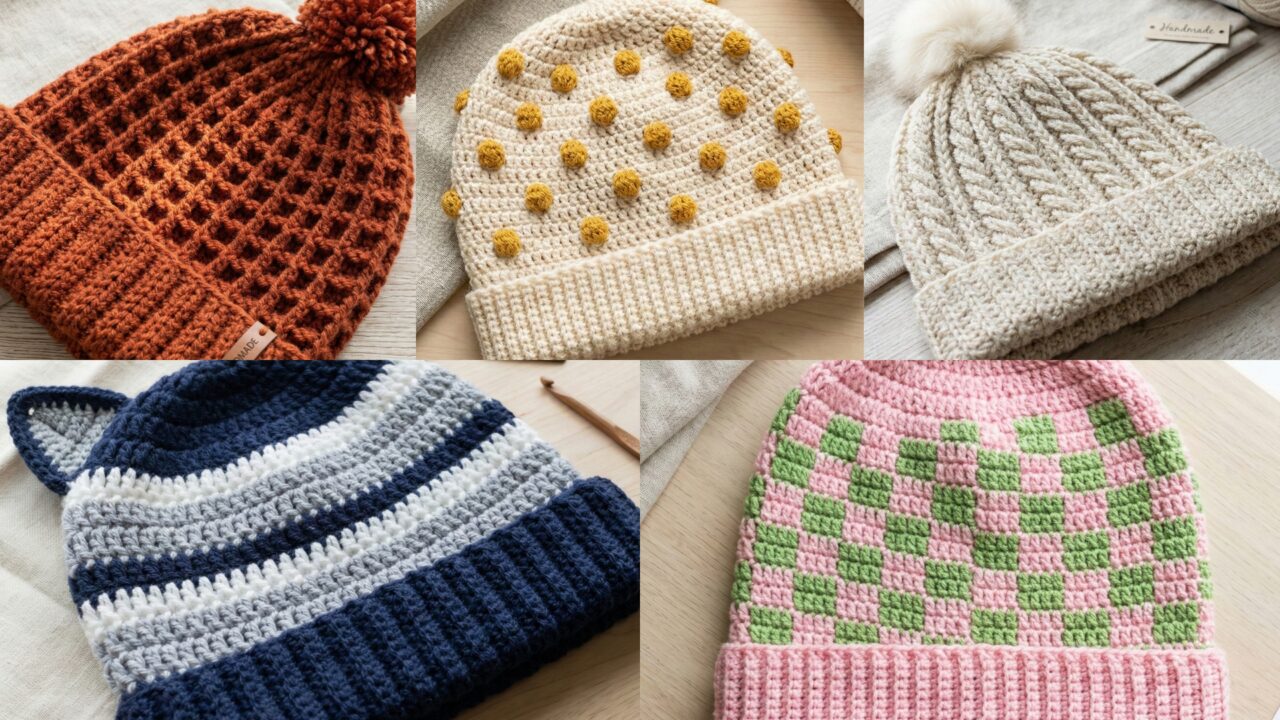
Beanies are one of the best gift projects: quick, portable, and always appreciated. Below you’ll find a full, publish-ready blog post with a single introductory section (tools, sizing, gauge math) followed by five complete beanie patterns: Pink & Green Checkered, Hersschner Beanie, Polka Dot Beanie, Waffle Stitch Beanie, and Cat-Ear Striped Beanie. Each pattern includes skill level, materials, a worked example with careful stitch-by-stitch instructions for an adult medium, sensible variations, finishing notes, and blocking/fit tips so the hat will be wearable and neat.
Quick essentials (tools, sizing, abbreviations, sample gauge math)
Tools & notions
- Yarn: worsted/aran (Category 4) is a great all-round choice for beanies. Cotton blends can work but are less elastic; bulky yarns make very quick hats.
- Hooks: for worsted, 5.0 mm (H) is common. I use 5.0 mm in the worked examples below.
- Notions: tapestry needle, stitch marker, scissors, measuring tape, optional stitch markers for crown shaping.
Common abbreviations (US)
- ch = chain
- sl st = slip stitch
- sc = single crochet
- hdc = half double crochet
- dc = double crochet
- tr = treble crochet
- st(s) = stitch(es)
- rep = repeat
- inc = increase (work 2 stitches into same stitch)
- dec = decrease (work stitches together as specified)
- MR = magic ring
Sizing basics
- Typical adult hat target circumference (unstretched): Small ~20 in, Medium ~22 in, Large ~24 in. Beanies stretch — aim for 2–4% negative or positive ease depending on desired fit.
- Length: Adult beanie crown to brim usually 8.5–10 in (short beanie ~8.5 in; slouch ~10+ in).
Sample gauge and stitch math (worked example)
We’ll use the same gauge example for every hat to show calculations: 12 dc = 4.00 in (this is a common sample; always measure your own swatch).
- Convert to stitches per inch (spi): 12 ÷ 4.00 = 3.0 dc per inch.
- To fit a medium adult head (22.00 in): multiply spi × circumference → 3.0 × 22.00 = 66.00 dc. So target around 66 stitches for the final round (brim join) for this gauge. If your gauge differs, recalc exactly the same way.
Crown increase method (reproducible approach)
Most beanies begin at the crown and increase in rounds until the flat circle equals approximately the head’s circumference. A reliable increase series using a 10-point base is easy to follow and scales predictably:
- Round 1 (MR): 10 dc (10 sts)
- Round 2: inc in every st → 20 dc
- Round 3: dc, inc rep → 30 dc
- Round 4: dc2, inc rep → 40 dc
- Round 5: dc3, inc rep → 50 dc
- Round 6: dc4, inc rep → 60 dc
- Round 7: dc9, inc rep 6 times → 66 dc (example to reach 66 target)
Round 7 math check (digit by digit): before round = 60 sts. Pattern dc9, inc repeated 6 times consumes 6 × (9 + 1) = 60 previous stitches; each group produces 9 + 2 = 11 new stitches → 6 × 11 = 66 final. This distribution works nicely to reach the example target of 66. If your target is different adjust the final increase round by changing the spacing (for example dc8, inc or dc10, inc etc.) — always verify counts before continuing.
After you reach the approximate circumference, stop increasing and work even rounds until the hat length equals your desired measurement, then add brim (rib, folded cuff, or applied border).
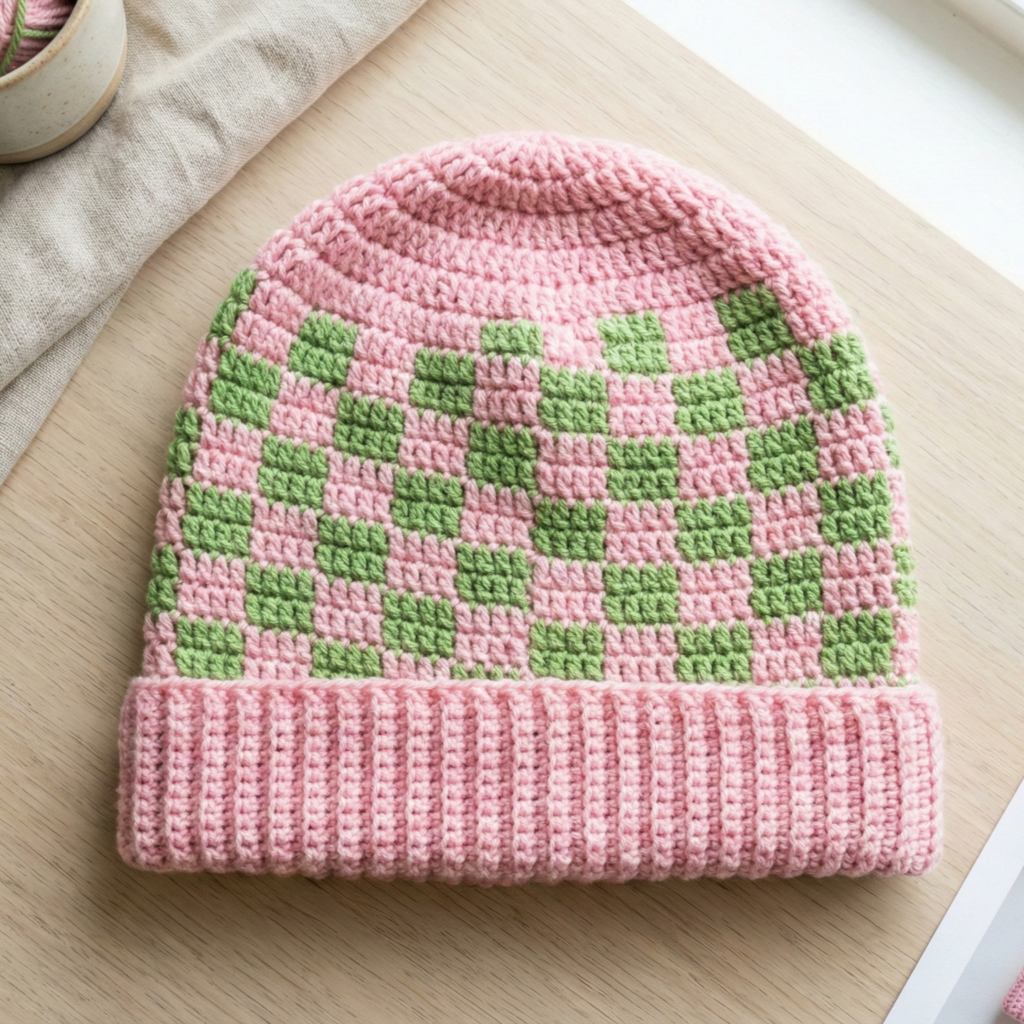
1. Crochet Pink & Green Checkered Beanie Pattern
Skill level: confident beginner (basic color changes in the round)
Vibe: playful, retro checkboard — great for a pop of color.
Materials (adult medium example)
- Worsted weight yarn: Pink (MC) ~120 yd, Green (CC) ~60 yd.
- Hook: 5.0 mm.
- Tapestry needle, stitch marker.
Gauge and sizing example
Using sample gauge: 3.0 dc/in → target circumference 66 dc for 22.00 in head. Follow the crown increase scheme above to make the crown circle; stop increases when you reach 60 sts then perform the final increase round to reach 66 sts as shown.
Construction overview
- Work crown increases (as shown in general instructions) in MC, ending at 66 sts.
- Switch to mosaic check pattern worked in rounds using two colors to create a checkboard — color changes are made every 1 or 2 stitches so floats are short. Alternatively work color changes every round shifting squares for checkerboard.
Step-by-step (worked example)
Crown
- MR, ch 2, work 10 dc into MR; pull tight — 10 dc. Do not join, work in continuous spiral or join and use stitch marker. (10)
- Round 2: inc in each st → 20 dc.
- Round 3: dc, inc around → 30 dc.
- Round 4: dc2, inc around → 40 dc.
- Round 5: dc3, inc around → 50 dc.
- Round 6: dc4, inc around → 60 dc.
- Round 7: dc9, inc × 6 → 66 dc. Verify final count = 66.
Checkboard body (5×5 pixel effect using 2-row squares)
8. Work even rounds in dc in colorwork mosaic: plan squares sized 2 rounds × 2 sts each. Example scheme: for round 8 change to CC for first 2 stitches, MC next 2, CC next 2, etc. On next round continue in the same color for those stitches to build a 2-row block. Alternate starting color every 2 rows to stagger blocks into a checkerboard. Carry the unused color at the back and catch floats every 3 stitches to keep tension even. (If you prefer to avoid floats, work small color blocks as appliqués.)
- Continue until hat height measures ~8.5 in from top (for a fitted beanie). Adjust height to taste.
Brim
10. Work 6 rounds of hdc BLO in MC for a neat folded cuff — fold and stitch down or leave unfolded.
Finishing
- Weave ends; block lightly to even the check pattern.
Variations
- Use 3 colors for a multicolor checkerboard.
- Make bigger blocks (4×4) by changing stripe width (4 rows × 4 sts).
2. Crochet Hersschner Beanie Pattern
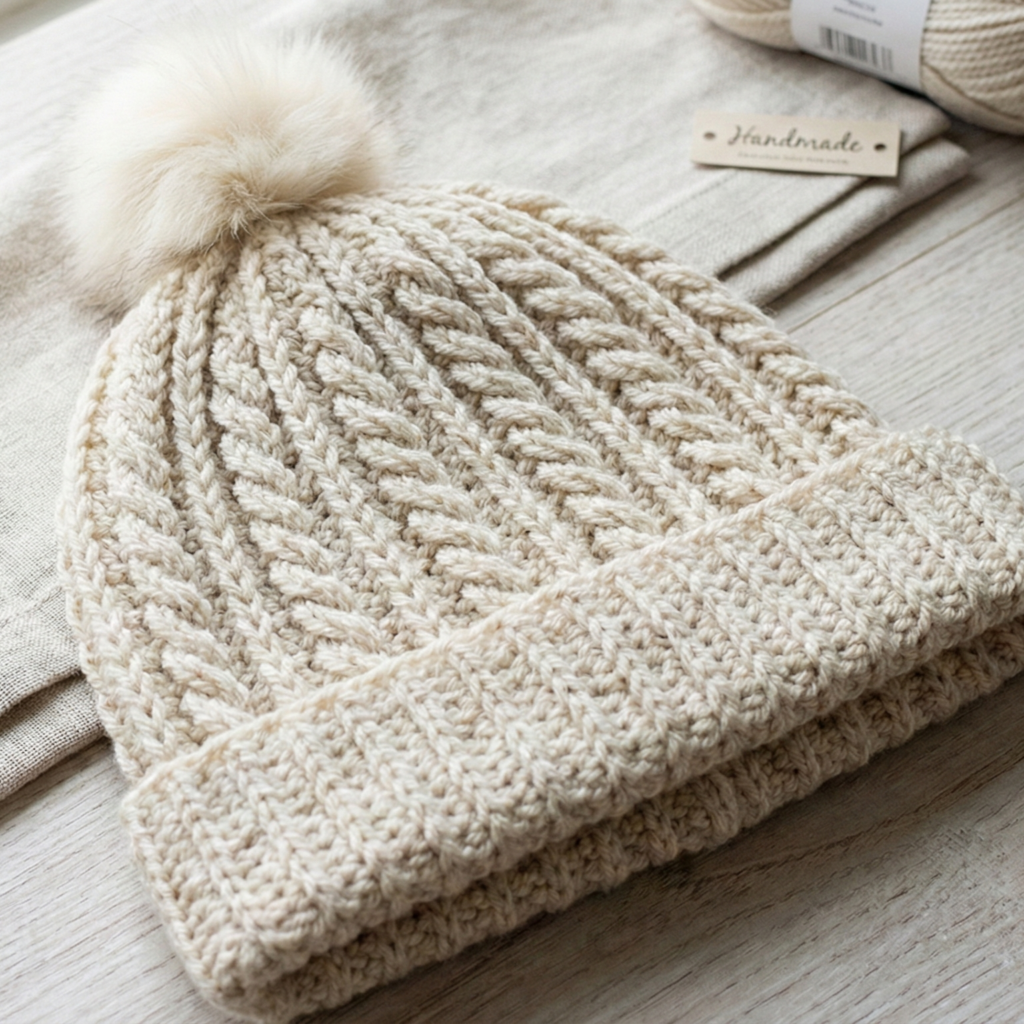
Skill level: intermediate (texture + rib work)
Vibe: textured rib / mock cable look — a refined, cozy beanie.
(Note: “Hersschner” here references a textured, ribbed beanie style — the pattern below creates a ribbed band and a textured body reminiscent of designer rib/cable effects.)
Materials (adult medium)
- Worsted weight yarn ~150–180 yd.
- Hook: 5.0 mm.
- Stitch markers, tapestry needle.
Sample gauge & target stitches
Same gauge → target circumference = 66 dc.
Construction overview
- Create crown using the increase scheme to reach 60 sts then a final spacing increase to 66.
- Work body in an alternating front-post/back-post rib pattern that creates a mock cable column (Hersschner texture).
- Finish with a folded rib brim.
Step-by-step (worked example)
Crown
1–7. Follow the crown increase rounds (10→66) as described earlier.
Body
8. Round 8 (setup): ch 2, dc in next 2 sts, fpdc around next 2 sts, bpdc around next 2 sts repeat across to establish columns. (This creates repeated groups of plain and post stitches.) Turn or continue in the round.
9. Round 9: ch 2, dc in each dc across; for fp/bp columns, work the same post stitches but alternate ordering on the cross rows to mimic a braided turn: e.g., on Round 11 perform a cross by working into posts in reversed order to create a subtle twist. For clarity, a simple repeat to create mock-cable height is:
- Rows A (even): 2 dc, fpdc 2 sts, bpdc 2 sts
- Rows B (increase texture): 2 dc, bpdc 2 sts, fpdc 2 sts
Alternate A/B for the body until you reach desired height (~7–8 in).
Brim
10. Work 8 rounds of sc in BLO to create a firm rib casing, fold inward and stitch to create folded brim.
Finishing & shaping
- Block lightly so post stitches sit upright.
- For a chunkier version use a larger hook and add a pom-pom on top.
Variations
- Make the post columns taller (use fp tr/ bp tr) for a more pronounced cable look.
- Add a narrow contrasting color stripe at the brim.
3. Crochet Polka Dot Beanie Pattern

Skill level: confident beginner (simple bobbles or surface bobbles)
Vibe: cheerful polka dots — created with either bobble stitches worked into the body as you go, or tiny appliqué dots sewn on after.
Materials (adult medium)
- MC yarn ~140 yd; small amount of CC for dots.
- Hook: 5.0 mm.
- Yarn needle.
Gauge and sizing
Target circumference 66 sts at working gauge.
Construction overview
- Work crown to target circumference.
- Work even rounds in a solid color body.
- Add polka dots by making small bobble stitches in contrasting color in predetermined grid positions, or create tiny 6-sc appliqué circles and sew them on.
Step-by-step (worked example: bobble method)
Crown
1–7. Work crown increases to reach 66 sts.
Body
8. From Round 8 onward, work dc rounds even in MC until hat measures 7.0 in from crown.
Polka dot placement
9. Map dot placement: with 66 sts circumference, you can arrange columns every 6 sts to yield 11 columns. For a tidy grid, plan rows every 4 rounds vertically. Example: place a dot at stitch positions 3, 9, 15, 21, etc., on round 10; then stagger on round 14. Use stitch markers or mark with a removable marker to maintain even spacing.
Bobbles
10. Bobble stitch (standard small bobble): yo, insert hook into stitch, pull up loop — repeat 3 more times (4 loops on hook), yo, draw through all loops, ch 1 to close bobble. When making bobbles in colorwork, change to CC before the bobble, make the bobble, sl st into next st with MC and carry CC loosely on WS or fasten off short tails and sew in. Alternatively, work bobbles in MC and add surface bobbles later with small knots.
Brim
11. Work 6 rounds hdc BLO for a soft cuff.
Finishing
- Weave ends; if you used appliqué dots, sew them on securely and weave tails to inside.
Variations
- Tiny seed-bead embellishments sewn in center of each dot for sparkle (adult gift only—avoid for children).
- Change dot density for a subtle vs. bold look.
4. Crochet Waffle Stitch Beanie Pattern
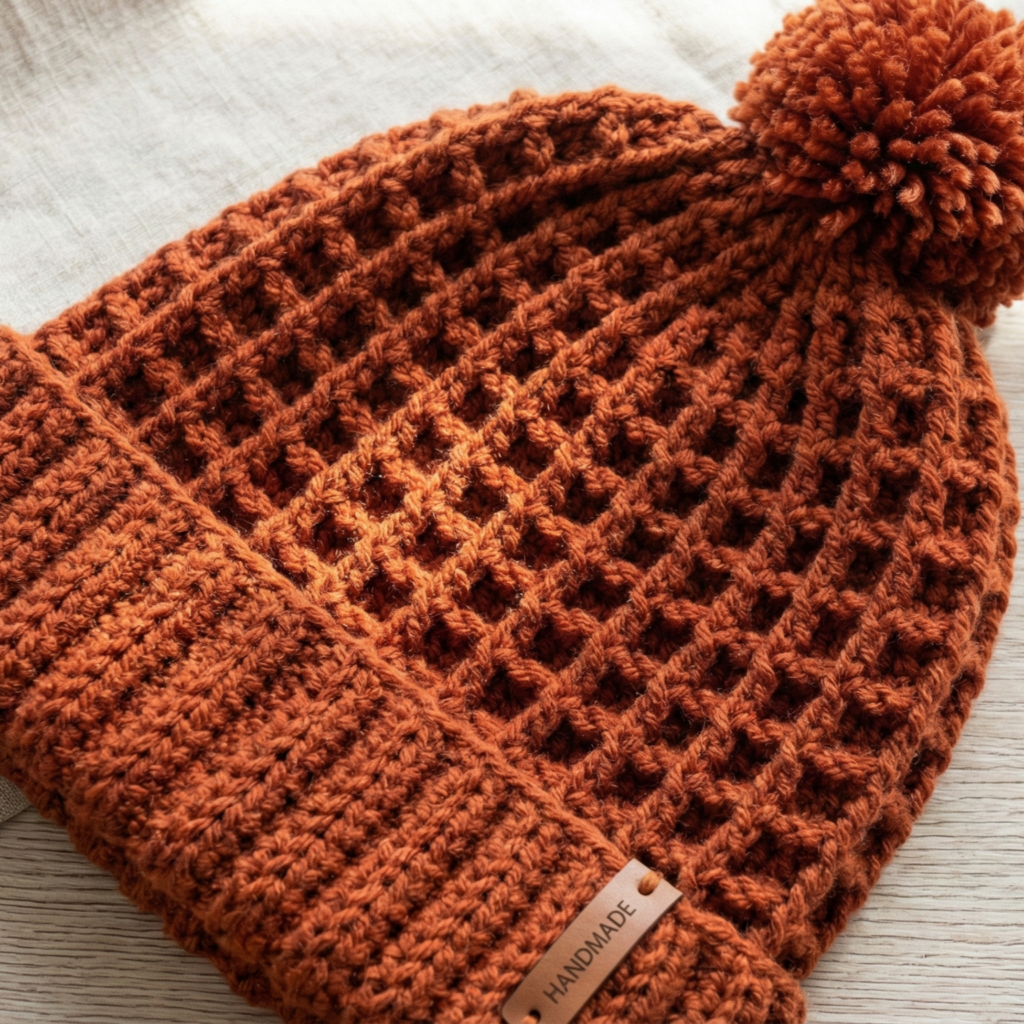
Skill level: intermediate (post stitches, textured waffle)
Vibe: deep waffle texture — very warm and cozy; classic winter hat.
Materials (adult medium)
- Worsted or aran weight yarn ~160–200 yd.
- Hook: 5.5 mm for an airy waffle or 5.0 mm for tighter texture.
- Tapestry needle.
Waffle stitch basics
Waffle stitch uses a repeat of front-post double crochet (fpdc) clustered with dc to make a raised waffle grid. It is reversible to some degree and blocks into a pleasing texture.
Construction overview
- Crown increases to ~60 sts, then perform a final increase to reach final circumference (66 sts) if needed.
- Work waffle stitch pattern in rounds until desired length.
- Finish with a firm folded or ribbed brim.
Step-by-step (worked example)
Crown
1–7. Follow crown increases to approx 60 sts. If you prefer, stop at 60 and use the final spacing increase round to reach 66 as shown earlier.
Waffle body pattern (worked in the round)
8. Pattern multiple = multiple of 3. Using 66 sts fits 22 repeats of 3.
Round 1 (setup): ch 2, fpdc around next st, dc in next 2 sts repeat around. Join.
Round 2: ch 2, fpdc around the fpdc from previous round, dc in next 2 sts repeat (this builds the waffle columns).
Repeat Round 2 for height until hat measures ~8.0–9.0 in from crown.
Brim
9. Work 6–8 rounds of sc or hdc BLO for a foldable cuff. Fold and stitch if you prefer a double-thick brim.
Finishing
- Block lightly to even the waffle pockets.
- Add a pom for a playful finish, or leave plain for a clean look.
Variations
- Use a bulky yarn and a larger hook for an ultra-cozy waffle beanie that knits up very quickly.
- Work a couple of rounds of color contrast at the brim.
5. Crochet Cat-Ear Striped Beanie Pattern
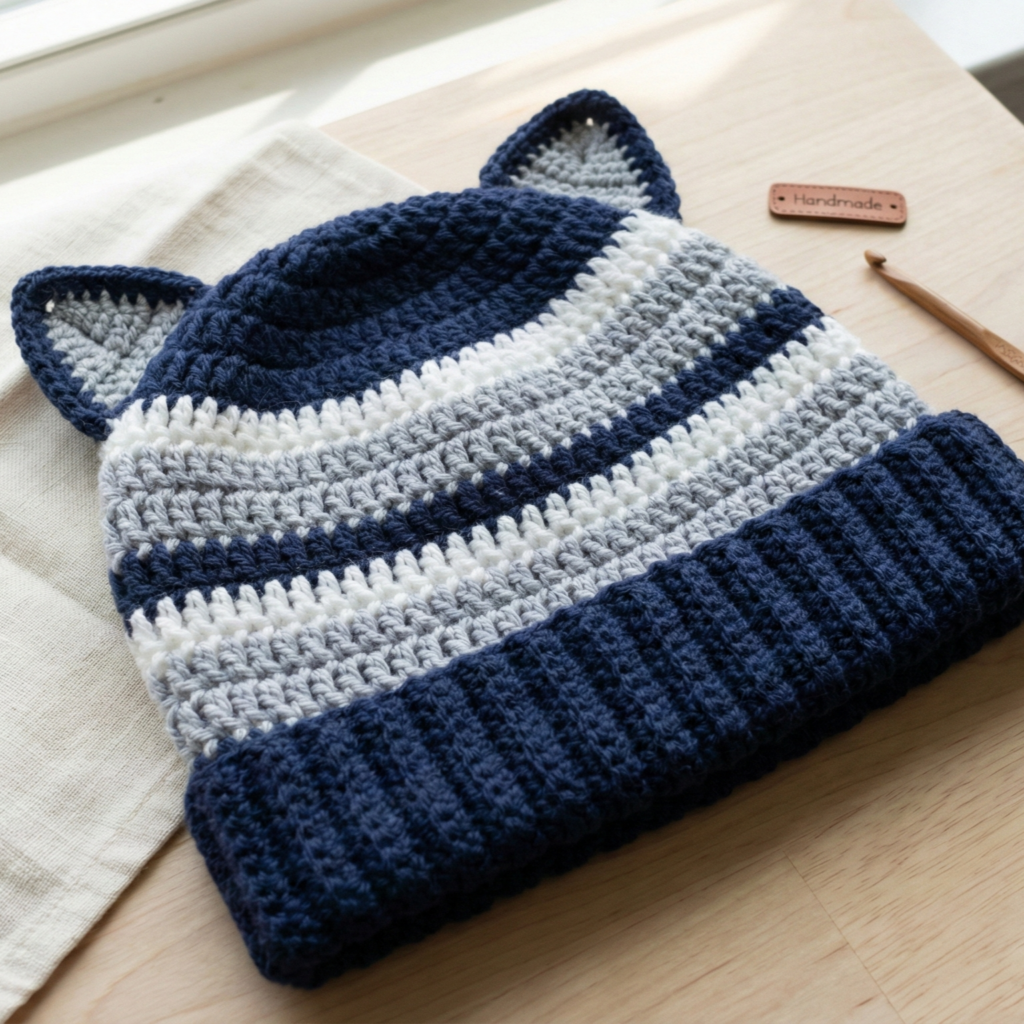
Skill level: confident beginner → intermediate (ear shaping + stripes)
Vibe: playful striped beanie with little cat ears — perfect for teen gifts or anyone who loves whimsical accessories.
Materials (adult medium)
- Worsted weight in two or three striped colors (e.g., navy + gray + white) total ~160 yd.
- Hook 5.0 mm.
- Tapestry needle, stitch markers.
Sizing & crown
Same crown increase approach — target 66 sts final round.
Construction overview
- Work crown increases in MC, switch to stripe sequence on body.
- After body reaches near desired height, make two small triangular ear pieces and attach to the top front.
- Finish with folded rib brim.
Step-by-step (worked example)
Crown
1–7. Work crown increases to 66 sts in MC.
Striped body
8. Decide stripe pattern — e.g., change color every 2 rounds: Round 8–9 color A, Round 10–11 color B, Round 12–13 color C, repeat until hat measures approx 7.5 in (for a moderate slouch) or 8.5–9 in for more coverage.
Ear construction (make 2)
9. With desired ear color, ch 6. Row 1: sc in 2nd ch from hook, sc in next 4 (5 sc). Turn. Row 2: ch1, sc2tog, sc across to last 2 sts, sc2tog — small decrease row. Row 3: ch1, sc2tog, sc across to last 2, sc2tog — repeat decreases until 1–2 sc remain. Fasten off leaving long tail for sewing. Make a second ear mirror image (or same method).
Alternative triangular ear (worked flat):
- MR, ch 1, 6 sc in MR; Round 2: sc2tog twice to form triangle tip; fasten off.
Attach ears
10. Fold triangular piece to create defined ear crease and sew to top edge of hat — place ears symmetrically about 2–3 in apart depending on style. Make small, tidy stitches through hat and ear piece base; reinforce with 3–4 passes so ears are secure.
Brim
11. Work 6 rounds hdc BLO to create a soft folded cuff. Fold and stitch down if you prefer double thickness.
Finishing
- Weave ends and tidy stripes; trim tails.
- Optional: add a small embroidered nose or whisker detail near forehead area (subtle decorative touch).
Variations
- Make the ears oversized for a cosplay look or undersized for a cute accent.
- Convert ear triangles to little pom-pom ears by making small pom-poms and sewing them on.
Final finishing and blocking notes (applies to all patterns)
- Weave ends carefully: always bury tails through 2–3 stitches paths and trim.
- Blocking: Beanies usually need light blocking only — wet block and shape over a ball or bowl for even look. Wool can be gently steam blocked.
- Fit check: Try hat on or measure against a flat head circumference (22 in example) before finishing brim so you can add/subtract rounds if needed.
- Care: Follow yarn label. Most worsted acrylics are machine washable; wool should be hand washed and flat dried.
Conclusion
These five beanie designs give you a full set of quick, giftable hats for different tastes: color-packed checkers, refined Hersschner texture, playful polka dots, deep waffle coziness, and a whimsical cat-ear striped hat. Each pattern uses the same straightforward crown-increase approach and sample gauge math, so once you make one hat you’ll be able to scale the others quickly for different sizes or yarn weights. Keep your gauge consistent, check counts at the end of increase rounds, and adjust the final increase spacing to reach your exact circumference target. Happy crocheting — these hats make thoughtful, handmade gifts that are both practical and personal.