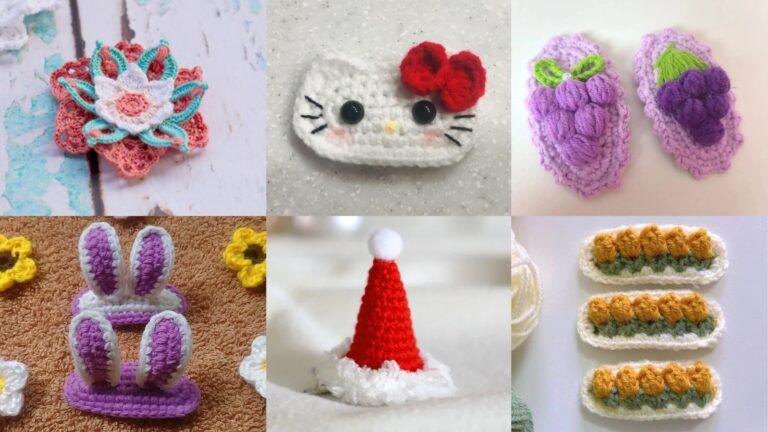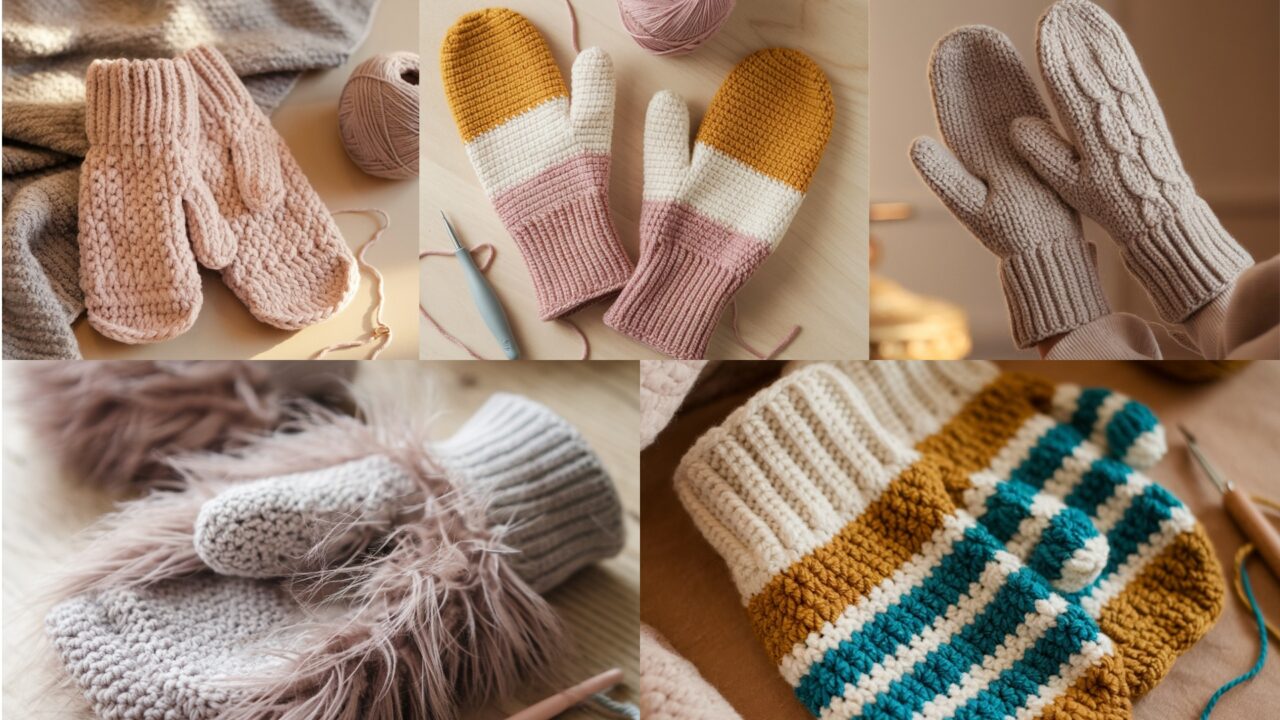
Cold weather calls for fast, warm crochet — and mittens deliver instant coziness. Below are five distinct mitten patterns you can make this winter: Color Block Mitten, Chunky Mitten, Cable Mittens, Fuzzy Mittens, and Striped Mitten. Each pattern is written in US crochet terms and includes:
- Skill level
- Materials & tools
- Sizes with a simple stitch-count table (so you can customize to any hand)
- Gauge guidance
- A full step-by-step pattern for the cuff → hand → thumb → finishing (and optional lining or closures)
- Tips for customizing, styling, troubleshooting, and care
I kept directions practical and friendly — you can make a pair in an evening (some take longer) and adapt any pattern for children, teens or adults. Let’s stitch!
Quick general notes (read this first)
- These patterns use worsted weight (#4) yarn and a 5.0 mm – 6.5 mm hook by default. If you prefer a denser mitten use a smaller hook or hold two strands; for looser drape use a larger hook or chunkier yarn.
- Gauge (baseline) — a useful starting point: ~4 single crochet (sc) stitches = 1 inch across in the round when using worsted weight and a 5.5 mm hook. Always make a small swatch and measure your stitches per inch (spi) because hand size and tension vary.
- How to measure & calculate stitch count: measure the widest part of the hand (across knuckles, excluding thumb). Multiply inches × your stitches per inch (spi) and round to the nearest even number for working in the round. Example (using 4 spi): 8″ × 4 = 32 stitches. Below I give a ready table using 4 spi so you can start immediately; if your spi differs, substitute your number.
- All mittens are worked in the round from cuff up, with a thumb gusset created partway up the hand. The thumb is worked last in the small opening created. Where I show stitch counts I’m giving finished stitch counts around the palm (i.e., the number of stitches in the round).
Ready stitch-count table (using sample gauge = 4 sc/in)
I calculated these counts so you can cast on quickly. (If your spi ≠ 4, multiply your spi × desired circumference.)
- Child (approx 5.5″ palm circumference) → 5.5 × 4 = 22 sts
- Women’s S (7″) → 7 × 4 = 28 sts
- Women’s M (8″) → 8 × 4 = 32 sts
- Men’s L (9″) → 9 × 4 = 36 sts
- Men’s XL (10″) → 10 × 4 = 40 sts
Quick math check you can reproduce: multiply hand circumference in inches by your stitches-per-inch (spi). Example: 8 inches × 4 = 32 stitches.
1. Crochet Color Block Mitten Pattern
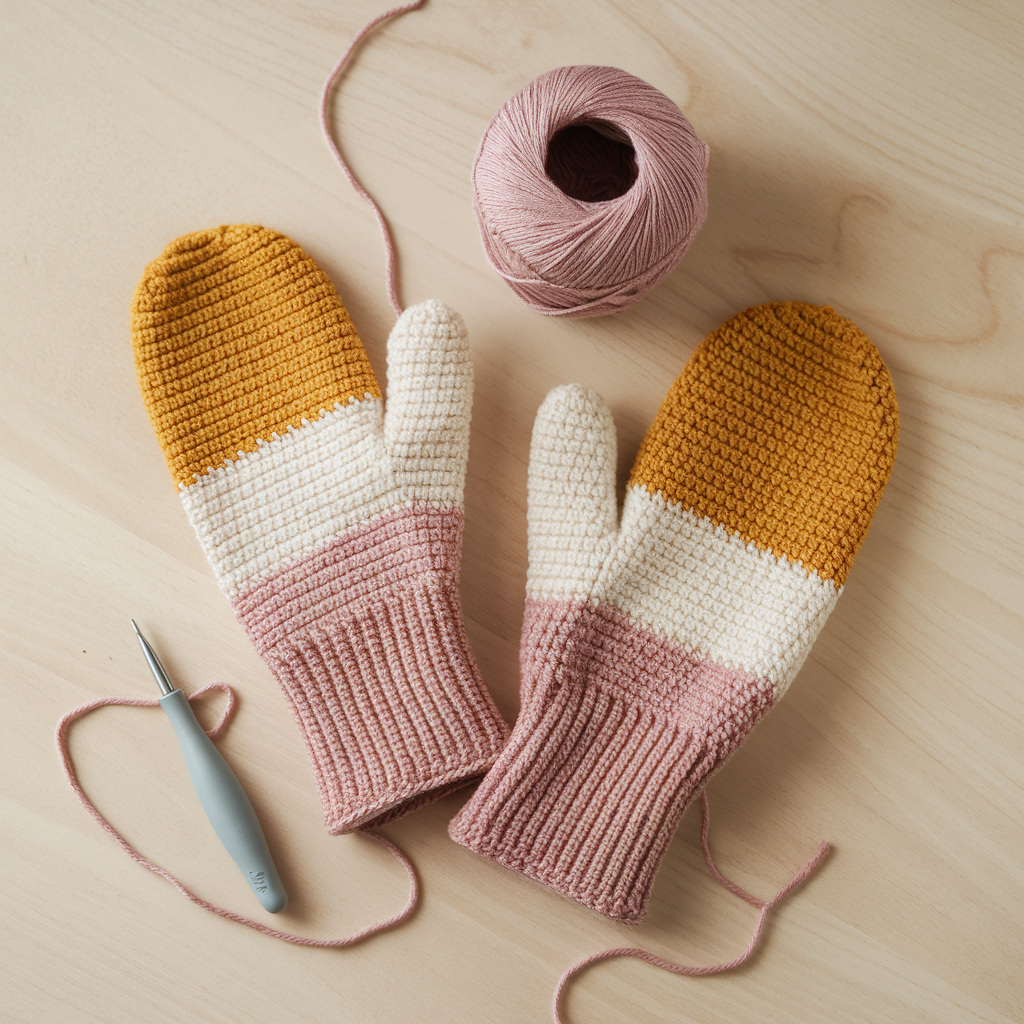
Bright, modern, and great for practicing color changes. Use two or three contrasting colors and make one pair per colorway.
Skill level: Beginner → Intermediate (simple shaping + color changes)
Finished sizes & counts: use stitch-count table above (22 / 28 / 32 / 36 / 40 sts)
Materials (pair, adult medium sample):
- Worsted weight yarn ~200–250 yds total (use ~120–150 yds main + 50–100 yds accent)
- Hook 5.5 mm (adjust for your gauge)
- Tapestry needle, stitch marker, scrap yarn for provisional marker if seaming thumb
Stitches used: ch, sc, hdc, dc (for optional texture), sl st, inc (2 sc in same st), dec (sc2tog)
Design concept
Work a ribbed cuff in alternating front/back loop single crochet, then switch to the main color for the hand; add a color block at the fingertips or cuff for a punchy look.
Step-by-step (Women’s M — 32-st example)
1) Cuff (ribbed reversible)
- Chain foundation: ch 32, join with sl st to form ring (careful not to twist). Place marker.
- Round 1: ch 1, sc in BLO (back loop only) in each st around. Join with sl st or work in spiral.
- Round 2–9: ch 1, sc in BLO around to build a 2–2.5″ ribbed cuff (8 rounds ≈ 2″). Adjust for desired cuff length.
- Optional: start cuff with contrasting color 1 then join main color for body.
2) Hand — main color
- Switch to main color; Round 1: ch 1, sc in each st around (32 sc).
- Rounds 2–8: ch 1, sc around (work 6–7 rounds for hand height to base of thumb at knuckle — check on wearer). For a roomier mitten do hdc rounds instead.
3) Thumb gusset
(Insert gusset after round 6–8 depending on hand length.)
- Place marker at palm top (where thumb will be) — count positions, e.g., for 32 sts put marker after stitch 10 or where knuckle sits. A common placement is roughly 1/3 from start: after 10th stitch for 32-st mitten.
- Round A (start gusset): ch1, sc in next 5 sts, sc in next st with an inc (i.e., 2 sc in same stitch), sc in next stitch, place marker at first increased stitch, sc in remaining sts. This adds one extra stitch to create gusset shaping.
- Round B: ch1, sc around — then on next gusset round increase on either side of the gusset center by working sc, inc, sc (i.e., add 2 sts) — repeat every other round until gusset is wide enough for thumb: target gusset width = ~6–9 sts depending on size (adults often 6–8 sts). For 32-st mitten aim for 7 gusset stitches. Example progression: add 1 extra gusset stitch every other round until gusset total reaches 7.
- When gusset done, continue sc in round over full stitch count (now increased by number of gusset sts).
4) Hand top shaping
- Continue sc for a few more rounds until hand reaches base of fingers (measure wearer).
- Begin decrease rounds for top: sc 3, sc2tog around for one round, then sc 2, sc2tog round, then sc1, sc2tog round, then sc2tog across remaining stitches until you have 6–8 sts left. Draw yarn through remaining sts and fasten.
5) Thumb
- Rejoin to the gusset opening: place stitches left for thumb onto waste yarn (if you carried stitch markers earlier) or pick up extra chain along thumb opening to make a small circle of about the number of gusset stitches (e.g., 6–8 sts).
- Round 1: ch1, sc around thumb opening (6–8 sc).
- Rounds 2–6: sc around until thumb length ~1.5–2″ from base (adjust per size). Decrease last round: sc2tog around if needed and close. Fasten off and weave tail into thumb tip.
6) Color block detail
- When you switch colors, carry yarn up the inside or cut and weave ends. To create a color block on the fingertip, switch to accent color for the last 4–6 rounds of the hand before decreases.
Finishing
- Weave ends, block lightly if your yarn benefits. Optional lining: cut soft fleece and hand-sew inside to reinforce draftiness.
Tips & variations
- Use a contrasting stripe at the thumb seam.
- Make a matching beanie using the same color blocking for a set.
2. Crochet Chunky Mitten Pattern
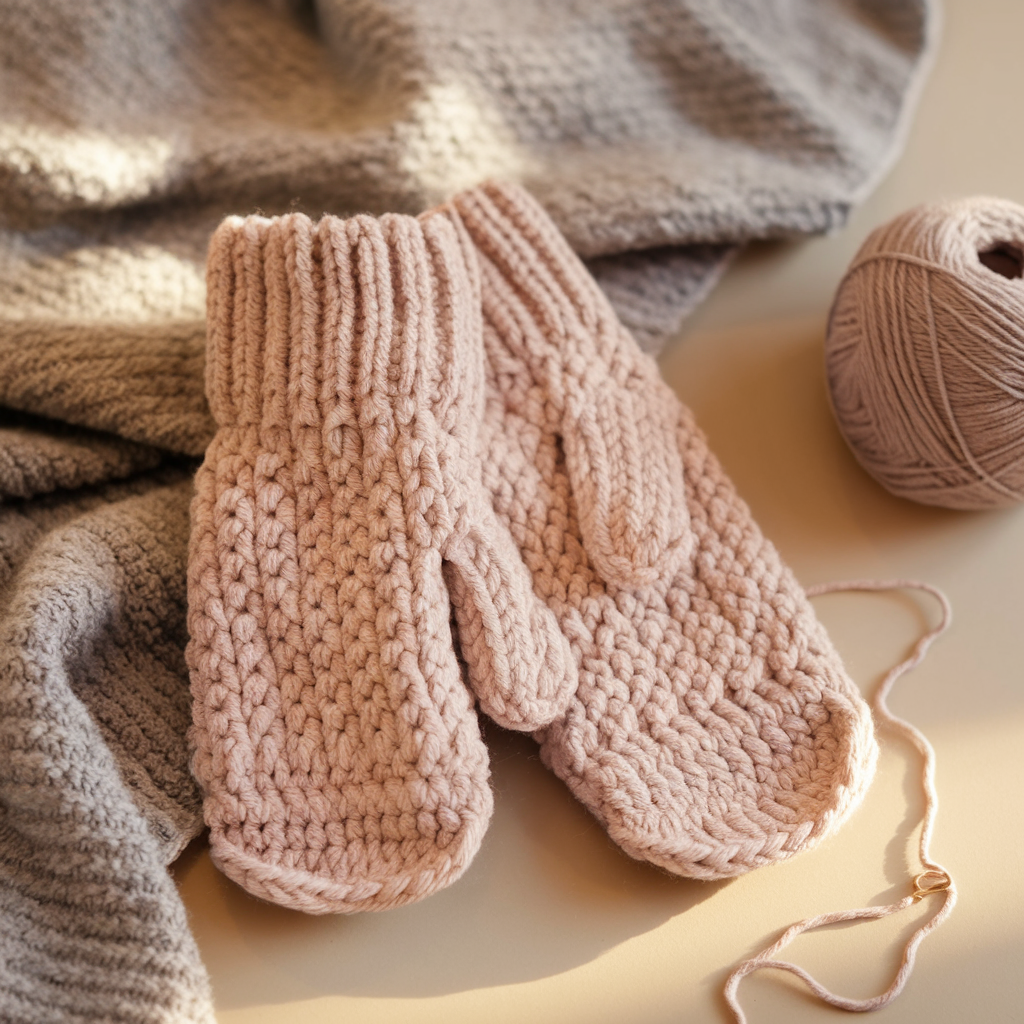
Super fast, super warm — made with bulky yarn and large hook. Great beginner gift.
Skill level: Beginner
Sizes & counts (using bulky yarn, sample gauge denser — but we’ll stick to the stitch counts above and recommend a smaller number of rounds)
Materials (pair):
- Bulky weight yarn (#5) — ~200 yds per pair
- Hook: 8.0–10.0 mm (use 10 mm for very quick fabric)
- Tapestry needle, stitch marker
Stitches used: ch, sc, hdc (optional), sl st
Design concept
The chunky mitten is simple: a long ribbed cuff and tall, roomy hand worked in sc or hdc for faster coverage. Bulky yarn reduces required rounds and traps heat.
Step-by-step (Women’s M reference; use the 32-st count or decrease to 28 sts for a tighter fit)
1) Cuff
- Chain desired stitch count (e.g., 32 ch join). Round 1: ch 1, sc in BLO around for a ribbed effect. Work 6–10 rounds until cuff is 2.5–3″ long. With bulky yarn fewer rounds needed.
2) Body
- Switch to hdc if you want a faster, slightly taller fabric (hdc is thicker per stitch). Round 1: ch1, hdc in each st (32 hdc).
- Work 6–10 rounds until the mitten reaches base of fingers (measured on wearer).
3) Thumb gusset
- Start as in Pattern A but fewer increases are needed because the bulky fabric is roomier: target gusset 6 sts. Increase on every other round until gusset reaches width.
4) Top decreases & finish
- Decrease rounds using hdc2tog or sc2tog depending on your chosen stitch: decrease in spaced rounds until about 6–8 stitches remain, pull yarn through and fasten off. Thumb worked as in Pattern A, but fewer rows to reach comfortable thumb length.
Pairing & finishing
- Add a pompom on mittens’ cuffs or a leather button detail. Lining optional — bulky fabrics are usually warm enough without it.
3. Crochet Cable Mittens Pattern
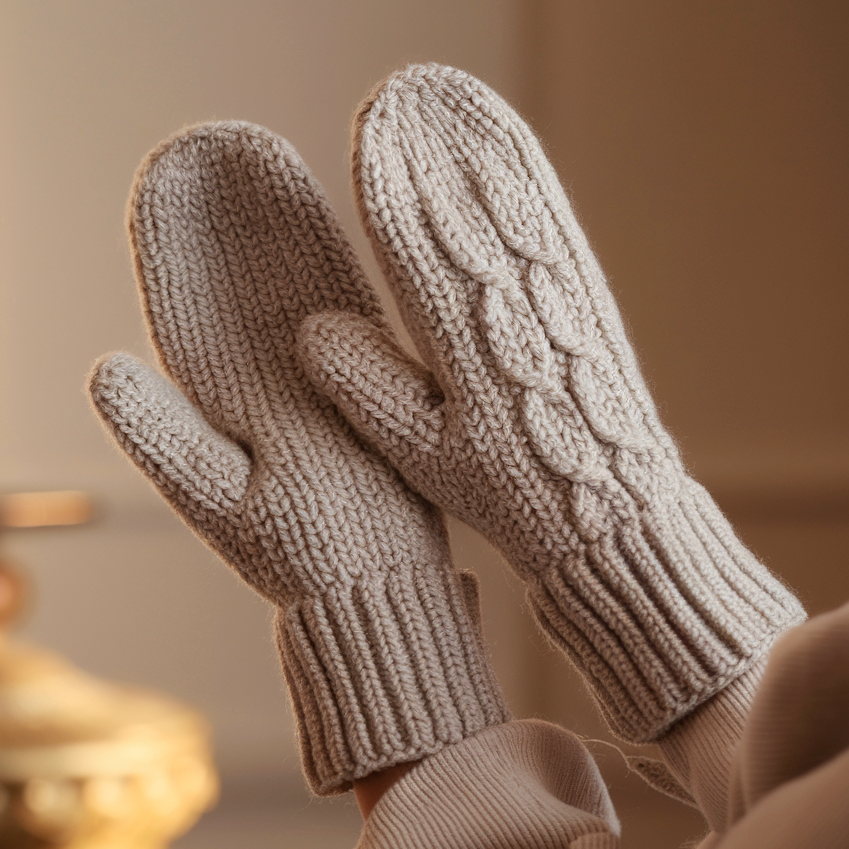
Classic knit look using crochet cable technique (post stitches) — elegant and cozy.
Skill level: Intermediate (post stitches and reading texture)
Materials (medium sample):
- Worsted weight yarn ~250–300 yds
- Hook: 5.0–5.5 mm (slightly smaller to make cables pop)
- Stitch markers, tapestry needle
Stitches used: sc, hdc, fpdc (front post double crochet), bpdc (back post double crochet), dc, sl st
Design concept
Cables are created by working front- and back-post stitches in a set pattern to produce crossing ribs that resemble knit cables. This pattern places a cable panel up the back of the hand and plain sc on the palm side for comfort and less bulk.
Schematic & repeat
- Use total stitch count from the table. Reserve a central cable panel of 8–12 sts (depending on total) and split the remainder across the palm and sides.
Example for 32-st mitten:
- Cable panel = 8 sts
- Side panels = 12 sts (6 each)
- Palm = 12 sts (comfortable even distribution)
Cable stitch pattern (8-st cable repeat example)
Row structure works over 8 stitches in the cable zone:
- Round A (foundation): sc around in all sts.
- Round B (post round): fpdc around first cable st, bpdc around second, fpdc around third etc.
- Round C (cross round): to create the cable cross, you’ll work front post crossing: skip the next 2 post sts, fpdc around the 3rd post from your point, then work fpdc around the earlier posts in crossing order — this is easier when working flat and then joining, but it can also be done in the round; use stitch markers and note each fpdc’s target.
(If new to crochet cables, try a simpler two-row crossing: on cross row, work fpdc around next 2 sts in back, then fpdc around first 2 sts to visually cross.)
Step-by-step (closed approach, 32-st example)
1) Cuff
- ch 32, join. Work 8 rounds sc in BLO for a cuff.
2) Foundation rounds
- Round 1: sc around (32 sc).
- Round 2–3: sc around, place markers to identify cable zone.
3) Start cable texture
- Work the cable panel rounds as follows:
- Round (post round): in cable zone work fpdc across cable stitches, sc across palm + sides.
- Next round: sc around to level. Continue alternating a post round and a flat round so cable stands out.
4) Perform cable cross
- Every 6–8 rounds, perform a cable cross: using the post stitches, work the crossing by working fpdc around posterior stitches first and then the earlier ones to create the over/under. (If you prefer, stop and work the cable flat and then seam — that simplifies crossing.)
5) Thumb gusset
- Place thumb gusset where cable meets palm or on the palm side for comfort (suggested). Start increases as in Pattern A, but take care not to interrupt cable repeat — keep marker alignment consistent.
6) Decrease top & thumb
- Decrease in pattern rounds, continuing the cable texture until top decreases are worked. Thumb as Pattern A.
Tips & finish
- Because cable stitches are taller and thicker, make mittens slightly looser or reduce hook by 1 size for denser fabric.
- Use blocking gently to open cables slightly and even the fabric.
4. Crochet Fuzzy Mittens Pattern
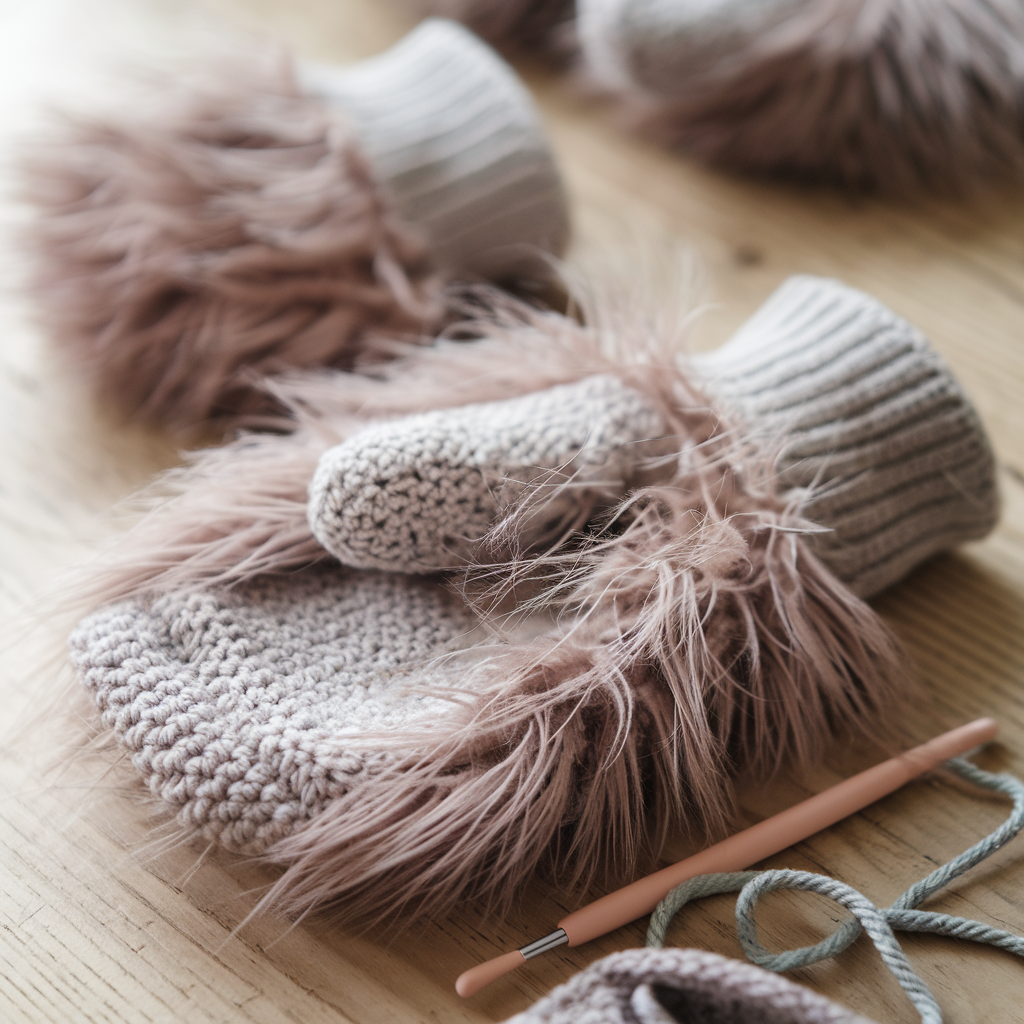
Soft, luxurious, and perfect for gift giving — make with a fuzzy/eyelash yarn held over a smooth base for structure.
Skill level: Beginner → Intermediate (handling novelty yarn)
Materials (pair):
- Eyelash or faux-fur yarn ~150–200 yds + small amount of worsted as a held inner strand (optional)
- Hook: 6.5–8.0 mm (bigger for fuzzy yarn)
- Tapestry needle, small nylon or ribbon for reinforcement if desired
Stitches used: sc, hdc, sl st — keep it simple because novelty yarn hides stitches.
Design concept
Hold a strand of smooth yarn (worsted) together with a strand of eyelash yarn for a more stable mitten that still looks fuzzy. Alternatively, use only eyelash for maximum fluff (but it can be fragile and holey).
Step-by-step (Women’s M guideline — 32 sts)
1) Cuff
- Chain 32 and join. Work 8 rounds sc in BLO using both yarns held together for a ribbed effect. The smooth strand will give structure.
2) Body
- Round 1: sc in each st around. Repeat rounds until hand length base of fingers.
3) Thumb gusset
- Add gusset as Pattern A; the fuzzy yarn makes counting harder so place markers and use stitch holders to isolate thumb sts cleanly.
4) Top shaping & thumb
- Decrease top rounds until closure. Work thumb by picking up stitches around thumb opening and crocheting in the round until desired length.
5) Lining & reinforcement (recommended)
- Because eyelash yarn can be scratchy inside, either:
- Line mittens with a soft fleece tube sewn in, or
- Hold a thin cotton strand on the inside while crocheting the body as a hidden reinforcement around the interior for durability.
Styling
- Keep cuffs plain and full fuzz at the hand, or do fuzzy cuff only and plain hand for contrast. Add a faux-leather tab or button for flair.
5. Crochet Striped Mitten Pattern
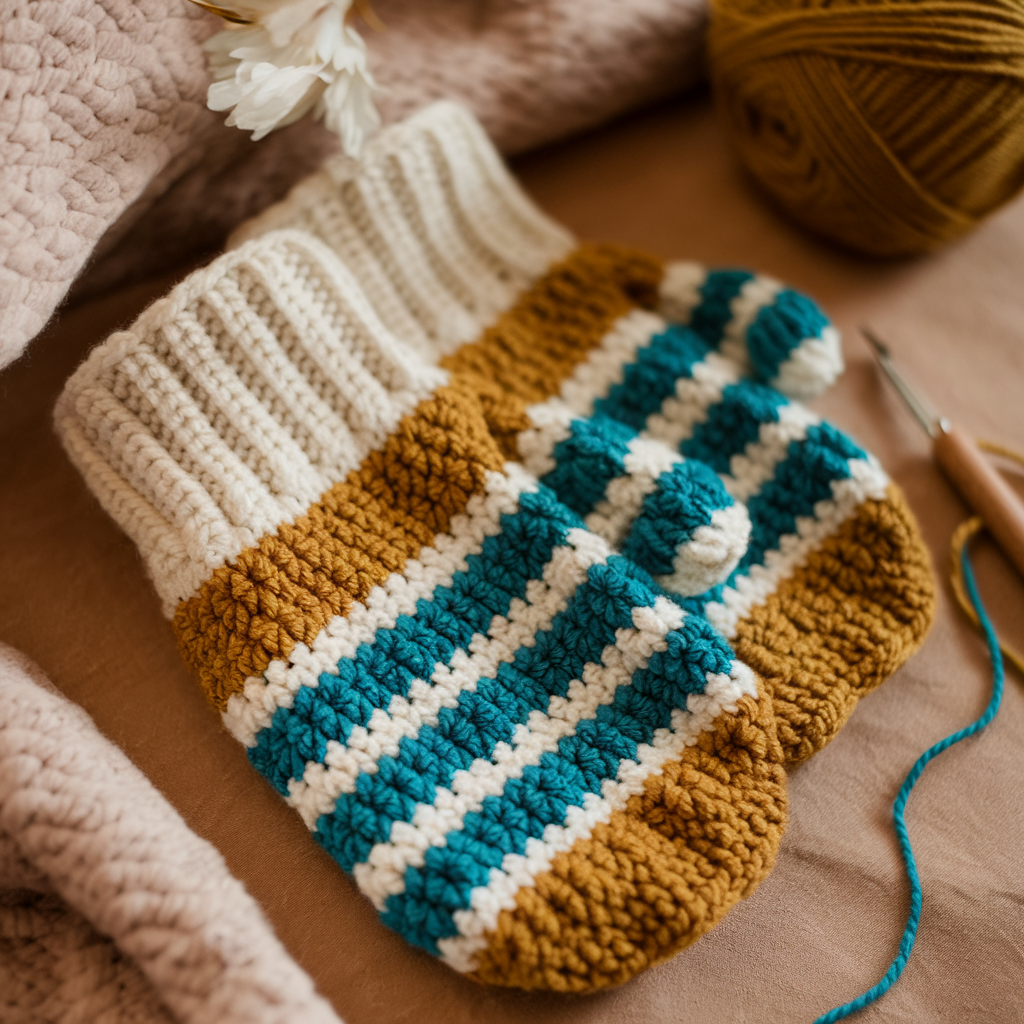
Classic, playful stripes — excellent for using leftover yarn and learning color management.
Skill level: Beginner
Materials:
- Several worsted yarn colors (contrast & main) — ~200–250 yds total
- Hook: 5.5 mm
- Tapestry needle
Stitches used: sc, hdc (optional), sl st, color change technique
Design concept
Striping can be narrow (2 rounds per color) or wide (4–6 rounds). I’ll show 3-color narrow stripes in the medium size.
Step-by-step (32-st example)
1) Cuff
- ch 32, join, sc in BLO for 8 rounds (use Color A for cuff).
2) Stripe rounds
- Switch to Color B: sc 2 rounds.
- Switch to Color C: sc 2 rounds.
- Switch back to Color B: sc 2 rounds. Continue rotating until mitten reaches base of fingers.
3) Thumb gusset
- Insert gusset after a chosen stripe so the thumb opening appears in a single color for aesthetic neatness.
4) Decreases & top
- Work decreases across stripes — decrease rounds will shift the stripe sequencing slightly; that’s normal and part of the charm. Fasten off, weave ends. Thumb same as other patterns.
Color-change tips
- Carry unused color up the inside if floats are short; otherwise cut & weave ends.
- To avoid bulk at color changes, always change color on a round start and pull new color through on the last yarn-over of the previous stitch.
Lining, closures & extras (apply to any pattern)
- Fleece lining: Cut tubes of soft fleece (slightly smaller than mitten interior), sew seam, and hand-stitch into mitten opening — excellent for extra warmth and to hide imperfect shaping.
- Convertible flip-top mitten: Instead of closing the top completely, work one extra round of stitches that fold back and secure with a button/loop to create a fingerless + mitten combo.
- Thumb reinforcement: Add a small patch of denser single-crochet gusset inside or a leather patch on the palm area where friction occurs.
- Cords for pairs: Sew a yarn cord through sleeves of a child’s coat to keep mittens joined and avoid lost mates.
Troubleshooting & adjustments
- Mitten too tight: Increase hook size by one step or add 2–4 stitches to foundation.
- Mitten too loose: Decrease hook size or remove 2–4 stitches.
- Thumb too small: Next time, make gusset one or two increases wider (add 1 extra increase round).
- Gusset placement off: Try mittens on mid-progress and adjust gusset start location — place gusset at the base of the thumb where you want freedom.
- Bulky cable pattern not lying flat: Use a slightly smaller hook for cable mittens or reduce cable panel width.
Care & washing
- Wool / natural yarns: Hand wash in cool water with wool detergent; reshape and dry flat.
- Acrylic / washable blends: Machine-wash gentle cold and dry flat or tumble low if yarn label allows.
- Fuzzy yarns / eyelash: Hand wash and air dry to keep the fibers intact.
- Leather trims: Spot clean the leather with a damp cloth and avoid machine washing if possible.
Final tips — make these mittens faster & better
- Use a flexible stitch marker at the beginning of each round to track rounds and gusset placement.
- Make one mitten fully before starting the second—this avoids mismatched thumb placement and design errors.
- Weave ends as you go when doing colorwork — it saves finishing time.
- Use double-stranding (hold two strands together) to speed up chunky mittens and reduce cold spots.
- Make a quick test mitten in scrap yarn to dial in your gauge and thumb placement before working with your good yarn.
Conclusion
There you have it — five cozy, quick mitten patterns for winter: a cheery Color Block, a speedy Chunky, elegant Cable, luxurious Fuzzy, and customizable Striped mittens. Each pattern is built to be adaptable: change yarn, hook, stripe width, or cuff length to make a personalized pair. Start with the Chunky or Striped mitten if you want instant gratification; try the Cable mitten when you’re ready for a small technical challenge.