Scrap yarn is one of the most rewarding things to work with because even the smallest leftovers can become something useful, beautiful, and handmade. Instead of letting those bits sit in a basket, you can turn them into quick projects that are practical enough for everyday use and pretty enough to gift. These patterns are ideal for using up partial skeins while still making something that feels complete and polished.
Below you will find five scrap-friendly crochet projects that are beginner-friendly, satisfying to finish, and easy to customize with color changes. Each project includes a skill level, finished size, materials, abbreviations, and a step-by-step guide so you can go from leftover yarn to finished item with confidence.
A few quick notes before starting:
- Cotton scraps work best for coasters, trays, and bookmarks.
- Acrylic, cotton, or blended yarns all work well for hats and pouches, as long as the weights are similar.
- If your scraps are different thicknesses, try grouping them by weight or holding thin strands together to match.
- A smaller hook than usual often makes scrap projects look neater and more durable.
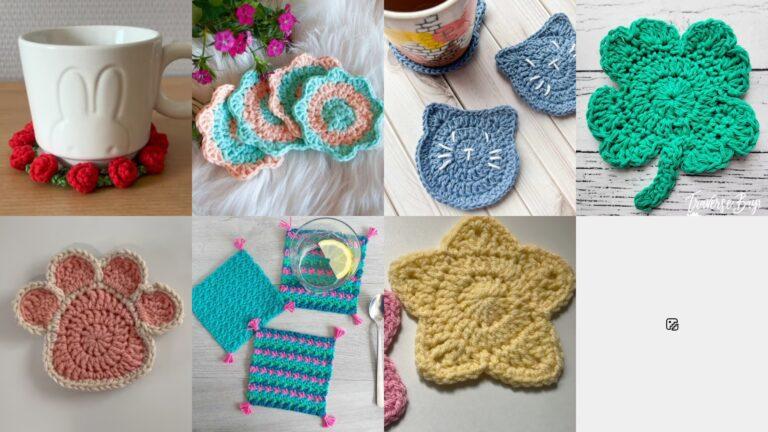
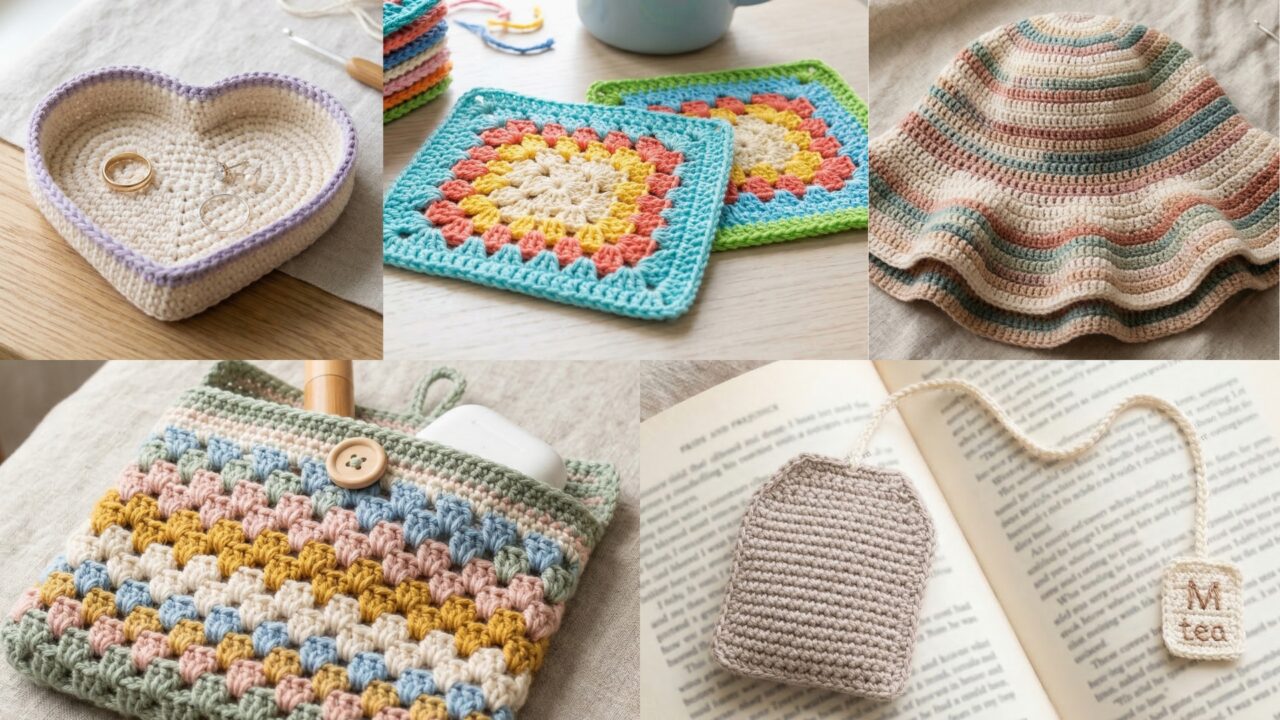
1. Crochet Granny Square Coaster Pattern
Skill level: Beginner
Finished size: about 4 to 5 inches square
Granny square coasters are one of the easiest scrap yarn projects because they use very little yarn and let you mix colors freely. They also work up quickly, making them perfect for a set of four or six.
Materials
- Small amounts of cotton yarn in any colors
- Crochet hook: 3.5 mm to 4.5 mm
- Tapestry needle
- Scissors
Abbreviations
MR = magic ring
ch = chain
dc = double crochet
sl st = slip stitch
sp = space
Step-by-step guide
Center
- Make a magic ring.
- Chain 3. This counts as your first dc.
- Work 2 more dc into the ring.
- Chain 2.
- Work 3 dc into the ring.
- Repeat the sequence of chain 2, 3 dc into ring two more times.
- Join with a sl st to the top of the beginning chain 3.
You should now have four corners.
Round 2
- Slip stitch into the corner space.
- Chain 3.
- Work 2 dc into the same corner space.
- Chain 2.
- Work 3 dc into the same corner space.
- In the next corner, repeat the same pattern.
- In each side space, work 3 dc.
- Continue around and join with a sl st.
Round 3 and beyond
- At each corner, work 3 dc, chain 2, 3 dc.
- On each side, work 3 dc into every side space.
- Add as many rounds as needed until the coaster reaches your preferred size.
Finish
- Fasten off and weave in the ends neatly.
- Block lightly if needed so the coaster lies flat.
Tips
- Change colors at the end of each round for a bright scrap-yarn look.
- Use cotton yarn for best absorbency and durability.
- Make a full set in matching or rainbow colors for a gift.
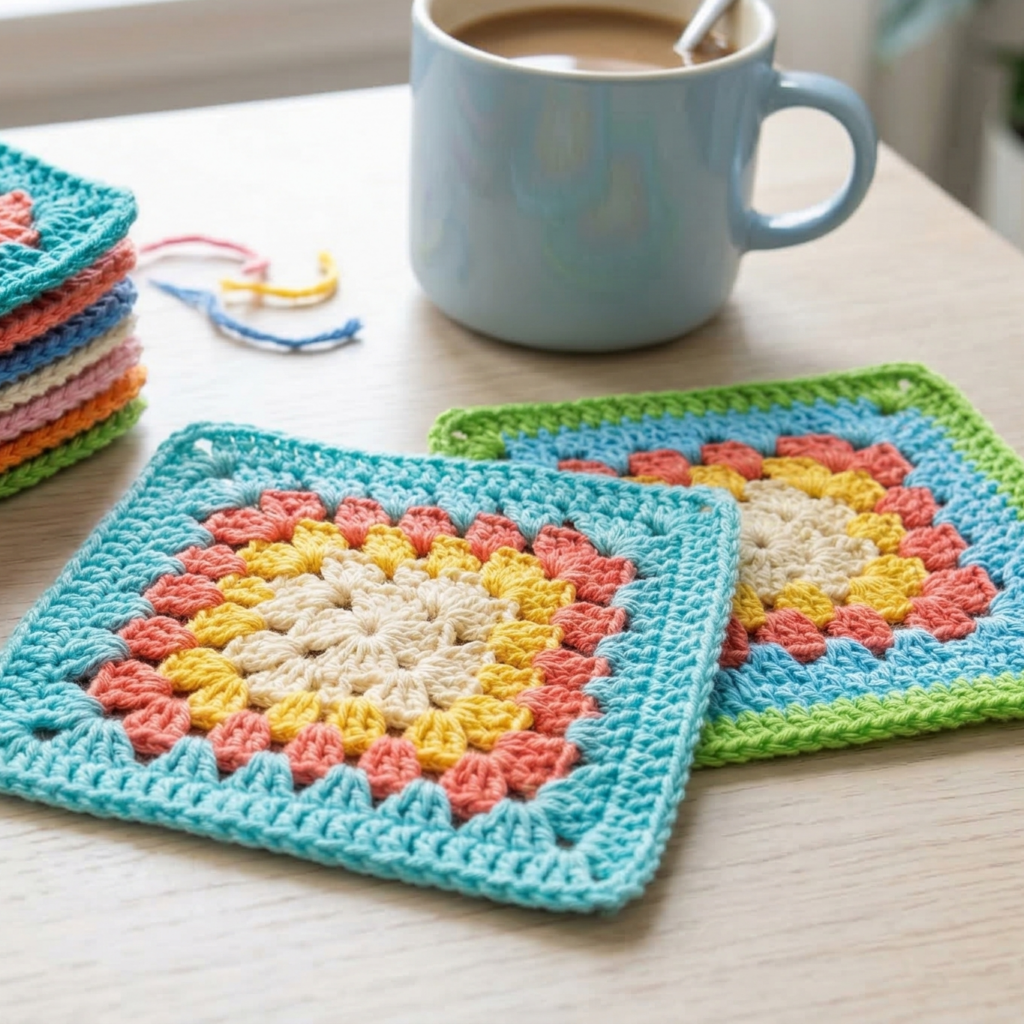
2. Crochet Mini Heart Trinket Tray Pattern
Skill level: Beginner to intermediate
Finished size: about 4 to 5 inches wide
This tiny heart tray is perfect for rings, earrings, keys, or tiny keepsakes. It is a charming scrap project that also makes a thoughtful gift.
Materials
- Scrap cotton or acrylic yarn
- Crochet hook: 3.5 mm to 4.0 mm
- Tapestry needle
- Optional: fabric stiffener if you want it firmer
Abbreviations
ch = chain
sc = single crochet
hdc = half double crochet
dc = double crochet
sl st = slip stitch
inc = increase
Step-by-step guide
Make the two top curves
- Chain 4 and join to form a ring.
- In the ring, work:
- 3 dc
- 3 hdc
- 3 sc
- Turn slightly and repeat on the other side of the ring:
- 3 sc
- 3 hdc
- 3 dc
- You should now see the top two lobes of a heart shape.
Shape the point
- At the bottom center, work a few extra stitches into the point area.
- Add 1 or 2 increases if needed to make the bottom point clearer.
- Continue around the edge with sc to even out the shape.
Build the tray wall
- Once the heart base is finished, crochet 1 round of sc in the back loop only.
- Then work another 1 to 2 rounds of sc around the edge to create a shallow wall.
- If you want a more rigid tray, go up a hook size for the wall only.
Finish
- Fasten off.
- Weave in the ends securely.
- If desired, apply a little fabric stiffener and shape it while drying.
Tips
- Use multiple colors for a pretty striped heart.
- Make the base in one color and the wall in another for contrast.
- This project is great for using up tiny leftover yarn pieces.
3. Crochet Granny Stitch Pouch Pattern

Skill level: Beginner to intermediate
Finished size: about 6 to 7 inches wide and 5 to 6 inches tall
A granny stitch pouch is a practical scrap yarn project that can hold makeup, earbuds, stationery, or small crochet tools. It looks cheerful with striped rows and is easy to adapt.
Materials
- Scrap yarn in similar weight
- Crochet hook: 4.0 mm to 5.0 mm
- Tapestry needle
- Small button or zipper, depending on closure style
- Optional lining fabric
Abbreviations
ch = chain
dc = double crochet
sl st = slip stitch
sp = space
Step-by-step guide
Front panel
- Chain a multiple of 3 plus 2.
- Row 1: work 1 dc in the 4th chain from hook, then 2 dc in each chain across to create the base pattern.
- Row 2: chain 3, turn.
- In every space between the dc clusters, work 3 dc.
- Repeat this granny stitch row until the panel is tall enough for the pouch front.
Back panel
- Make a second panel the same size.
- You can use the same color sequence or a different one for a fun mismatched look.
Assembly
- Place the two panels together with the right sides facing out.
- Join three sides using single crochet or whipstitch.
- Leave the top open.
Closure
- For a button closure: add a small loop at the top of one side and sew a button on the other.
- For a zipper closure: sew in a small zipper before joining the sides.
- For a drawstring pouch: crochet a few rows of chain spaces near the top and thread a cord through them.
Tips
- Cotton yarn gives the pouch structure and helps it hold its shape.
- Line the pouch if you want a neater interior.
- This is a great project for matching scraps in the same color family.
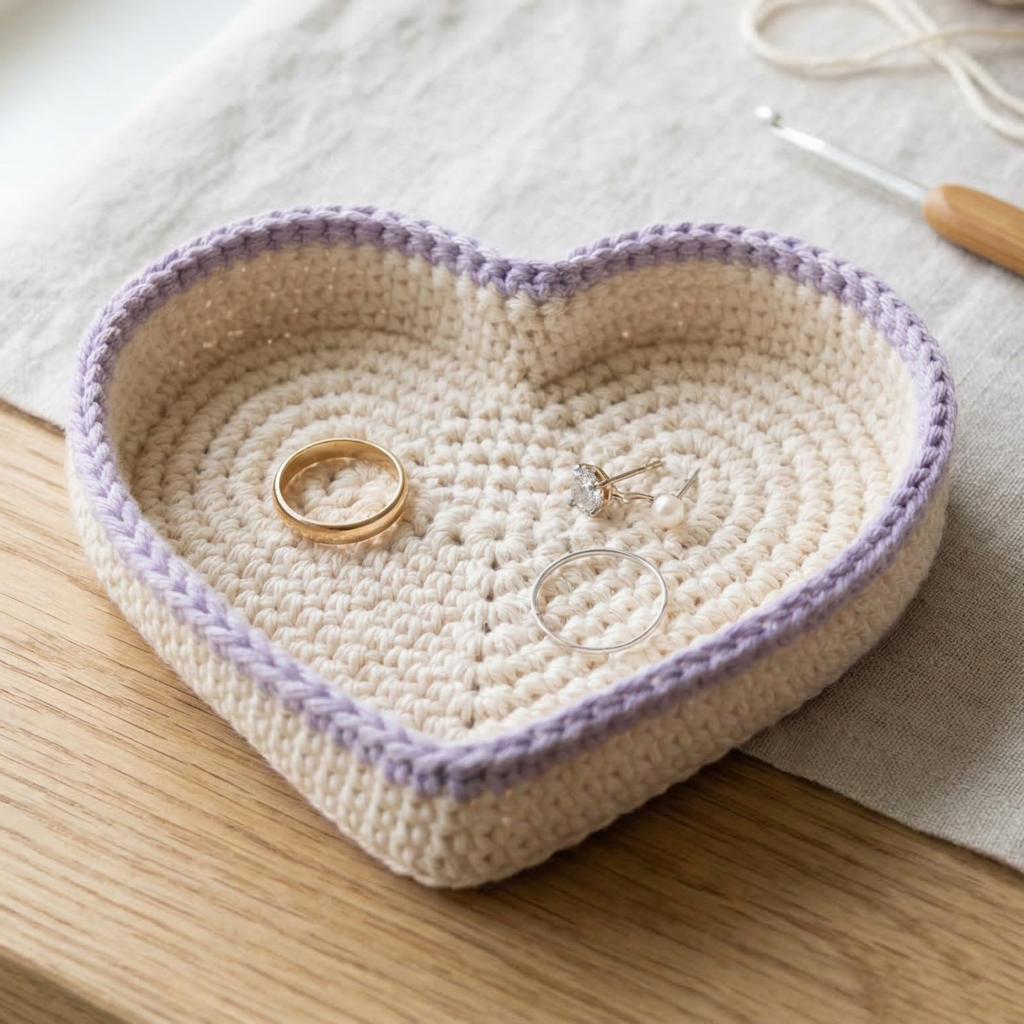
4. Crochet Simple Hat Pattern
Skill level: Beginner
Finished size: adult or child size depending on measurements
A simple crochet hat is a smart scrap yarn project because you can make stripes, blocks of color, or gradient effects. It uses more yarn than the other projects on this list, but it is still very scrap-friendly if you are combining leftover skeins.
Materials
- Scrap yarn of similar weight
- Crochet hook: usually 4.0 mm to 5.5 mm depending on yarn
- Tapestry needle
- Scissors
- Stitch marker
Abbreviations
MR = magic ring
ch = chain
dc = double crochet
sl st = slip stitch
inc = increase
Step-by-step guide
Top of the hat
- Start with a magic ring.
- Work 12 dc into the ring.
- Join with a sl st.
- In the next round, increase evenly by placing 2 dc in each stitch.
- Continue increasing in rounds until the circle matches the top width you need.
Hat body
- Once the circle is the right size, stop increasing.
- Work dc around in each round until the hat reaches your desired height.
- Switch colors whenever you want to create stripes or use up leftover yarn.
Edge
- For a snug brim, work 1 to 2 rounds of sc or hdc.
- If you want a stretchy brim, work ribbing in back loop only.
Tips
- Measure the wearer’s head before starting.
- Keep your yarn weight consistent if possible.
- A striped hat is one of the easiest ways to use up many small yarn leftovers.
Quick variation
Make a folded brim by adding extra rounds at the bottom and folding the edge upward.
5. Crochet Teabag Bookmark Pattern
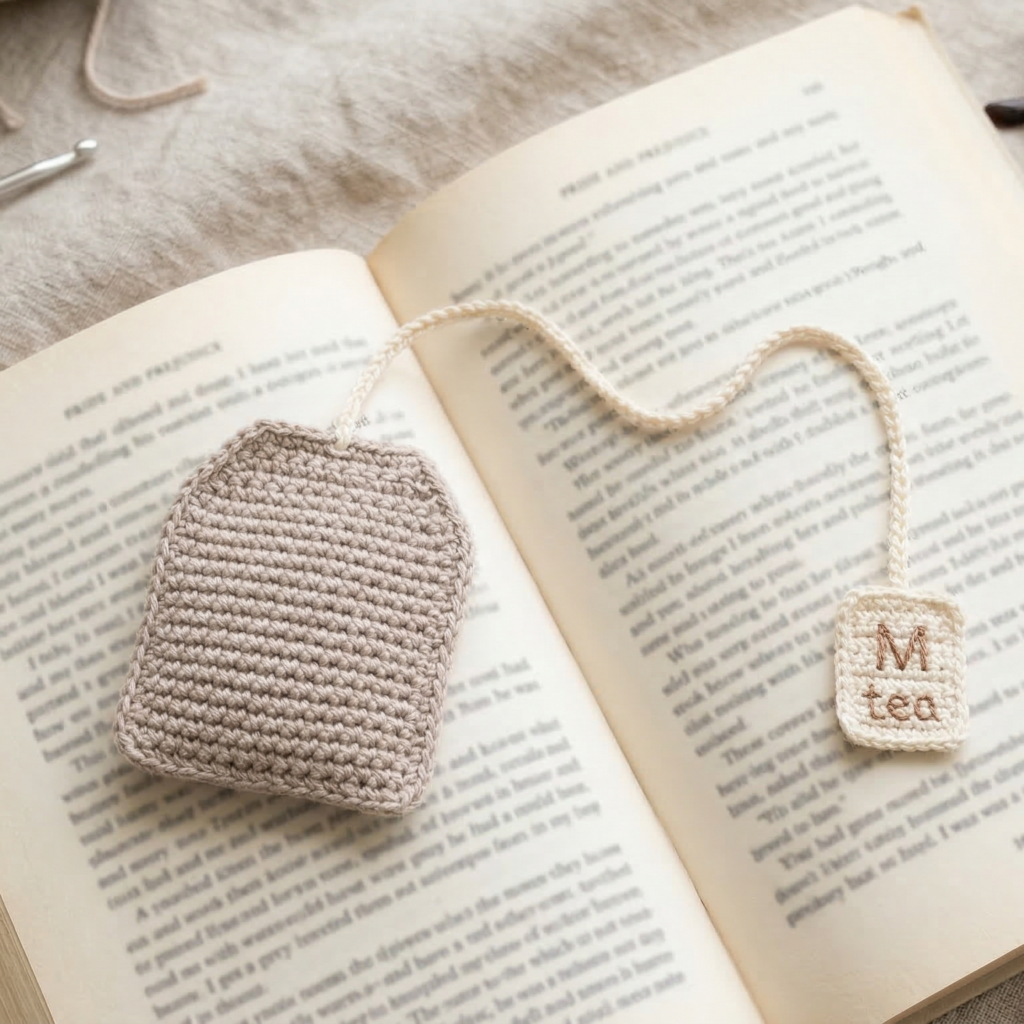
Skill level: Beginner
Finished size: about 2 to 3 inches wide and 6 to 8 inches long
This adorable teabag-style bookmark is a creative and practical scrap yarn project. It looks like a tiny teabag hanging from your book, with a string and tag that stays outside the pages. It’s perfect for gifting, especially for tea lovers and readers.
Materials
- Small amounts of lightweight yarn (cotton works best)
- Crochet hook: 2.5 mm to 3.5 mm
- Tapestry needle
- Scissors
- Optional: small piece of felt or cardboard for tag
Abbreviations
ch = chain
sc = single crochet
sl st = slip stitch
dc = double crochet
Step-by-step guide
Teabag base
- Chain 12 to 16 stitches, depending on how wide you want the teabag.
- Row 1: sc in the second chain from hook and across.
- Turn your work.
Build the rectangle
- Chain 1, sc across the row.
- Repeat this row until your piece measures about 2.5 to 3 inches tall.
- Fasten off and weave in ends.
Add the string
- Attach yarn to the top corner of the rectangle.
- Chain 25 to 35 stitches to create the teabag string.
- Slip stitch back along the chain to make it sturdier.
- Fasten off.
Make the tag
Option 1 (crochet tag):
- Chain 6.
- Row 1: sc across (5 stitches).
- Row 2: ch1, sc across.
- Fasten off and attach to the end of the string.
Option 2 (quick tag):
- Cut a small square of felt or cardstock and tie it to the string.
Assembly
- Ensure the string is securely attached to the teabag.
- Attach the tag firmly at the end of the chain.
- Weave in all ends neatly.
Finishing tips
- Use neutral or tea-inspired colors like beige, cream, or light brown for a realistic look.
- Add a tiny embroidered label or initial on the tag for personalization.
- Keep stitches tight so the bookmark holds its shape well.
Conclusion
Crochet scrap yarn projects are some of the most satisfying makes because they turn tiny leftovers into useful, attractive, everyday pieces. A granny square coaster, mini heart trinket tray, granny stitch pouch, simple hat, and tiebag bookmark all give you a practical way to use up your yarn stash while still making something thoughtful and polished.
The best part is that these projects do not demand a lot of yarn, so you can mix colors freely, experiment with stitch patterns, and finish each piece quickly. They are ideal for beginners who want easy wins and for experienced crocheters who enjoy small, satisfying makes between larger projects.