A crochet cardigan is one of the most rewarding garments you can make because it combines comfort, style, and creativity in one wearable piece. It is the kind of project that feels personal from the very beginning, since every stitch contributes to something you can actually wear and enjoy for years. Unlike smaller accessories, cardigans give you room to play with texture, color, shaping, and silhouette in a way that feels both practical and expressive.
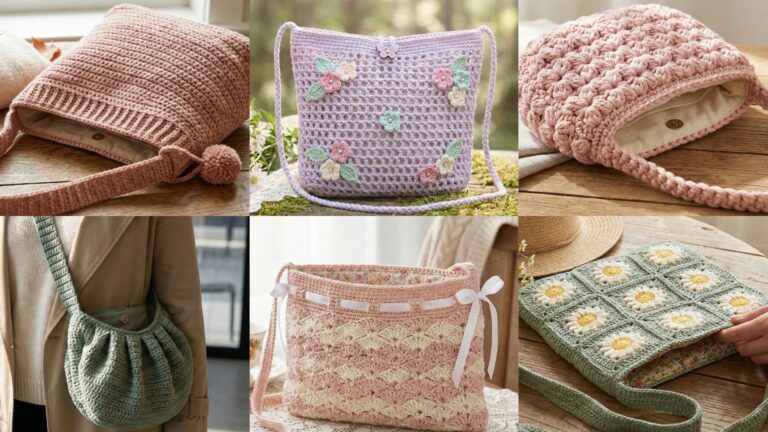
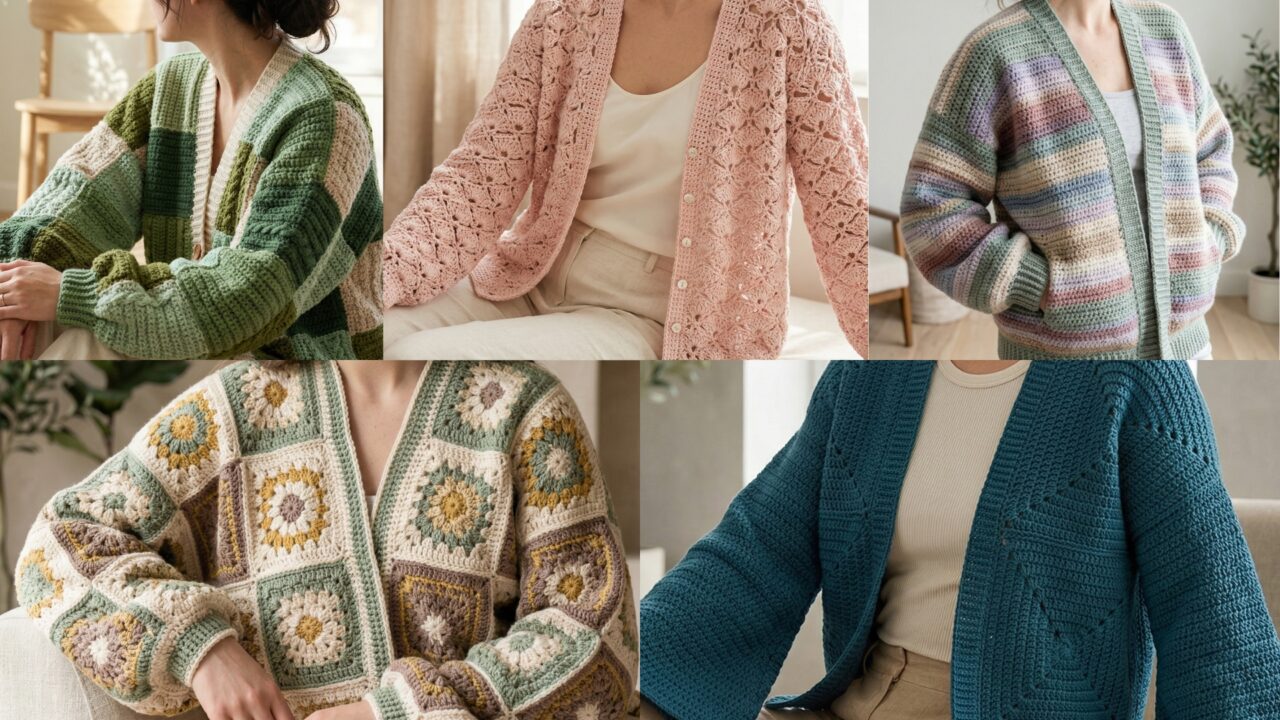
What makes crochet cardigans especially appealing is how versatile they can be. A patchwork oversized cardigan can feel relaxed and artistic. A soft striped cardigan brings a calm, wearable look that works almost anywhere. A granny square oversized cardigan has that timeless handmade charm many crocheters love. A lacy shell stitch cardigan feels delicate and elegant. A flared sleeves hexagon cardigan gives you a modern shape with a playful twist. Each design has its own mood, but all of them can become wardrobe favorites when made with the right yarn and a careful fit.
In this post, you will find five must-try crochet cardigan ideas with detailed step-by-step guidance, helpful notes, and practical finishing tips. Each design is written to be approachable and easy to follow while still giving you enough detail to plan, shape, and finish a cardigan that looks polished and feels comfortable. Whether you are making your first garment or adding another handmade layer to your closet, these cardigan patterns are a wonderful place to start.
Quick Notes
Project type: Crochet cardigans
Best for: Handmade fashion, layering, gifts, fall and spring outfits, cozy everyday wear
Skill level: Beginner to intermediate, depending on construction and shaping
Hook size: Usually 4.0 mm to 6.5 mm, depending on yarn weight and drape
Yarn weight: DK, worsted, or light bulky yarn
Best yarn choice: Soft wool blends, acrylic blends, or cotton blends with good drape and structure
Finished size: Relaxed fit, oversized fit, or fitted depending on the design
Time to complete: Several days to a few weeks depending on size and stitch detail
Helpful stitches: Chain, slip stitch, single crochet, half double crochet, double crochet, granny stitch, shell stitch, increases, decreases, seaming, join-as-you-go, ribbing, texture stitches
Common Materials
Most crochet cardigans use a similar set of supplies.
- Yarn in your chosen colors
- Crochet hook matched to the yarn
- Yarn needle
- Scissors
- Measuring tape
- Stitch markers
- Buttons or other closures, optional
- Blocking tools
- Optional row counter
- Optional lining for more structure
For cardigans, yarn choice matters a lot. A yarn that is too stiff may make the garment uncomfortable, while a yarn that is too soft may stretch out quickly. A balanced yarn with good drape, softness, and a little structure usually works best. If you want a cardigan you can wear often, choose yarn that feels comfortable against the skin and gives the garment a neat shape.
1. Crochet Green Patchwork Oversized Cardigan Pattern
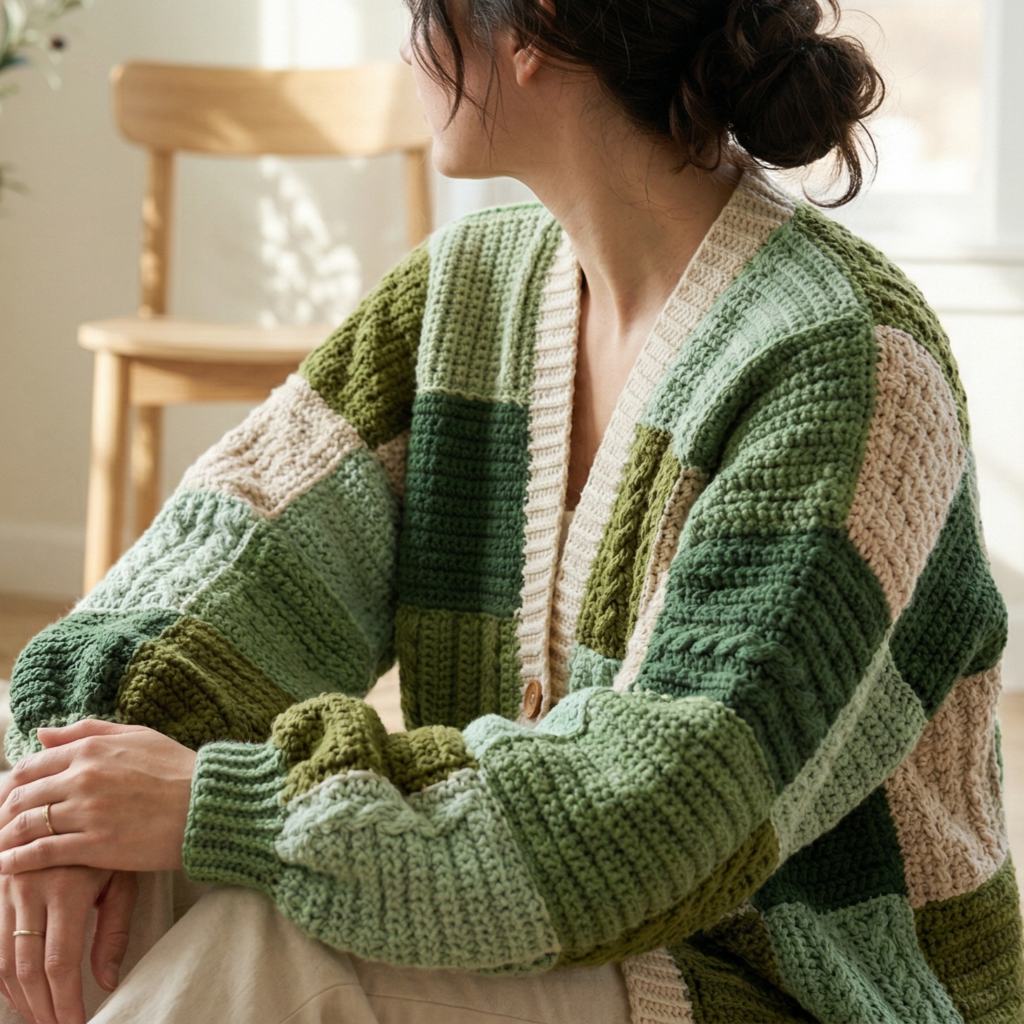
A green patchwork oversized cardigan feels cozy, creative, and a little artistic. The patchwork style gives the piece a handmade, one-of-a-kind look, while the oversized fit makes it relaxed and easy to wear. This cardigan is perfect if you love texture, color variation, and a comfortable silhouette that still looks fashionable.
Step-by-Step Guide
Step 1: Choose your green palette
Select several shades of green or a green-based color story. You can use sage, olive, forest, moss, mint, or a combination with cream or beige. A patchwork cardigan looks best when the colors feel coordinated rather than random, so plan the palette before you start.
A thoughtful color plan gives the cardigan a cohesive look.
Step 2: Decide on the patch sizes
Before crocheting, think about how large each patch will be. You might use smaller square patches for a more detailed look or larger blocks for a bold modern style. The patch size will affect how the cardigan drapes and how noticeable the color changes are.
Patch size shapes the overall personality of the cardigan.
Step 3: Crochet the individual panels
Start making the patch pieces one by one. These could be squares, rectangles, or mixed shapes depending on the design you want. Keep the stitches even so each patch lies flat and matches the others in size. This is especially important if you plan to join many small pieces together.
A consistent patch size makes assembly much easier.
Step 4: Join the patches together
Use a neat joining method such as whip stitch, slip stitch, or crochet join-as-you-go. Arrange the patches before attaching them so the cardigan layout feels balanced. Take your time with this stage because the joins are what create the patchwork effect.
The joining stage is where the design comes together.
Step 5: Shape the body of the cardigan
Once the main patchwork panels are assembled, shape the front, back, and sleeves if needed. Oversized cardigans usually have roomier armholes and a looser body, so keep the fit relaxed. The cardigan should hang comfortably without feeling bulky in the wrong places.
A good oversized shape makes the cardigan easy to layer.
Step 6: Add sleeves
Crochet the sleeves in matching patchwork or in a simpler fabric if you want the body to remain the focus. Make sure the sleeves are wide enough for a relaxed look but still tapered enough at the cuffs to keep the shape neat.
The sleeves help balance the oversized fit.
Step 7: Finish the edges and opening
Add ribbing or a clean border along the front opening, hem, cuffs, and neckline. If you want buttons, make sure the front band is reinforced enough to hold them. A strong edge gives the cardigan a polished, wearable finish.
Step 8: Block the garment
Blocking is very helpful for patchwork cardigans because it evens out the pieces and helps them lay flat. Shape the cardigan carefully while it dries so the patches align nicely and the oversized fit looks intentional.
Helpful Tips
This cardigan looks especially beautiful when the green shades vary slightly from patch to patch. If you want a softer look, mix green with cream or beige. If you want a stronger statement, use deeper forest greens with a few lighter accents. Patchwork cardigans are perfect for making a garment that feels truly unique.
2. Crochet Soft Striped Cardigan Pattern
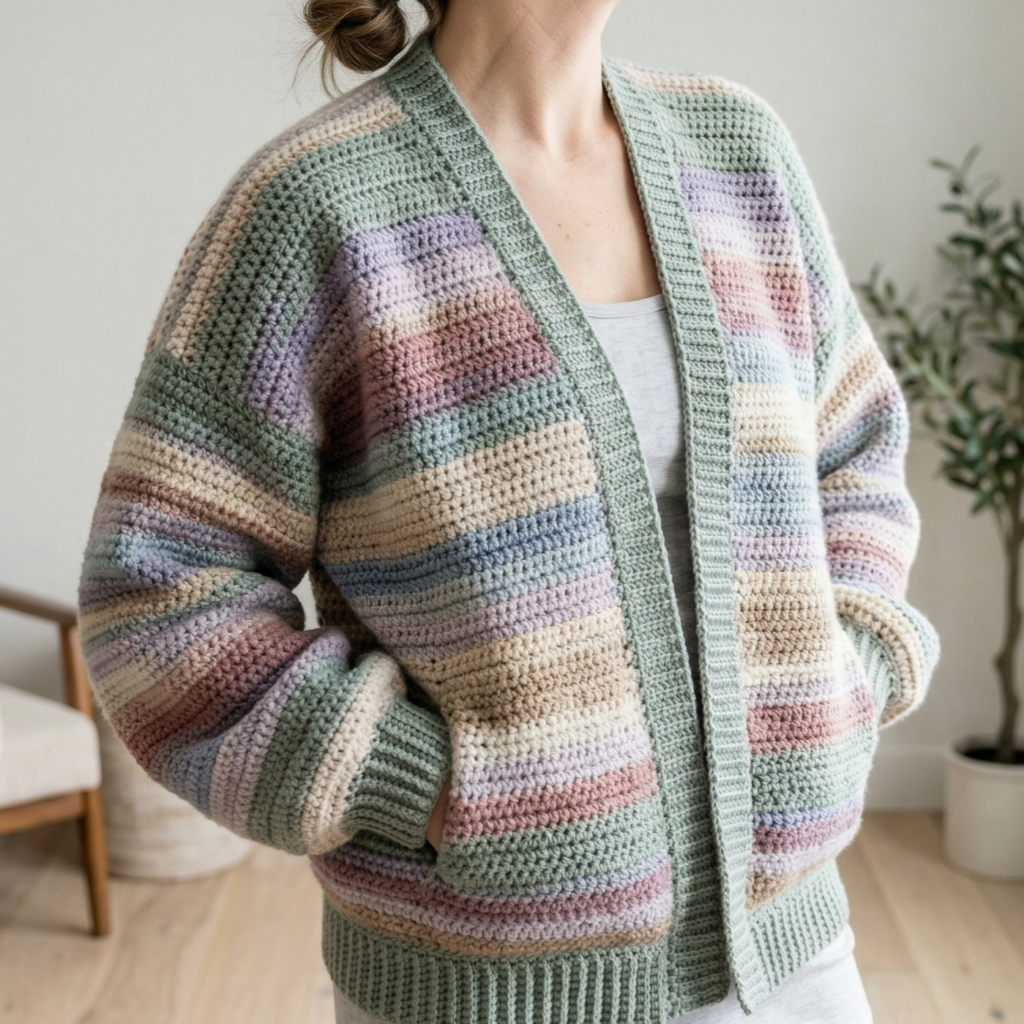
A soft striped cardigan is a versatile wardrobe piece that feels calm, wearable, and timeless. The stripes give just enough visual interest without overwhelming the design, making this cardigan easy to style with many outfits. It is a great option if you want something cozy but not too busy.
Step-by-Step Guide
Step 1: Choose your stripe palette
Decide on a soft color combination that suits your style. You can use two gentle colors or a mix of similar tones for a subtle look. Neutral stripes often work beautifully, but soft pastels or earthy shades can be just as lovely.
A well-chosen palette sets the tone for the whole cardigan.
Step 2: Measure for fit
Take your bust, shoulder, sleeve, and length measurements before starting. Since stripes naturally draw the eye, a cardigan that fits well will look even more polished. Decide whether you want a fitted, relaxed, or slightly oversized silhouette.
Good measurements help the cardigan feel wearable and balanced.
Step 3: Crochet the body panels
Make the front and back panels, or work top-down if you prefer that method. Keep the stitch pattern simple so the stripes can remain the focus. Half double crochet or double crochet often works well for a smooth and flexible fabric.
A simple stitch keeps the stripes clean and visible.
Step 4: Add stripes evenly
Change colors at the end of rows or rounds, depending on your construction. Keep the stripe heights consistent if you want a classic look. If you prefer a more handmade feel, you can vary the stripe widths slightly while still keeping the overall palette soft and cohesive.
Even stripes create a calm and polished appearance.
Step 5: Shape the neckline and armholes
If you are making panels, shape the neckline and armholes gradually so the cardigan fits comfortably. If you are working top-down, separate the sleeves at the right point and continue the body. Make sure the stripe sequence stays balanced around the shaping.
Step 6: Crochet the sleeves
Work the sleeves in matching stripes or keep them in a single color if you want a simpler finish. Stripe placement on the sleeves can make the cardigan feel playful and coordinated. Taper the cuffs slightly for a neat and comfortable shape.
Step 7: Add the front borders
Finish the front opening, hem, cuffs, and neckline with a clean border or ribbing. The border helps the stripes frame the body properly and gives the cardigan a complete feel. If you want buttons, attach them after the front band is finished.
Step 8: Block carefully
Blocking helps stripes sit straight and improves the final shape. Shape the cardigan gently so the lines stay clean and the edges do not curl. This is especially useful if the yarn has any natural waviness.
Helpful Tips
Soft striped cardigans are easy to wear because they fit into many outfits. If you want a modern everyday version, use muted neutrals. If you want something more playful, choose faded pastels or warm earthy stripes. Keep the stripe sequence simple so the cardigan remains versatile.
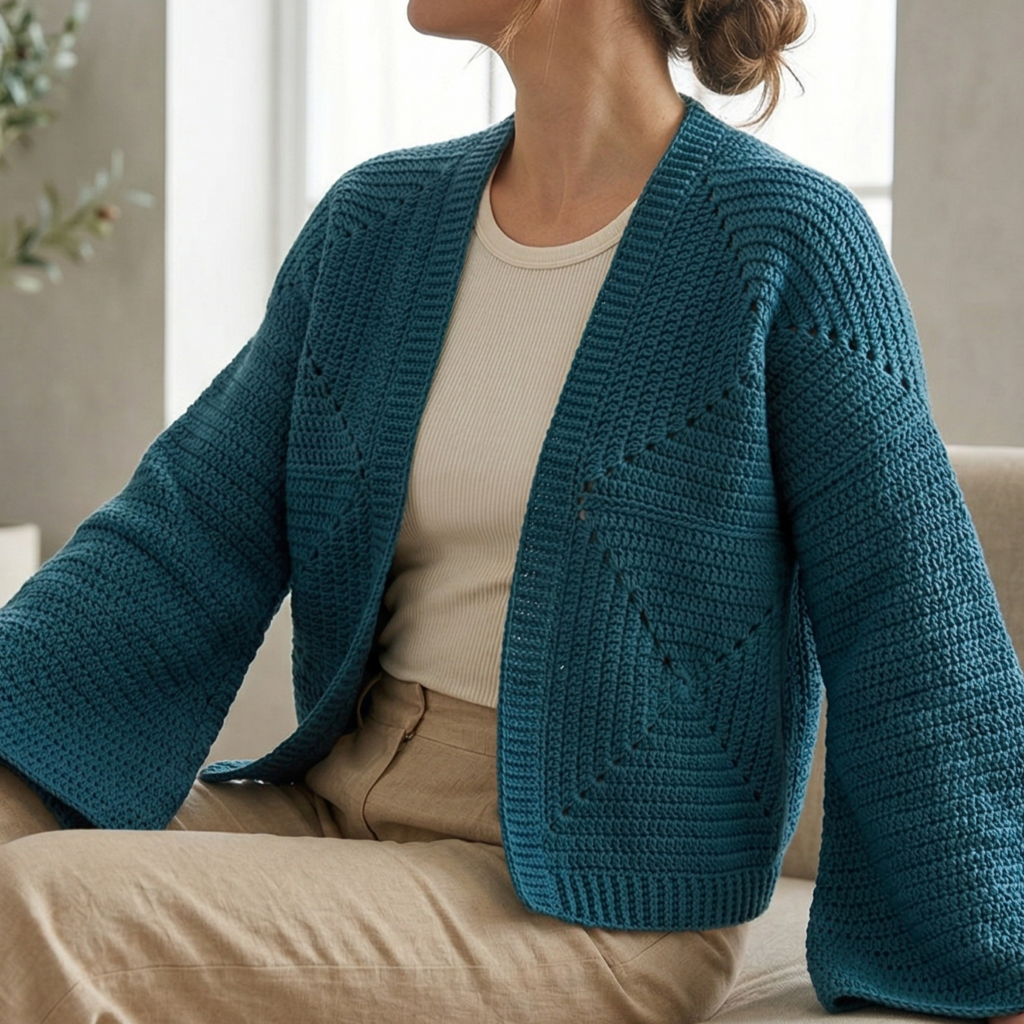
3. Crochet Willow Granny Square Oversized Cardigan Pattern

A willow granny square oversized cardigan feels classic, nostalgic, and full of handmade charm. Granny squares are one of the most beloved crochet motifs, and when they are turned into a cardigan, they create a garment that feels both familiar and stylish. This design is perfect if you love motif-based construction and a relaxed fit.
Step-by-Step Guide
Step 1: Choose the granny square style
Decide how you want your squares to look. You might use classic granny squares, soft floral-inspired squares, or a more muted modern version. For a willow feel, choose colors that feel gentle and natural, such as greens, creams, browns, and muted golds.
The square style will define the whole cardigan.
Step 2: Crochet enough squares
Make all the granny squares you need for the front, back, sleeves, and any extra shaping panels. Keep the size of each square consistent so the cardigan assembles neatly. If you use several colors, plan the order in advance to create a balanced pattern.
Even square sizing makes construction much easier.
Step 3: Arrange the layout
Lay the squares out before joining them so you can see how the cardigan will look. Decide which pieces will form the back, the front panels, and the sleeves. This is where you can create a beautiful layout that feels intentional and harmonious.
The layout is especially important in motif garments.
Step 4: Join the squares
Use a join method that keeps the cardigan neat and comfortable. Whip stitch and slip stitch joins work well, but join-as-you-go can also save time. Make sure the seams are secure and that the squares line up properly.
Clean joins help the cardigan feel polished.
Step 5: Shape the body and sleeves
Once the main panels are joined, shape the cardigan into a wearable garment. Add extra squares or shaping rows if the fit needs adjusting. Oversized cardigans usually allow for a relaxed silhouette, but the shoulders and armholes should still sit comfortably.
Step 6: Add sleeve sections
Join or crochet sleeve sections from the arm openings. You can keep the sleeves loose and cozy or taper them at the cuffs for a more finished shape. Matching the sleeves to the body squares creates a cohesive look.
The sleeves complete the oversized style.
Step 7: Finish with ribbing or borders
Add borders around the front opening, hem, cuffs, and neckline. A simple border helps unify the many squares and keeps the edges neat. Ribbing can also help balance the oversized shape.
Step 8: Block the squares and finished cardigan
Blocking is especially useful for granny square garments because it helps the pieces match in size and sit flat. It also makes the joins look cleaner. Once blocked, the cardigan will feel more refined and easier to wear.
Helpful Tips
Willow granny square cardigans look beautiful in soft, earthy tones. If you want a more delicate look, use cream, sage, and beige. If you want a richer boho feel, add deeper greens or warm accent colors. This style is especially nice if you love the classic feel of granny square crochet.
4. Crochet Lacy Shell Stitch Cardigan Pattern
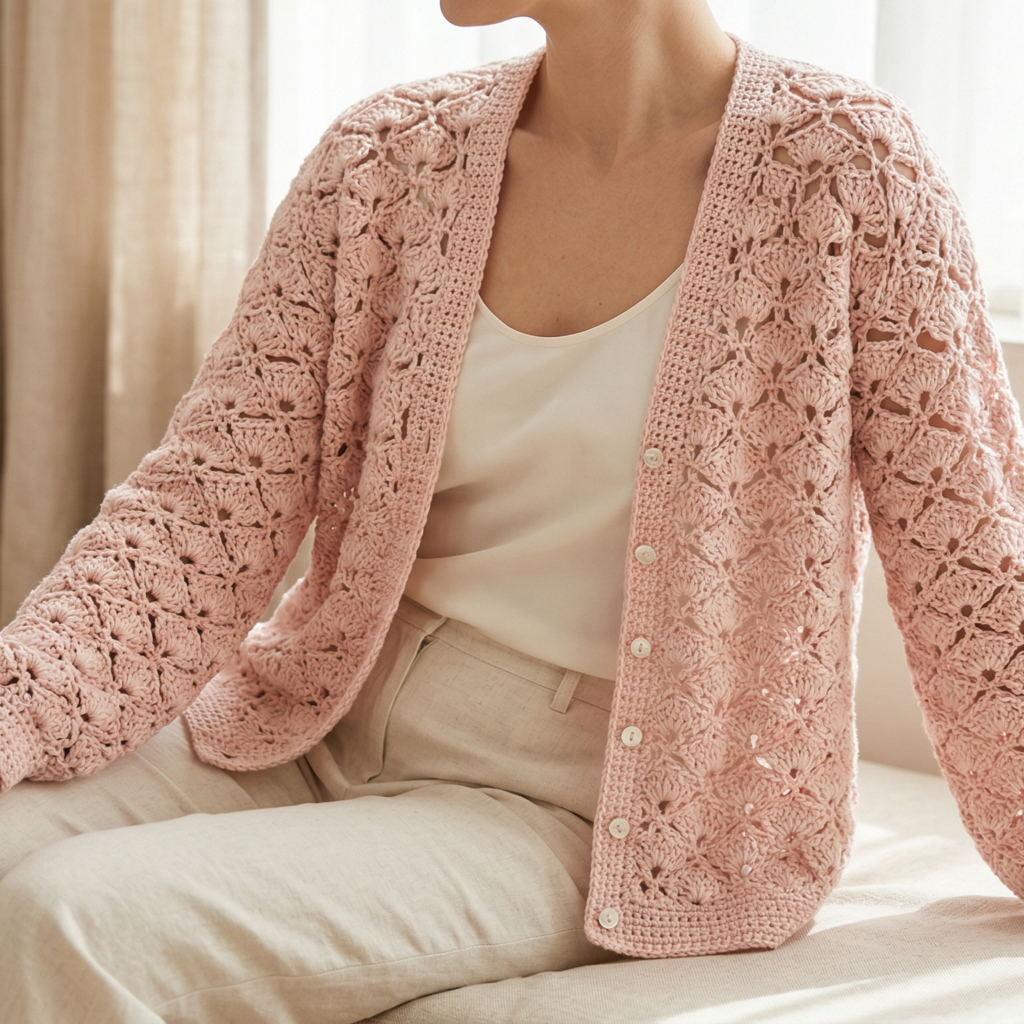
A lacy shell stitch cardigan feels feminine, graceful, and airy. The shell stitch gives the fabric a beautiful open texture that makes the cardigan feel light and elegant. This is a lovely option if you want a piece that works well for layering over dresses, tops, or simple outfits when you want something soft and stylish.
Step-by-Step Guide
Step 1: Choose a lightweight yarn
Lacy shell stitch looks best in yarn with good drape. Choose a cotton blend, soft acrylic, or fine wool blend that feels light and comfortable. The yarn should allow the shell texture to open up without becoming too stiff.
The yarn choice is especially important for lace.
Step 2: Plan the fit
Because shell stitch creates an open fabric, decide whether you want a more fitted cardigan or a relaxed layering piece. A loose silhouette often looks beautiful with lace, but the shoulders and sleeves should still fit comfortably.
A well-planned fit helps the lace look elegant.
Step 3: Start the body panels
Crochet the front and back panels using the shell stitch repeat. Keep the shells evenly spaced so the texture is consistent from row to row. The pattern should feel soft and flowing, not overly dense.
The shell texture is the heart of the design.
Step 4: Shape the neckline and armholes
If working with panels, shape the neckline and armholes carefully so the cardigan remains wearable. Lace patterns can stretch, so keep the shaping neat and avoid making the openings too large. If using top-down construction, separate the sleeves at the right point.
Step 5: Make the sleeves
Crochet the sleeves in the same shell stitch or a simpler lace texture if you want the body to stay the focus. Make sure the sleeves remain lightweight and comfortable. A gentle taper at the cuff helps the sleeves sit neatly.
Step 6: Add borders
Finish the front opening, hem, cuffs, and neckline with a soft border. A picot or scallop edge can complement the shell stitch beautifully. Keep the border delicate so it does not overpower the lace fabric.
Step 7: Block the cardigan
Blocking is very important for a lacy shell stitch cardigan. It helps the shells open and gives the cardigan a graceful drape. Shape it carefully while it dries so the lace sits evenly and the fit looks smooth.
Step 8: Add closures if desired
You can leave the cardigan open for a flowing look or add buttons if you want it to close. If using buttons, place them carefully so they do not distort the shell pattern. Small elegant buttons often work best with lace.
Helpful Tips
Shell stitch cardigans are especially beautiful in soft neutral shades or gentle pastels. If you want a romantic look, use cream or blush. If you want a more refined layering piece, choose soft gray or ivory. The lace makes it feel special even when the silhouette is simple.
5. Crochet Flared Sleeves Hexagon Cardigan Pattern
A flared sleeves hexagon cardigan combines clever construction with a fashion-forward silhouette. The hexagon shape makes it interesting and surprisingly easy to build, while the flared sleeves give it a soft, dramatic finish. This style is a great choice if you want a cardigan that feels modern, comfortable, and a little playful.
Step-by-Step Guide
Step 1: Learn the hexagon construction
The cardigan begins with one or two large hexagon sections. Each hexagon grows with corner increases, and when folded and joined correctly, it naturally forms sleeves and body panels. This is one of the easiest ways to make a cardigan with an interesting shape.
The hexagon is the foundation of the garment.
Step 2: Crochet the first hexagon
Work your first hexagon in rounds, increasing evenly at the corners. Keep the fabric flat and balanced so the shape grows smoothly. The size of the hexagon will affect how oversized or fitted the cardigan becomes, so measure as you go.
A large, even hexagon is essential.
Step 3: Make the second hexagon
Crochet a matching second hexagon the same size as the first. Try to keep the stitch count and tension consistent so the two pieces join without distortion. Matching hexagons make the cardigan much easier to assemble.
Symmetry helps the final garment fit well.
Step 4: Join the hexagons
Fold each hexagon into the cardigan shape and join the back and underarm sections. This creates the sleeves and body in one clever step. Take your time with the seams so the cardigan hangs naturally.
This is the step that transforms the flat shapes into clothing.
Step 5: Add the flared sleeve sections
The flared sleeves can be created by continuing the fabric outward or by adding extra shaping around the sleeve opening. Keep them roomy and flowing so they create a soft, stylish silhouette. A gentle flare feels elegant and relaxed.
The sleeve shape gives this cardigan its character.
Step 6: Finish the hem and front opening
Add a border or ribbing around the front, hem, and cuffs. The edges help define the shape and keep the hexagon structure from feeling unfinished. A simple border often works best because the shape itself is already visually interesting.
Step 7: Shape and block
Blocking helps the hexagon cardigan settle into a wearable form. It also smooths out the joins and helps the flared sleeves drape nicely. Shape the cardigan while it dries so the silhouette looks balanced and intentional.
Helpful Tips
This cardigan looks especially lovely in solid colors because the geometry and flared sleeves become the focal point. If you want a more dramatic version, choose a rich jewel tone. If you want a soft everyday piece, muted neutrals work beautifully.
Conclusion
Crochet cardigans are one of the best garments to make if you want something practical, stylish, and deeply satisfying to create. They can be casual or elegant, simple or detailed, oversized or fitted, and that flexibility is what makes them such a rewarding handmade project. Each cardigan becomes a wearable reflection of your choices in color, texture, and shape.
These five cardigan patterns each bring something different to the table. The green patchwork oversized cardigan feels artistic and cozy. The soft striped cardigan is calm and versatile. The willow granny square oversized cardigan has classic handmade charm. The lacy shell stitch cardigan feels graceful and airy. The flared sleeves hexagon cardigan offers a modern shape with a playful twist. Together, they show just how much variety you can create with crochet garments.
A handmade cardigan is more than just something warm to wear. It is a piece you can style many ways, enjoy for seasons, and feel proud of because you made it yourself. With the right yarn, careful shaping, and a thoughtful finish, these cardigan patterns can become wardrobe favorites that combine comfort and style beautifully.