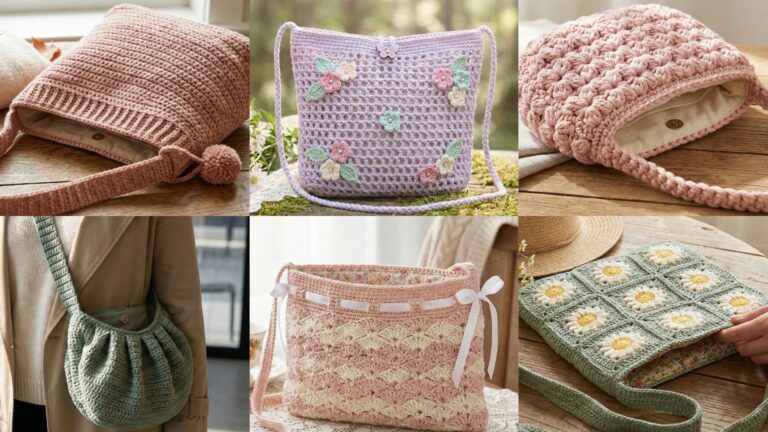
Headbands are one of the quickest and most satisfying accessories to crochet — they’re small, portable projects that add instant polish to an outfit. Below you’ll find a friendly introduction (materials, sizing, gauge, and finishing), followed by five full, detailed headband patterns: Piano, Black & White Aesthetic Lace Lolita, Simple Floral Knitted, Red Tulip, and Ribbon Bow Embroidered. Each pattern includes skill level, materials, exact step-by-step construction, tips for fit and styling, and variations so you can make pieces that suit different ages and outfits.
Quick essentials — materials, sizing, gauge & abbreviations
Yarn choices
- For headbands, choose yarn that’s soft, stable, and comfortable against skin:
- Cotton / cotton blends — crisp stitch definition, breathable, good for warmer months.
- Acrylic / acrylic blends — soft, easy care, and holds color well.
- Bamboo or bamboo blends — silky drape, nice sheen.
- Wool / wool blends — warm and cozy for winter headbands (avoid if wearer has wool sensitivity).
- Typical yarn weights used below: fingering (1), sport (2), DK (3) or worsted (4) — the pattern will specify.
Hooks and tools
- Hook size usually between 2.5 mm – 5.0 mm depending on yarn; check pattern suggestions.
- Notions: tapestry needle, scissors, stitch markers, measuring tape. Optional: small buttons, ribbon, or headband elastic.
Sizing
- Head circumference varies. Common adult sizes:
- Small/teen: 19–20 in (48–51 cm)
- Average adult: 21–22 in (53–56 cm)
- Large: 23–24 in (58–61 cm)
- To fit, measure head circumference where the headband will sit (just above ears). For a snug, non-slip fit, you can work the headband to 1–2 in negative ease (i.e., finished band slightly smaller than head circumference) because crochet fabric stretches. For a relaxed fit, use 0–1 in positive ease.
Gauge & how to customize
- Always make a small swatch (4 in / 10 cm) in the stitch used and measure stitches per inch. Use that to compute the required number of stitches for your target width/length:
- Example: swatch shows 5 sc = 1 in. If you want a 20 in finished inner circumference: 5 × 20 = 100 sc around.
- Many headbands have a stitch repeat (e.g., multiples of 4). Round your computed foundation to the nearest multiple required by the stitch pattern.
Finishes & lining
- For a non-slip fit, consider a narrow piece of elastic sewn into the inner seam, or add a fabric lining (soft cotton) to the inside.
- For stability and cleaner look, weave in/secure ends neatly and block when using cotton or bamboo yarn.
Care
- Check yarn label. Machine-washable yarns make headbands low-maintenance. For hand-dyed or delicate fibers, hand wash and air dry. Remove any glued embellishments before washing.
Abbreviations (US)
- ch — chain
- sc — single crochet
- hdc — half double crochet
- dc — double crochet
- tr — treble (tr) crochet
- sl st — slip stitch
- st(s) — stitch(es)
- sk — skip
- rep — repeat
- inc — increase (work 2 sts into same st)
- dec — decrease (invisible dec recommended)
- BLO / FLO — back loop only / front loop only
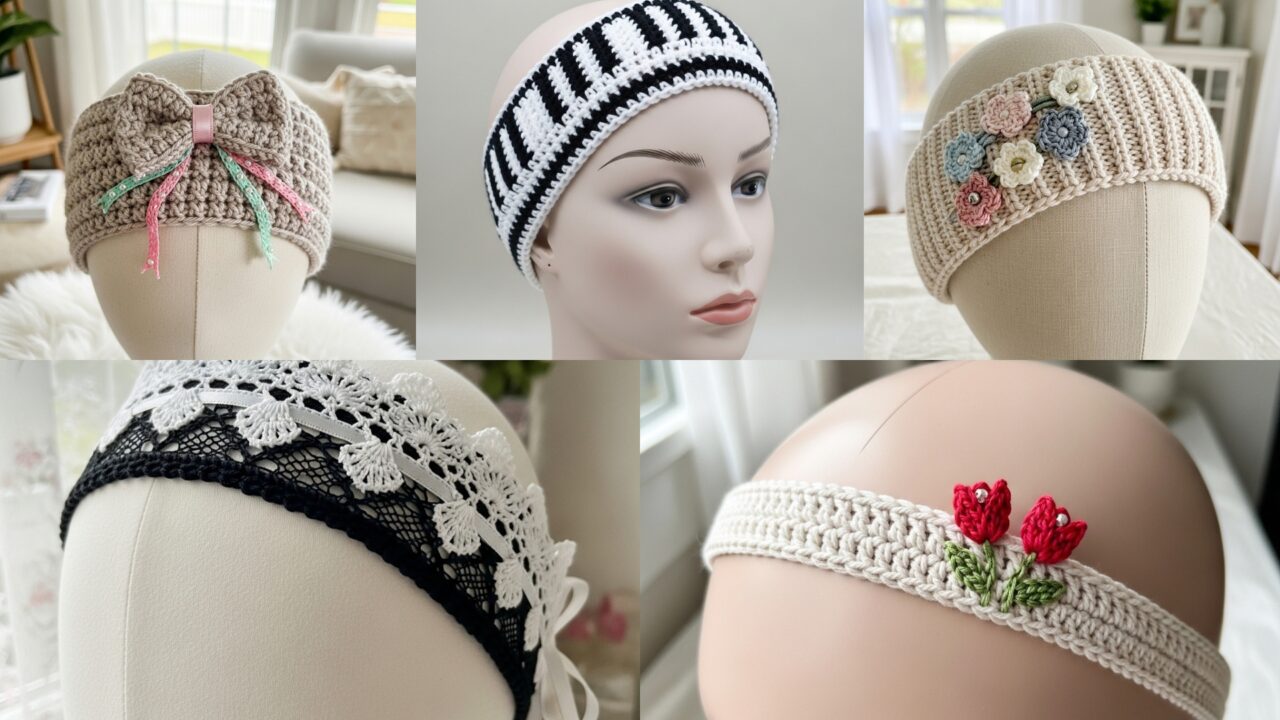
1. Crochet Piano Headband Pattern
Vibe: Chic, playful, and slightly retro — a narrow headband with a bold black-and-white “piano key” stripe.
Skill level: confident beginner
Yarn & tools (sample headband for average adult)
- Fingering or sport-weight cotton: Black and white, ~30–40 yd each.
- Hook: 3.0 mm (adjust for gauge).
- Tapestry needle, measuring tape.
Finished size (example): 1.25 in wide × 20 in circumference (stretchy)
Concept
Worked in the round for a seamless band; the piano look is created by alternating small blocks of color (2–3 stitches black, 2–3 stitches white) in a ribbed texture (BLO hdc) that resembles keys.
Step-by-step
- Swatch & compute: Make a 4 in wide swatch in BLO hdc in your chosen yarn to find stitches per inch. Example: 5 hdc = 1 in. For 20 in circumference: 5 × 20 = 100 sts. Because the piano motif repeats every 4 stitches (2 black/2 white), ensure your total stitch count is a multiple of 4 (100 is fine).
- Foundation: Ch 100, join carefully to form a ring (avoid twist), put marker for beginning.
- Rib base: R1–R3: BLO hdc in each ch around. This creates a foldable rib that looks clean and has good elasticity.
- Piano color blocks: Working in BLO hdc for texture, change color every 2 or 3 sts to create keys:
- Example 2-stitch keys: B (Black) — BLO hdc 2 sts; switch to W (White) — BLO hdc 2 sts; repeat around. Carry the unused color along the wrong side or change at the end of each color block by finishing last YO with the new color (neat join).
- Work 3 rounds of this color-block sequence to set the motif.
- Finish edge: R next round: BLO sc in each st in a single color of your choice to tidy the top. Fold lower rib inward and seam with slip stitch across if you want a double-thick band (optional). Alternatively leave single-thickness for lighter feel.
- Weave & block: Weave in ends, block into shape if needed.
Tips & variations
- Make the band wider by increasing foundation chain and adding more rib rounds.
- Try 3-stitch keys for a chunkier, more graphic look.
- Use DK yarn and larger hook for a bold statement headband.
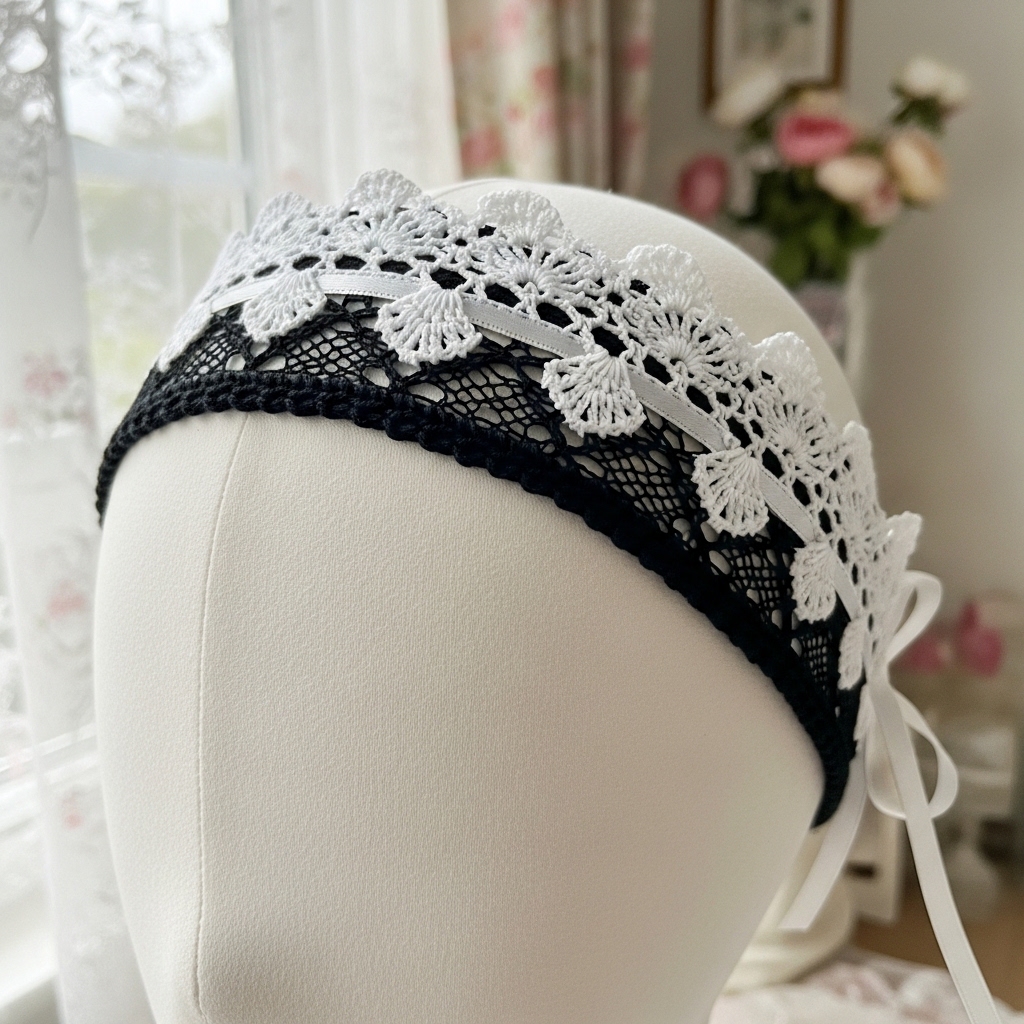
2. Crochet Black & White Aesthetic Lace Lolita Headband Pattern
Vibe: Elegant, lacey, and Lolita-inspired — a slightly wider headband with a delicate lace overlay, perfect for dressed-up looks.
Skill level: intermediate (lace stitches + joining)
Yarn & tools
- Sport-weight cotton or mercerized thread for crisp lace: Black (main) and White (accent) — ~60–90 yd total.
- Hook: 2.5–3.5 mm depending on yarn.
- Small snap or button if you want a removable headband, tapestry needle.
Finished size (example): 1.75–2.25 in wide × 21 in circumference
Concept
Work a sturdy base band (sc or hdc) and then add a lacy overlay panel that is seamed along the band, creating a decorative Lolita look. Optionally add tiny ribbon threaded through upper eyelets.
Step-by-step
A — Base band
- Make a foundation chain to match head circumference minus desired ease. Example: for 21 in with gauge 5 sc/in → 105 ch. Join into round.
- Work 6–8 rounds sc (or hdc for slightly taller band) to form a stable base about 1/2–3/4 in tall.
B — Lace overlay panel
3. Separately, crochet a rectangular lace strip the same circumference as the band but slightly taller — about 1.25–1.5 in tall. Example lace repeat (simple eyelet + shell):
- Row 1: ch multiple of 8 + 1. Row start: sc across foundation.
- Row 2: ch 4, sk 2 sts, sc in next, ch 4, 3 dc in next — a simplified shell-eyelet row; repeat until desired height.
- Alternate with a row of sc or small picot edges to stabilize.
- Block the lace strip flat to open up pattern.
C — Attach overlay
5. With right sides facing, align lace strip over base band and whipstitch or slip-stitch along top and bottom edges to attach. If you prefer a floaty look, stitch only along center back so lace flutters slightly.
D — Ribbon & bows
6. Thread a narrow satin ribbon through the upper eyelets of lace and tie into a small bow at one side for the Lolita accent.
E — Finish
7. Weave ends and trim. To make the headband removable, fasten a small snap at one end of the base band.
Tips & variations
- Add a tiny white scallop at base edge for contrast.
- For a softer look use bamboo yarn; for crisp lace use mercerized cotton.
3. Crochet Simple Floral Knitted Headband Pattern
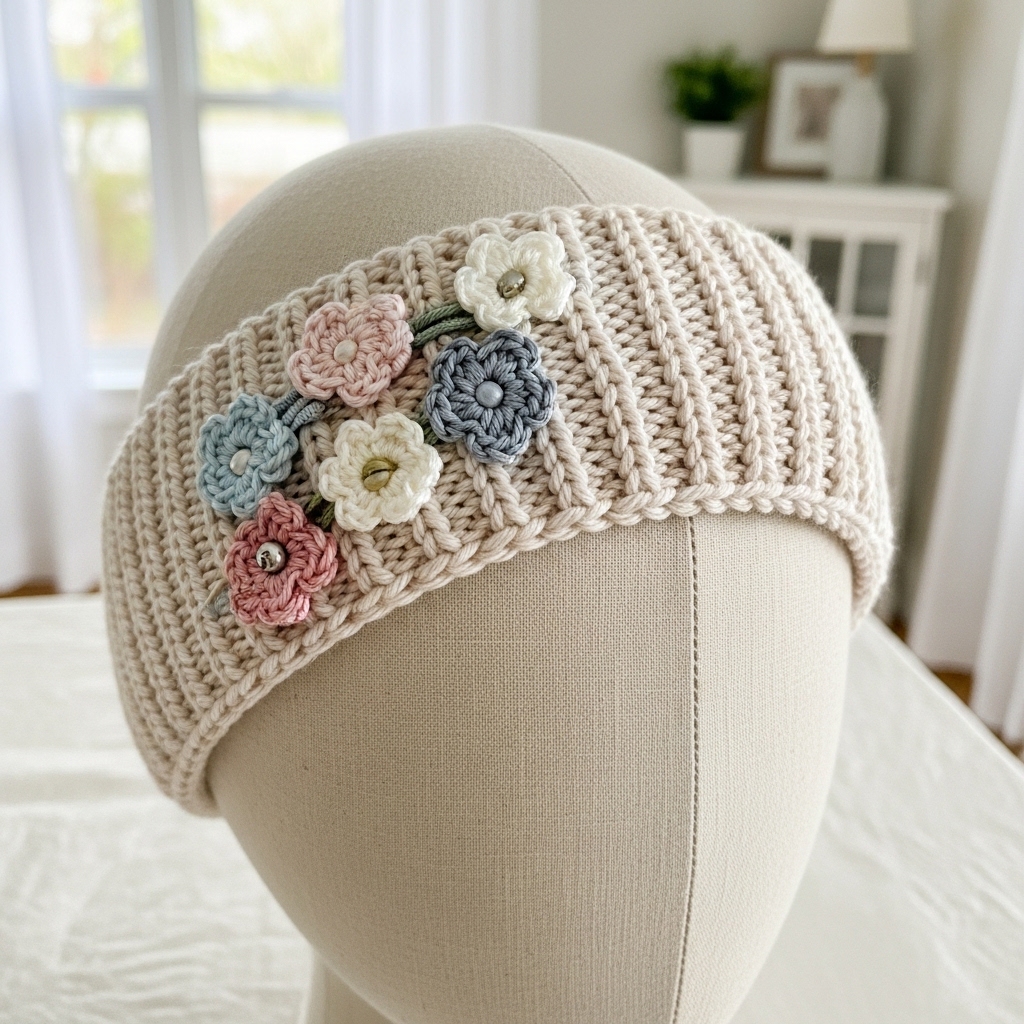
Vibe: Soft, everyday femininity — an easy, knitted-look headband with small crochet flowers appliquéd on top.
Skill level: confident beginner
Yarn & tools
- DK yarn (soft cotton or acrylic) ~100 yd.
- Hook: 4.0 mm (to create a knitted texture using sc or hdc in BLO).
- Optional: small button(s) for center of flowers.
Finished size (example): 1.5–2 in wide × 20 in circumference
Concept
Work a ribbed band using BLO hdc for a knit-like texture; make 3–5 small crochet flowers and sew them on.
Step-by-step
A — Ribbed base
- Swatch to find stitches-per-inch in BLO hdc. For 20 in circumference with 5 hdc/in → 100 ch. Join round.
- Work BLO hdc for 8–10 rounds to build a rib about 1.5–2 in tall. This makes a stretchy, cozy band you can fold if you like.
B — Flowers (make 3–5)
3. Tiny flower pattern:
- MR, ch 1, 6 sc in ring, tighten (6 sc).
- R2: ch 3, sl st in next st repeat 6 times to make 6 loops.
- R3: In each loop: (sc, hdc, 2 dc, hdc, sc) to form petal. Fasten off leaving tail for sewing.
- Sew flowers to one side of the headband, overlapping slightly for a cluster, and add a small button or bead to each flower center if desired.
C — Finish
5. Weave ends, block lightly, and test fit.
Tips & variations
- Make the base in a heathered yarn for a cozy look.
- Swap flowers for small leaves or a single larger blossom for a standout piece.
4. Crochet Beautiful Red Tulip Headband Pattern
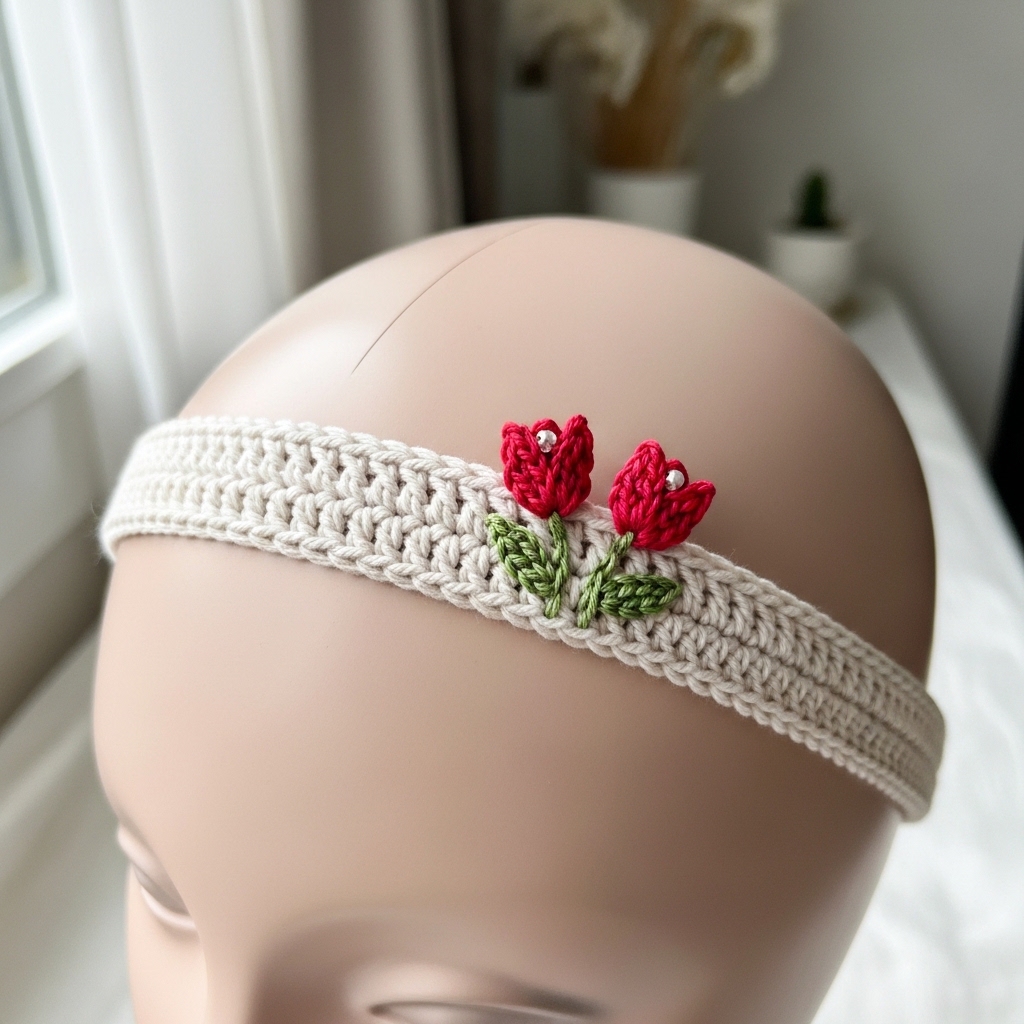
Vibe: Bold and romantic — a narrow headband with two embroidered/crocheted tulip motifs at one side.
Skill level: intermediate (appliqué and shaping)
Yarn & tools
- Sport or DK cotton: main band color (neutral) ~30–40 yd, tulip color red (~10 yd), leaves green (~6 yd).
- Hook: 3.5 mm.
- Tapestry needle, optional tiny green ribbon.
Finished size (example): 1 in wide × 20–22 in circumference; tulip cluster about 2.5 in tall
Concept
Narrow, elegant band worked in sc or linen stitch; tulips are small appliqués sewn onto the band. Use a small green stem embroidery to connect leaves.
Step-by-step
A — Band
- Chain foundation to fit (e.g., 100 ch for 20 in with 5 sc/in). Join.
- Work 6–8 rounds sc or linen stitch for a slightly textured, flat band.
B — Tulip appliqué (make 2–3)
3. Tiny tulip (worked flat then folded):
- Ch 6. Row 1: sc in 2nd ch and across (5 sc). Row 2: ch 3, turn, dc in first st, hdc in next, sc in next, hdc in next, dc in last. Row 3: ch1, sc across. Fasten off, flatten and shape into tulip by folding base slightly and sewing base edges.
- Leaves: ch 8, sc in 2nd ch, hdc, dc, hdc, sc to shape leaf; fasten off.
C — Embroidery stem
5. With green yarn and tapestry needle, stitch a thin stem along the side of the band and tack tulips onto it by sewing their bases to the band at the stem top.
D — Finish
6. Weave ends and secure appliqués with extra passes to ensure durability. Optionally add a tiny button or bead center for detail.
Tips & variations
- For a subtle look use blush pink tulips on a cream band.
- To make washable, avoid glued embellishments; sew everything securely.
5. Crochet Ribbon Bow Embroidered Headband Pattern
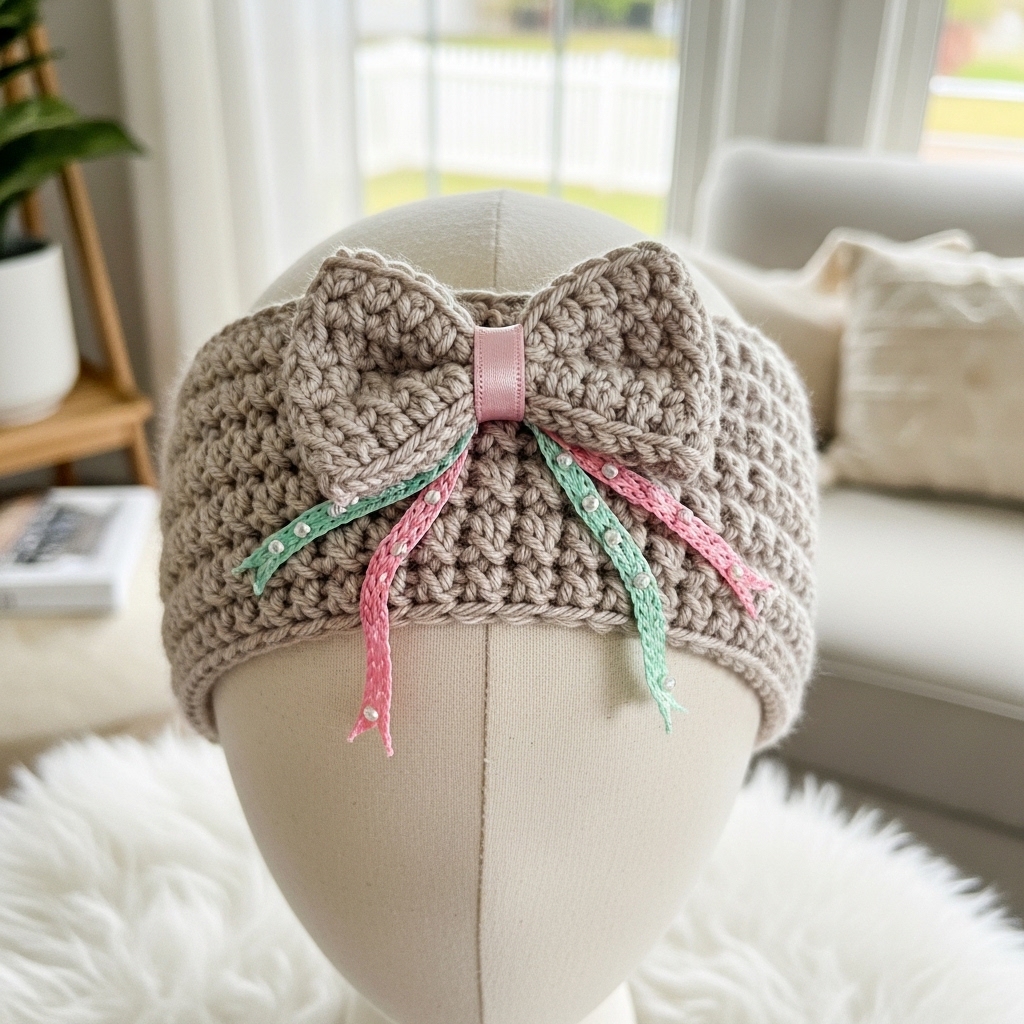
Vibe: Sweet and charming — a broad headband with an embroidered ribbon motif and central crocheted bow.
Skill level: confident beginner → intermediate
Yarn & tools
- Worsted or DK yarn: main color ~80 yd, contrasting color for bow ~10–15 yd.
- Hook: 4.0 mm.
- Small satin ribbon (optional), tapestry needle.
Finished size (example): 2.25–2.5 in wide × 20–22 in circumference
Concept
Work a wide textured band (waffle or seed stitch), attach a small crocheted bow and use surface embroidery to add ribbon tails and stitched effects.
Step-by-step
A — Wide textured band
- Chain foundation: compute circumference. For 20 in with gauge 4 sc/in → 80 ch. Join.
- Work 10–12 rounds in waffle stitch (fpdc + dc rows) or seed stitch for a warm textured band about 2–2.5 in tall.
B — Crocheted bow
3. Bow strip: ch 22; Row 1: sc across (21 sc). Row 2–3: sc across. Fasten off leaving long tail.
- Shape & wrap: pinch center and tightly wrap several times with yarn tail to form bow center. Tuck tail inside and sew small scratch so bow holds shape.
C — Surface embroidery ribbon
5. Using contrasting yarn and a tapestry needle, embroider two ribbon tails on the band with long running stitches and a small stitched knot where bow sits.
- Attach bow securely to top center and optionally glue or hand-sew a small satin ribbon behind for texture. For all-age safety, sew ribbon rather than glue.
D — Finish
7. Weave ends and block lightly.
Tips & variations
- Add tiny pearls or beads along ribbon embroidery for evening wear (sew securely).
- Make bow detachable with a small snap if you want to change styles.
Final finishing & fit tips (applies to all patterns)
- Try on as you go whenever possible — many headbands are worked in the round so you can check fit and adjust.
- Elastic option: for a secure non-slip fit, insert a narrow 1/4 in elastic at the seam: overlap elastic ends and stitch securely, then cover with yarn to hide seam. Use stretch-friendly yarn choice if you don’t add elastic.
- Non-slip lining: a thin strip of velvet or fabric sewn to inside helps prevent slipping on hair.
- Weave ends carefully: weave yarn tails into the nearest stitch multiple times before trimming so they won’t pull loose.
- Care labels: if gifting, include a small card with fiber content and washing instructions.
conclusion
These five headband patterns give you options for everyday chic (Piano, Simple Floral, Ribbon Bow) and special-occasion styles (Lace Lolita and Red Tulip). They’re all adaptable — change yarn weight, width, or embellishment to suit the wearer’s style and age. Start by measuring the head accurately, swatching for gauge, and deciding how snug or relaxed you want the fit.