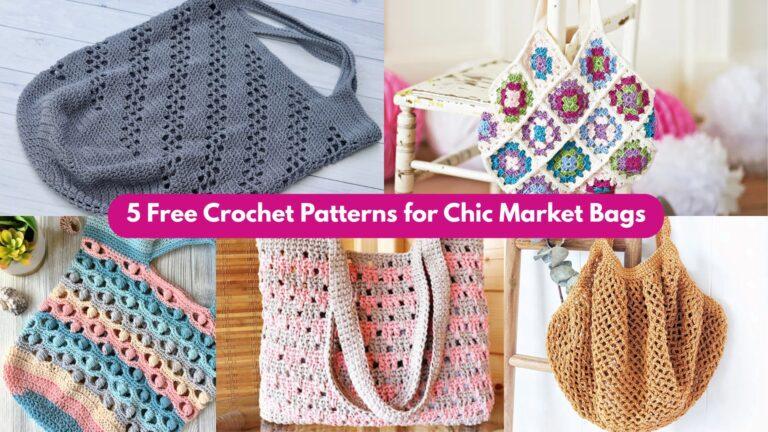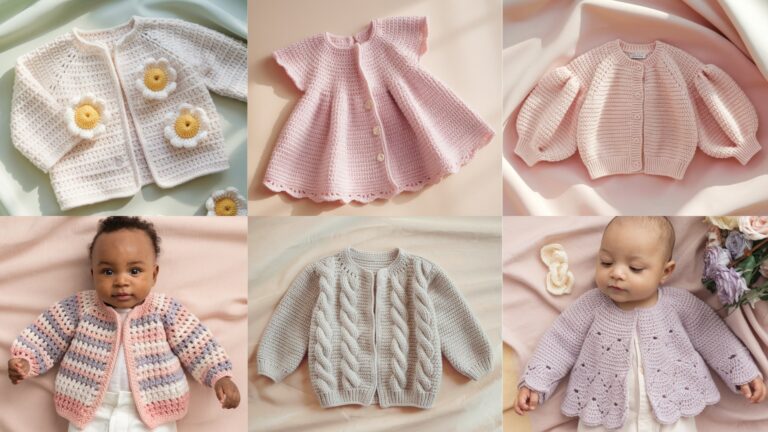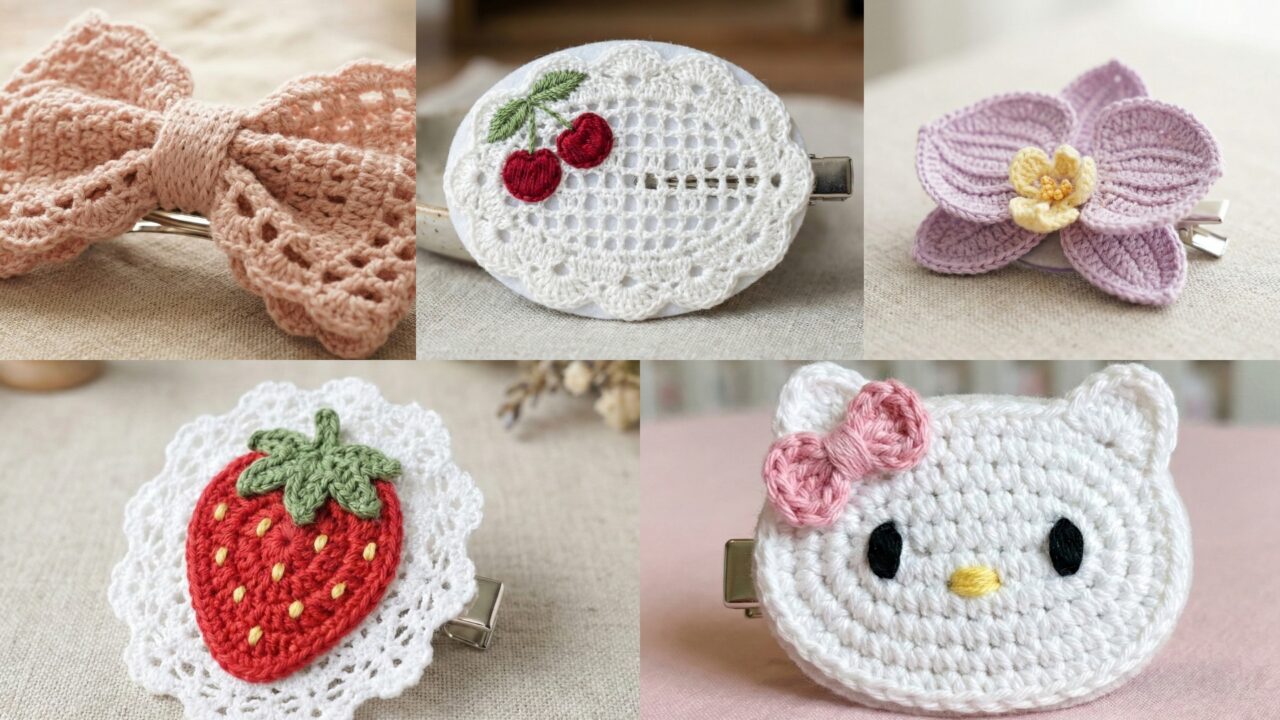
Handmade hair clips are tiny pieces of wearable charm — they’re fast to make, great for using yarn scraps, and perfect as gifts or small items to sell. Below you’ll find a friendly, practical introduction (materials, clip types, safety, how to attach motifs securely), then five full, detailed patterns with step-by-step instructions, finishing and assembly tips, sizing options, and variations: Orchid, Hello Kitty (oval), Lacy Big Bow, Cherry Embroidered Lacy Oval, and Strawberry Motif with Lacy Edges. Everything’s written so you (and your readers) can follow along and customize.
Safety reminder: hair clips have small parts (metal clips, glued pieces, beads) that may be choking hazards for young children. For any clip intended for toddlers, do not use small beads or safety eyes; embroider details and sew everything on extra-securely. Never leave children unattended wearing decorative clips.
Quick primer — tools, yarn, clips, and safe assembly
Yarn & hook
- For sweet, neat motifs use DK / sport weight yarn and a 3.0–4.0 mm hook.
- For delicate lace edges you can use fingering or thread (#10) with a 1.5–2.5 mm hook.
- Cotton or cotton blends are recommended: they block well and hold shape. Acrylic is fine if you want fluffier bows and easy washability.
Types of clips
- Alligator clips (small or medium): great for small motifs, easy to sew onto.
- French barrette: good for longer motifs or bigger bows; makes a polished finished look.
- Snap clips: inexpensive, slim — good for small flowers.
- No-slip grips (lined): better for fine or slippery hair.
Notions
- Tapestry needle, small scissors, hot-glue (optional — see safety below), fabric glue (optional), felt circles (for reinforcement), pliers (for bending clip tabs), small jump rings (for charm attachments), blocking pins/board.
Safety & durability
- Sew — don’t rely on glue alone. Hot glue is convenient but can fail after washing and can leave stiff lumps; use it only as a quick tack before sewing for speed. Always stitch motifs to the clip through a felt backing or through holes in the clip when possible.
- Reinforce: stitch through clip + felt + motif several times with strong thread to ensure the motif won’t pull off.
- Avoid small detachable parts (beads, bells) for toddlers. For kid-safe clips, use embroidered features and sewn-on felt for backing.
Sizing & balance
- A clip’s comfort depends on size—too heavy a motif on a small snap clip will flop. For large, heavy motifs use a French barrette or two small clips as anchors. For very small children, prefer light, small motifs.
Blocking & shaping
- Block motifs to shape before assembly (especially orchids and lace edges). A tiny amount of spray starch helps give structure to bows and lace.
1. Crochet Orchid Hair Clip Pattern
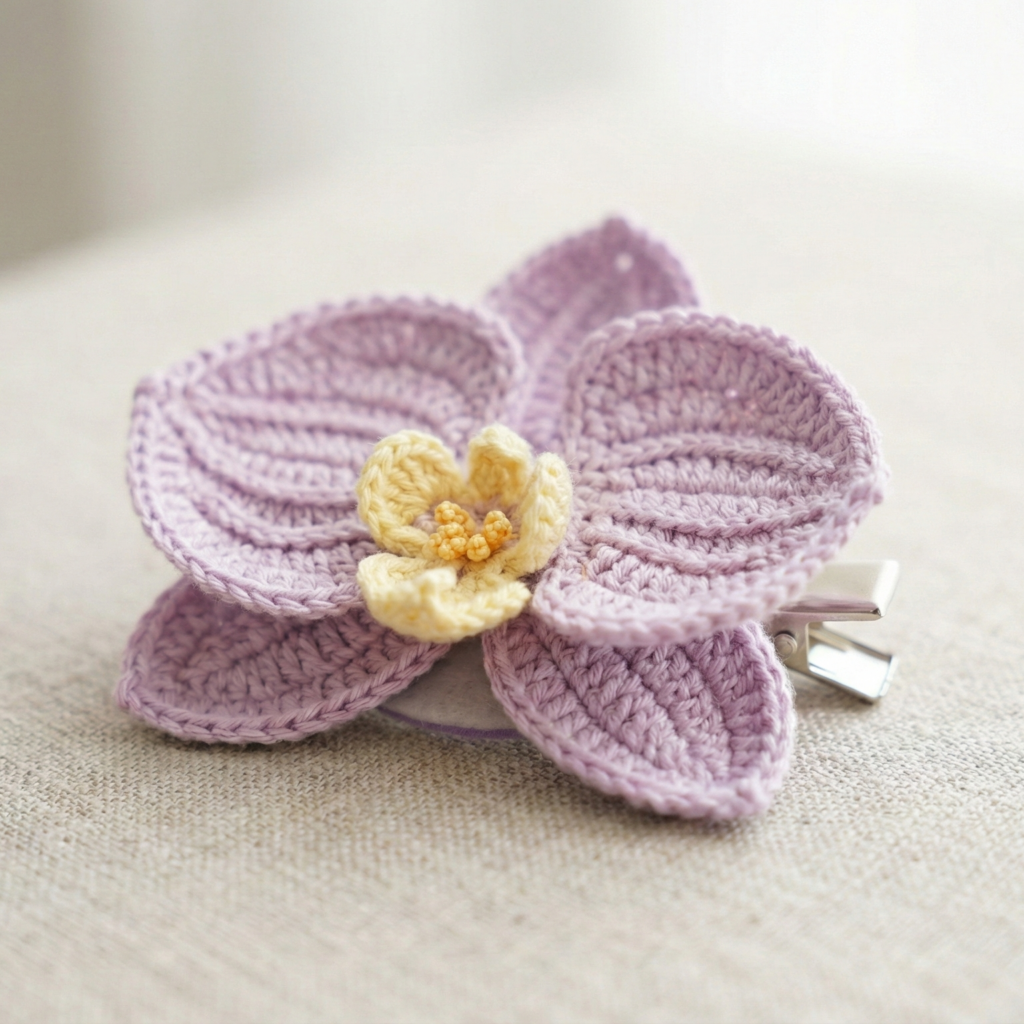
Delicate and elegant — an orchid makes a dreamy hair accent for special occasions.
Skill level: intermediate (petal shaping + seaming)
Finished size: orchid ~3–3.5″ across (good for a medium alligator clip or a small barrette)
Materials
- DK cotton in orchid color (main) and small amount of yellow or contrasting color for center — ~20–30 yd.
- Hook: 3.0–3.5 mm.
- Small alligator clip or 1.75–2″ French barrette, felt circle (~1.5″), tapestry needle, optional thin wire for shaping.
Overview
This design makes five petals (three larger and two smaller) plus a small center. Petals are worked flat, lightly shaped, blocked, and sewn together. Back the assembled flower with a felt circle and sew to the clip.
Petal (make 3 large + 2 small)
Large petal
- Ch 6. Row 1: sc in 2nd ch from hook and across (5 sc). Turn.
- Row 2: ch1, hdc in first st, 3 dc in next 3 sts, hdc in last st. Turn.
- Row 3: ch1, sc across (5 sc). Turn.
- Row 4 (edge shaping): ch1, (sc, picot, sc) across or (sc, hdc, sc) to create a decorative ridge; fasten off leaving long tail for sewing.
Small petal (slightly narrower)
- Ch 5, repeat the same sequence but with fewer stitches: (4 sc base), 2–3 dc center row, etc.
Notes: You can also work petals from a small MR and increase out for a more rounded petal; the flat strip method makes a clean, slightly folded petal.
Center (stamens)
- In contrast color: ch6, sl st to form ring, ch1, work 8–10 sc into ring. Fasten off leaving tail and pull ring slightly closed. Or make a tiny bobble: MR, 6 sc, pull tight and leave tail to attach.
Assembly
- Block petals: pin them in place on a blocking mat and steam lightly (cotton safe) or spray with water and let dry to hold a curved petal shape.
- Arrange petals: place 3 large petals in a triangular layout and tuck the 2 small petals between them near the top. Use your long tails and tapestry needle to sew petals together at the base with sturdy mattress-stitch style passes.
- Sew center onto the joined base.
- Cut a felt circle slightly smaller than flower diameter. Sew felt to the back of the flower, catching the petal bases.
- Attach to clip: position felt over clip, use sturdy upholstery thread and sew through clip (if clip has holes) or sew through felt around clip edge many times. For a clean look on French barrette, glue felt gently then finish by sewing through the barrette’s slotted holes if present.
Variations & tips
- For added realism, stitch a short stamen tuft with yellow yarn and tiny French knots.
- Add a short stem of small leaves (two tiny leaves) if you want a botanical look.
- If using wire, you can insert thin wire at the base of each petal before sewing to help fans or curve.
2. Crochet Hello Kitty Hair Clip Pattern
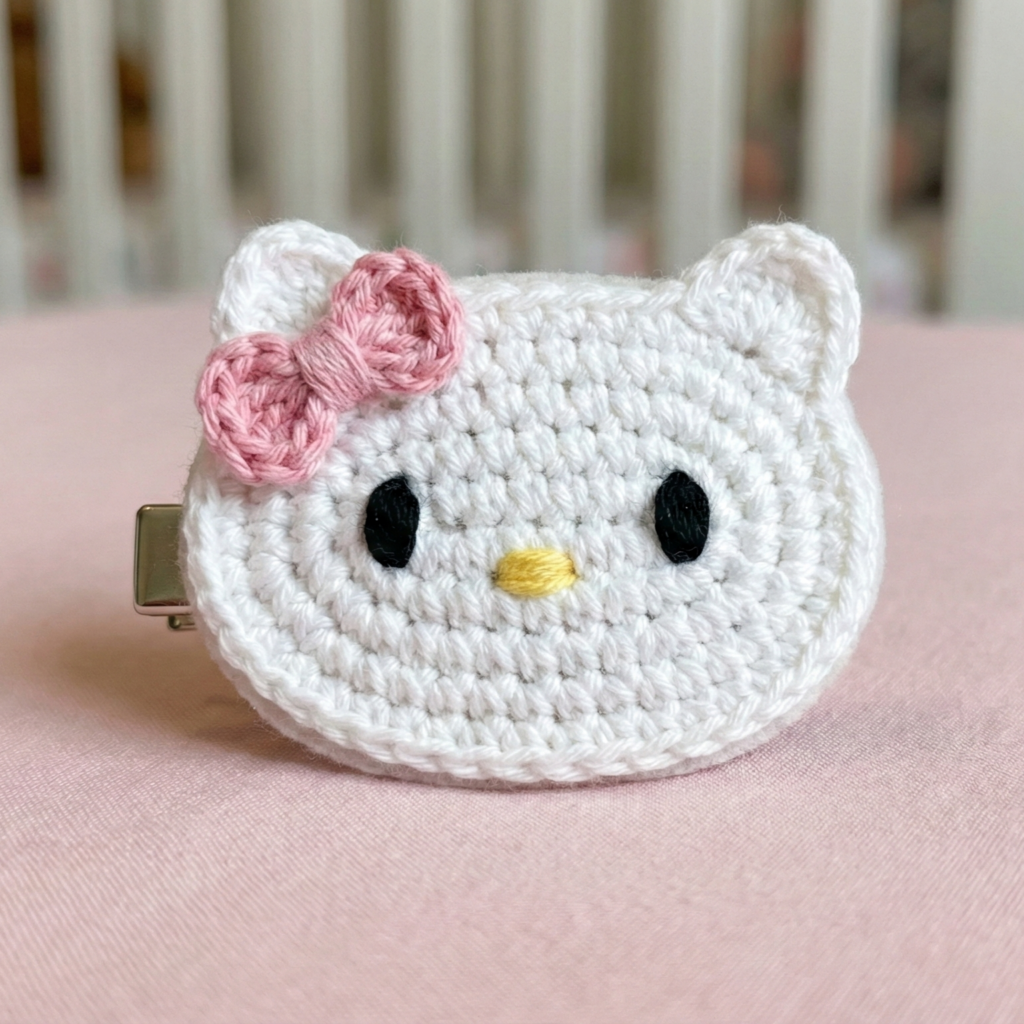
A cute oval-shaped Hello Kitty–style motif (use a generic cat face if selling — avoid copyrighted logos). This is flat, easy to sew onto a snap or alligator clip, and very kid-friendly (embroidered face recommended).
Skill level: confident beginner
Finished size: oval ~2.25″ × 1.75″ (fits medium snap clip)
Materials
- DK white (main), pink/red for bow, black & yellow embroidery floss for face details, 3.0–3.5 mm hook, snap clip or small alligator clip, felt backing.
Oval base (worked flat)
- Ch 13. Row 1: sc in 2nd ch from hook and across (12 sc). Turn.
- Row 2–6: ch1, sc across (12 sc) — work until the rectangle measures about 1.5–1.75″ tall.
- To form oval ends, on short sides work 2 sc in same stitch around corner: at end of last row, ch1, work 3 sc in end chain to round the end, then sc across the bottom edge of foundation chain, 3 sc in last chain to round the other end, join back on top. Alternatively, work an oval in joined rounds: MR 6 sc, inc round, etc., then elongate in rows.
- Finish and fasten off leaving tail.
Ears (make 2)
- Ch5, Row1: sc in 2nd ch and across (4 sc). Row2: sc in each, turn. Fold and sew base to bottom of ear to make a triangular ear. Sew ears to the top of the oval base.
Bow (sewn to side)
Simple bow
- Ch 20, Row1: sc in 2nd ch and across to make a narrow strip (~18 sc). Work 2–3 rows. Fasten off, fold into a bow shape and wrap a narrow crocheted strip (ch6, sc across) around the center and sew. Make bow in pink or red.
Face (embroider)
- Using black embroidery floss: stitch two small ovals for eyes (or tiny French knots). Stitch a small yellow oval for nose. Keep the face simple and child-safe — no safety eyes.
Assembly
- Block oval gently. Sew ears to top. Sew bow to one side (where Hello Kitty usually wears it) or center. Back the motif with a felt oval to hide stitches and reinforce.
- Sew the felt-backed motif onto a snap clip or alligator clip using several passes through the felt and clip base. For snap clips, make sure the clip still snaps closed easily — place motif on the top curved part.
Variations & tips
- Make a matching set of three small oval clips (plain, bow, flower) for a themed set.
- For toddler-safe versions, use embroidered face only and sew motifs with reinforced stitching and felt back.
3. Crochet Lacy Big Hair Bow Hair Clip Pattern
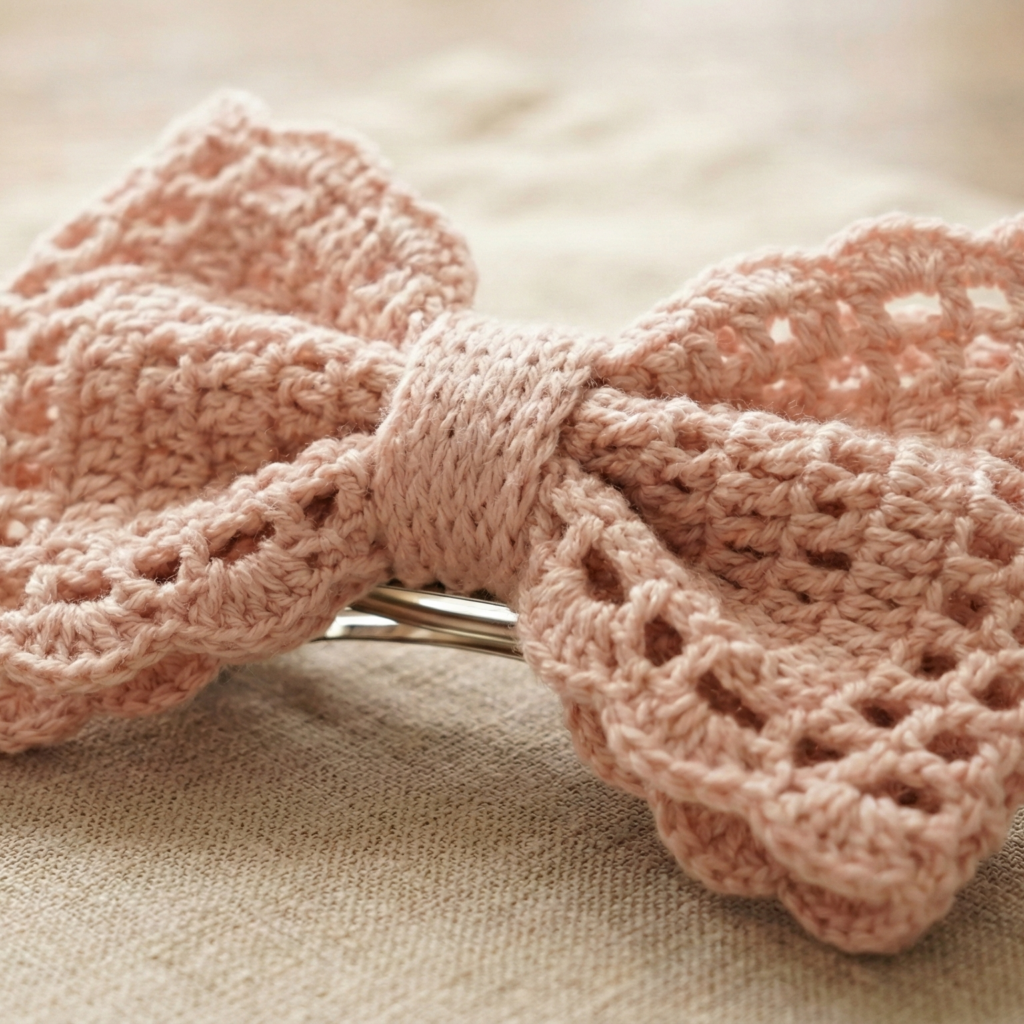
A statement bow with lacy edges — perfect for party looks and photo shoots.
Skill level: intermediate (large piece, shaping, neat finishing)
Finished size: bow ~4–5″ wide (best on a 2–2.5″ French barrette or two alligator clips)
Materials
- DK yarn (main color) — 40–70 yd depending on size, optional contrasting for edge
- Hook: 3.5–4.5 mm (bigger hook for softer drape)
- 2″ or 2.5″ French barrette, felt strip for wrapping center, tapestry needle
Bow body (worked flat as rectangle then gathered)
- Decide final bow width (e.g., 5″) and height (e.g., 3.5–4″ when folded). Swatch to get stitches/inch. Example: if gauge = 4 sc = 1″, chain 20 for 5″ wide (plus turning ch).
- Foundation: ch (stitches for width), Row1: sc across. Row2–12: (or until desired height) alternate lacy rows and solid rows for interest:
- Solid row: sc across.
- Lacy row: ch3, skip 1, sc in next repeat to create mesh.
- Or use shell rows for frilly edges: a shell row of (5 dc in one st) spaced every 4–6 sts.
- When rectangle reaches desired height (e.g., 12–14 rows), fasten off and block, stretching the lacy edges open.
Form bow
- Fold rectangle in half lengthwise (short ends meet), then fold or pinch center to create classic bow loops. Use yarn to bind center tightly in several passes so the bow holds shape.
- Make a center wrap: ch 10, sc 8–10 rows to form small band, then wrap around center and sew down the ends to back. Or use a felt strip wrapped around center for extra grip and glue/sew tightly.
- Backing & securing: sew a felt rectangle to back of bow where the barrette will be attached.
Attach to barrette
- If using a French barrette: slip the barrette under the wrapped center and sew through felt to secure; use multiple stitches through felt and bow center, then knot and hide tail inside felt.
- If using alligator clip(s): attach by sewing through felt to clip, or make two small bows and attach one on either side of clip for balance.
Variations & styling
- Add a narrower ribbon overlay for contrast.
- Crochet a small flower or bow center with pearls for a bridal look.
4. Crochet Cherry Embroidered Lacy Hair Clip Pattern
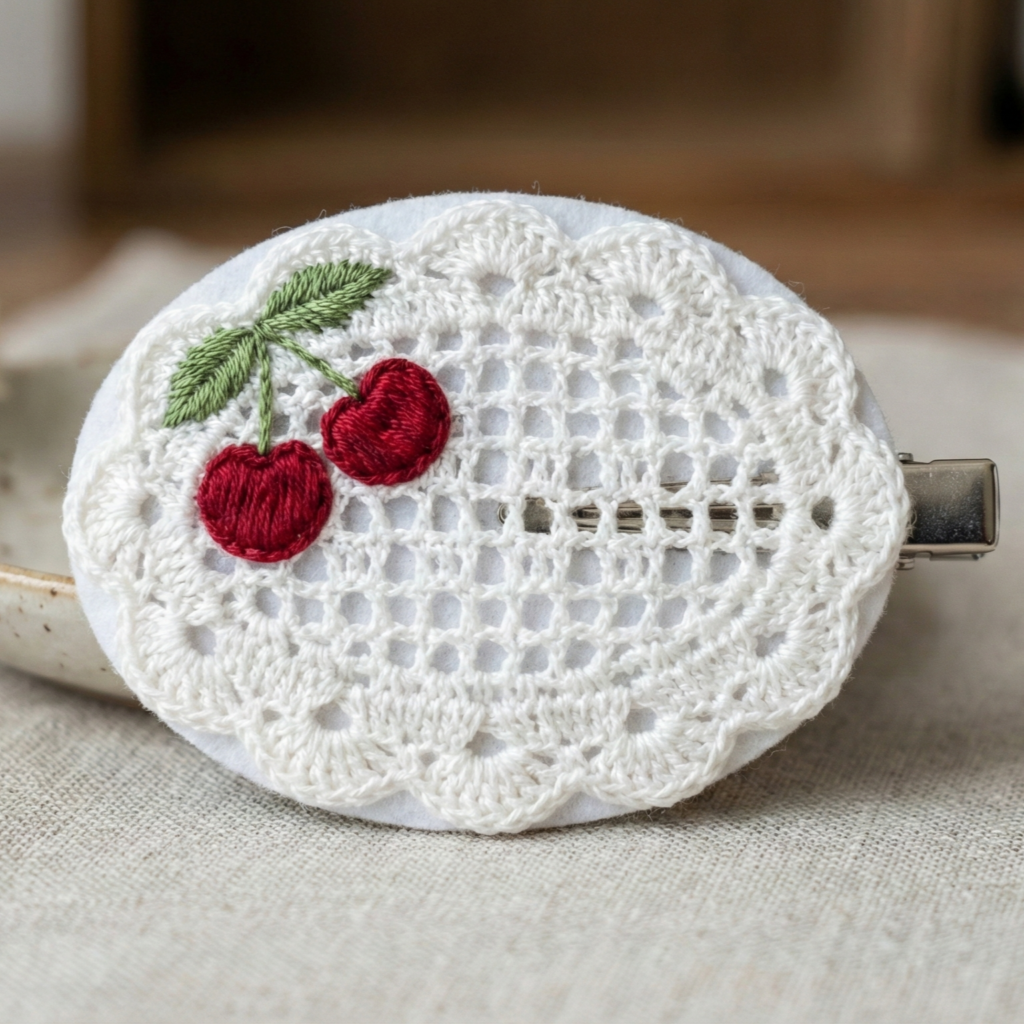
A sweet oval lace motif with embroidered cherries — delicate yet sturdy once backed and sewn to a clip.
Skill level: intermediate (lace + embroidery)
Finished size: oval ≈ 2.25″ × 1.75″ (fits snap or alligator clips)
Materials
- DK cotton white or cream for the lace base, red & green for cherries/leaves, 3.0 mm hook, snap clip, felt, embroidery floss.
Oval lacy base (worked flat)
- Ch 14. Row 1: sc in 2nd ch from hook and across (13 sc). Turn.
- Row 2: ch3 (counts as dc), skip 1 st, dc2tog or 2 dc in next across to create airy texture — you can design a small filet or shell motif: dc, ch1, skip1 etc. Work ~6–8 rows until the oval is ~1.75″ tall.
- Finish with a scalloped edge: sc, skip 1, 5 dc in next st, skip 1, sc around to create pretty lacy edging. Fasten off and block.
Cherry embroidery (surface stitch / satin stitch)
- Using red yarn or embroidery thread, embroider two small filled circles (satin stitches or tiny French knots) grouped as cherries near one corner of the oval.
- With green, stitch a short stem pair and two small leaf shapes (lazy daisy stitch works nicely). Keep stitches secure and avoid long floats — anchor ends well on felt back.
Backing & attachment
- Cut a felt oval slightly smaller than the lace piece and sew the lace to the felt around the edge with small tight stitches, catching the felt through to hide stitches. This reinforces embroidery knots and hides ends.
- Sew felt to clip: pass your tapestry needle under the clip arm and through felt multiple times, or sew through small slots on barrette if present. Reinforce with more stitches. Add a tiny dab of fabric glue inside the felt only if you want extra security — still finish with stitches.
Variations & tips
- Make pairs of cherries in different positions for a set of matching clips.
- For toddler-safe versions, avoid beads and tiny bells; keep decorations embroidered.
5. Crochet Strawberry Motif Hair Clip with Lacy Edges Pattern
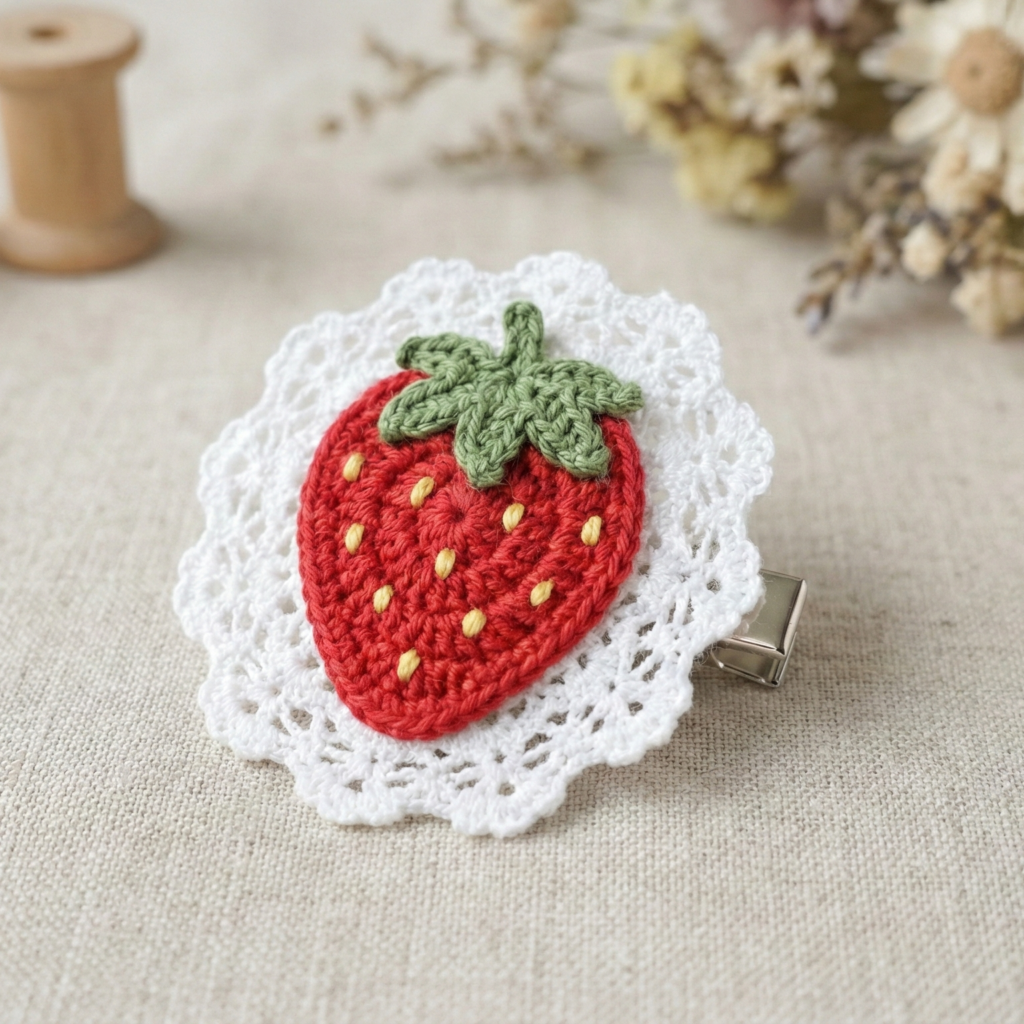
A small strawberry with a pretty lacy border — playful and bright.
Skill level: confident beginner → intermediate
Finished size: strawberry motif ≈ 1.25–1.5″ (good for snap or small alligator clip)
Materials
- DK red (berry), green (calyx), yellow or cream for seeds, 3.0–3.5 mm hook, felt backing, clip, tapestry needle.
Strawberry body (worked in the round)
- MR, ch1, 6 sc in ring. (6)
- Inc around (12)
- sc1, inc ×6 → 18
- sc2, inc ×6 → 24
- sc around 1–2 rounds (24)
- sc2, dec ×6 → 18 (shape taper)
- sc1, dec ×6 → 12 — stuff lightly
- dec around to close or leave small hole and sew closed.
Calyx (leafy cap)
- Join green yarn at top, ch6, sc back across to make a small folded leaf, make 4–5 such leaves around top by working into the top stitches: ch6 → (sc,hdc,3dc,hdc,sc) in loop for a frilly leaf. Sew down tight.
Lacy edge frame (optional oval lace backing)
- To make the motif look finished for a clip, work a small lacy oval or doily backing (ch 12, sc rows, scallop edge) and sew the strawberry onto it. The lacy backing gives the clip a pretty edge and more surface to sew for a secure attachment.
Seeds embroidery
- Use yellow or cream yarn to make tiny French knots all over the body to suggest seeds (make them small and tightly anchored). Alternatively, stitch small short satin stitches.
Assembly
- Back with felt. Sew motif to felt and attach to clip with many passes. For extra insurance, add a second small strip of felt under the clip as reinforcement.
Variations & styling
- Make a cluster of 3 mini strawberries on a single barrette for a statement piece.
- Add tiny green leaves or a seed bead accent at the calyx center (but avoid beads for toddler-safe clips).
General finishing & presentation tips
- Always back your crochet motif with felt — it hides stitches, reinforces seams to clip, and makes a neat underside. Cut felt to about 1/8″ smaller than motif so it’s not visible from front.
- Sew — then glue if you must: use glue only as a temporary tack; finish with secure hand stitches.
- Match clip size to motif weight: heavy motifs → barrette; light motifs → snap/alligator.
- Care & wash: hand-wash gently with mild soap and lay flat to dry. Remove artificial/metal hardware or avoid submerging metal clips to prevent rust.
- Gift packaging: mount clips on small cardstock with your brand, tie with twine, or present in little organza bags.
conclusion
These five girlish crochet hair clip patterns — Orchid, Hello Kitty (oval), Lacy Big Bow, Cherry Embroidered Lacy Oval, and Strawberry Motif with Lacy Edges — give you a full range of sweet looks from delicate florals and lace to playful fruits and character-style ovals. Each pattern emphasizes safe, durable assembly (felt backing and stitching) and offers easy variations so you can customize size, color, and embellishments for toddlers, teens, or grown-ups.