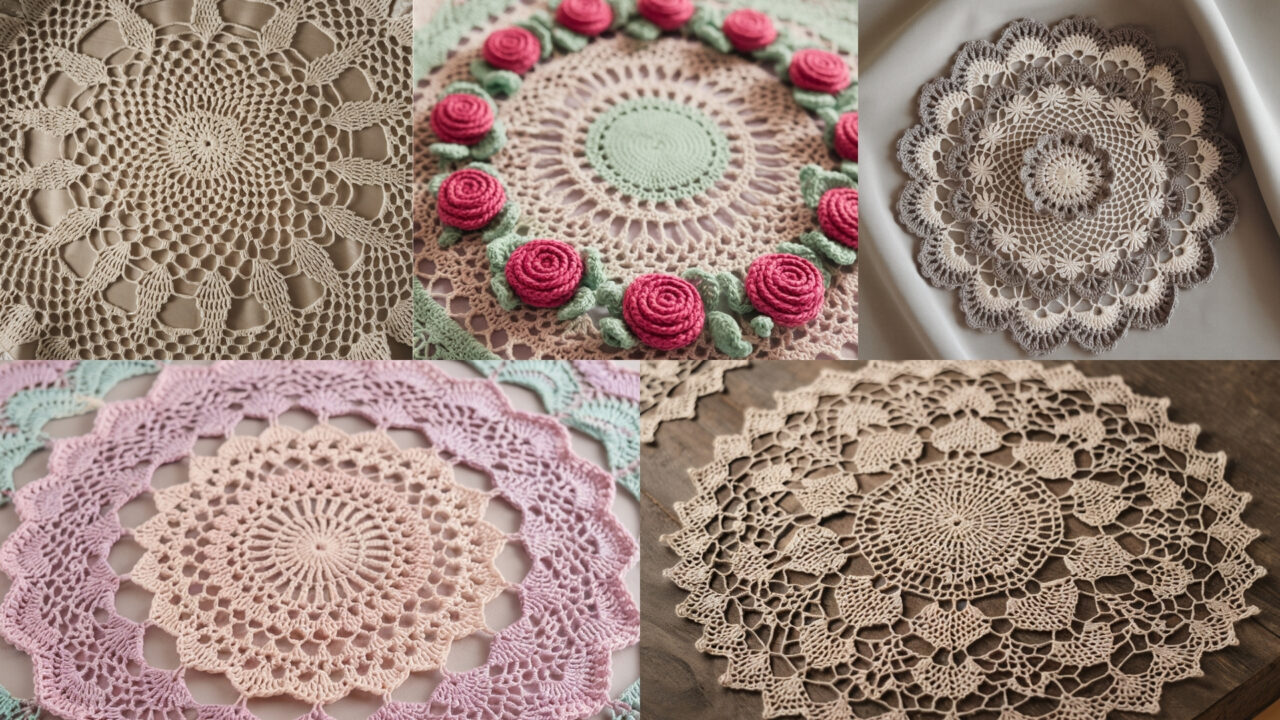
Doilies: they look delicate, take up little space, and somehow make a table behave better. They’re also a brilliant way to practice lace stitches, gauge, and blocking without committing to a huge project. These five patterns run from classic pineapple lace to romantic roses and a charming heart-shaped piece. Each pattern includes skill level, materials, gauge guidance, abbreviations, a thorough round-by-round guide, blocking and finishing tips, and styling/variation ideas. Use crochet thread size 10 for fine, traditional doilies, or a sport/yarn substitute and a larger hook if you want drama at a table runner scale.
1. Crochet Pineapple Doily Pattern

Skill level: Intermediate — lace repeats and careful counting required.
Materials: Size 10 cotton crochet thread (or lace weight yarn), steel crochet hook 1.75–2.25 mm (or size that gives correct gauge), tapestry needle, blocking pins, foam blocking mat.
Finished size: Roughly 10–12 inches diameter (with thread size 10).
Gauge: Not critical for motif repeat, but aim for even tension so lace lays flat.
Abbreviations
ch — chain
sl st — slip stitch
sc — single crochet
dc — double crochet
tr — treble (UK tr = US dc; here US terms used)
sp — space
picot — ch3, sl st in 1st ch (or ch2 if you prefer smaller picot)
( )x — repeat instructions inside parentheses x times
Pattern notes: Work in joined rounds from the center out. Keep stitch counts consistent at the end of each round. Block aggressively for that classic pineapple lace opening.
Round-by-round instructions
- Center ring: Ch 8, sl st to first ch to form ring. (Or magic loop and ch 3 to start if you prefer.)
- R1: Ch 3 (counts as dc), 11 dc in ring. Join with sl st to top of ch-3. (12 dc)
- R2: Ch 5 (counts as dc+ch2), dc in next dc, ch2 around; join to 3rd ch of starting ch-5. (12 dc, 12 ch-2 sps)
- R3: Sl st into next ch-2 sp, ch 3, 2 dc in same sp, ch 2, 3 dc in same sp (shell made). Skip next dc, (3 dc, ch2, 3 dc) in next ch-2 sp around. Join to top of starting ch-3. (12 shells)
- R4: Ch 1, sc in top of first shell, ch 5, sc in top of next shell repeat around; join. This creates long loop arches that start pineapple shaping.
- R5: Work into each ch-5 loop: (sc, hdc, 5 dc, hdc, sc) in each ch-5 loop; join. These become the body of the pineapple fans.
- R6: Ch 1, sc in each stitch across fan, placing sc into peaks and valleys so petals form uniformly. Join.
- R7 (pineapple point shaping): Into the center of each fan work: ch 3, (tr, ch1, tr) twice, ch 3, sl st into base forming pointed arches. Between pineapples, work small picot loops (ch4, sl st into 2nd ch) to keep lace airy.
- R8–R12: Repeat a combination of shell rows and bridging chain rows to expand the pineapple motif — typically alternate a shell row (fans of dc/tr) with a spacer row (ch loops anchored by sc). For a full doily, repeat until desired diameter. Aim for 4–6 pineapple repeats for a 10–12″ doily.
- Final rounds (edging): Work a scalloped edge: 5 dc in one sp, sl st in next sp around; finish with picot points every few scallops for vintage detail.
Blocking & finishing:
- Soak doily in lukewarm water with a mild soak (no harsh detergents). Gently squeeze out water (do not wring).
- Lay on foam blocking mat. Stretch to final shape, pinning each pineapple point and scallop evenly. Use blocking wires along edges if you want ultra-smooth curves. Leave to dry fully (12–24 hours).
- Weave in ends, trim carefully.
Tips & variations:
- Use two contrasting thread colors for alternating rounds to make the pineapple pattern pop.
- For a starburst look, increase the number of repeats and use a larger hook/lighter yarn for a table centerpiece-sized doily.
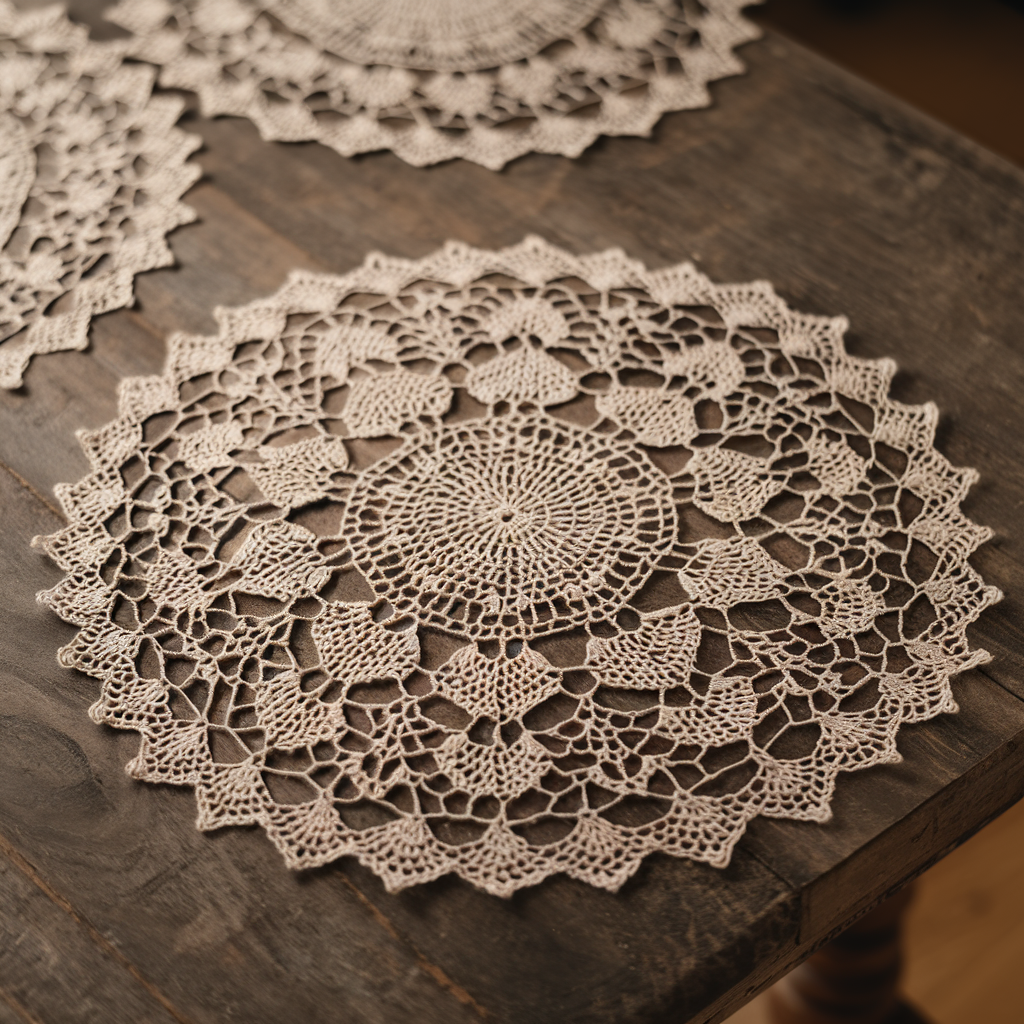
2. Crochet Mandala Doily Pattern
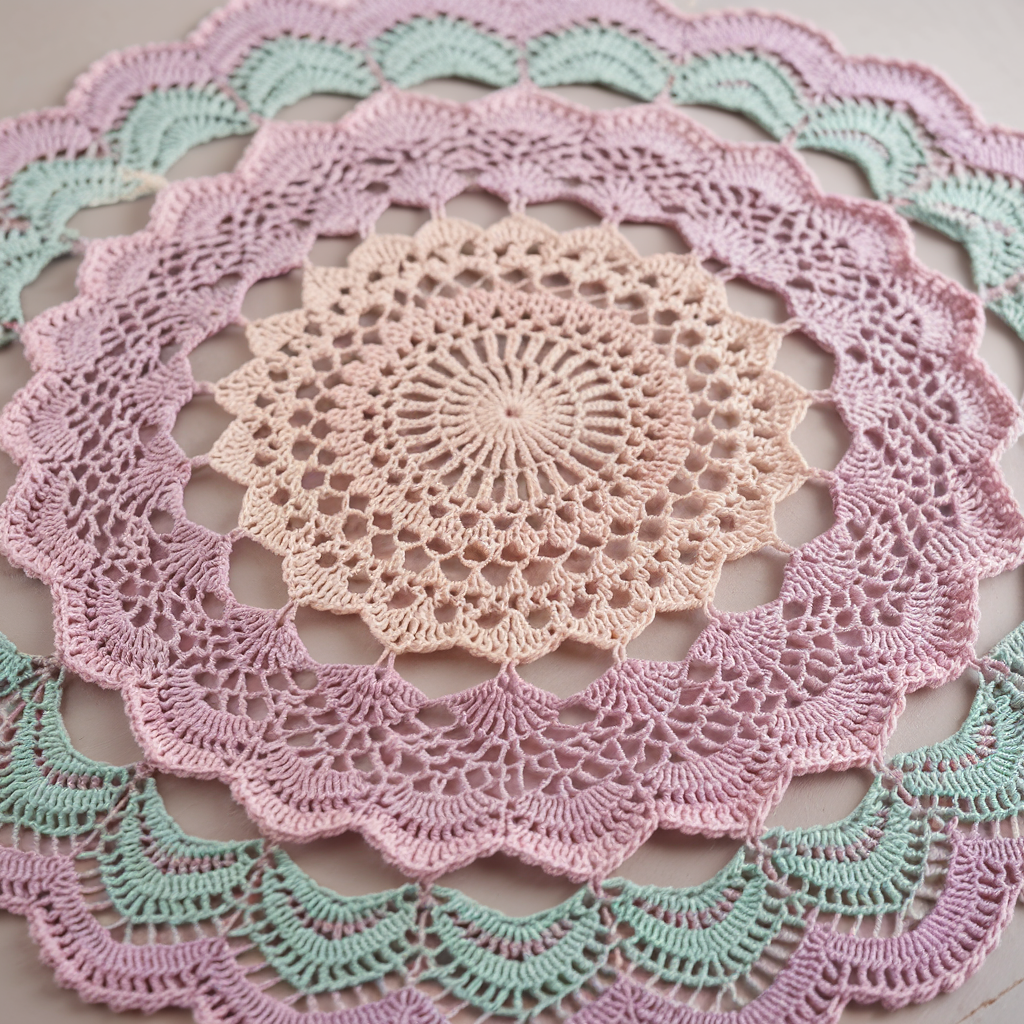
Skill level: Beginner–Intermediate — repetitive mandala rounds build texture.
Materials: Size 10 thread or sport-weight yarn for a chunkier mandala, hook 2.0–3.5 mm, blocking mat and pins.
Finished size: 8–14 inches depending on yarn/hook.
Gauge: Not critical; keep consistent stitch size.
Abbreviations
ch, sl st, sc, hdc, dc, tr, puff (yo, insert, pull through, repeat), FPdc (front post dc), BPdc (back post dc).
Pattern notes: Mandala doilies are about layering different textures and stitches in concentric rounds. I’ll give a flexible 16-round mandala; stop when you like the size.
Round-by-round instructions
- Center: Ch 6, sl st to form ring. R1: Ch3, 11 dc in ring; join. (12 dc)
- R2: Ch1, sc in same st, ch5, sc in next dc around; join — creates small lacy loops.
- R3: In each ch5 loop work (sc, hdc, 3 dc, hdc, sc) — small sun-ray petals.
- R4: Ch2, dc around placing dc between petals, creating a smooth round; join.
- R5: Ch3, skip 1 dc, sc in next dc around to form airy mesh. Join.
- R6: Into each ch-3 space: (sc, 7 dc, sc) — larger petals. Join.
- R7: Work a round of FPdc and BPdc alternating every 2 sts to create a ribbed raised texture. This gives radial ridges.
- R8: Ch4, sl st into BPdc to form embroidered chain loops or chain arches for lacy effect.
- R9: Make puff stitch clusters in designated spaces: (puff, ch2, puff) in each arch for texture.
- R10: Simple round of dc or tr to stabilize.
- R11–R14: Alternate rounds of shells (5 dc in sp), picot rounds (for delicate points), and mesh rounds (for airiness). A suggested sequence: shell round, mesh round, picot edge round, shell round.
- R15 (edging): Sc around, then ch3, sl st in 3rd ch from hook picot edge or small scallops: (sc, ch3, sl st in 3rd ch) spaced every 3–5 sts.
- Optional final flourish: Add beadwork by sewing tiny beads into the puff clusters for sparkle.
Blocking & finishing: Soak, pin and shape with equal spacing between points, allow to dry.
Tips & variations:
- Mandalas love color changes. Change color every 2–3 rounds for kaleidoscope results.
- For a rustic look, use undyed linen or cotton yarn and a larger hook.
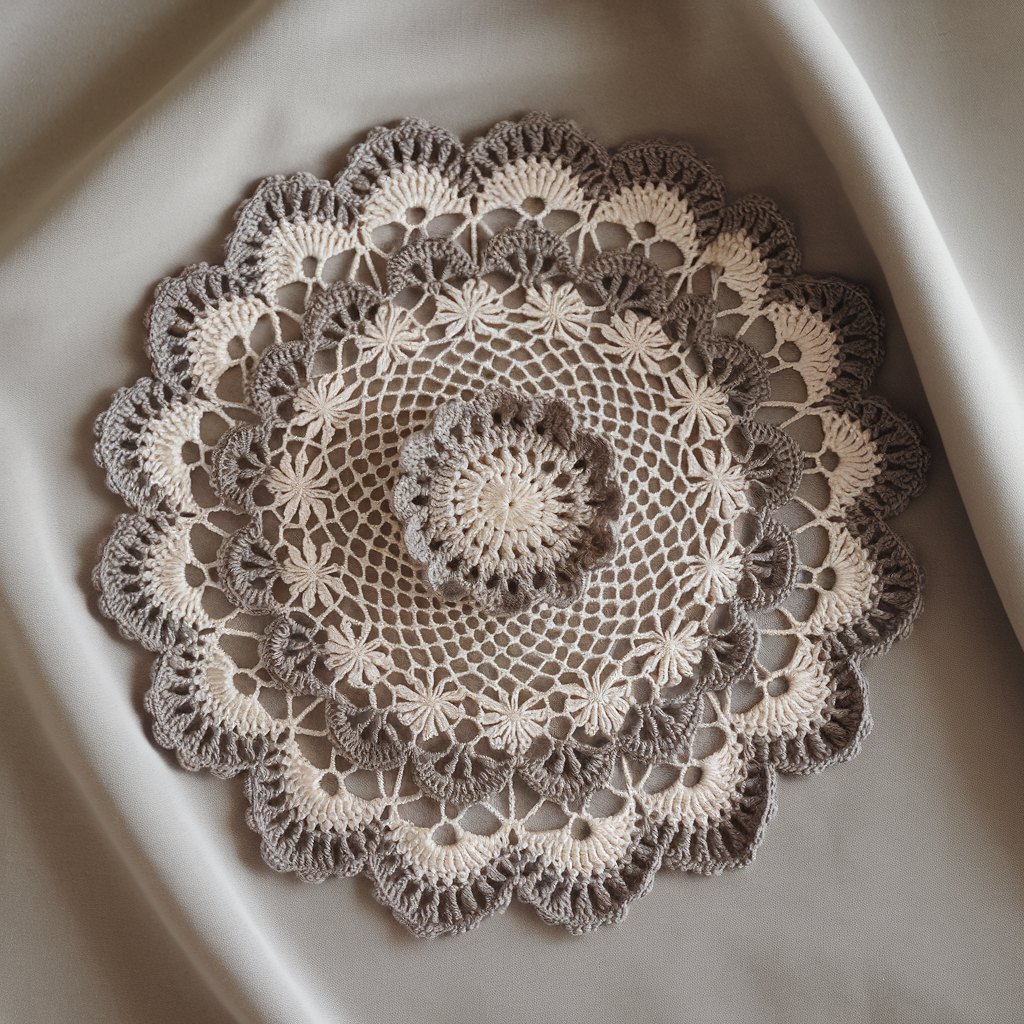
3. Crochet Flower Wheel Doily Pattern
Skill level: Beginner–Intermediate — repetitive flower motifs joined in rounds.
Materials: Size 10 thread (or sport yarn for a larger wheel), hook 1.75–3.0 mm, tapestry needle, blocking supplies.
Finished size: 9–13 inches depending on yarn/hook.
Pattern idea: A central rosette expands into concentric flower wheels — a bright, floral centerpiece.
Abbreviations
ch, sl st, sc, hdc, dc, tr, cluster, shell, puff.
Round-by-round instructions
- Center rosette: Magic ring, ch3, 11 dc in ring; join. (12 dc)
- Flower petal round: In each dc: (ch2, 3 dc, ch2, sl st in same dc) to create 12 small petals. Join. Fasten off center color if changing.
- Wheel round 1: Join new color in a space between petals, ch3, dc, ch2, skip petal, dc in next space around to make spokes. Join.
- Wheel round 2 (petal expansion): In each spoke space work (sc, hdc, 5 dc, hdc, sc) making larger petals that overlap slightly. Join.
- Round 5 (linking wheels): Work a round of mesh chains (ch3, sc in petal tip) that creates little windows between petals. These become anchor points for the next wheel.
- Round 6 (secondary small daisies): Into each mesh sp work a tiny daisy: (ch4, sl st to form ring), (ch3, 7 dc into ring), sl st to join — bloomlets around the main petals.
- Round 7–10: Alternate stabilizing rounds of dc and decorative rounds of clusters and picots to broaden the doily. A typical sequence: dc round, shell round, picot round, sc round for stability.
- Final edge: Work a delicate shell scallop: sc, skip 2, 7 dc in next st, skip 2, sc around. Add a picot at shell peaks if desired.
Blocking & finishing: Pin each petal to even spacing and shape with microfiber blocking pins. When dry, steam-press lightly if thread allows.
Tips & variations:
- Use tonal colors (center dark > outer light) for depth.
- Make several flower wheels and join them into a larger runner or table throw.
4. Crochet Roses Doily Pattern
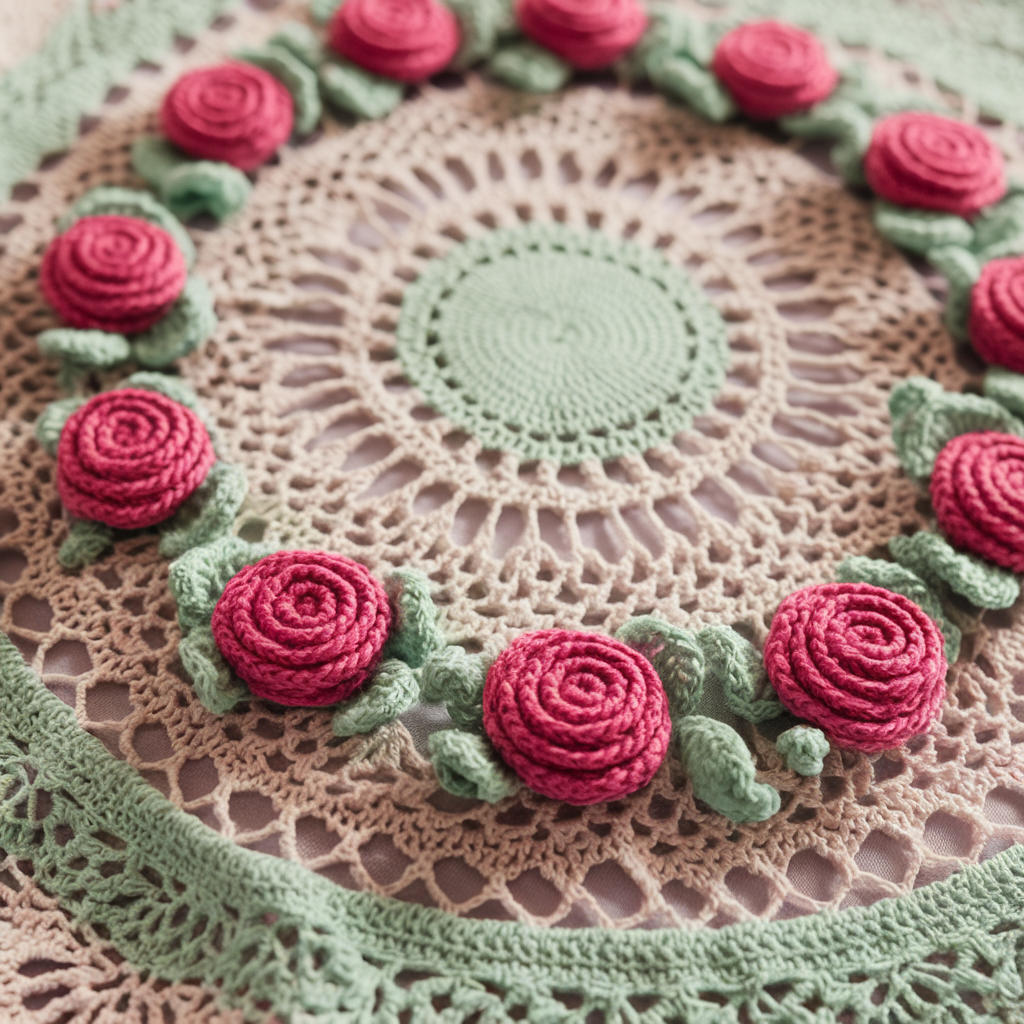
Skill level: Intermediate — includes 3D rose motifs and layered petals.
Materials: Size 10 thread for base, small amounts of #3 or #5 thread in rose color for 3D roses, hook 1.75–2.25 mm, small beads (optional), blocking supplies.
Finished size: ~10–12 inches with scattered 3D roses.
Pattern concept: Work a flat lace doily base, then crochet small spiral roses separately and sew them on for dimension.
Doily base (simple lace net to attach roses):
- Center: Ch 8, sl st to form ring. R1: ch3, 11 dc in ring; join. (12)
- R2: Ch1, sc in same st, ch5, sc in next dc around; join to make airy base.
- R3: In each ch5 sp work (sc, hdc, 5 dc, hdc, sc) — creates petal foundations. Join.
- R4–R7: Alternate mesh (ch loops) and shell rounds to reach desired diameter. Leave multiple evenly spaced ch-5 or ch-7 loops around the surface — these will serve as anchor points for roses.
Spiral roses (make 6–10):
- Rose spiral: With rose-colored thread, ch 31 (or ch 20 for smaller rose). R1: sc in 2nd ch and across. R2–R4: Ch2, dc across (3 rows).
- Forming the rose: Starting at one short end, roll the strip tightly to form spiral petal shape; stitch base with yarn needle to secure. Fluff petals outward with fingers to create a realistic rose.
- Alternative small rose (quick): Magic ring, ch 1, (2 dc, ch2) x 6 around to form a small rosette; pull ring tight and fold to form petal layers—stitch to secure.
Attach roses:
- Decide on placement (cluster in center or scattered). Sew each rose onto base by catching only base stitches so petals remain free. For stability, attach through several points at base.
- Optionally add tiny leaf appliques (green) sewn near roses.
Embellishments:
- Sew a tiny bead at rose center for sparkle.
- Surround rose clusters with small picot loops to make a frame.
Blocking & finishing:
- Block base first (without roses attached) so lace is flat. Attach roses after blocking. If roses need shaping, mist lightly and re-fluff once dry.
Tips & variations:
- For less bulk, make flatter roses by using fewer rows before spiraling.
- Combine tiny rosebuds and full roses for a garden effect.
5. Crochet Sweetheart Doily Pattern
Skill level: Intermediate — shaping for heart outline and lace infill.
Materials: Size 10 thread (or sport weight for a larger sweetheart doily), hook 1.75–3.5 mm, blocking tools.
Finished size: 8–12 inches across the heart lobes depending on materials.
Pattern concept: Work a heart-shaped mesh base and fill with lace motifs; edges shaped with shells and picots for a romantic finish.
Abbreviations
ch, sl st, sc, dc, tr, shell, picot, inc, dec.
Heart construction overview: Two round lobes joined to a tapered point; stitches are worked in rows from the center up, or built as two semicircular lobes joined with a triangular lower half.
Step-by-step instructions
- Make two lobes (left and right):
- Lobe base: Ch 12, work in rounds: R1 sc across chain, then work in rounds building shells and picots to form a semicircular motif that will be one lobe. A simpler method: work a small circular mandala (as in Pattern 2) but stop after 6–8 rounds and flatten into a semi. Make two identical lobes.
- Join lobes at center: Place lobes side by side and join with sl sts or mattress stitch along inner curve, leaving a small central dip for the top of the heart.
- Lower heart point: Pick up stitches at the bottom of the joined lobes and work triangular rows downwards decreasing 1–2 sts per row to form the point. Use shell motifs on each row to retain lace appearance: Row A: ch3, dc in next 2 sts, ch2, sl st in mid to anchor; then decrease on next row by working dc2tog at sides.
- Lace infill options: Fill the heart interior with airy mesh (ch5 loops anchored with sc) or small flower motifs stitched across the body — this adds interest and supports the lace edges.
- Edge finishing: Work a delicate scalloped edge around the whole heart: sc, ch3, 5 dc in next sp, ch3, sc to form plump scallops. Add a picot on scallop peaks: sc, ch3, sl st in 3rd ch as desired.
- Optional hanging loop: Add a small chain loop at the top center (ch20, sl st to anchor) to hang as a decorative accent.
Blocking & finishing: Pin heart shape carefully to emphasize the cleft at the top and a sharp point at the bottom. Use blocking wires for smooth curves if needed.
Tips & variations:
- For a table centerpiece, make three hearts and join into a clover layout.
- Make a pair in complementary colors and use as place settings or romantic décor.
Care, Blocking & Display — The Practical Bits
- Washing: For thread doilies, hand-wash gently in lukewarm water with a mild soap. Rinse thoroughly. For light yarn doilies, check fiber care. Avoid hot water which can shrink cotton.
- Blocking: Always block. The difference between “meh” and “wow” doilies is blocking. Soak, shape while wet, pin to shape, and leave fully dry. Use mild starch spray for a stiffer, starched look if you want the doily to sit crisp on a table.
- Storing: Store flat between acid-free tissue or rolled on a tube for long-term storage to avoid creases.
- Using on tables: Place a clear lacquer or thin placemat underneath if you want to protect delicate doilies from spills while keeping the look.
Conclusion
Doilies are deceptively technical: they demand patience, counting, and good blocking, but they give back enormous charm for a small time investment. These five patterns range from classic pineapple lace to playful mandalas, dimensional rose accents, and a romantic heart — each useful for practice and delightful as decor. Pick a project that fits your skills, gather your thread and pins, and start with the blocking board front-loaded in your process so your results look intentional, not accidental.
Make one doily properly — no shortcuts — and you’ll see how lace transforms from messy clusters to elegant geometry. That’s the payoff. Now go make something that makes a table behave better than most people do.