

Macrame bracelets are quick, satisfying projects that add a touch of handmade charm to any outfit. Using simple knotting techniques and just a few supplies, you can craft boho-chic wristwear in an afternoon—no special tools or advanced skills required. Whether you prefer natural hemp, sparkling crystals, or colorful paracord, this roundup of five easy macrame bracelets will guide you step-by-step through each pattern. Ready to knot your way to stylish accessories? Let’s get started!
1. Easy Macrame Bracelet Tutorial
youtube.com/@sainabaft1
Skill Level: Beginner
Materials
- 1 mm nylon cord or waxed cotton cord (1 m)
- 2 mm sliding knot bead (optional)
- Scissors, tape or clipboard
Instructions
- Prepare Cords: Cut three cords each 50 cm long. Knot them together about 5 cm from one end—this creates your adjustable tail. Secure the knot under tape or with a clipboard.
- Set Up Core: Separate one cord as the center “core,” and split the remaining two as left and right working cords.
- Square Knot Series:
- Left Half: Cross the left working cord over the core cords, then cross the right working cord over the left, behind the cores, and up through the loop created by the left cord. Pull tight.
- Right Half: Reverse: right cord over cores, left cord behind, through loop. Pull to complete one full square knot.
- Repeat square knots until the knotted section is about 5 cm long.
- Finishing: Tie a simple overhand knot at the end of the knotted section. Remove from clipboard, wrap the tail ends around the knotted section as a decorative “coil” if desired, then thread back under itself to secure.
- Adjustable Closure: Slide the initial tail knot up to tighten, down to loosen. Add a small bead to each tail for extra flair.
Tip: Keep tension even for consistent knot size; practice a couple of knots on scrap cord first.
2. Earth Day Hemp Macrame Bracelet Pattern
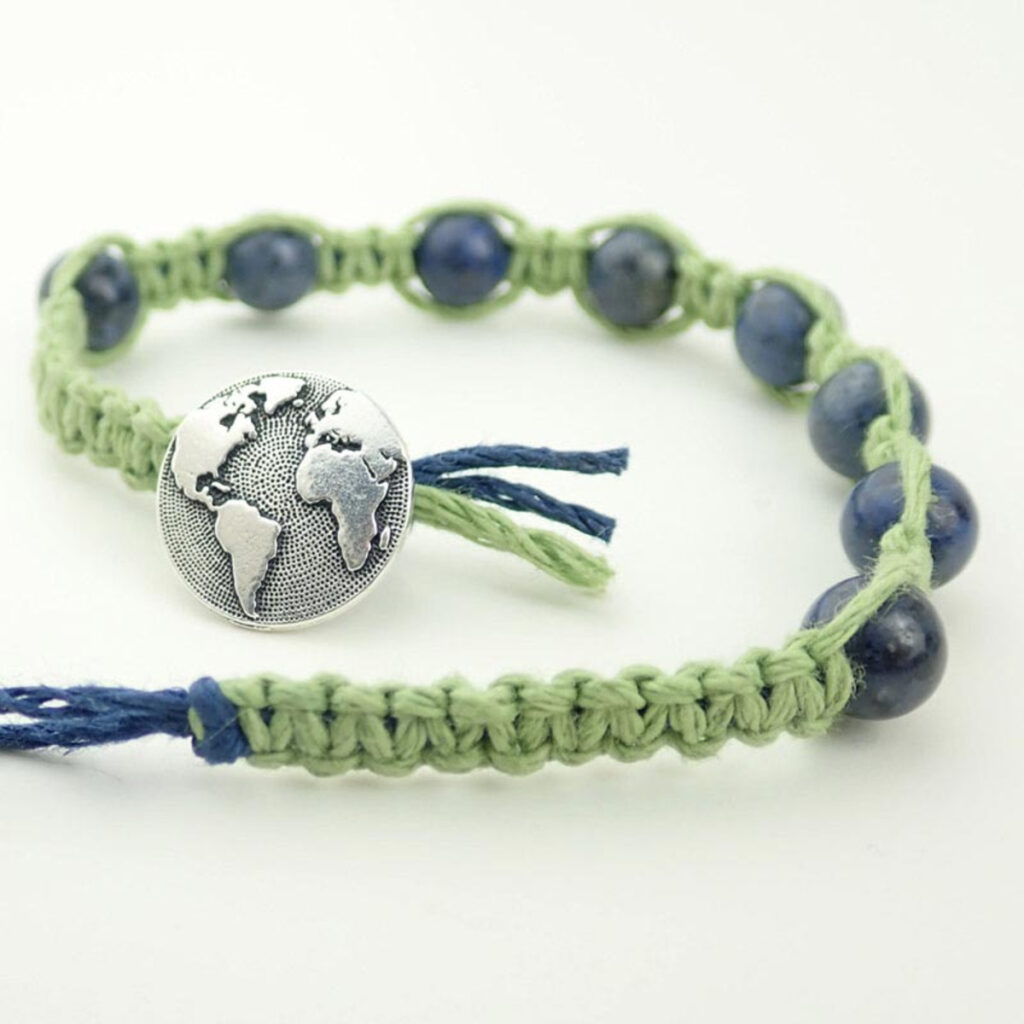
Skill Level: Beginner-Plus
Materials
- Natural hemp cord (1.5 mm, 2 m)
- Reclaimed wood bead or shell (1 pc)
- Scissors, clipboard
Instructions
- Base Setup: Cut two cords, each 1 m long. Fold in half and secure the midpoint to your workspace—this forms two working strands on each side (four strands total).
- Alternating Square Knots:
- Using the two outer cords as working cords and the two inner as cores, tie a square knot.
- Skip the first pair of cores, then use the next outer cords as working on the same cores—this creates a pattern of spaced knots.
- Continue alternating “knot, skip, knot” until you have a 4 cm band.
- Center Accent: Slide your wood bead or shell onto the four center cords. Tie two square knots directly beneath it to hold it in place.
- Symmetric Repeat: Mirror the alternating square-knot pattern beneath the bead for another 4 cm.
- Closure: Braid the four ends into two braids (each braid uses two cords) about 5 cm long, then tie off. Braid the tail ends together to form a sliding knot for adjustability.
Tip: Hemp cord can fray—seal cut ends with a small drop of clear glue.
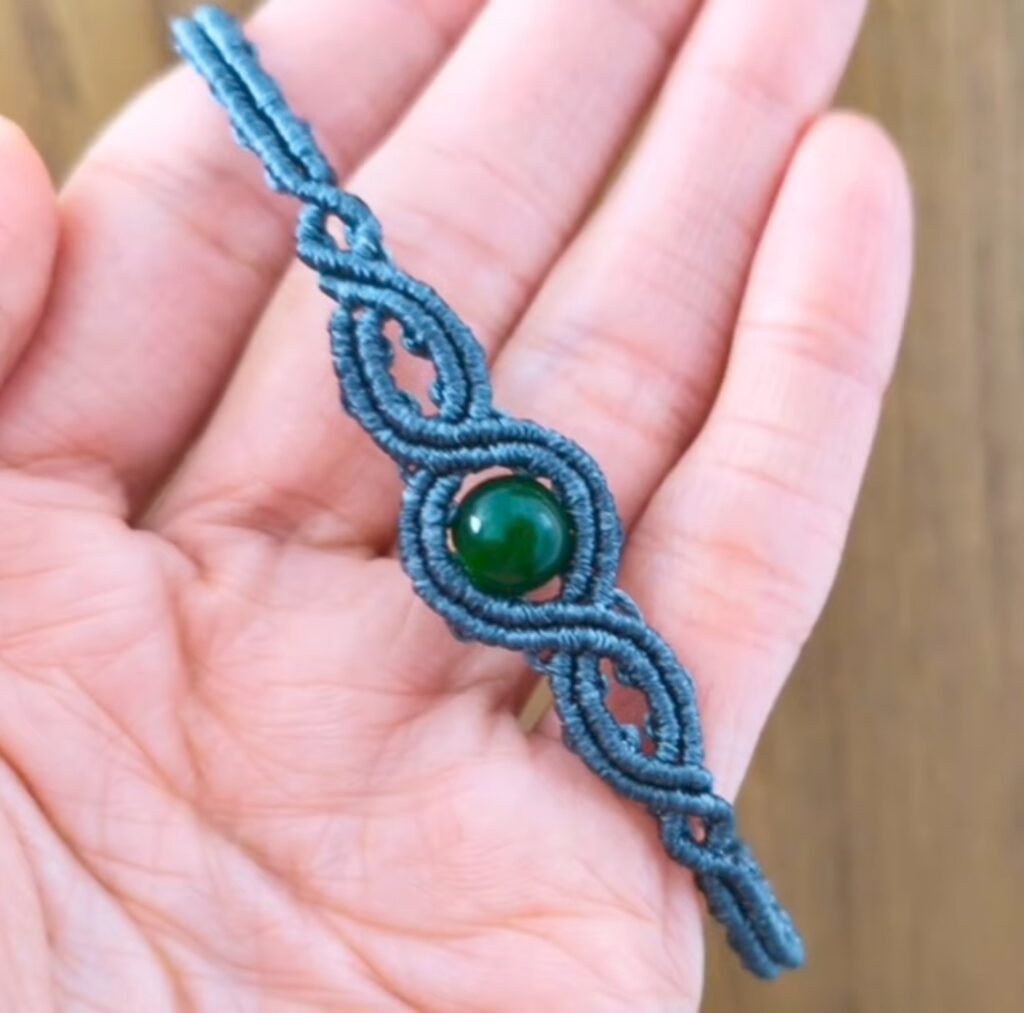
3. Elegant Macrame Chainlet with Crystal Bracelet Tutorial
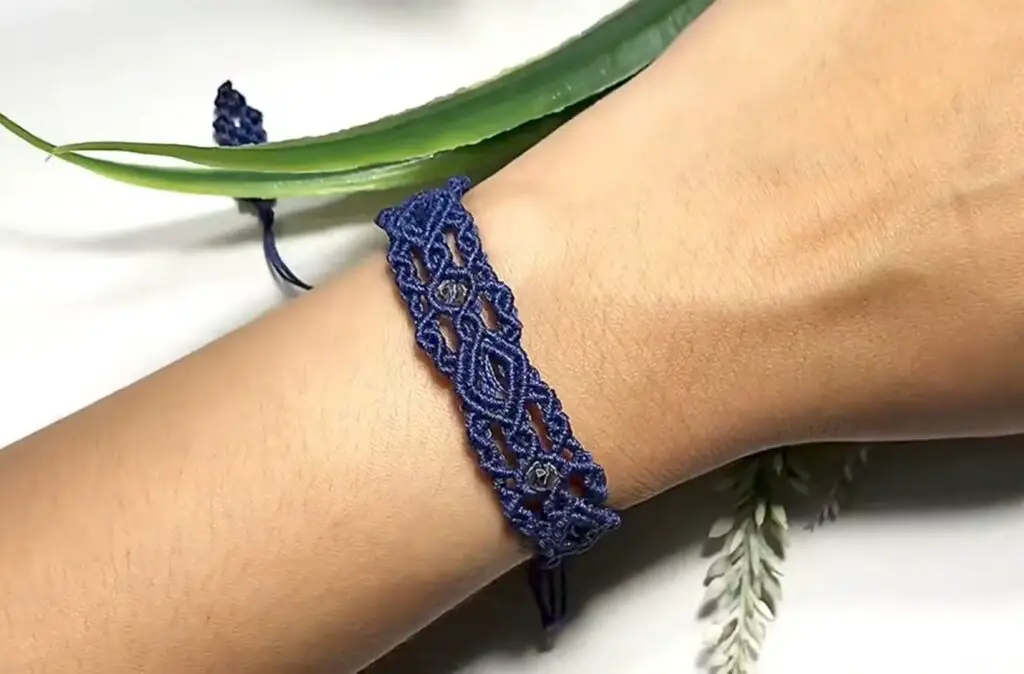
Skill Level: Intermediate
Materials
- 1 mm waxed polyester cord (1.5 m)
- 4 mm faceted crystal beads (8 pcs)
- 2 mm silver chainlet (18 cm)
- Jump rings (2 pcs), lobster clasp
- Beading needle (optional), pliers
Instructions
- Attach Chain: Use jump rings to attach the chainlet to two anchor points (A and B) on your clipboard or taped surface. Cord ends will secure to these.
- Crystal Embellishments: Thread one crystal bead onto the cord, position it at the chain’s midpoint, then tie a half-hitch knot around the chain on either side of the bead to lock it in place. Repeat with remaining beads, spacing evenly along the chain.
- Macrame Edging: With cord on either end of the chain, work reverse half‐hitch knots around the first 3 cm of chain on each side to create a neat cord border.
- Cord Tails & Closure: Gather the four loose cord ends on one side, braid for 5 cm, and tie off. Repeat on the other side. Add a small lobster clasp to one braid end and a jump ring to the other for a polished finish.
Tip: Use a beading needle to thread crystals if cord is too thick to pass through bead holes easily.
4. Spiral Paracord Friendship Bracelet Pattern
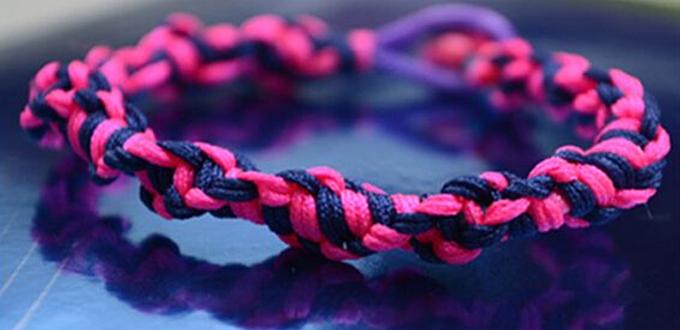
Skill Level: Beginner-Plus
Materials
- 3 mm paracord in two colors (2 m each)
- Adjustable side-release buckle or sliding knot ends
- Scissors, lighter for sealing
Instructions
- Set Up: Secure one end of both cords to a clipboard or tape. The two paracords should lie parallel.
- Spiral Knot (Half-Knots):
- Take the left cord (Color A) and form a loop over the right cord (Color B), then bring the working end of Color A under Color B and up through the loop.
- Pull tight; this single half-knot creates the spiral effect.
- Repeat the same half-knot (always using the same working cord, Color A) until you have 6–8 turns. The bracelet will naturally twist into a spiral.
- Repeat with Other Color: Switch roles—use Color B as the working cord for the next 6–8 half-knots, creating a two-tone spiral.
- Continue Alternating: Alternate blocks of half-knots until your bracelet reaches wrist length (approx. 16 cm).
- Finishing: Attach side-release buckle ends or tie sliding knots for adjustability. Seal paracord ends with a lighter to prevent fraying.
Tip: Keep each half-knot snug but not so tight that the bracelet becomes rigid.
5. Beaded Macrame Bracelet Tutorial
Skill Level: Intermediate
Materials
- 1 mm nylon cord (1.5 m)
- 6 mm glass or wood beads (12 pcs)
- 3 mm seed beads (20 pcs)
- Scissors, clipboard
Instructions
- Anchor Cords: Cut three cords 50 cm long. Secure their midpoints under a clip, creating six working ends (three on each side).
- Center Bead Insertion: Thread one glass/wood bead onto all six cords so it sits at your starting knot.
- Alternating Square Knots with Beads:
- Row 1: Use the two outermost cords as working; tie a square knot around the four center cords.
- Add Seed Bead: Slide two seed beads onto the four center cords, then tie another square knot to trap them.
- Row 2: Repeat square knot with outer cords. Slide the next large bead onto center cords, then knot.
- Continue alternating “knot – seed-beads knot – knot – large-bead knot” until you’ve used all beads.
- Finish Macrame Band: After the last bead, tie 6 square knots for a plain macrame tail.
- Closure: Braid the three cords on each side into two braids (~5 cm), then knot each. Overlap the braids and tie a final knot between them to create an adjustable sliding knot.
Tip: Adjust the number of seed beads between large beads to change bracelet length or spacing pattern.
Conclusion
With just basic knots, a handful of cords, and a few beads or charms, you can create five distinct macrame bracelets in an afternoon—perfect for summer markets, friendship gifts, or adding handmade flair to your accessory collection. Each pattern builds on simple techniques like square knots and half-knots, so once you’ve mastered the basics, you can mix and match cords, beads, and closures to craft truly unique designs. Happy knotting!


How do you keep your work from twisting?
jpferguson4719@gmail.com