A crochet book cover is one of those small projects that feels both practical and beautiful. It is useful enough to protect a favorite novel, journal, planner, or notebook, but still creative enough to feel special in your hands. That makes it a wonderful beginner project because it does not require a huge amount of yarn or time, yet it gives you a finished piece that feels thoughtful and polished.
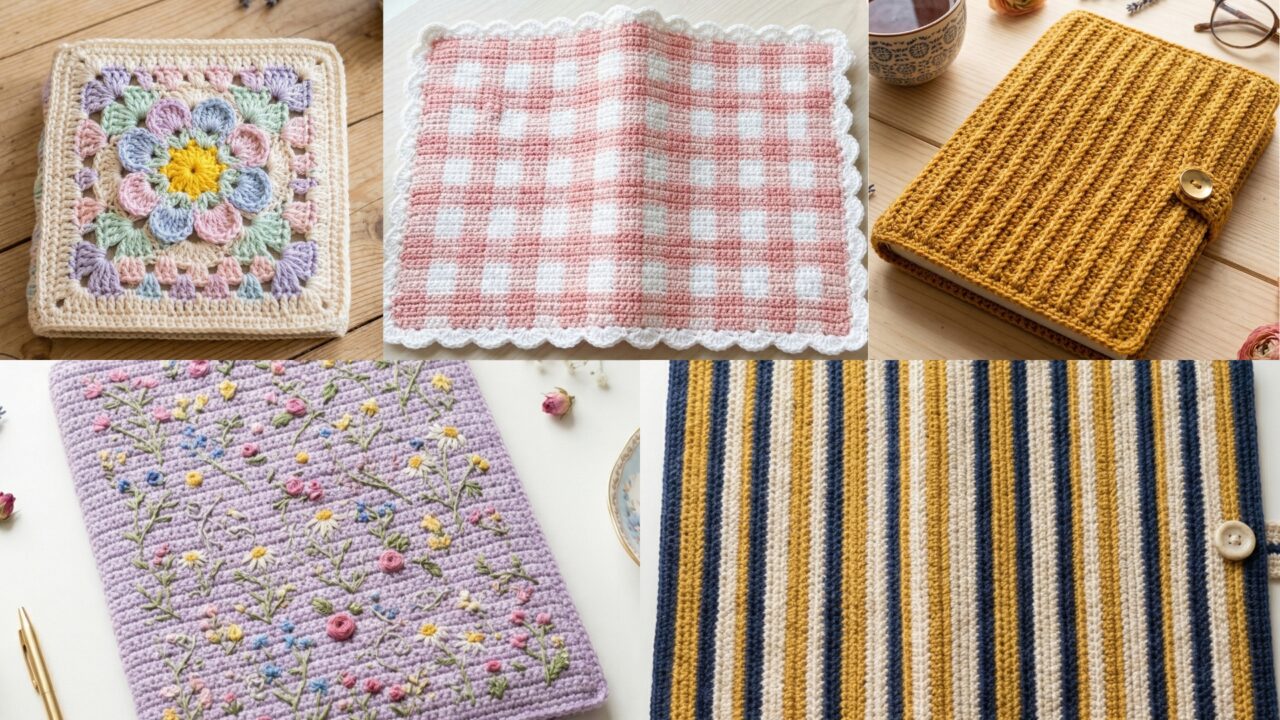
What makes crochet book covers especially appealing is how much personality you can build into such a simple shape. A flower granny square book cover can feel cheerful and nostalgic. Golden post stitches add a rich textured look. Vertical stripes create a clean and modern style. Floral embroidery brings a soft handmade charm. Scalloped gingham feels sweet, classic, and a little vintage. Each one starts with the same basic idea, but each design gives the book a completely different mood.
In this post, you will find five easy crochet book cover patterns with detailed step-by-step guidance, practical notes, and finishing tips. These designs are written to be beginner-friendly while still offering enough detail to help you make something beautiful and functional. Whether you are making a cover for yourself or as a gift, these book cover ideas are a lovely place to begin.
Quick Notes
Project type: Crochet book covers
Best for: Books, journals, planners, notebooks, gifts, and stationery lovers
Skill level: Beginner to easy intermediate
Hook size: Usually 2.5 mm to 4.0 mm, depending on yarn weight and desired firmness
Yarn weight: Cotton, cotton blends, or light acrylic yarn
Best yarn choice: Cotton yarn for structure, durability, and neat stitch definition
Finished size: Custom sized to fit the book or journal you want to cover
Time to complete: A few hours to one day, depending on detail
Helpful stitches: Chain, slip stitch, single crochet, half double crochet, double crochet, granny stitch, post stitches, embroidery, scallop edging, color changes, seaming
Common Materials
Most crochet book covers use the same basic supplies.
- Yarn in your chosen colors
- Crochet hook suited to the yarn
- Yarn needle
- Scissors
- Measuring tape
- Button, ribbon tie, or flap closure, optional
- Stitch markers, optional
- Lining fabric, optional for extra protection
For book covers, fit matters a lot. You want the cover to be snug enough to stay in place, but not so tight that it is difficult to slide over the book. Cotton yarn is usually a great choice because it holds shape well and gives a neat finish. If you want a softer, more decorative feel, a cotton blend can also work.
1. Crochet Flower Granny Square Book Cover Pattern
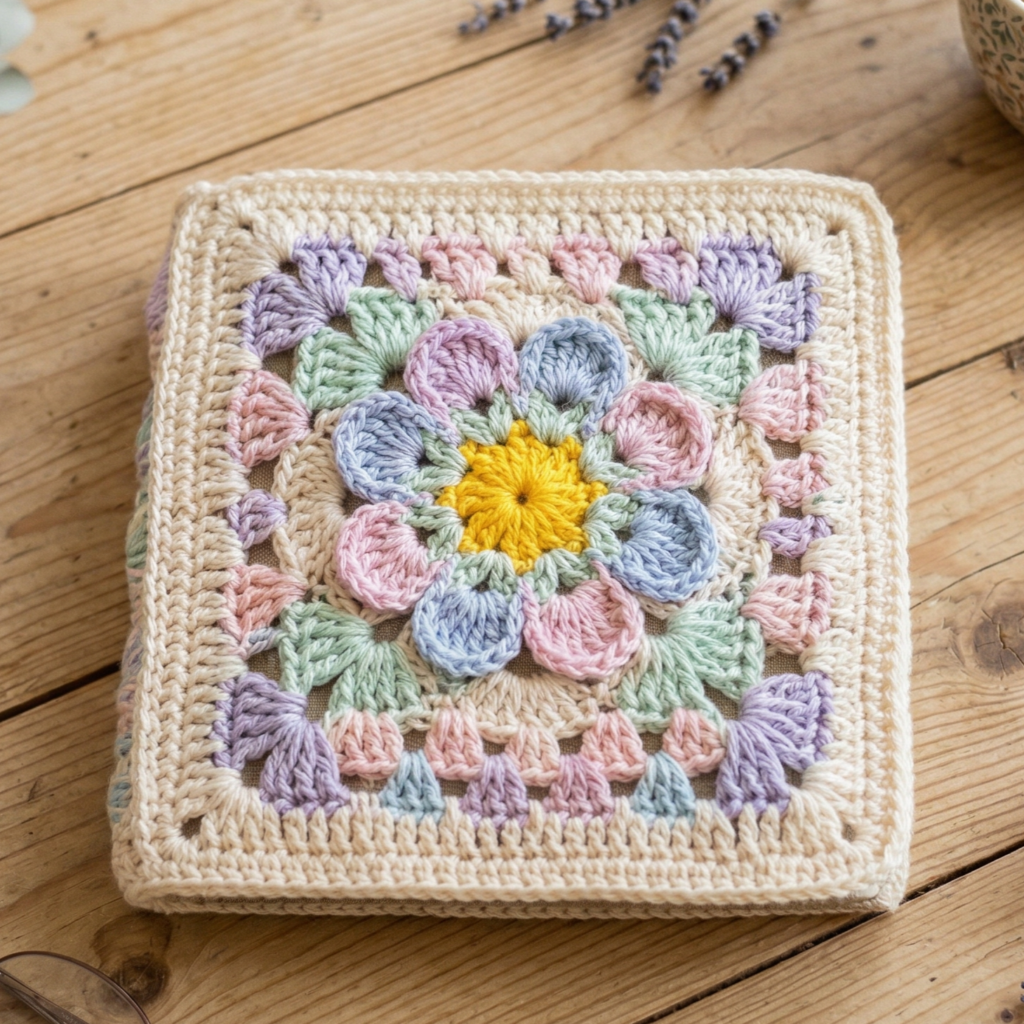
A flower granny square book cover is a sweet and cheerful way to protect a book. The flower motif gives the cover a soft, handmade feel, while the granny square construction makes it easy to customize for different book sizes. It is a lovely beginner-friendly project that looks beautiful on a shelf or in your bag.
Step-by-step guide
Step 1: Measure the book
Before you begin, measure the height, width, and thickness of the book or journal you want to cover. This will help you decide how large the front and back pieces need to be. Since a book cover must fit snugly, accurate measurements are very important.
A good fit will make the cover look neat and stay in place.
Step 2: Start the flower center
Begin with a small magic ring or chain loop and work the first round into the center. This will form the flower’s middle. Use a color that stands out, like yellow or cream, so the center gives the square a nice focal point.
A small and tidy center helps the flower look balanced.
Step 3: Add the flower petals
Crochet the next round to form flower petals around the center. Use simple petal stitches or small cluster stitches to create a soft floral shape. Keep the petals even so the flower looks symmetrical and neat.
The petals give the square its charming personality.
Step 4: Turn the flower into a square
After the flower is complete, begin forming the square shape around it. Add corner spaces by working chain stitches at four evenly spaced points around the motif. These corners help the design become a granny square.
This is the step that transforms the motif into a book-cover panel.
Step 5: Build the square outward
Continue adding granny square rounds until the piece is large enough to cover one side of the book. Make sure the edges stay straight and the corners remain clear. If needed, check the size against the book as you go.
A well-sized square makes assembly much easier.
Step 6: Make the second panel
Crochet a second square the same size for the back of the book cover. It can match the front exactly, or you can choose a different flower color scheme if you want a reversible look. Keep the size consistent so both pieces line up well.
Step 7: Join the pieces
Place the front and back squares together and sew along three sides. Leave one side open so the book can slide in. You can use whip stitch, slip stitch, or another neat seaming method.
A secure seam helps the cover stay durable.
Step 8: Add the closure
If you want the book to stay closed neatly, add a button, ribbon tie, or flap closure. This is optional, but it can make the cover feel more finished and practical. Make sure the closure is positioned so the cover still opens easily.
Step 9: Finish and block
Weave in all ends carefully and block the pieces if needed. Blocking helps the square sit flat and makes the flower details look crisp. It is especially helpful if the square curls slightly at the corners.
Helpful tips
This pattern looks especially lovely in soft pastel colors or bright garden-inspired shades. If you are making it for a journal, use a calming color palette. If you want a giftable version, try a cheerful flower center with a neutral border.
2. Crochet Golden Post Stitches Book Cover Pattern
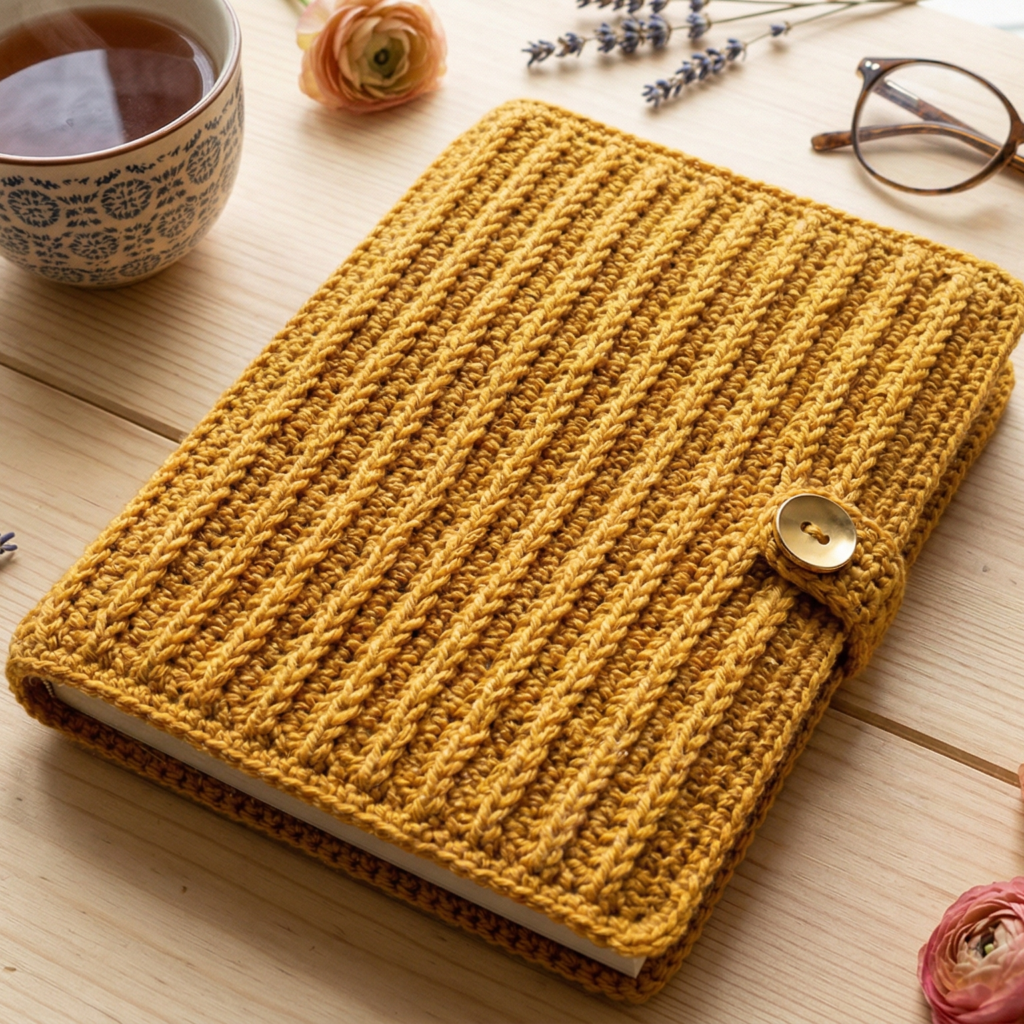
A golden post stitches book cover feels rich, textured, and a little more elevated than a basic cover. Post stitches create a raised surface that looks elegant and structured, making this a great pattern if you want a book cover that feels classic and special. Despite the refined look, the construction can still be beginner-friendly.
Step-by-step guide
Step 1: Choose your golden tone
Pick a warm golden yarn or a color that gives a golden appearance, such as mustard, honey, amber, or soft ochre. This tone will give the cover its name and warm visual character. A slightly textured yarn can make the stitch pattern stand out beautifully.
The color sets the whole mood of the cover.
Step 2: Measure the book
Measure the book carefully so you know how wide and tall to make the cover panels. Since this design uses textured stitches, it is important not to make the fabric too tight. You want enough room for the book to slide in comfortably.
Step 3: Create the foundation panel
Start with a chain that matches the width of the book plus a little ease. Work the first row in a simple stitch so the base stays even. This foundation will support the more textured post stitches later.
A smooth base helps the texture look sharper.
Step 4: Work the post stitch pattern
Begin the golden post stitch repeat. Front post and back post stitches create raised lines and ridges across the fabric. Keep the tension even so the pattern stays neat and consistent. This is the part that gives the cover its elegant texture.
The raised stitches are the heart of the design.
Step 5: Continue until the panel is tall enough
Work row after row until the front panel is the right size for the book. Check the height often so you do not end up too short. If you are making a cover with seams, remember to leave enough room for joining.
Step 6: Make the back panel
Crochet a second panel the same size as the first. You can use the same stitch pattern for both sides, or keep the back simpler if you want to save time. Just make sure both pieces match in size.
Matching panels will make the cover easier to assemble.
Step 7: Sew the sides and open edge
Join the front and back pieces along three sides, leaving one side open. Take your time with the seams so the book sits neatly inside the cover. If you want the cover to open and close more easily, make sure the opening is not too tight.
Step 8: Add a simple closure
A button, loop, or ribbon tie can help keep the cover snug around the book. Choose a closure that matches the warm, elegant tone of the design. A wooden or gold-toned button can work especially well.
Step 9: Finish the edges
Weave in all ends and block lightly if needed. The post stitch texture should remain visible and evenly shaped. A neat finish will make the book cover feel more refined and complete.
Helpful tips
Golden post stitch covers are lovely for journals, planners, or special books you want to protect in style. If you want a more subtle finish, use a muted gold with cream or beige. If you want a stronger statement, go for a rich mustard or amber tone.
3. Crochet Vertical Stripes Book Cover Pattern
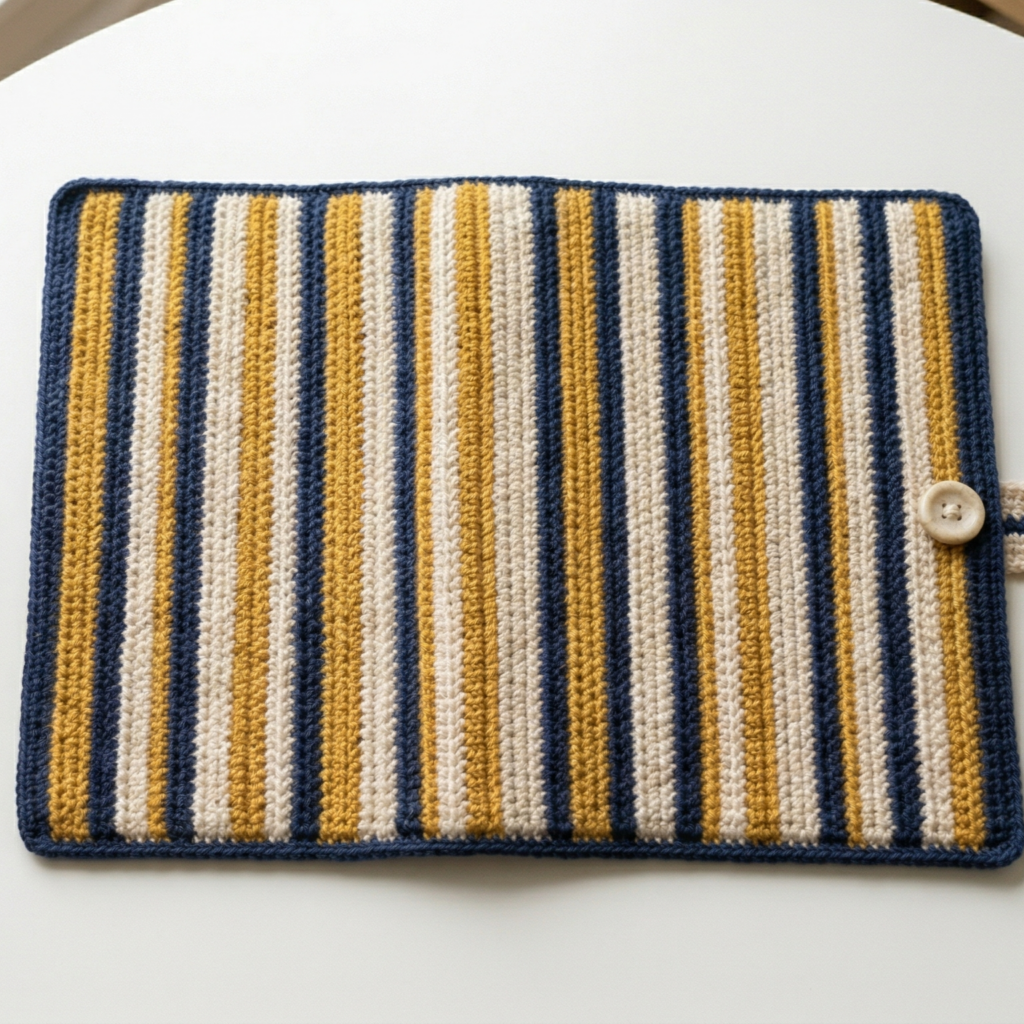
A vertical stripes book cover is clean, modern, and easy to customize. The stripes give the cover a neat graphic look while keeping the construction simple enough for beginners. This is a great pattern if you want something classic but still a little playful.
Step-by-step guide
Step 1: Plan the stripe colors
Choose two or more colors that look good together. Vertical stripes can be bold, soft, or neutral depending on your palette. Before you start, decide how wide each stripe will be and whether the colors will repeat in a pattern.
A thoughtful color plan makes the design look polished.
Step 2: Measure the book
Measure the book’s height and width so you know how large to make the cover. Vertical stripe patterns look especially nice when the width is even and the stripes stay straight from top to bottom.
Step 3: Chain the foundation
Chain the length needed for the width of the cover. Keep the foundation chain relaxed so the fabric does not pull too tightly. The first row should create a clean base for the stripes.
Step 4: Work the vertical stripe pattern
Begin alternating colors in vertical sections. Depending on your construction, you may work the stripes from side to side or create them with a tapestry-style method. Keep the color changes neat so the stripes stay crisp and easy to read.
The stripe layout is what gives the cover its modern look.
Step 5: Keep the edges straight
Vertical stripe patterns can look uneven if the tension changes too much. Watch the sides carefully as you crochet to make sure they stay straight. If the fabric starts to shift, adjust your stitches before continuing.
Even edges help the stripes look cleaner.
Step 6: Make a second panel
Crochet a matching back panel with the same stripe sequence or a complementary one. If you want a more fun design, you can reverse the stripe order on the back. Just keep the size and stitch count consistent.
Step 7: Join and close
Sew the front and back together along three sides, leaving one edge open. A clean seam will help the stripes line up nicely and keep the cover from stretching out.
Step 8: Add a closure if desired
A button or ribbon tie can help secure the cover. Choose a color that blends with one of the stripes or stands out as a small accent. Keep the closure simple so it does not distract from the stripe design.
Step 9: Finish neatly
Weave in all ends carefully and block if necessary. Blocking can help the stripes sit straight and give the final cover a very tidy appearance.
Helpful tips
This pattern is perfect for using up yarn scraps in a coordinated way. If you want a more minimal look, use two colors only. If you want something brighter, try a set of cheerful contrasting stripes.
4. Crochet Floral Embroidered Book Cover Pattern
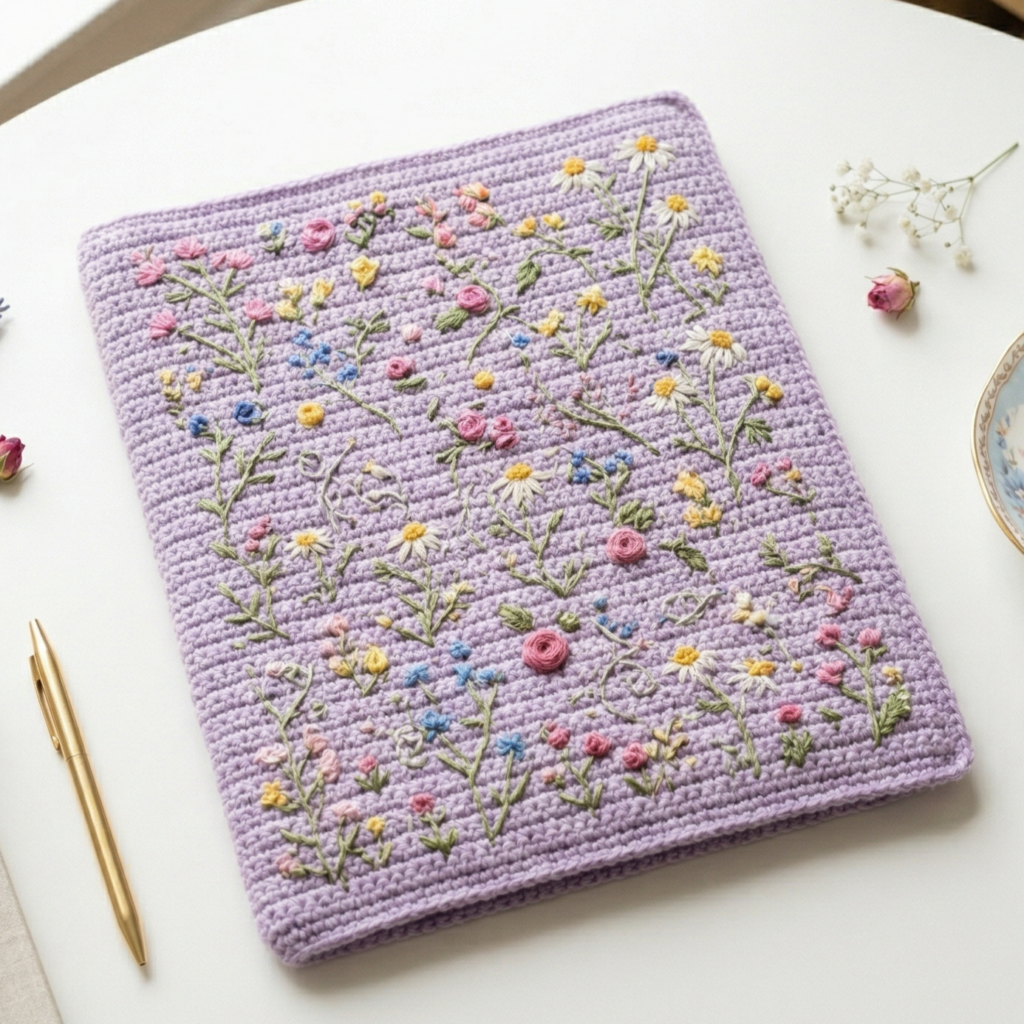
A floral embroidered book cover feels soft, delicate, and beautifully handmade. It is a wonderful choice if you want the cover to feel elegant and personal without relying on heavy texture. The embroidery adds charm and detail while keeping the crochet structure simple and beginner-friendly.
Step-by-step guide
Step 1: Make the base fabric
Start by crocheting a simple rectangular panel in a solid color. This gives the embroidery a clean background so the floral details can stand out. A plain base works especially well for floral embroidery because it makes the design feel refined.
A simple background helps the flowers shine.
Step 2: Measure the book
Before you go too far, check the size of the panel against the book. The panel should be large enough to wrap neatly around the cover and allow for seams or fold-over space. Adjust your stitch count if needed.
Step 3: Plan the floral placement
Decide where the flowers will go. You can place them in one corner, along the border, or in a scattered pattern across the front. Mark the placement lightly if you want the embroidery to stay balanced.
A planned layout helps the embroidery feel intentional.
Step 4: Embroider the flowers
Use embroidery thread or fine yarn to stitch small flowers onto the crochet panel. You can make simple daisy-like flowers, tiny blossoms, or leafy stems. Keep the stitches neat and small so the embroidery feels soft and elegant.
The embroidery is the main decorative feature.
Step 5: Add leaves or stems
Once the flowers are in place, add simple leaves or stems to complete the floral design. These small details help the flowers look more natural and give the book cover a garden-inspired feel.
A few leaves can make the design feel complete.
Step 6: Make the second panel
If you are making a cover with two panels, crochet a back piece that matches the front or keep it plain. The back can be simpler so the embroidery remains the focal point.
Step 7: Sew the cover together
Join the pieces along three sides, leaving one side open for the book. Take care not to distort the embroidered side while seaming. A neat seam will help the cover hold its shape and protect the book well.
Step 8: Finish the edges
Weave in the ends and add a clean border if desired. A simple edge can help frame the floral embroidery and give the book cover a polished look. Blocking can also help the panel lie flat.
Helpful tips
This pattern works especially well in soft neutral or pastel colors. If you want a more romantic look, use blush, cream, or sage with delicate flower stitching. If you want something cheerful, try colorful blossoms on a plain background.
5. Crochet Scalloped Edge Gingham Book Cover Pattern
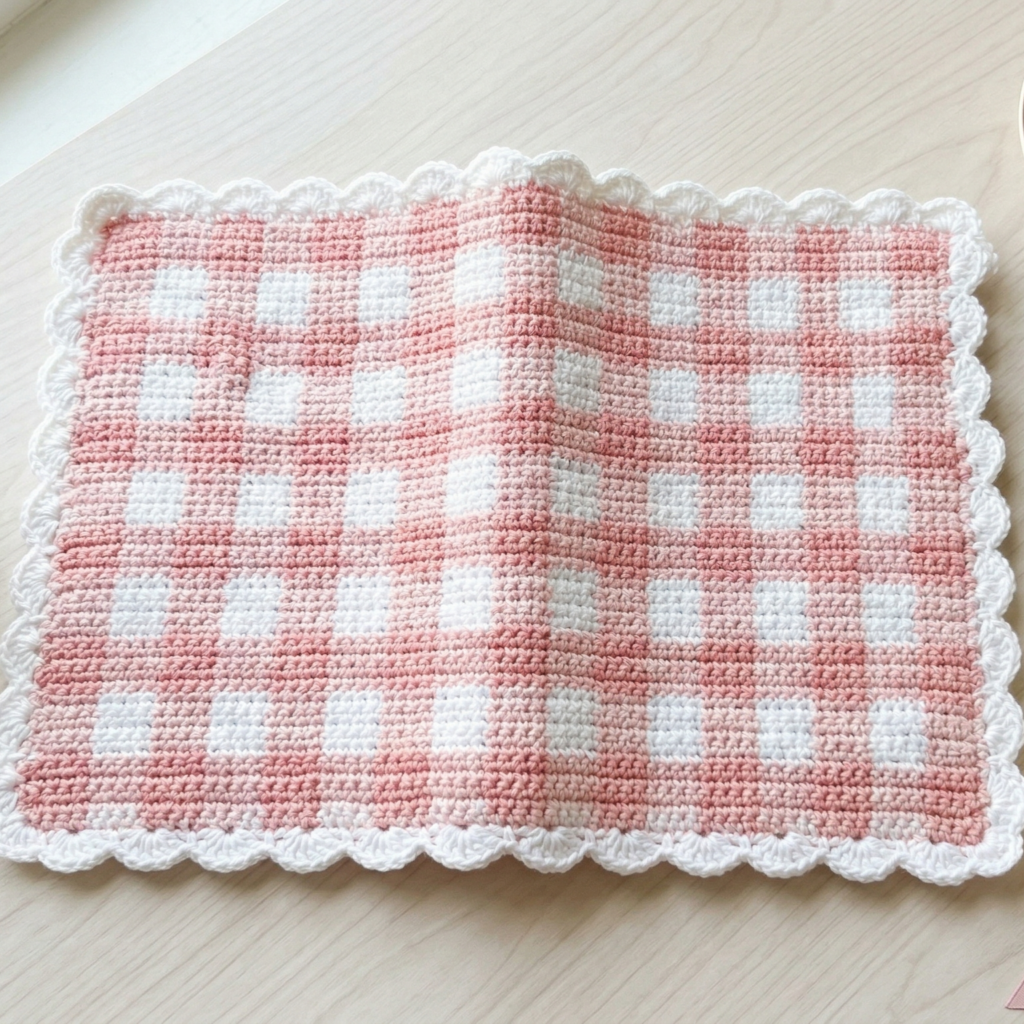
A scalloped edge gingham book cover feels sweet, classic, and a little vintage. The gingham pattern gives it a timeless checkered look, while the scalloped edge softens the design and adds a charming finish. This is a lovely project if you want a book cover that feels both structured and decorative.
Step-by-step guide
Step 1: Choose your gingham colors
Pick two or three colors that work well together. Traditional gingham often uses one strong color with white or cream, but you can also use softer pastel combinations for a gentler look. The colors will create the check pattern and define the overall style.
A good color pairing makes the gingham design stand out.
Step 2: Measure the book
Measure the height and width of the book so you can plan the panel size. Since gingham uses repeated color blocks, it is important to make the rows and squares line up neatly with the book dimensions.
Step 3: Crochet the gingham body
Work the main panel using a color-blocked or tapestry-style technique to create the gingham pattern. Keep the color changes neat and even so the checkered effect stays clear. This pattern is most effective when the blocks are clean and regular.
The checks are the signature feature.
Step 4: Keep the fabric flat
As you work the pattern, make sure the panel stays flat and the edges remain straight. Gingham can look distorted if the tension changes too much, so consistency is key. A smooth fabric will also make the scalloped edge easier to add later.
Step 5: Add the scalloped border
Once the body is finished, crochet a scalloped edge around the top or entire cover. The scallops should be even in size and gently curved. This border softens the geometric gingham pattern and makes the cover feel more decorative.
The scallop border adds a sweet finishing touch.
Step 6: Make the back panel
Crochet a matching back piece or a simpler solid panel. If you want the cover to feel especially polished, keep the gingham pattern consistent on both sides. If you want to save time, a plain back still works beautifully.
Step 7: Join the panels
Sew the front and back pieces together along three sides. Make sure the scalloped edge stays visible and does not get hidden in the seam. A neat join will help the book cover look clean and wearable.
Step 8: Add closure and finish
If you want a closure, add a button, tie, or small flap. Weave in all ends carefully and block lightly if needed. Blocking can help sharpen the checks and make the scallops lay nicely.
Helpful tips
Gingham book covers look especially pretty in soft pink and white, blue and white, or classic red and white. If you want a more modern version, use muted sage, cream, and tan. The scalloped edge adds a lovely detail that makes the cover feel finished and giftable.
Conclusion
Crochet book covers are a beautiful way to combine practicality with creativity. They protect your favorite books and journals while also giving you a chance to play with texture, color, and design. Because they are small projects, they are approachable for beginners, but they still offer enough variety to stay interesting and rewarding.
These five book cover patterns each bring something different to the table. The flower granny square cover feels sweet and classic. The golden post stitch cover feels rich and textured. The vertical stripes cover is clean and modern. The floral embroidered cover adds delicate handmade charm. The scalloped edge gingham cover feels soft, vintage, and polished. Together, they show how versatile a simple book cover can be.
Whether you are making a cover for your own favorite book or creating a thoughtful handmade gift, these patterns are a wonderful place to start. With the right yarn, a good fit, and a neat finish, your crochet book cover can become both useful and beautiful.