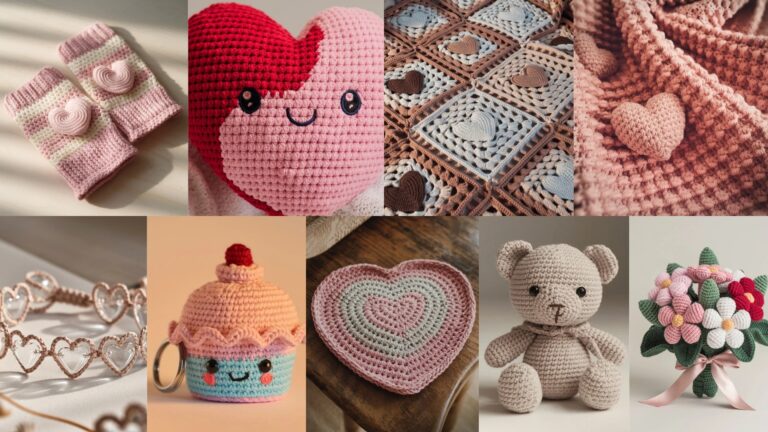
Sometimes the best crochet projects are the small ones. A tiny amigurumi, a quick mug cozy, a hair tie, a mini bouquet, or a moon motif can all be finished fast, use up scraps, and give you that satisfying “I made this today” feeling. These kinds of projects are perfect for busy days, last-minute gifts, market prep, or simply clearing out leftover yarn.
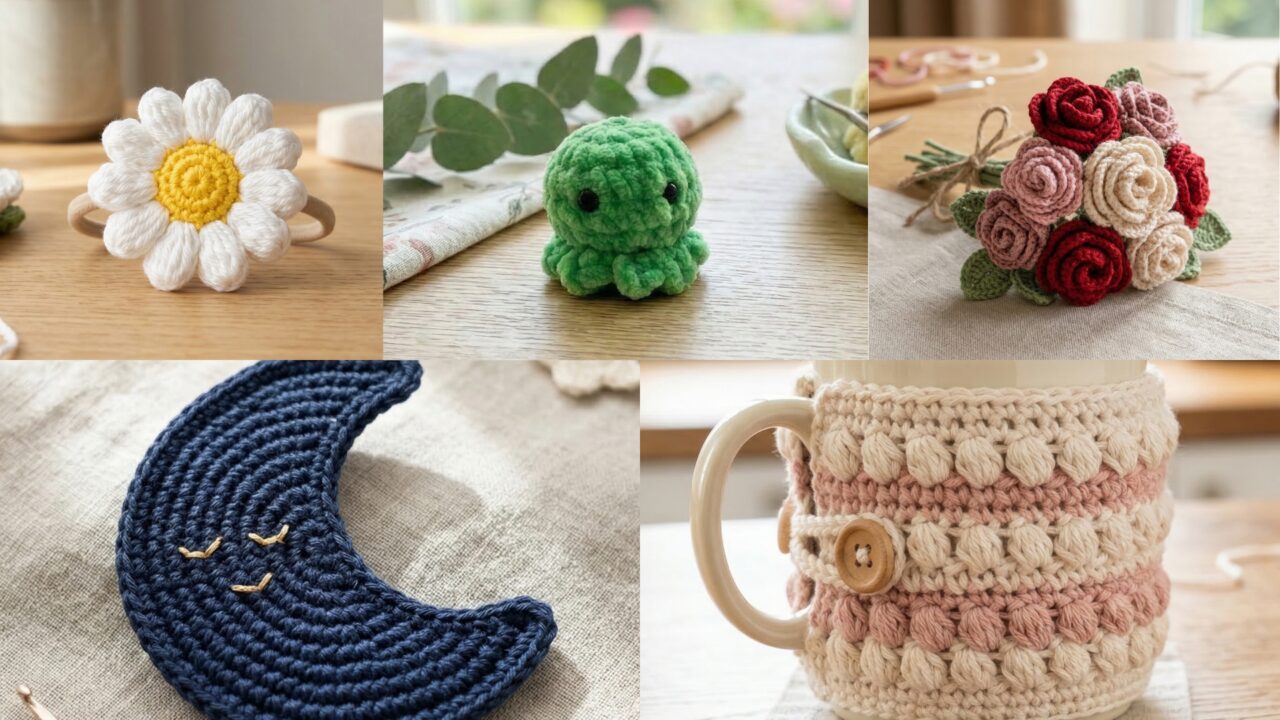
The five patterns below are designed to be fast, simple, and beginner-friendly, while still looking polished and giftable. The “10-minute” idea depends on your speed and familiarity with the stitches, but these are all compact projects that work up quickly once you get going.
Each project includes a skill level, materials, finished size, clear step-by-step instructions, finishing tips, and small variations so you can personalize them easily.
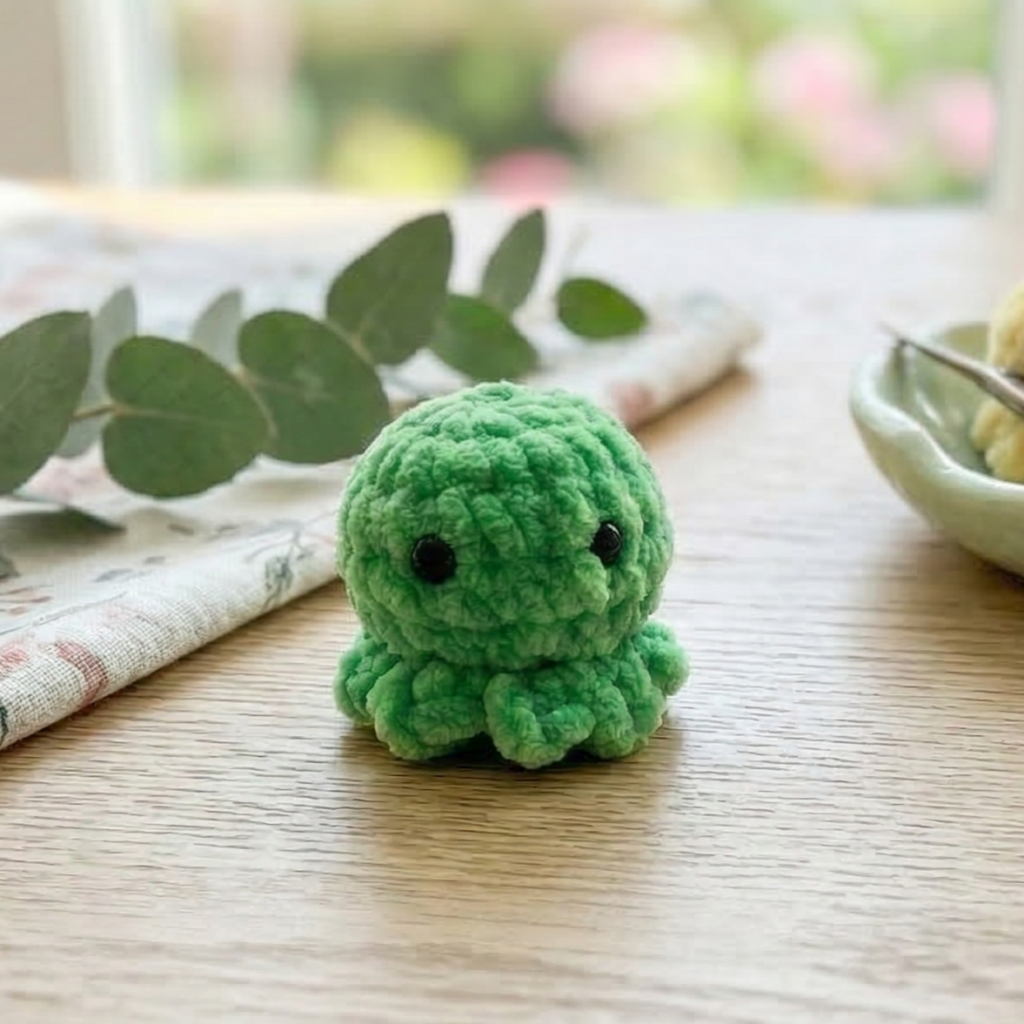
1. Crochet Baby Octopus Amigurumi Pattern
Skill level: Beginner
Finished size: about 2.5–3.5 inches tall, depending on yarn and hook
A baby octopus is one of the quickest amigurumi projects because the body is tiny and the tentacles are simple curls. It is cute, squishy, and perfect for scrap yarn.
Materials
- Small amount of worsted or DK yarn
- Crochet hook, size 3.0 mm to 3.5 mm
- Polyester stuffing
- Tapestry needle
- Stitch marker
- Optional: safety eyes or embroidery thread for the face
Abbreviations
MR = magic ring
sc = single crochet
inc = increase (2 sc in the same stitch)
dec = decrease (sc2tog)
sl st = slip stitch
ch = chain
Step-by-step
Body
- Start with a magic ring.
- Work 6 sc into the ring.
- In the next round, work inc in each stitch around. You will have 12 stitches.
- In the next round, work 1 sc, 1 inc around. You will have 18 stitches.
- Work 2 rounds of sc to form the rounded head.
- Add a little stuffing as you go so the body stays soft but holds shape.
- Decrease evenly across the next round: 1 sc, 1 dec around.
- Work one more round of decreases if needed until the top opening is small.
- Close the opening with a tapestry needle and weave in the yarn tail.
Tentacles
Make 6 to 8 tentacles.
- Chain 20 to 25 stitches.
- In the second chain from the hook, work 3 sc in each chain across.
- The piece will naturally curl into a spiral tentacle.
- Fasten off, leaving a tail for sewing.
- Repeat until you have enough tentacles.
Assembly
- Sew the tentacles around the bottom edge of the body.
- Place the eyes on the upper front of the octopus.
- If you are embroidering the face, make two tiny stitched eyes and a small smile.
Finishing tips
- Use pastel colors for a baby-soft look.
- Make the tentacles in different colors for a playful effect.
- If the octopus will be used by a child, embroider the face instead of using safety eyes.
Quick variation
Make it into a keychain by adding a small loop to the top before closing the body.
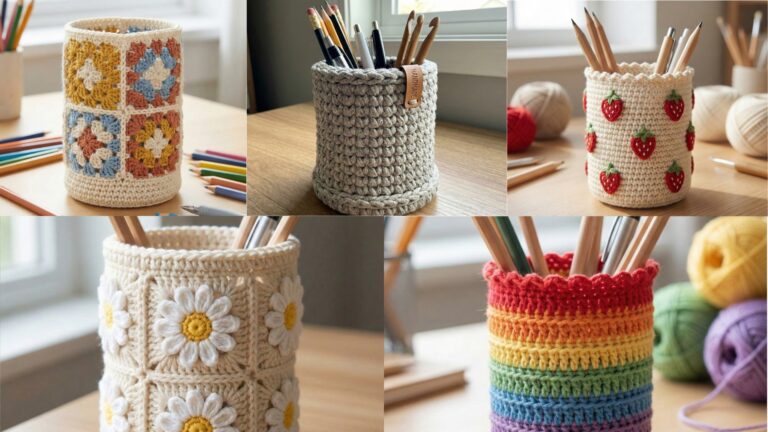
2. Crochet Puff Stitches Mug Cozy Pattern
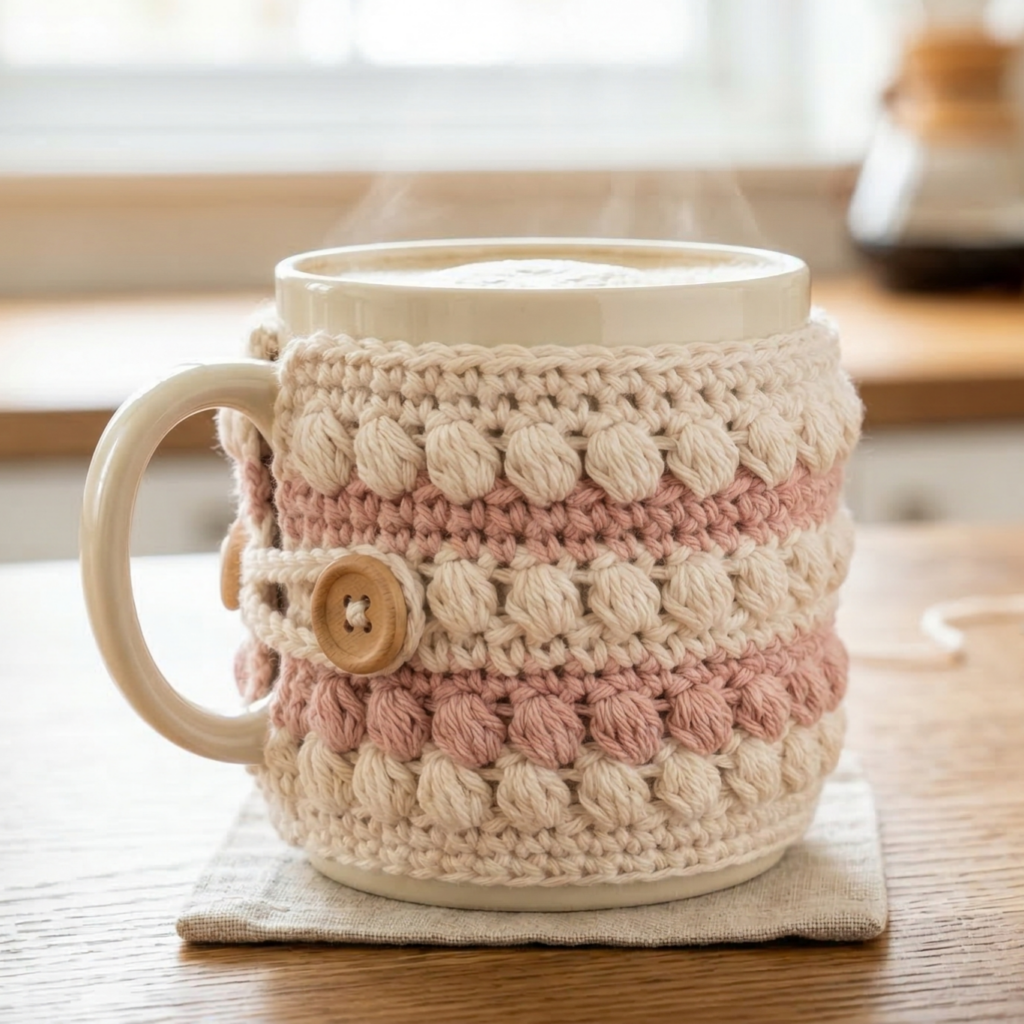
Skill level: Beginner to intermediate
Finished size: fits most standard mugs, adjustable in length
A mug cozy is a fast project that adds charm and keeps your hands comfortable while holding a warm drink. Puff stitches give it a soft, textured look.
Materials
- Cotton yarn, worsted weight
- Crochet hook, size 4.0 mm or 4.5 mm
- Button
- Tapestry needle
- Scissors
Abbreviations
ch = chain
sc = single crochet
puff = puff stitch
sl st = slip stitch
sp = space
Step-by-step
Foundation
- Chain enough stitches to wrap around your mug comfortably, usually 24 to 30 chains.
- Make sure the chain is snug but not tight. It should fit around the mug without stretching too much.
Row 1
- Work sc in the second chain from the hook and across the row.
- Turn.
Row 2
- Chain 1.
- Work puff stitch in the first stitch, then sc in the next stitch.
- Repeat across the row, alternating puff stitches and single crochets.
- Turn.
Row 3
- Chain 1.
- Work sc over the puff stitches from the previous row and puff stitches over the sc spaces.
- This creates a textured pattern that stands out nicely.
- Turn.
Repeat
Continue repeating Rows 2 and 3 until the cozy reaches the height you want, usually around 2.5 to 3.5 inches.
Button loop
- At one end, chain 5 to 7 stitches to create a loop.
- Fasten off.
- Sew a button to the opposite end.
Finishing tips
- Use cotton so the cozy is washable and heat-friendly.
- Keep the cozy slightly snug so it stays in place on the mug.
- For a more decorative look, use two colors and alternate rows.
Quick variation
Add a small crocheted flower or heart to the front before sewing the button.
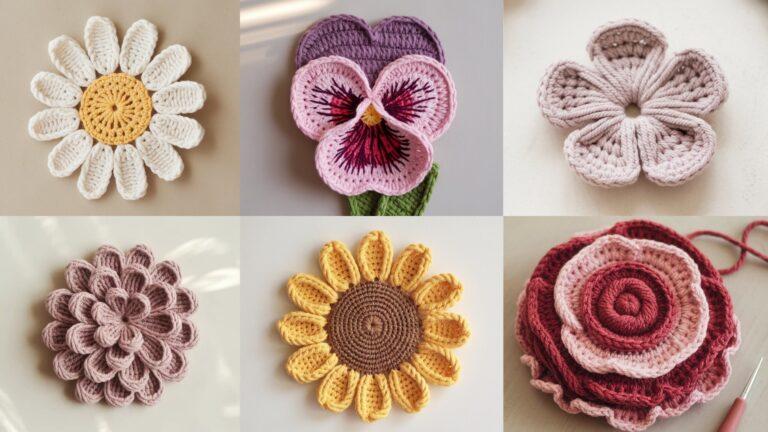
3. Crochet Daisy Flower Hair Tie Pattern
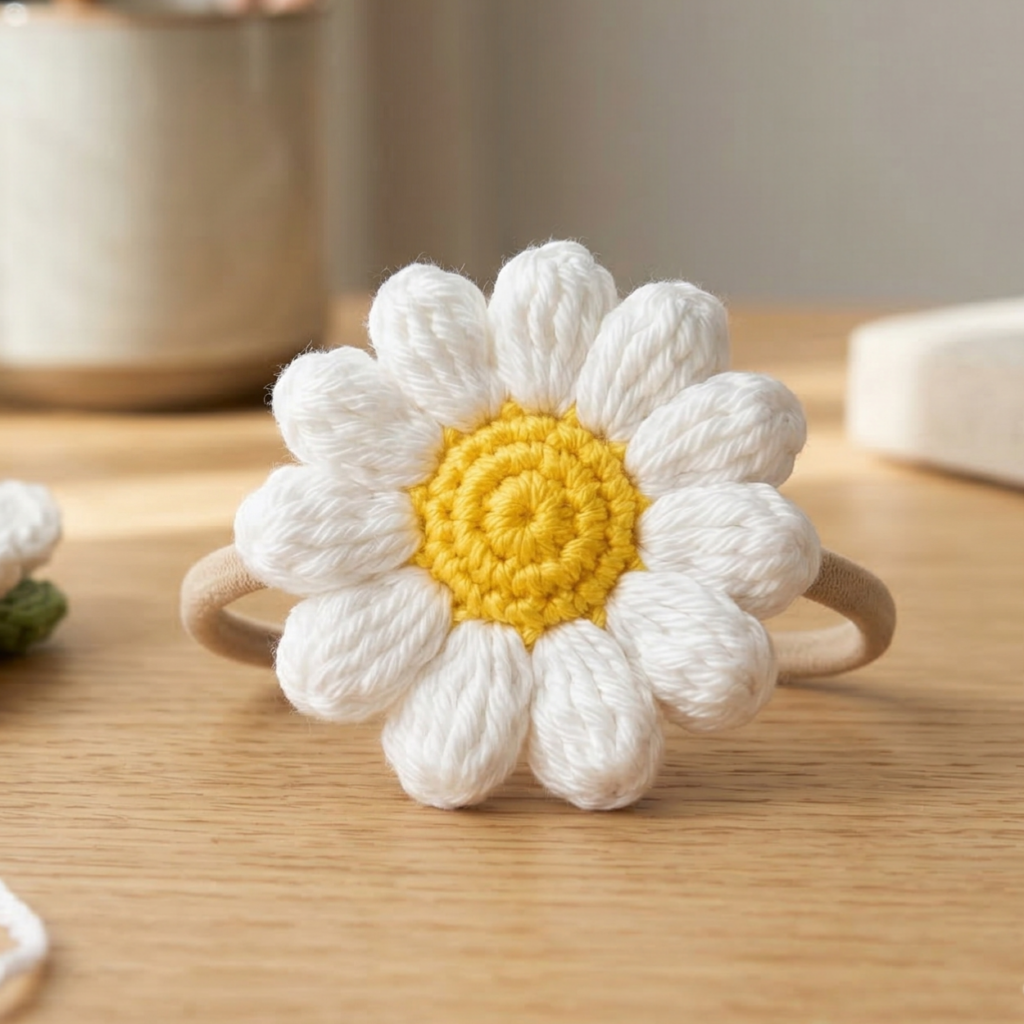
Skill level: Beginner
Finished size: flower about 1.5 to 2 inches across
This is a lovely scrap-busting project that works beautifully as a gift. A daisy flower sewn to a hair elastic is quick, cheerful, and easy to customize.
Materials
- Small amounts of cotton yarn in white, yellow, and green
- Crochet hook, size 2.5 mm to 3.5 mm
- Hair elastic
- Tapestry needle
- Scissors
Abbreviations
MR = magic ring
sc = single crochet
ch = chain
sl st = slip stitch
dc = double crochet
Step-by-step
Flower center
- Make a magic ring.
- Work 6 sc into the ring.
- Pull the ring tight and join with a sl st.
Petal loops
- In each stitch around the center, work:
- ch 4
- sl st into the next stitch
- Repeat around to create small loops for petals.
Petals
- In each chain-4 loop, work:
- sc, hdc, 2 dc, hdc, sc
- This creates a rounded daisy petal.
- Repeat all the way around.
Optional leaf
- Chain 6.
- Work sc, hdc, dc, hdc, sc back down the chain.
- Fasten off and sew to the back if you want a leaf detail.
Attach to hair tie
- Place the flower over the hair elastic.
- Sew through the center several times to secure it.
- Make sure the stitches are tight enough that the flower will not slide.
Finishing tips
- Make one in each color for a small set.
- Use bright yellow centers for a classic daisy look or soft pastels for a delicate style.
- If you want extra durability, sew the flower to a small felt circle first, then attach to the hair tie.
Quick variation
Make a mini bouquet of two or three daisies attached to one elastic.
4. Crochet Mini Rose Bouquet Pattern

Skill level: Beginner to intermediate
Finished size: each rose about 1 to 1.5 inches across
A mini rose bouquet is charming, elegant, and fast to make. It can be used as a brooch, bag charm, hair accessory, or tiny gift topper.
Materials
- Small amounts of yarn in rose colors
- Green yarn for leaves
- Crochet hook, size 2.5 mm to 3.5 mm
- Tapestry needle
- Scissors
- Optional: floral wire or thin stick for stems
Abbreviations
ch = chain
sc = single crochet
hdc = half double crochet
dc = double crochet
sl st = slip stitch
Step-by-step
Rose strip
- Chain 20 to 30 stitches, depending on the size you want.
- In the second chain from the hook, work 1 sc.
- In the next stitch, work 1 hdc.
- In the next stitch, work 2 dc.
- Repeat this pattern across the strip:
- sc
- hdc
- 2 dc
- This creates a long strip with uneven edges that will curl into a rose.
Form the rose
- Starting from one end, roll the strip tightly into a spiral.
- Let the taller stitches sit on the outside as petals.
- Use the yarn tail and tapestry needle to sew through the base of the rolled flower several times.
- Secure it tightly so it keeps its shape.
Leaves
- Chain 6.
- Work back down the chain using:
- sc
- hdc
- dc
- hdc
- sc
- Make 1 or 2 leaves and sew them near the base.
Bouquet assembly
- Make 3 to 5 roses in different shades.
- Arrange them together into a small cluster.
- Sew the stems or bases together.
- Add a tie, ribbon, or wire stem if you want to use it as a bouquet decoration.
Finishing tips
- Use red, pink, cream, or dusty rose for a romantic bouquet.
- Add green leaves to make the bouquet look fuller.
- If using it as a gift topper, sew the bouquet onto a wrapped box or card.
Quick variation
Attach the bouquet to a clip or brooch back for a wearable flower pin.
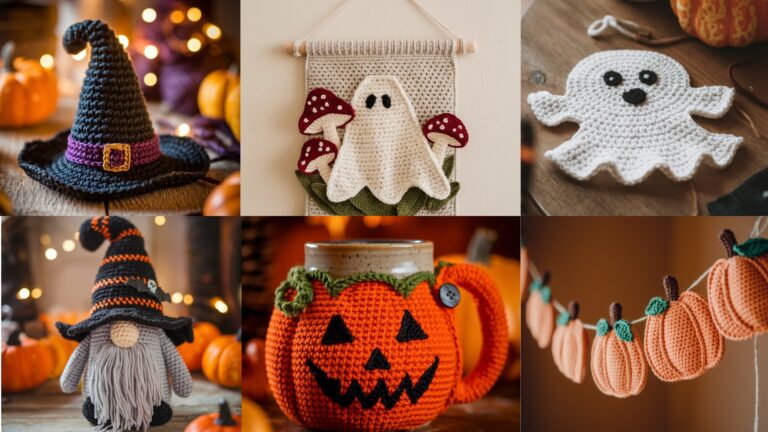
5. Crochet Moon Motif Pattern
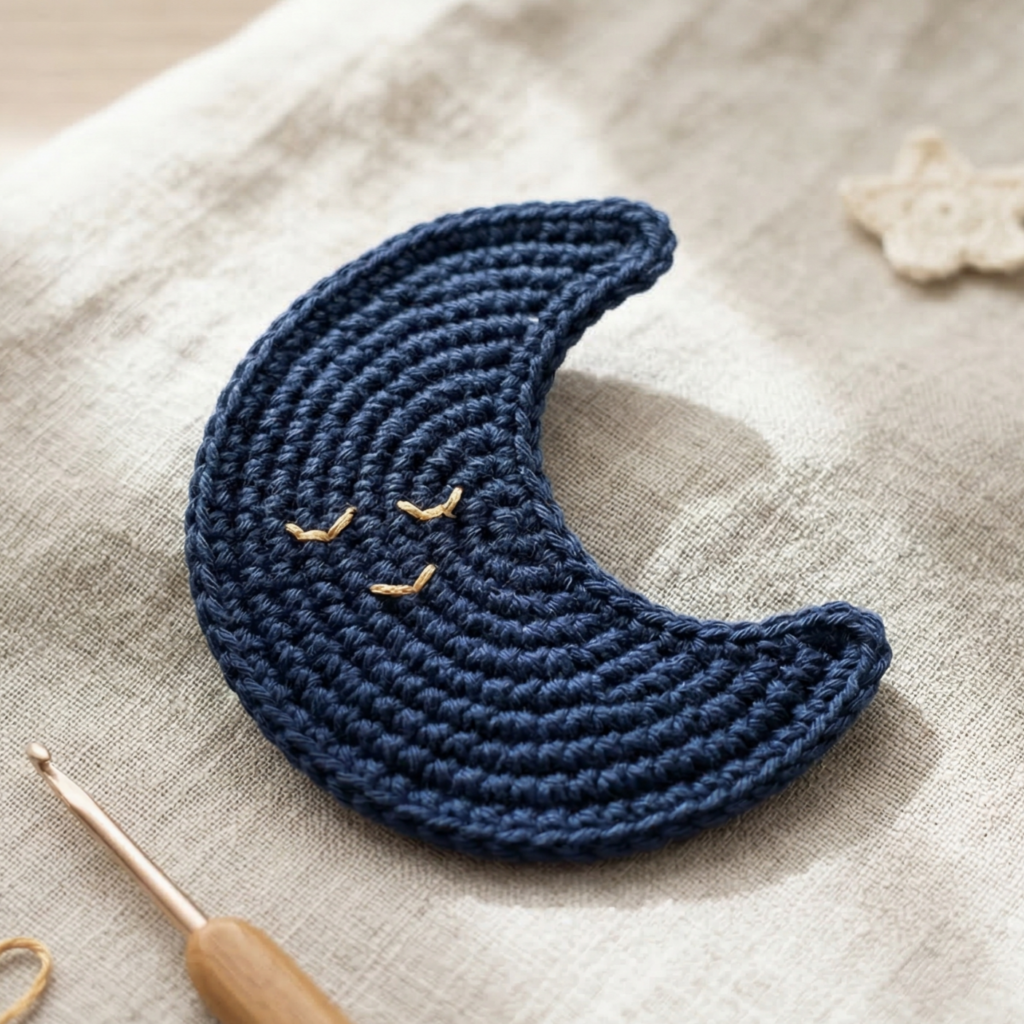
Skill level: Beginner
Finished size: about 2 to 3 inches tall
A moon motif is one of the simplest decorative shapes you can make, and it is perfect for patches, garlands, ornaments, or appliqués.
Materials
- Cotton or acrylic yarn
- Crochet hook, size 2.5 mm to 3.5 mm
- Tapestry needle
- Scissors
Abbreviations
ch = chain
sc = single crochet
hdc = half double crochet
dc = double crochet
sl st = slip stitch
Step-by-step
Moon shape
- Chain 10 to 12 stitches.
- In the second chain from the hook, work:
- 1 sc
- 1 hdc
- 1 dc
- 1 dc
- 1 dc
- In the last chain, work 5 dc to turn the curve.
- Now work back down the other side of the chain:
- 1 dc
- 1 dc
- 1 dc
- 1 hdc
- 1 sc
- Join with a sl st at the base.
- This forms a crescent moon shape.
Thicken the moon
- Work 1 round of sc around the outer edge if you want a firmer shape.
- This also makes the moon look smoother and more finished.
Optional face
- Embroider a tiny sleepy face with black thread.
- Add small eyes, a nose, and a smile if you want a whimsical moon.
Finishing tips
- Use yellow, cream, gold, or silver yarn for a dreamy effect.
- Add tiny stars around it for a matching set.
- A stiff cotton yarn will hold the moon shape nicely.
Quick variation
Make several moons in different sizes and string them together as a garland.
Conclusion
These five little projects are perfect when you want something quick, useful, and satisfying. A baby octopus makes a sweet mini gift, a puff stitch mug cozy adds charm to coffee time, a daisy hair tie is cheerful and practical, a mini rose bouquet feels special, and a moon motif gives you a beautiful decorative shape that can be used in so many ways.
What makes these “10-minute” projects so enjoyable is that they are small enough to finish fast, but still detailed enough to feel rewarding. They are also ideal for using yarn scraps, trying new stitches, and making handmade gifts without committing to a huge project.