A crochet pencil holder is one of those small projects that instantly makes your space feel calmer and more personal. They’re practical, beginner-friendly, and perfect for using leftover yarn while creating something you’ll actually use every day. Whether you love florals, playful motifs, bold colors, or sturdy modern textures, crochet pencil holders can be customized to match your desk, craft room, or study corner beautifully.
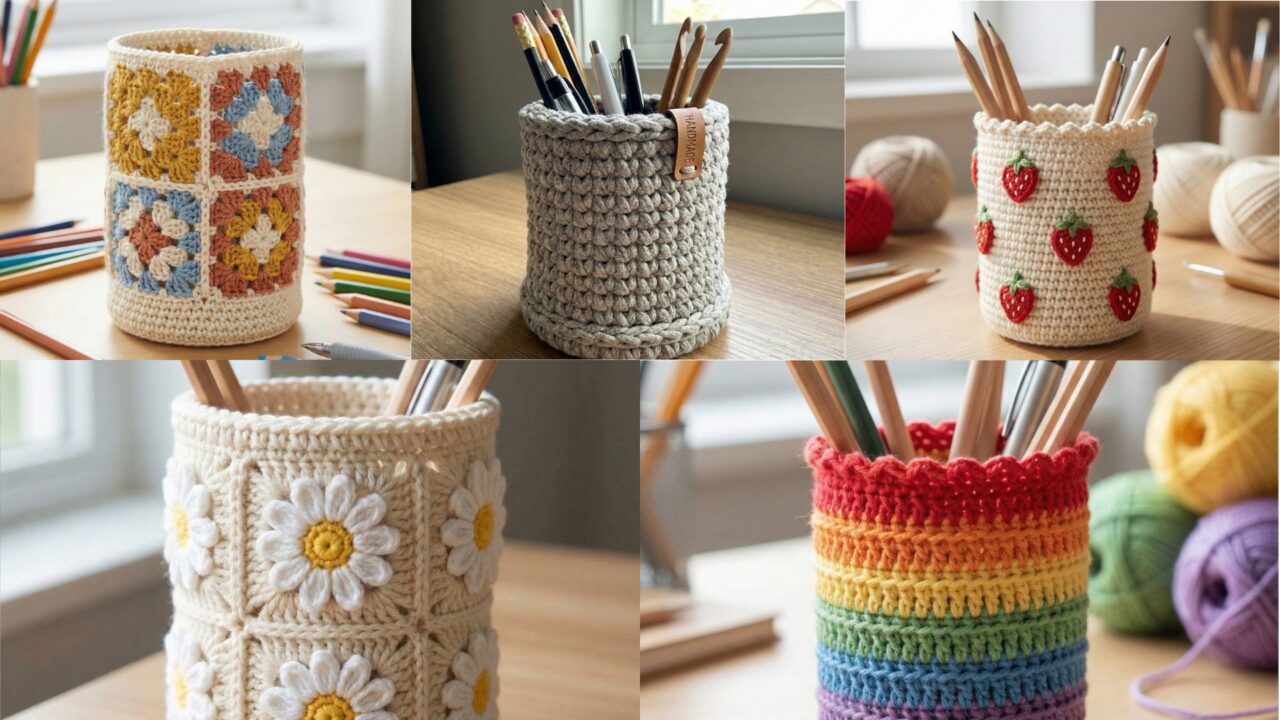
In this post, you’ll find five detailed crochet pencil holder patterns, each with a distinct style and clear, easy-to-follow step-by-step guidance. These designs are ideal for holding pens, pencils, markers, crochet hooks, makeup brushes, or even paintbrushes. Most are worked in the round and can be adjusted easily for height or width.
1. Crochet Daisy Pencil Holder Pattern
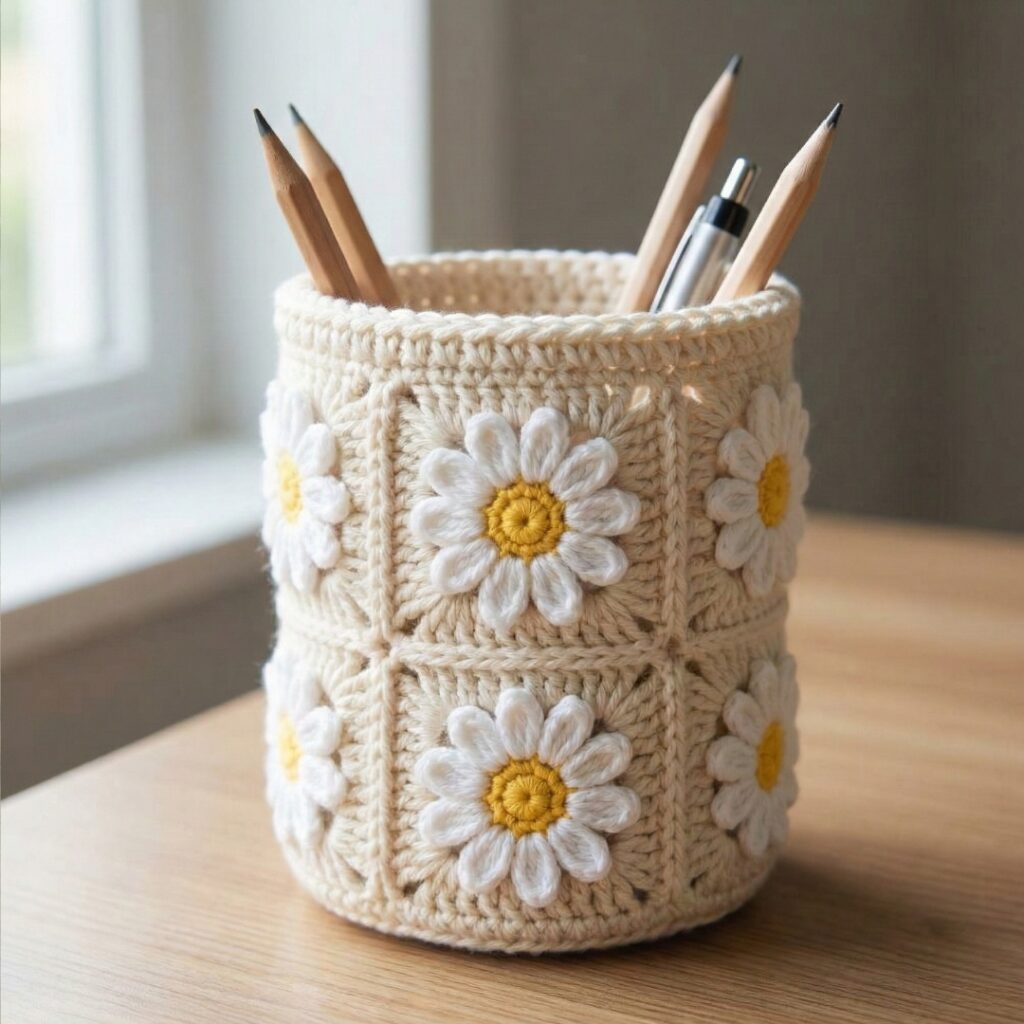
This cheerful daisy pencil holder brings a soft, cottage-core feel to your desk. It’s perfect for brightening up study spaces and makes a lovely handmade gift for students, teachers, or craft lovers.
Materials
- DK or worsted weight cotton yarn (base color + white and yellow for daisies)
- 4–4.5 mm crochet hook
- Tapestry needle
- Scissors
Step-by-step guide
- Create the base circle
- Start with a magic ring.
- Work 6 single crochets (sc) into the ring.
- Increase evenly in each round (2 sc in each stitch) until the circle reaches about 3–3.5 inches in diameter. This ensures stability so the holder won’t tip over.
- Build the walls
- Stop increasing and work one round of sc in the back loops only (BLO).
- Continue working sc in both loops for 10–12 rounds, depending on how tall you want your pencil holder.
- Add the daisy motifs
- Attach white yarn at the front of the holder.
- For each daisy: (sl st, ch 2, 2 dc, ch 2, sl st) all in one stitch to form a petal.
- Repeat around selected rows to space daisies evenly.
- Create the flower centers
- With yellow yarn, embroider small French knots or tiny circles in the center of each daisy.
- Finish the top edge
- Work one round of slip stitches or reverse single crochet (crab stitch) for a clean, polished rim.
- Fasten off and weave in all ends securely.
Tip: Use cotton yarn to help the holder keep its shape and stay upright.
2. Crochet Strawberry Motifs Pencil Holder Pattern
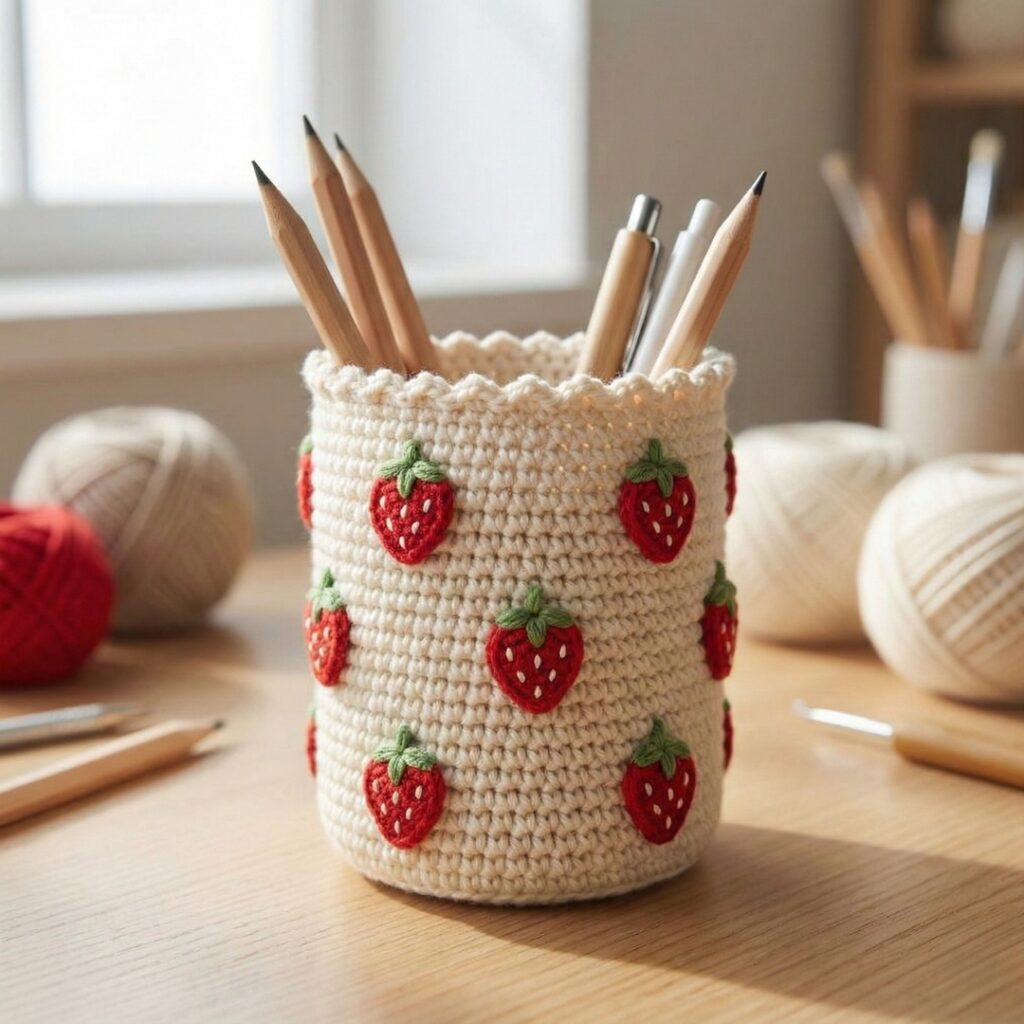
This playful strawberry-themed pencil holder is cute, whimsical, and perfect for kids’ desks or craft rooms. The raised motifs add texture while keeping the design fun and lively.
Materials
- DK yarn in red, green, and cream
- 4 mm crochet hook
- Tapestry needle
- Scissors
Step-by-step guide
- Base and body
- Start with a magic ring and crochet a flat circle using sc increases until it reaches about 3 inches wide.
- Work one BLO round to turn the corner, then crochet straight up using sc for 10–12 rounds.
- Add strawberry shapes
- With red yarn, attach yarn to the front of the holder.
- Work a small puff or bobble stitch (5 dc bobble) to create each strawberry body.
- Space them evenly around the holder.
- Create leaves
- Switch to green yarn.
- Add tiny leaf stitches above each strawberry using (ch 3, sl st) or small picots.
- Detailing
- Use cream or white yarn to embroider tiny seed stitches on each strawberry.
- Top edging
- Finish with a simple sc or picot edging for a cute finishing touch.
- Fasten off and weave in ends.
Variation idea: Turn this into a matching desk set by making a coordinating strawberry coaster.
3. Crochet Rainbow Picot Pencil Holder Pattern
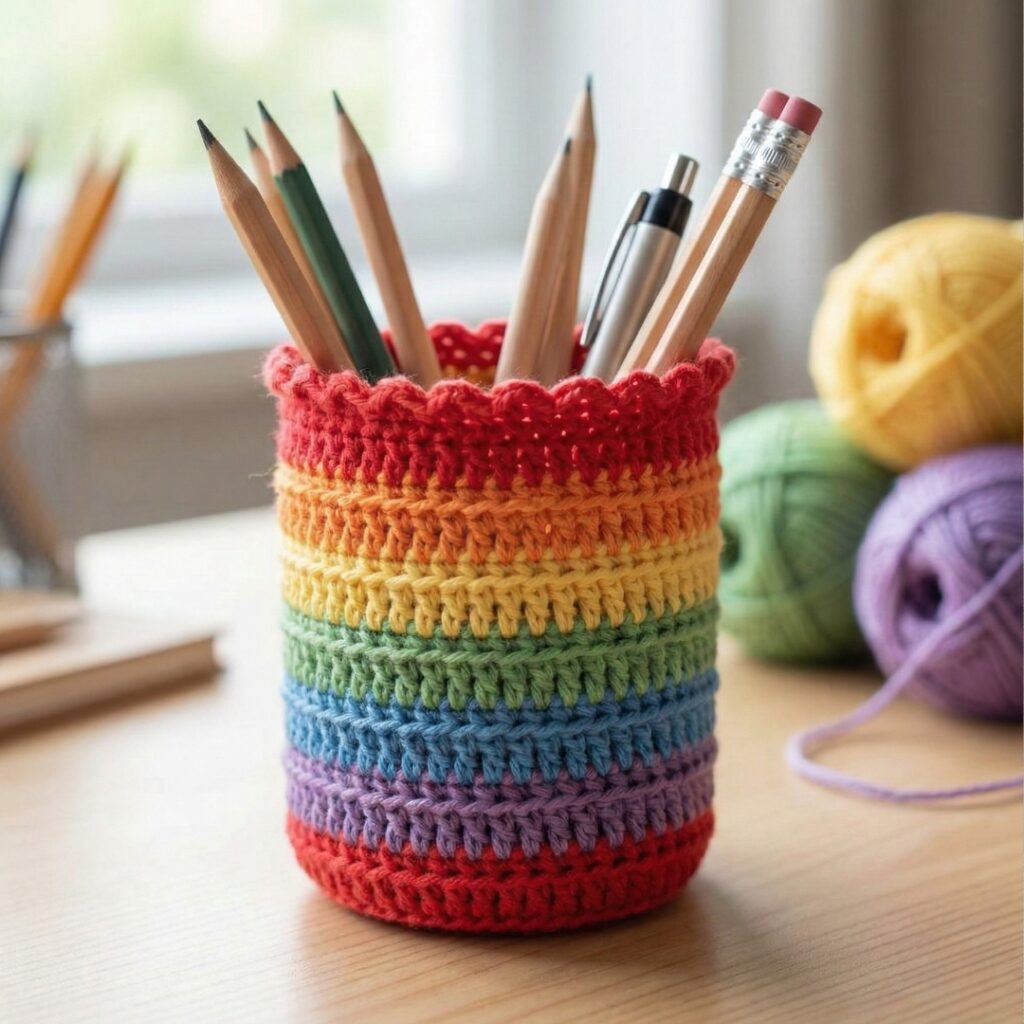
Bright, happy, and full of color, this rainbow picot pencil holder is perfect for creative desks and kids’ study areas. The picot edge adds a delicate decorative finish.
Materials
- DK yarn in multiple rainbow colors
- 4 mm crochet hook
- Tapestry needle
- Scissors
Step-by-step guide
- Start the base
- Crochet a flat circle using half double crochet (hdc) increases until it reaches about 3.5 inches wide.
- Build vertical sides
- Work one BLO round of hdc.
- Continue with hdc rounds, changing colors every 1–2 rows to create rainbow stripes.
- Add texture
- Optional: Work one round of front post double crochet (fpdc) between color changes to add subtle texture.
- Picot edging
- For the final round, work (sc, ch 3, sl st into same stitch) around the top edge to form picots.
- Finishing touches
- Weave in all ends carefully, especially where colors change.
Tip: Keep your color changes neat by finishing the last yarn-over of the previous stitch with the new color.
4. Crochet T-Shirt Yarn Pencil Holder Pattern
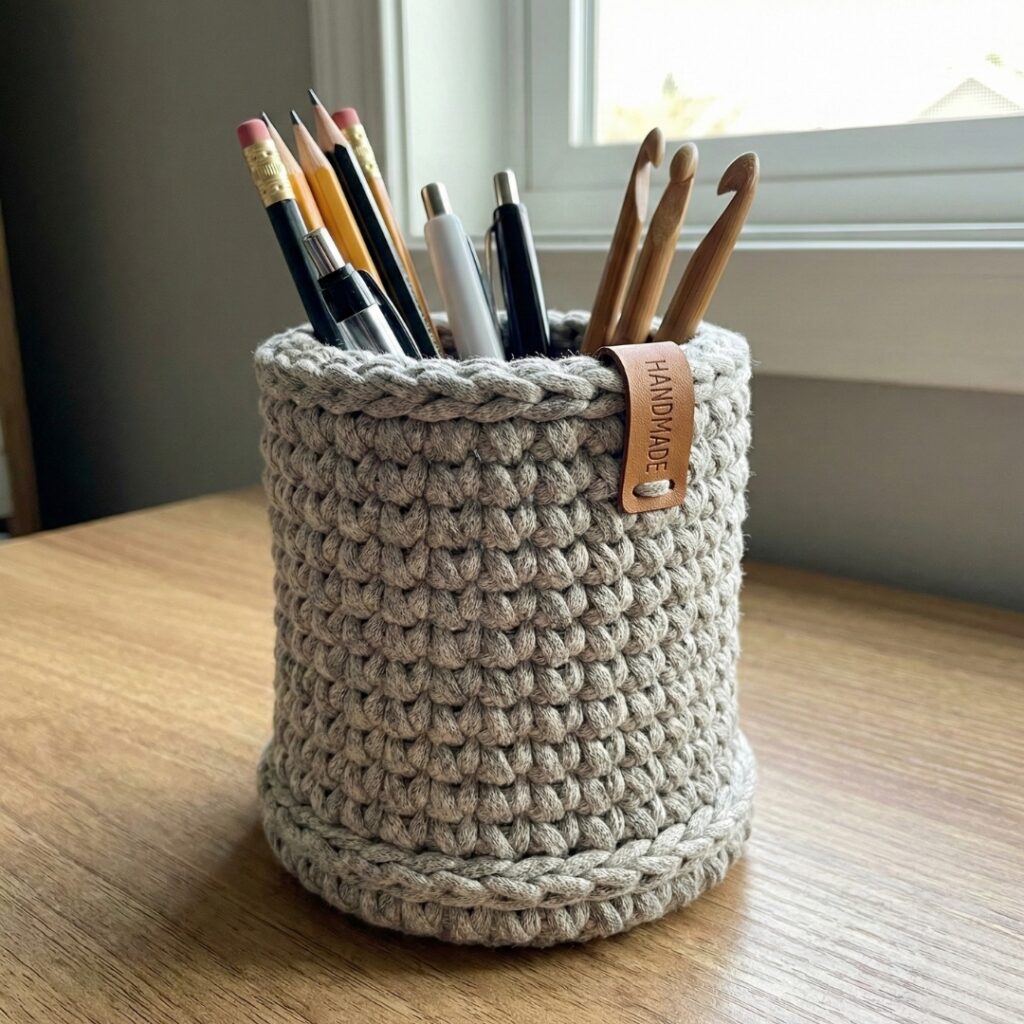
This sturdy pencil holder is made with thick t-shirt yarn, making it perfect for heavy tools like markers, scissors, or crochet hooks. It has a modern, minimal look and holds its shape beautifully.
Materials
- T-shirt yarn (fabric yarn)
- 8–10 mm crochet hook
- Tapestry needle
Step-by-step guide
- Solid base
- Create a magic ring and crochet 6 sc.
- Increase evenly until the base is about 4 inches wide.
- Turn the corner
- Work one BLO round of sc to define the bottom edge.
- Straight sides
- Continue working sc in continuous rounds (no joining) until the holder is 4–5 inches tall.
- Optional handle or label
- Add a small crocheted loop or stitch on a leather tag for a modern touch.
- Finish
- Slip stitch to finish, fasten off, and weave in ends securely.
Why it works: The thickness of t-shirt yarn gives structure without needing any stiffening.
5. Crochet Granny Square Pretty Pencil Holder Pattern
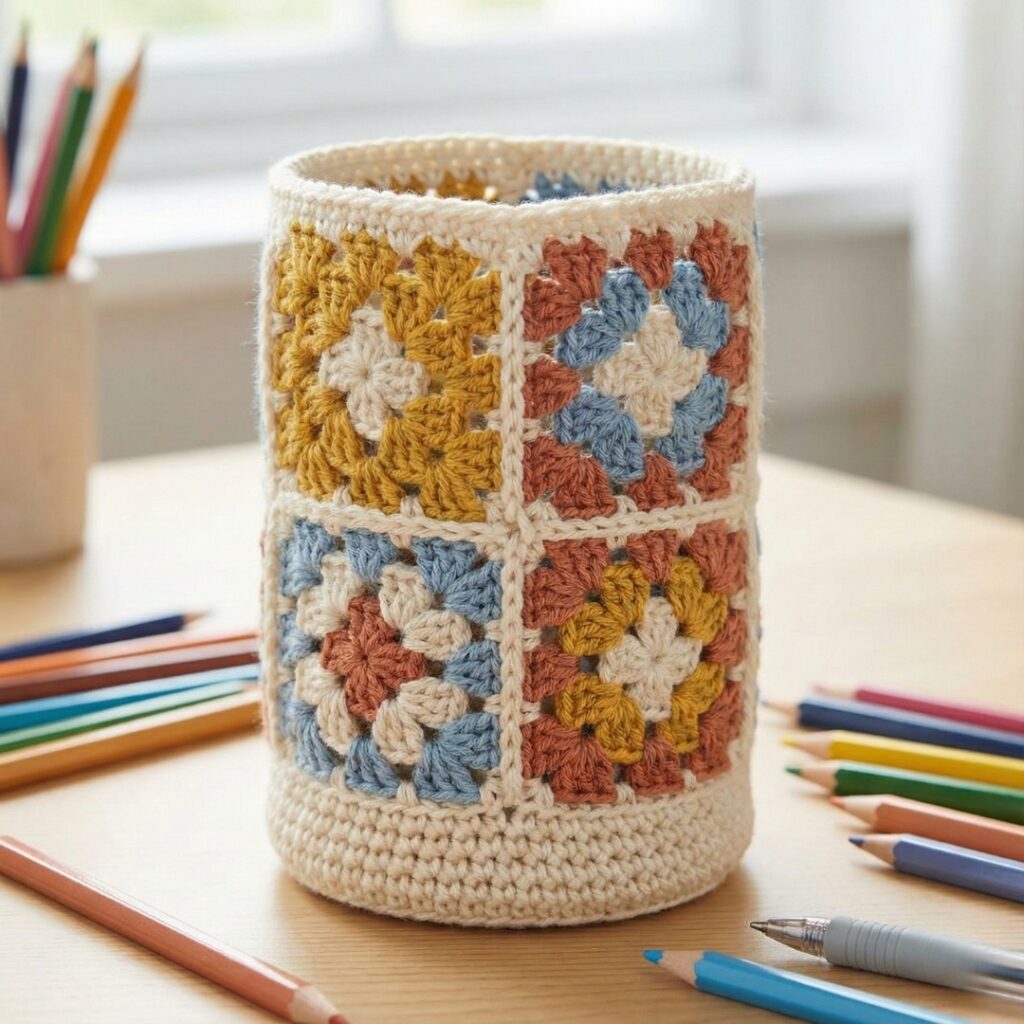
This charming pencil holder combines classic granny squares with a practical cylindrical shape, making it both decorative and functional.
Materials
- DK or worsted yarn in 2–3 colors
- 4–4.5 mm crochet hook
- Tapestry needle
Step-by-step guide
- Make granny squares
- Crochet 3–4 small granny squares (about 3 inches each).
- Fasten off and weave in ends.
- Join the squares
- Use slip stitch or whip stitch to join squares into a strip.
- Create the base
- Crochet a solid circle the same width as the joined strip.
- Assemble the holder
- Attach the granny strip to the base using sc stitches, working evenly around.
- Top border
- Add a simple sc or shell stitch border to finish the top edge neatly.
Customization tip: Mix vintage colors for a retro look or soft neutrals for a modern aesthetic.
Conclusion
Crochet pencil holders are the perfect blend of function and creativity. From sweet floral designs to bold rainbow textures and sturdy modern styles, these five patterns offer something for every desk and personality. They’re quick to make, easy to customize, and incredibly satisfying — whether you’re organizing your workspace, decorating a craft room, or making thoughtful handmade gifts.
With just a few basic stitches and some creativity, you can turn simple yarn into practical art that keeps your desk tidy and inspiring. Pick your favorite pattern, grab your hook, and start crocheting a pencil holder that makes staying organized a little more beautiful.