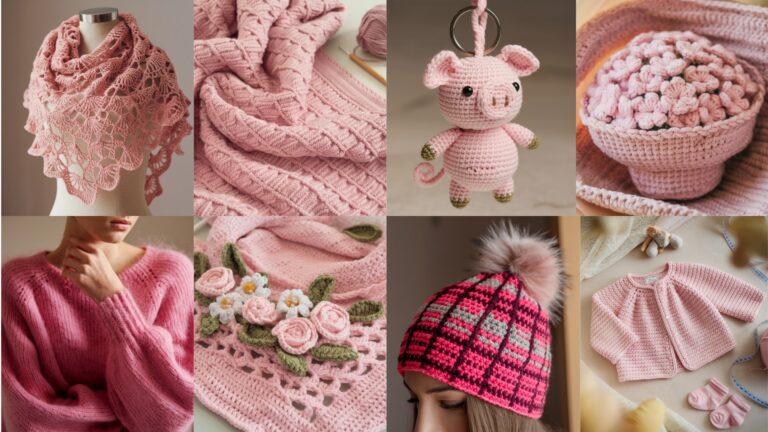
You clicked this because you want cozy, stylish fingerless gloves that show off your personality — not because you need another pattern you’ll never use. These five crochet designs take you from playful (cupcake-inspired) to elegant (Victorian lacy), and each pattern includes clear materials lists, sizing tips, and step-by-step instructions so you can actually finish something beautiful and wearable.
Whether you’re a confident beginner or an intermediate crocheter, these patterns give you options: quick projects for gifting, layered textures for chilly days, and delicate lace for dressier looks. I’ve written every pattern with practical notes on gauge, fit adjustments, finishing, and variations so you can customize yarn, length, and snugness without second-guessing. Grab your yarn and hook — let’s make something you’ll want to wear every day.
Quick notes (applies to all patterns)
Yarn & hook suggestions
- Fingering / sport weight yarn with 3.5–4.5 mm hook → light, lacy gloves
- DK / light worsted weight yarn with 4.0–5.5 mm hook → slightly chunkier, more warming
- For soft, wearable gloves: choose 70% acrylic/30% wool or a soft wool blend; for sensitive skin, pick cotton or bamboo blends.
Sizing basics (adult women standard)
- Wrist circumference: 6–7 in (15–18 cm)
- Hand circumference (around knuckles, excluding thumb): 7–8.5 in (18–22 cm)
- Glove length (wrist to base of fingers): 6–8 in (15–20 cm)
To size: measure the widest part of your hand (excluding thumb). If your gauge results in stitches per inch different from the pattern, adjust by changing hook size or adding/removing stitch repeats (I’ll mention where repeats are used).
Common abbreviations (US terms)
- ch = chain
- sc = single crochet
- hdc = half double crochet
- dc = double crochet
- tr = treble crochet
- sl st = slip stitch
- BLO = back loop only
- FLO = front loop only
- inc = increase (2 sc in same stitch)
- dec = decrease (sc2tog)
- st(s) = stitch(es)
- rnd = round(s) / row(s)
Construction note
All patterns are written for right and left gloves; work them the same way unless symmetry matters (some stitch patterns look mirrored on opposite hands — I’ll note when you should reverse shaping).
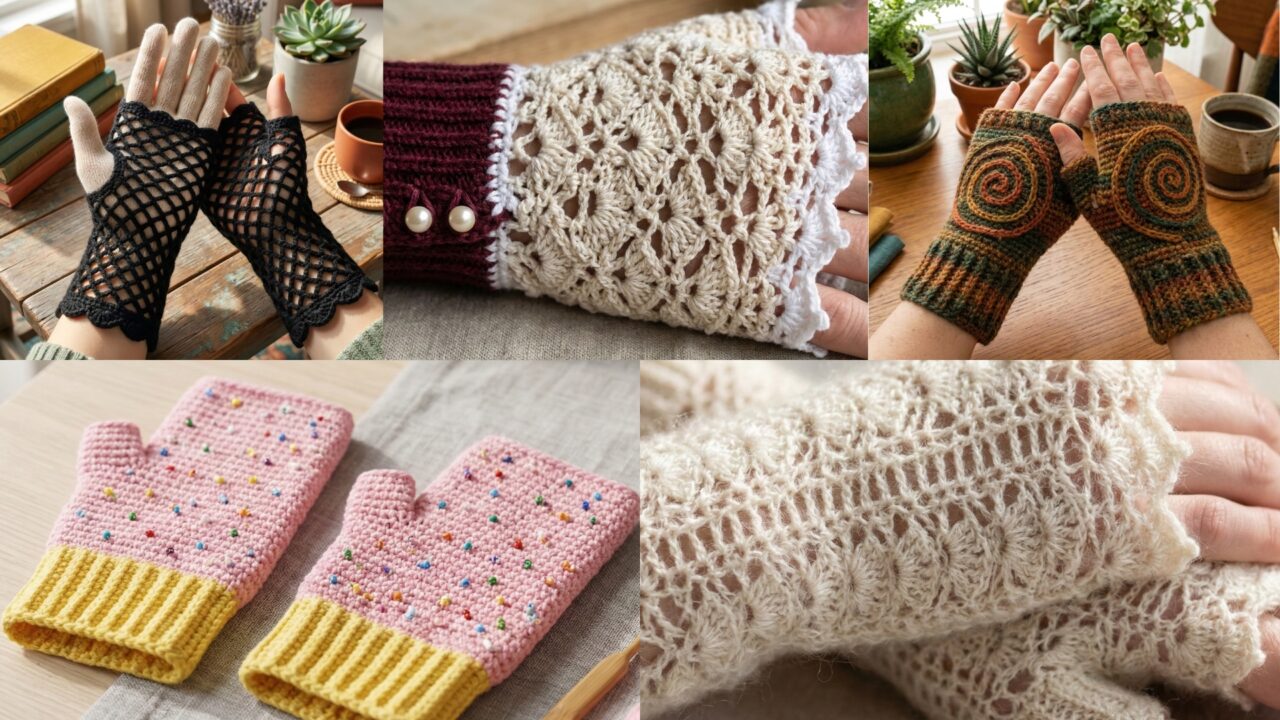
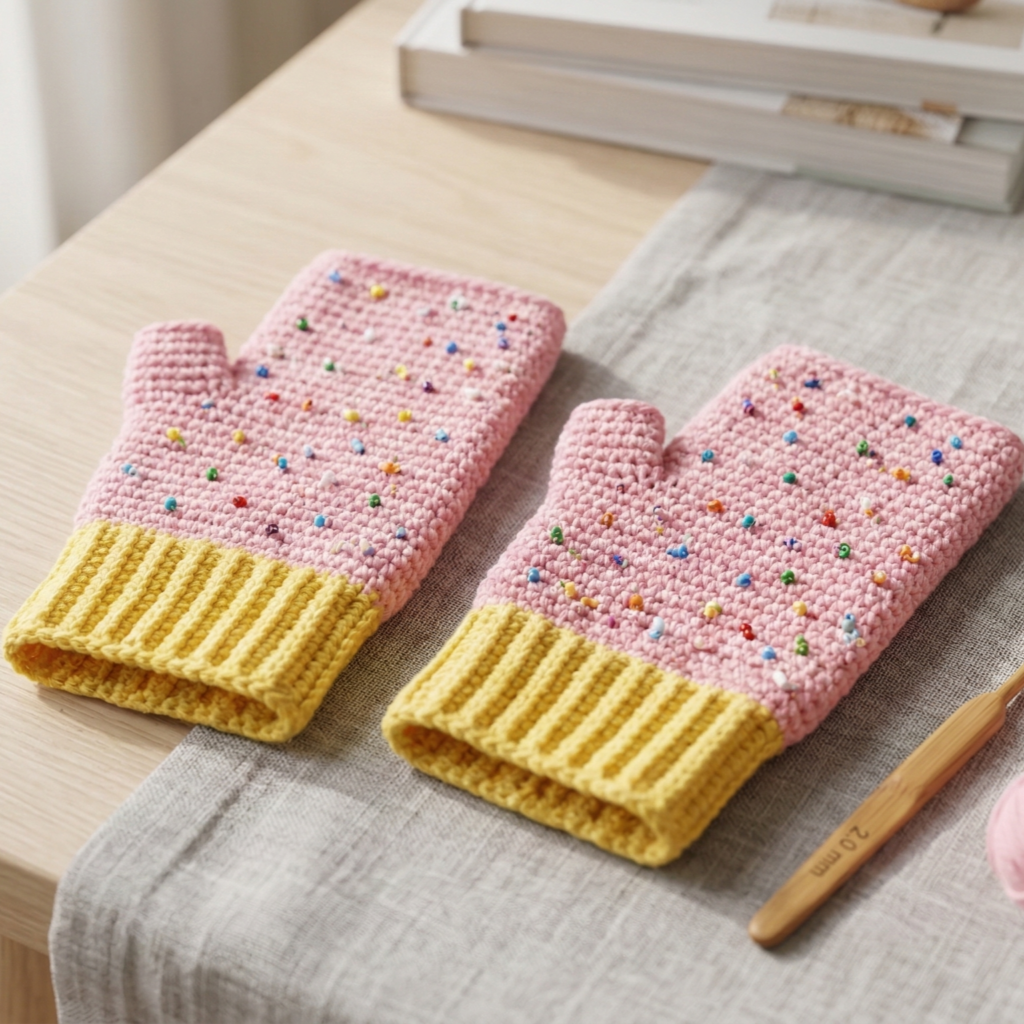
1. Crochet Cupcake Inspired Fingerless Gloves Pattern
Style & feel
Playful and cozy — this pattern mimics a cupcake’s base and frosting: ribbed cuff (cup), textured body (frosting swirls), and an optional “cherry” pom-pom on top near the wrist. Great for gifting or for adding a pop of whimsy to fall outfits.
Materials
- DK weight yarn: main color (cupcake wrapper) and contrast color (frosting) — roughly 100–125 yards total
- Small amount of bright yarn for cherry pom-pom (optional)
- Hook: 4.0 mm (or adjust for gauge)
- Tapestry needle, stitch marker, scissors, pom-pom maker (or cardboard)
Gauge (recommended)
- 18 sc = 4 in (10 cm) in single crochet (flat). Adjust hook as needed.
Sizes & stitch counts (written for medium/hand circumference 7.5 in)
- Wrist/hand opening (after cuff) — work around a multiple of 4 sts. For medium use 48 sts. For small 44, large 52.
If your hand measurement differs: (hand circumference in inches) × (stitches per inch) = number of stitches needed (round to nearest multiple of 4).
Abbreviations for cupcake stitchwork
- Frosting bobble = (yo, insert hook, pull up loop) × 3, yo, pull through all loops, ch1 (common bobble in DK)
Pattern — Cuff (cupcake wrapper)
Work in continuous rounds unless noted.
- With main color, ch 2. Rnd 1: 6 sc in 2nd ch from hook; join with sl st to form small ring (or use magic loop). — OR, for a flat cuff that fits more like a tube, start with a foundation chain sized to your wrist.
- Rnd 1 (tube method): foundation chain to match wrist circumference (stitches as calculated above), join to work in the round, being careful not to twist.
- Rnd 1: sc in each st around. (48 sc for medium). Place marker at first st.
- Rnds 2–10: BLO sc around (9 rounds) — this creates a stretchy ribbed cuff that mimics cupcake wrapper pleats. Adjust length for wrist height: 9 rounds ≈ 2–2.5 in.
Optional folded cuff: Work 16 rounds of BLO sc, then fold up and sew the raw edge inside to make a double-thickness cuff.
Body — frosting texture
Switch to contrast color for “frosting”.
- Rnd 11: join contrast, [bobble, sc in next 3 sts] repeat around (creates staggered texture). Place bobbles centered above each 4-st group.
- Rnd 12: sc around (to secure bobbles).
- Rnd 13: [sc in next 2, bobble, sc in next 1] repeat around — stagger bobbles so they don’t line up directly.
- Rnd 14–16: sc around (3 rounds) to even the fabric and reach the base of thumb hole. Measure: glove height to base of fingers ~6–7 in total from cuff bottom (including cuff). Stop when glove reaches base of fingers or desired length for fingerless style.
Thumb opening (thumb split method — keeps fabric neat)
Option A — Vertical thumb opening (recommended for textured patterns):
- Work rounds until you reach the row where thumb opening will start. Place marker at stitch where thumb will start (typically on the palm side).
- Rnd X: sc until marker — stop, ch 4 (this creates the thumb gap — chain length equals desired thumb circumference minus 2), skip same number of stitches on the round as your chain covers (for medium leave 3–4 sts), sc to end of round.
- Continue rounds as pattern calls, sc around; the chain gap forms a thumb hole. When glove is done, attach yarn at one side of the chain gap and work sc around the chain loops to create a neat thumb edging.
Option B — Make glove tube and cut a thumb hole later — not recommended for textured bobble fabric.
Top edging
After completing body rounds and thumb gap:
- Switch to main color for top rim if desired. Work 2 rounds: sc around.
- Final round: sc in next st, sl st next or picot edge: ch 3, sl st back into same stitch to create little points. Fasten off and weave in ends.
Pom-pom cherry (optional)
- Make a small pom-pom with contrast bright yarn and sew it to the outside near the cuff seam, or attach to top edge as decorative cherry. Secure with several whip stitches for durability.
Finishing & variations
- For extra warmth, add a cotton or fleece lining inside the cuff.
- Vary bobble size by using more loops per bobble for a chunkier frosting.
- Try gradient yarn for a soft ombré frosting effect.
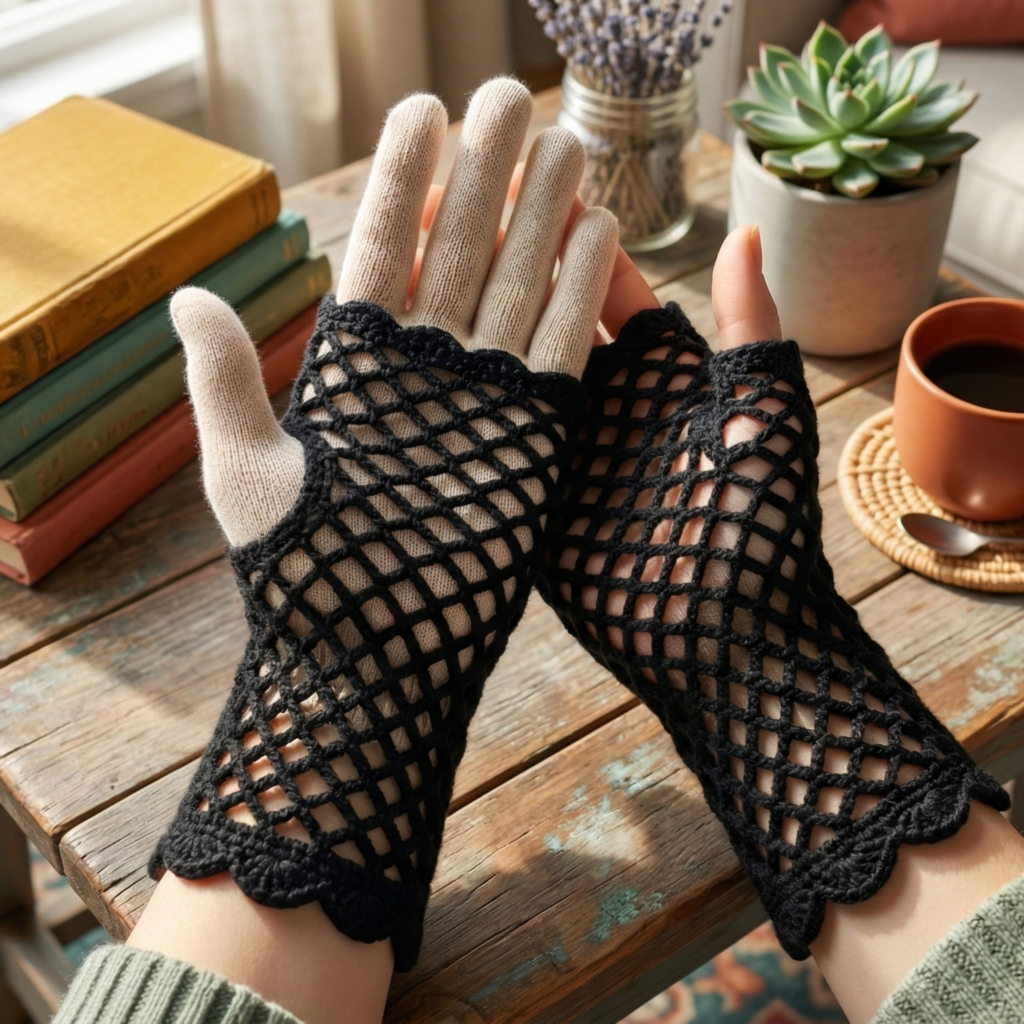
2. Crochet Fishnet Fingerless Gloves Pattern
Style & feel
Open, airy, slightly edgy — these fishnet gloves work beautifully under coats or over bare skin for a layered look. Quick to make and great for summer evenings or festival wear. Uses simple chain/splice mesh pattern.
Materials
- Fingering or DK yarn (soft cotton or blend), ~75 yards
- Hook: 4.0 mm for DK, 3.5 mm for fingering (to keep mesh stable)
- Tapestry needle, stitch marker
Gauge & sizing
Mesh is highly stretchable so focus on stitch counts. For medium hand, cast on (foundation chain or circle) to produce 46 mesh spaces around the hand (stitches will be multiples of 4 + 2 for join).
Stitch pattern (mesh)
- Mesh repeat = ch 2, skip 2 sts, sc in next st — creates diamond-shaped holes when worked in offset rows.
Pattern — Cuff
- Create foundation chain to match hand circumference: for medium: ch 40 + join OR work 46 foundation chains and join to work in the round, being careful not to twist.
- Rnd 1: sc in each ch around (this gives a solid band to prevent stretch-out)—48 sc total if you made 48 ch. (Adjust counts.)
- Rnd 2: ch 2, skip next 2, sc in next 1 repeat around. (This begins mesh)
- Rnd 3: sc into the ch-2 space from previous round, ch 2, sc into next sc repeat around — this offsets the holes and creates diamond mesh.
- Rnd 4–10: Repeat Rnd 3 until cuff reaches 2–3 inches tall (or desired cuff height).
- Rnd 11: Work one round of sc (to stabilize) — sc in each st and in each ch-2 space as needed.
Wrist shaping (optional)
If you want a tapered wrist, decrease by working fewer ch-2 mesh repeats on certain rounds: e.g., every 6th round, replace one mesh repeat with sc, tightening the circumference by 2–4 sts. Because mesh stretches, tapering should be subtle.
Thumb hole
Option — make vertical thumb slit by chaining a length equal to desired thumb opening:
- Work mesh pattern until you reach the position for the thumb (on palm side).
- On the next round, sc until the thumb marker, ch 4 (or ch 5 for larger thumbs), skip 3–4 sts, then continue sc.
- On subsequent round, sc around and then work sc around chain loops to form a neat thumb border.
Alternative — work entire tube then cut a thumb hole and whip stitch to neaten — better for sturdier yarn.
Top edge
Finish with one round of sc and optional decorative loop stitch: sc, ch 3, sl st to create a scalloped small openwork edge that echoes the mesh.
Variations & styling
- Add beads into mesh spaces as you go for a beaded fishnet look — thread beads onto yarn before crocheting and slide them into position when you want them.
- Pair with a solid glove layer underneath for warmth.
- Make long arm warmers by extending cuff length to forearm.
3. Crochet Earthy Spiral Fingerless Gloves Pattern
Style & feel
Organic, bohemian — the spiral motif runs up the back of the hand (think concentric spiral vines). Uses post stitches and simple increases for sculpted cable-like spirals. Great with tweed or variegated earthy yarns.
Materials
- DK / worsted light yarn (wool blend recommended), ~100–125 yards
- Hook: 4.5–5.5 mm depending on yarn
- Stitch marker, tapestry needle
Key stitches used
- fpdc = front post double crochet
- bpdc = back post double crochet
Post stitches create raised spirals.
Gauge & sizing
- 12 dc = 4 in (10 cm) in worsted. Choose number of sts to match hand circumference (e.g., 44–52 sts).
Foundation — cuff
- Make foundation chain to desired wrist circumference in multiples of 2 (e.g., 44 ch), join to work in the round.
- Rnd 1: hdc in each st around for a neat cuff. Rnds 2–6: BLO hdc or BLO sc to form stretchy cuff (about 1.5–2 in).
Body — spiral panel pattern
This pattern creates a vertical spiral panel that can be centered on the back of the hand.
Set up row (rounds worked in the round):
3. Rnd 7: switch to dc for body. [dc in next 6, fpdc around next st] repeat across to create raised ridges every 7 sts — this forms the start of spiral ridges. Adjust spacing to match the number of spirals you want (2 or 3 spirals is typical).
Spiral shaping (worked over several rounds):
4. Rnds 8–18: continue dc in main sts. On each round, shift the location of the fpdc by 1 stitch to the right (i.e., on Rnd 8: fpdc around the stitch that is 1 to the right of the previous fpdc; on Rnd 9: move it another stitch to the right). This gradual shift causes the raised post stitches to form a spiral line up the glove.
Practically: keep a marker on each raised column and on each round move the post stitch placement by working fpdc in the next st over relative to the previous row’s post. This is easier if you count stitches and mark the 1st and last fpdc location each round.
- Continue until glove reaches the base of the fingers. For the palm side, work plain dc to keep stretch. On the back the spirals will show prominently.
Thumb hole & shaping
When you reach the row where you want a thumb opening:
- Mark where the palm meets the thumb. On that round, when you reach the thumb marker, ch 4 (or ch 5), skip same number of stitches, then continue in pattern. On subsequent round(s) work sc around the chain loops to form tidy thumb opening.
For more ergonomic fit, add a few rounds of decreases between cuff and wider knuckle area: e.g., on the first dc round after cuff, dc 7, inc around to add a little width for knuckles — then work even.
Top edging and finishing
- For a neat top, switch to hdc for 2 rounds, then finish with one round of crab stitch (reverse sc) along the glove top for a textured finish. Weave in ends.
Variations & colorwork
- Use two-tone yarn: make spirals in contrasting color by working the fpdc in contrast color every 6th round and changing back — produces a subtle two-tone spiral.
- Add small embroidered leaves along the spirals with yarn or embroidery floss for a vine effect.
- Turn into wrist warmers by extending length.
4. Crochet Vintage Style Lace Fingerless Gloves Pattern
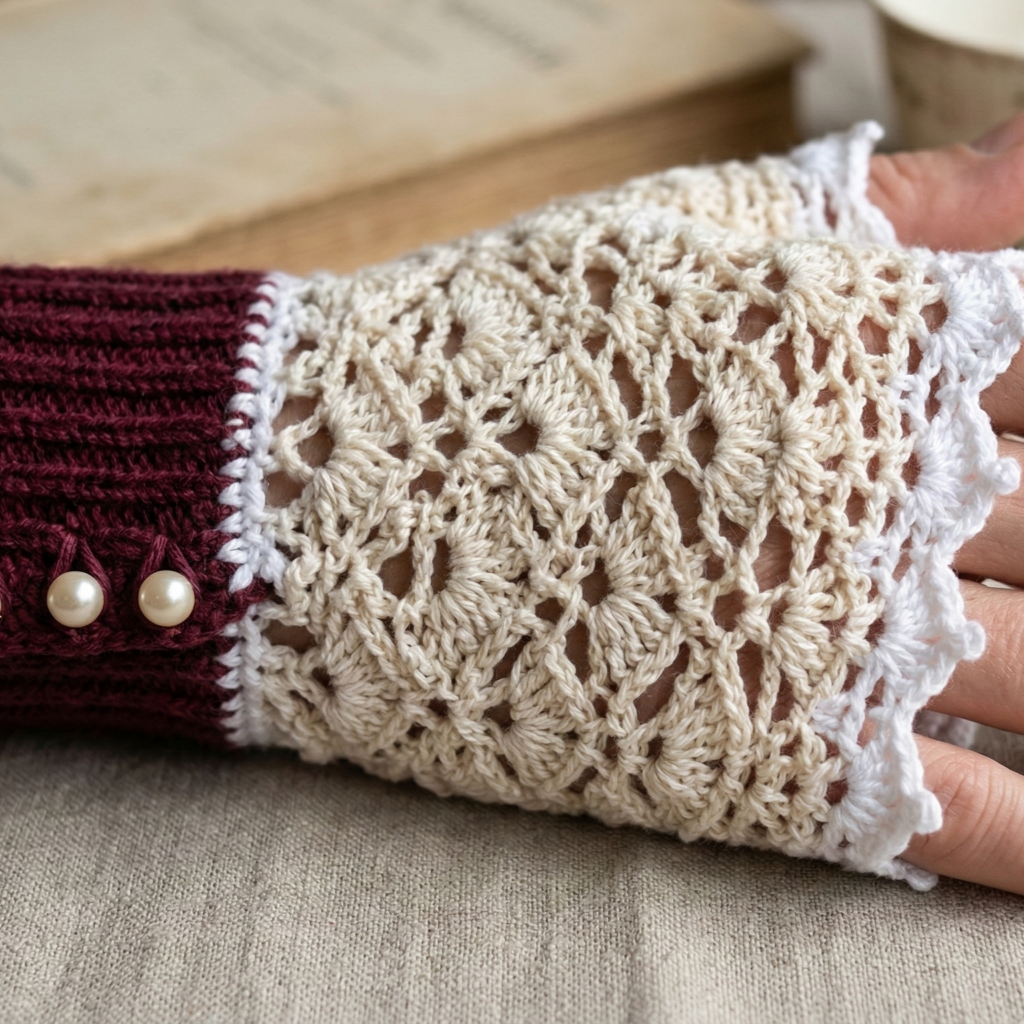
Style & feel
Elegant, feminine, and a little retro — this pattern reproduces the delicate lace panels and scalloped edges of vintage gloves. Perfect for dressing up or for adding a romantic touch to a casual outfit.
Materials
- Fingering or sport weight yarn (merino, bamboo, or cotton) — 100 yards
- Hook: 3.0–3.75 mm depending on yarn
- Optional small pearl buttons for cuff detail
- Tapestry needle, blocking pins
Lace stitch motifs used
- Shells (e.g., 5 dc in one stitch)
- Picots (for scalloped edges)
- Chain spaces and dc clusters to create openwork
Gauge & sizing
- Lace will stretch — target 22 dc = 4 in (10 cm) in pattern. For hand circumference 7.5 in, cast on approx 44–48 sts depending on pattern repeat.
Pattern — cuff and lace body
- Foundation: ch to match wrist circumference (approx 44–48 ch), join to work in the round.
- Rnd 1: sc around to give stabilizing base.
- Rnd 2–4: BLO hdc around for gentle rib.
Lace motif (repeat across round)
A common shell-lace repeat (multiple of 8 sts):
- Round A: [dc in next st, ch 2, skip 1, dc in next 3, ch 2, skip 1] repeat around.
- Round B (worked into ch-2 spaces): [5 dc shell into ch-2 space, ch 1, sl st into next dc] repeat.
This creates alternating shells and chain arches.
- Continue working shell rounds for 3–5 repeats to desired length (stop just before knuckle area). Lace patterns often need even round counts; follow the repeat so shells align.
Thumb opening
Because lace is delicate, make a neat thumb split:
- On a round where you have a dc row, work until the thumb marker, ch 3 (or ch 4 if needed), skip 3 sts, then continue lace repeat. On the next round, when you come to the ch-3 loops, sc around them to stabilize. If the skip cuts through a shell, adapt by replacing the skipped shells with worked shells into chain spaces on either side to preserve lace rhythm.
Top scallop and picot edging
- To finish, work one round of single crochet to even everything, then a decorative scallop round: sl st in next 2, (ch 3, sl st into base) in next st — or work picots: dc, ch 3, sl st into top of last dc — giving a delicate vintage edge. Block gloves carefully to open stitches and set lace.
Blocking & finishing
- Wet block to pattern: pin out the glove flat so scallops form neat points. Let dry completely (this sets lace and makes it airy).
- Optionally, sew a tiny pearl button on the cuff for decoration.
Variations & pairing
- Pair with lace fingerless gloves in contrasting color over a solid glove for dramatic effect.
- For warmer vintage look, use a slightly thicker yarn and enlarge stitch counts.
5. Crochet Cute and Soft Lacy Victorian Fingerless Gloves Pattern
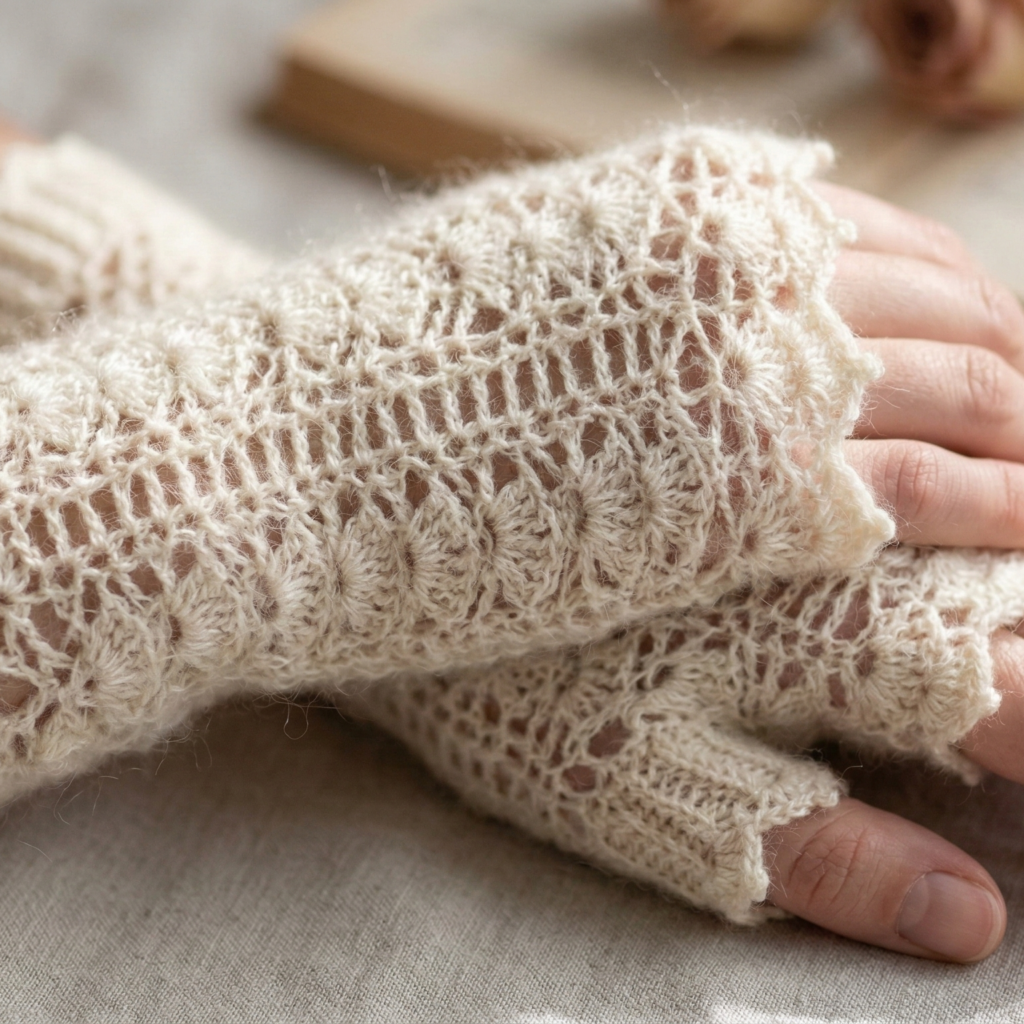
Style & feel
Delicate Victorian-inspired lacy gloves with a soft, romantic look. This pattern uses layered lace motifs and a soft halo yarn (like mohair blend) for a dreamy finish. Because mohair is delicate, these gloves are best for occasional wear and dressier looks.
Materials
- Sport or fingering yarn held double with a mohair/silk lace yarn (or use single soft DK if you prefer durability) — 100–125 yards combined
- Hook: 3.5–4.5 mm depending on combined yarn thickness
- Blocking supplies, stitch markers
Lace motifs & techniques
- Cluster stitches, shell fans, and laddered chains create a Victorian filigree look.
- Soft halo yarn adds a vintage softness.
Pattern — cuff & base
- Begin with 2 rounds of sc in foundation chain sized to wrist circumference (e.g., 46 ch for medium).
- Work 6 rounds of BLO hdc for a soft ribbed cuff. For a more Victorian look, incorporate small picot details on cuff top: sc, ch 3, sl st in same st repeated.
Main lace body (fan and ladder repeat)
Fan and ladder repeat (multiple of 8 sts) creates tall open motifs.
- Round A (fan base): [dc in next st, ch 3, skip 2, (5 dc into next st) shell, ch 3, skip 2, dc into next] repeat — this makes upright fan motifs with ladder-like chain channels.
- Round B (connect): Work sc into shell top and sc across chain spaces to secure fans, creating vertical open columns (ladder effect).
- Repeat rounds A and B for 4–6 pattern repeats depending on desired glove length.
Shaping for hand
Because this is an airy stitch, you may want to slightly reduce stitch count across the palm row to prevent too much slippage. On the round that sits across the palm, insert an extra sc every 12 sts to tighten the fit.
Thumb opening
Use a neat thumb gusset to maintain lace balance:
- At desired thumb position, work the round until marker: ch 3, skip 3 sts, then continue. On the next round: sc around chains to close neat. If you want stronger thumb reinforcement, work a round of sc in worsted/light yarn inside the thumb for durability.
Top edging (Victorian scallop)
- Work a decorative scallop: [sl st, dc 3 in next ch-ark, ch 1, sl st] repeating to make small lacy scallops. Add a final picot round if you like: sc, ch 3, sl st in sc to create vintage points.
Finishing: halo effect & blocking
- If using mohair lace: a light steam or gentle wet block will open lace just enough. The soft halo will fluff, making the lace look frothy.
- For doubled yarns, secure ends with hidden weaving and avoid heavy washing — spot clean.
Styling & usage
- These are perfect for weddings, photoshoots, or layering under coats.
- Pair with a crochet wrist cuff bracelet or brooch to complete the Victorian look.
Troubleshooting, Care & Customization Tips
If your gloves are too tight/loose
- Too tight → go up a hook size or add 2–4 sts distributed evenly (for patterns with repeats, add full repeat units).
- Too loose → go down a hook size or remove repeat units.
Thumb fit tips
- If thumb hole feels small after first try: remove the round where you created the chain gap and rework with 1–2 more chain stitches, or carefully rip and rework the thumb opening.
- For a sturdier thumb: crochet a small tube for thumb gusset and sew it into the opening.
Finishing & durability
- Weave ends securely, especially around thumb and cuff where stress occurs.
- Hide starting tails inside cuffs or under small felt lining.
- For machine-washable gloves, use superwash wool or acrylic yarn.
Color & yarn ideas
- Cupcake gloves: pastel or bold candy colors.
- Fishnet: monochrome black for edgy look, or neon for festivals.
- Earthy spiral: tweed or marled yarns in moss, rust, or ochre.
- Vintage lace & Victorian: cream, soft blush, deep wine for a more authentic feel.
Conclusion
You now have five full, wearable patterns that span playful to elegant: Cupcake-inspired sweetness, airy fishnet edge, earthy spirals, delicate vintage lace, and romantic Victorian lace. Each pattern is designed to be adaptable — change yarn weight for warmth, tweak length for wrist or forearm coverage, and swap colors to match your wardrobe or mood.
Start with the pair that excites you most. If you want the fastest project, the fishnet and cupcake designs are quick wins; if you’re craving a refined heirloom piece, the vintage lace and Victorian patterns reward the extra attention with timeless beauty.