Buttons are tiny drama queens: a small change and suddenly a sweater, bag, or baby hat looks finished and intentional. Crochet buttons are cheap, customizable, and give you exact color/texture control — plus they’re a brilliant way to use leftover yarn. Below are five practical, copy-paste-ready crochet button patterns (Bobble, Flower, Heart, Bonbon, Rose). Each pattern includes materials, abbreviations, exact round-by-round instructions, finishing options (flat sew-on or shank style), variations, and care tips. Make a batch and stop buying buttons you don’t really want.
Keep in mind: size depends on yarn and hook. Test one button, sew it into your project, and adjust hook or rounds until the button sits and fastens the way you want.
General notes (read this once, then ignore it like you always do)
- Terminology: US crochet terms used throughout.
- Materials: Use the same fiber family as your project if you want the button to blend; use cotton for smooth, plastic-like buttons; use wool or acrylic for a soft, textured button.
- Hooks: Small: 2.0–3.5 mm depending on yarn — tighter stitches = neater button.
- Finishing: You can either (A) crochet a flat cover and sew it over a small store-bought button (recommended for easy shank), or (B) make a wholly crocheted button with an integrated shank (loop) or a back loop to make it sew-on flat.
- Abbreviations (US): ch, sl st, sc, hdc, dc, tr, bp (bobble/puff), rep, st(s), rnd, inc (2 sc in same st), dec (sc2tog).
- Sizing trick: If the button is too big, use a smaller hook or higher yarn number. Too small? Bigger hook or add additional rounds.
Now choose your aesthetic and get crocheting.
1. Crochet Bobble Button Pattern
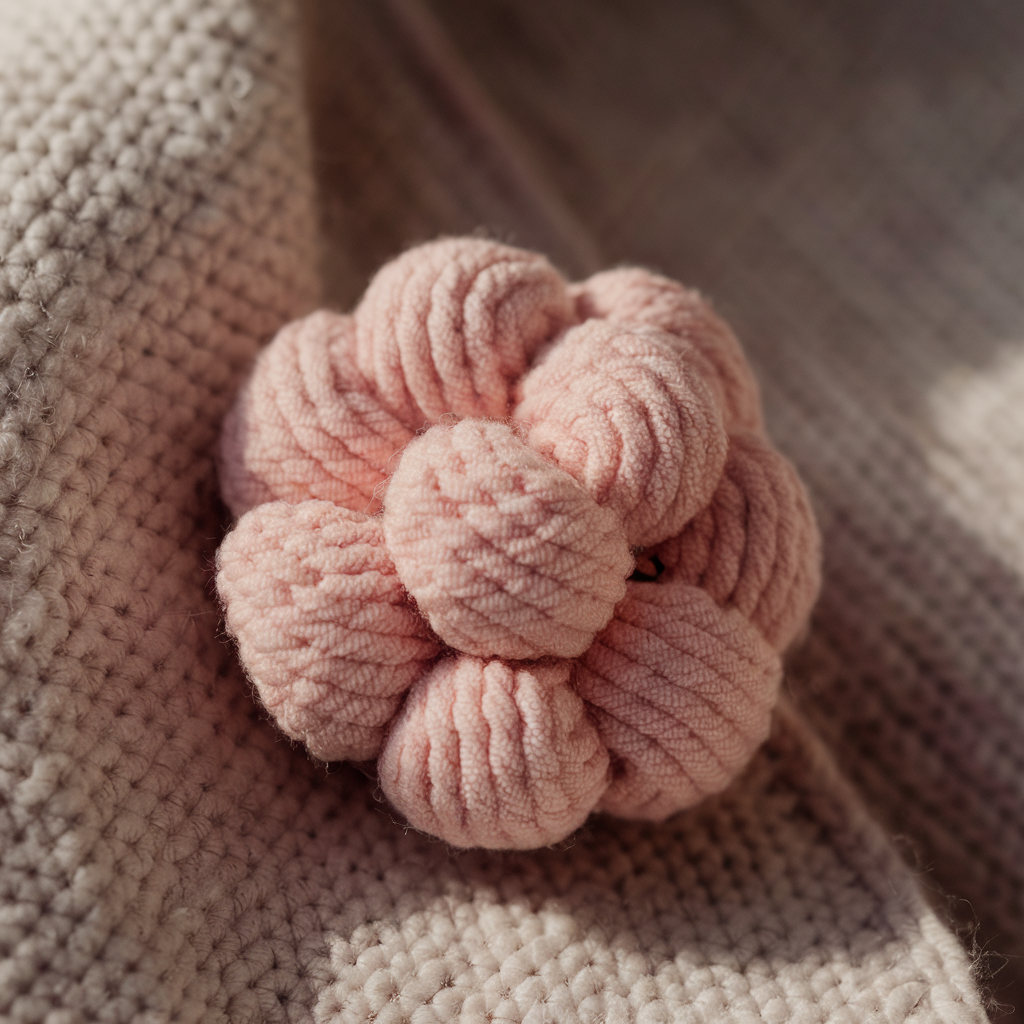
A plump, tactile button with raised bobbles — excellent for cardigans, kids’ jackets, or anywhere you want a hand-made accent.
Skill level: Confident beginner
Finished size: ~1–1.25 in (with DK yarn & 3.5 mm hook). Adjust by yarn/hook.
Materials
- DK / worsted light yarn or cotton thread for smaller buttons
- Hook 2.5–3.5 mm (adjust)
- Yarn needle, small round plastic or wooden button for base (optional)
- Scissors
Pattern — flat bobble cover (works over small button)
- Make a small ring: magic ring or ch4, sl st to form ring.
- R1: ch1, 6 sc in ring. Join. (6)
- R2: ch1, inc in each st around. Join. (12)
- R3: ch1, sc in next st, inc in next st around. Join. (18)
- R4: ch1, sc in next 2, inc in next around. Join. (24) — this should match button diameter; stop increasing if you want smaller.
- R5 (bobble round): ch1, sc in next 2, bobble in next st, sc in next 2 repeat around. Join.
- Bobble stitch: (yo, insert, pull up loop) ×4, yo and draw through all loops, ch1 to close bobble. OR use puff stitch: yo, insert, pull up loop 4 times, yo pull through all.
- R6 (backing round): Flip; work sc evenly around through both loops (or around back loop only if covering a plastic button) to create a neat back and slightly recessed pocket to slip a button into. Work 1–2 more rounds sc for thickness. Join and fasten off leaving tail.
- If covering a pre-made button: sew button into recessed pocket with the tail and weave ends, ensuring the bobble side faces out. Stitch through button holes and the crocheted fabric several times.
- If making a fully crocheted button: create a little shank loop: make a small chain 6 (or appropriate length), sl st to back center, then secure and weave tail inside.
Tips & variations
- Use contrast color for the back round so the bobbles pop.
- Make deeper bobbles for chunkier texture by using 5–6 loops per bobble (be mindful — very large bobbles are fragile).
2. Crochet Flower Button Pattern
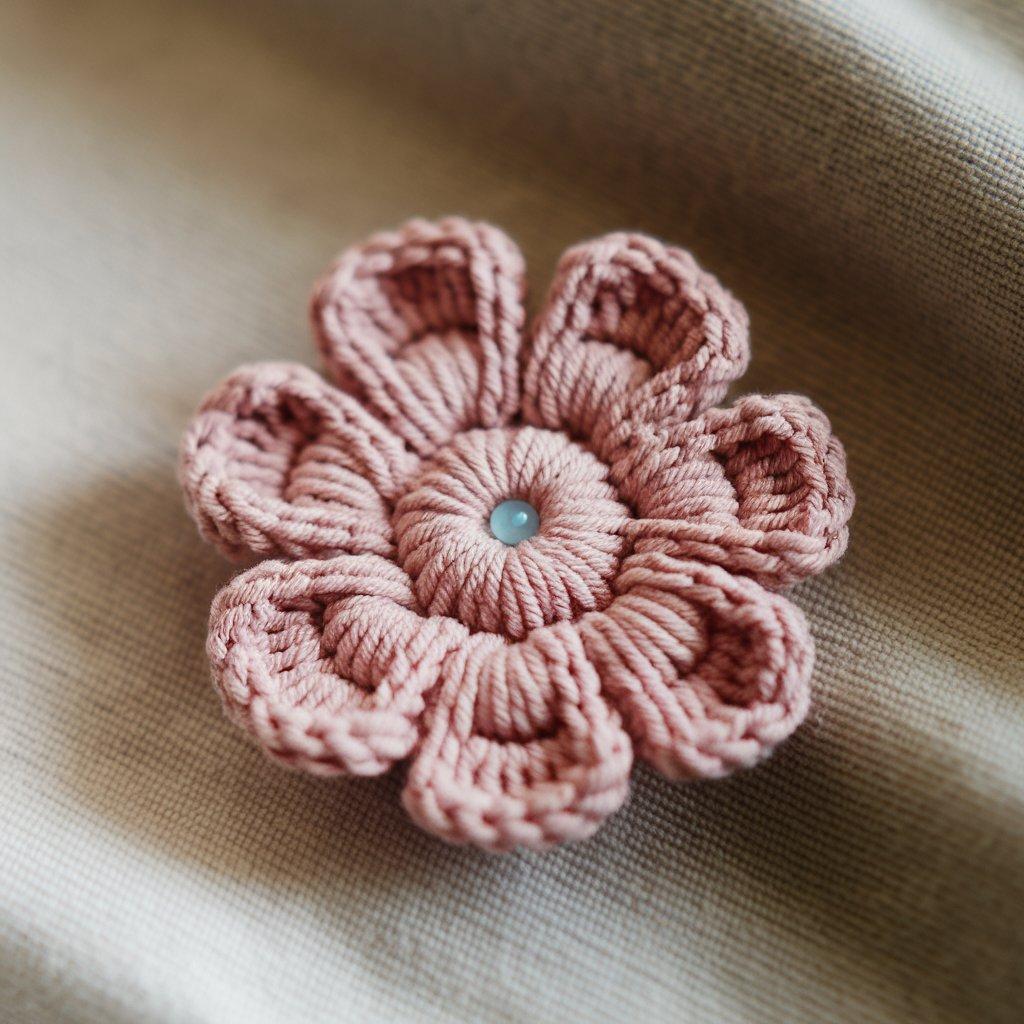
Classic, cheerful, and versatile. Petals frame the button and create a neat edge that’s easy to sew to fabric.
Skill level: Beginner
Finished size: ~1–1.25 in (depends on yarn/hook)
Materials
- Cotton DK or small scraps
- Hook 2.5–3.5 mm
- Yarn needle, small store-bought button optional
Pattern — 8-petal flower button (cover or stand-alone)
- Center: Magic ring. ch1, 6 sc in ring. Join. (6)
- Round 2 (petal bases): ch3, sl st in next st around to create 6 loops (or do ch4 for bigger petals). Join.
- Round 3 (petals): Into each loop: (sc, hdc, 3 dc, hdc, sc). Repeat for each loop; join. You now have 6 full petals.
- Round 4 (backing): Turn, sc around the base of petals (through back loops only if you plan to slip over a store button) to make a tidy back. Add a second round if you need thickness. Fasten off and weave ends.
- Sew a small pre-made button into the center from the back (optional) so you get a secure sew-on point and clean shank.
Variations
- Make 5 or 8 petals by starting with 5/8 sc in the ring and adjusting loops.
- Add a small bead or French knot center with embroidery thread for sparkle.
3. Crochet Heart Button Pattern
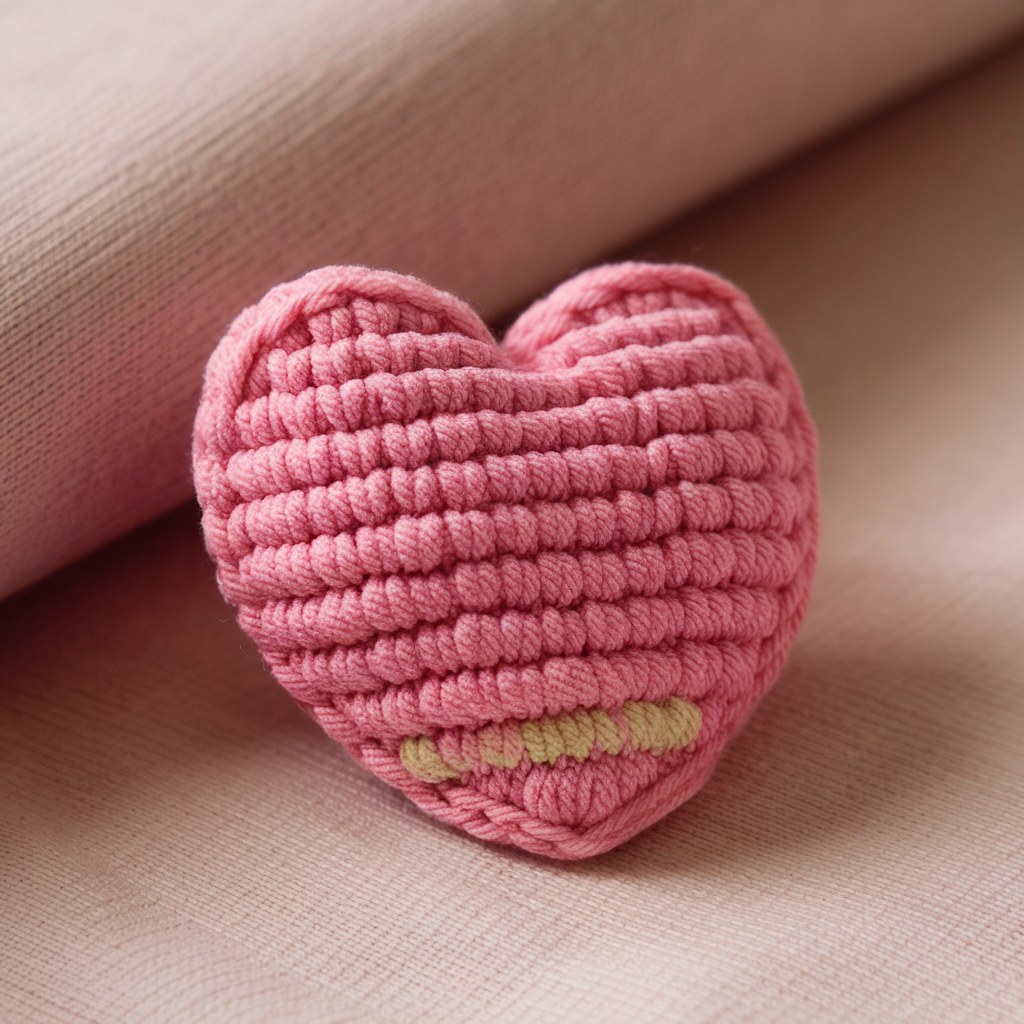
Cute and clean — perfect for baby items, Valentine’s details, or child-friendly projects.
Skill level: Confident beginner (a little shaping)
Finished size: ~0.75–1.25 in wide depending on yarn/hook
Materials
- DK cotton or fingering yarn for smaller hearts
- 2.5–3.5 mm hook
- Yarn needle, optional small button base if you want a shank
Pattern — flat heart button (worked in two halves joined)
- Make two identical lobes (left & right):
- Start with magic ring, ch1. R1: 6 sc in ring, join. R2: inc around → 12 sc. R3: sc, inc around → 18 sc. Fasten off leaving tail. Flatten into a small oval/semicircle. Repeat for second lobe. (Alternatively you can work a semicircular motif by working rows.)
- Join lobes: Place lobes side by side and crochet them together along the inner edge with sc stitching, creating the central dip of the heart. Continue downward, decreasing stitches evenly to form the point: sc in next 2 sts, dec around to shape the point. Aim to reduce to 6 sc at the point, finish and fasten off.
- Backing: Make a small round backing (6–12 sc) and sew onto the back to hide seams and create a neat sew-on surface. Alternatively, leave a loop for shank.
- Shank option: Sew a small chain loop (ch6) at the back center and tack down edges to make a loop to slip over a buttonhole or sew through.
Shortcut single-piece heart (if you hate joining):
Work small heart flat in rows: ch8, sc in 2nd ch to end, then pick up sides and use decreases to shape; it’s fiddlier but doable.
Tips
- Use finer yarn and a small hook for tiny buttons.
- Pin the button on the project to check how the heart sits before final sewing.
4. Crochet Bonbon Button Pattern
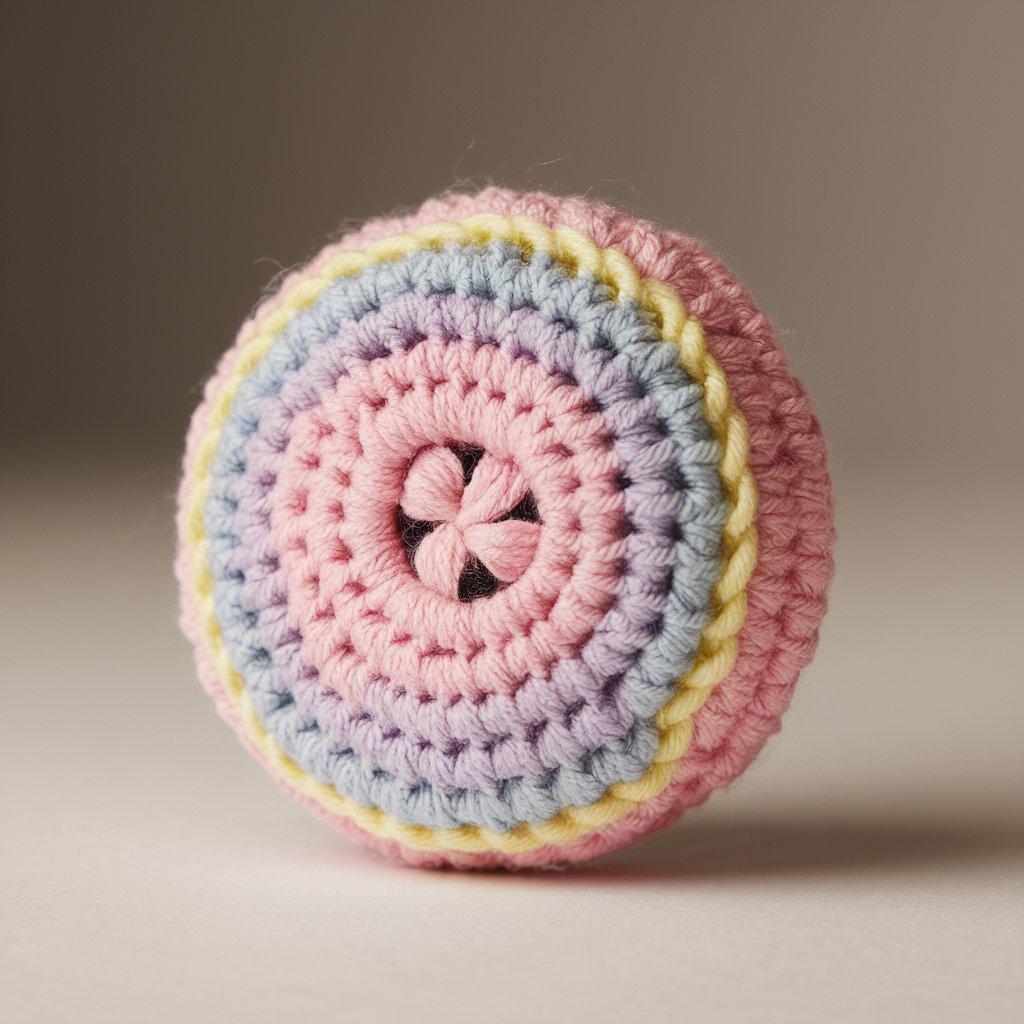
Think pillowy, round, candy-like button — a fun 3D accent that’s surprisingly practical.
Skill level: Intermediate beginner (small stuffing optional)
Finished size: ~1 in (adjust with yarn/hook)
Materials
- DK or worsted light yarn
- Hook 3.0–4.0 mm
- Small amount of polyfill or yarn scraps (optional)
- Yarn needle, scissors
Pattern — bonbon (little stuffed button)
- Start: Magic ring. ch1. R1: 6 sc in ring; join. (6)
- R2: ch1, inc around → 12 sc; join.
- R3: ch1, sc in next st, inc in next → 18 sc; join.
- R4: sc around in back loops only for one round to form a nice lip. Join.
- R5–R6: sc around no increases for 2 rounds building height.
- Stuff lightly: Add a tiny bit of yak hair — kidding — polyfill or yarn scrap to give a plump look.
- Decrease rounds: R7: sc in next 2, dec around → 12 sc. R8: dec around → 6 sc. Fasten off and pull tail through remaining stitches to close. Weave tail into center for security.
- Shank: Make a small chain 6–8 and sew it as loop to the back before closing fully, or sew the stuffed bonbon onto a flat backing disc (6–8 sc) and use that backing to sew to the garment.
Tips
- Stuffing should be minimal — the button needs to sit flat enough to fasten.
- If you attach to stretchy fabric, use a short chain shank so the button clears the fabric.
5. Crochet Rose Button Pattern

An elegant spiral rose — perfect as a focal button for shawls, collars, or heirloom knitwear.
Skill level: Confident beginner / intermediate (spiral rolling technique)
Finished size: ~1–1.5 in depending on yarn & hook
Materials
- Fingering/DK cotton or fine wool for soft, detailed petals
- Hook 2.5–3.5 mm (smaller gives tighter rose)
- Yarn needle, small backing disc (optional)
Pattern — spiral rose (flat rose)
- Foundation chain: ch30 (for smaller rose reduce to ch20) — the longer the chain, the larger the rose.
- Row 1: sc in 2nd ch from hook across. Fasten off leaving a long tail for rolling. You should have a narrow strip of sc stitches.
- Form the spiral: Starting at one end, roll the strip into a circle, shaping petals as you go. Use the working tail to whipstitch the base of the rolled rose at intervals so it keeps shape.
- Secure: Once rolled to desired fullness, stitch the base several times through the layers to hold. Make sure base is neat so you can sew it to a backing or to your garment.
- Optional backing & shank: Make a small disc (6–12 sc) and sew the rose on top. Use yarn to create a loop shank or sew a pre-made flat button beneath the disc and then sew to garment.
Alternative quick flower (worked in rounds)
- Center: Magic ring; ch1, 6 sc in ring; join.
- Round 2: ch4, sl st in next st around to make loops.
- Round 3: In each loop, work (sc, hdc, dc, tr, dc, hdc, sc) for dramatic petals. Join and sew center closed back to make a rose-like bloom.
Tips
- Rolling method gives a natural petal layering — practice with scrap yarn to get tension right.
- Use slightly sticky yarn (wool or high-cotton) so petals hold without unraveling.
How to Attach Crochet Buttons (practical options)
- Sew directly through crochet back: Use a yarn needle and thread through the back rounds and through fabric multiple times. Great for flat buttons.
- Use a small pre-made button as base: Slip the crocheted cover over a plastic or wooden button and sew through the button’s holes and crocheted fabric for a secure mount.
- Create a loop (shank) on button back: Chain 6–10 and secure at the back center before closing — this makes a built-in shank for thicker fabrics.
- Attach to garment with a reinforced buttonhole: For heavy buttons (bonbons, bobbles, roses), make a narrow loop or a small rectangle buttonhole using yarn to ensure wear resistance.
Care & Durability
- Machine washing: cotton & acrylic buttons hold up to gentle machine wash; wool may felt — wash in wool settings if necessary.
- Avoid hot water on delicate fibers (wool buttons may change shape); reshape while damp.
- Reinforce stitches: sew all buttons with multiple passes and knot securely. Buttons see serious tension; don’t be stingy with sewing.
- Replacement note: if a button gets crushed or misshapen, it’s quick to re-make one and swap it in — that’s the advantage.
Conclusion
Buttons are a tiny design decision that changes everything. These five crochet button patterns give you texture (bobble, bonbon), charm (flower, rose), and sentiment (heart) — plus practical options (shank or sew-on). Use them to finish garments, personalize gifts, or create a tiny signature for your handmade line. Try one pattern in three yarns: cotton for crispness, acrylic for durability, wool for warmth — you’ll be surprised how different the same pattern looks.
Pick a pattern, make 6–12 in a batch (assembly line efficiency), and keep a small jar of them within reach. You’ll stop settling for boring buttons, and your projects will start closing with personality.