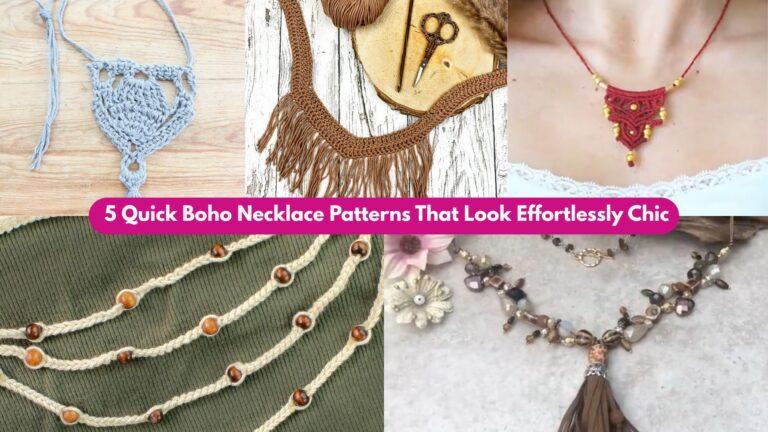
Bandanas are one of the most wearable, quick, and satisfying crochet projects — they dress up a casual outfit, keep hair in place, make adorable dog neckers, and work perfectly for stash-busting. In this post you’ll get five distinct bandana patterns that cover textures, lace, flowers, boho fringe, and a sweet heart-motif option. Each pattern below is written so you can make it start-to-finish and drop it straight into a blog or pattern card. For every design I include:
- Skill level
- Finished size (adult default with notes to size up/down)
- Materials & gauge
- Step-by-step instructions (clear row/round guidance)
- Assembly & finishing (blocking, joining, edging)
- Tips & variations
- Care
Abbreviations (US): ch = chain, sl st = slip stitch, sc = single crochet, hdc = half double crochet, dc = double crochet, tr = treble (UK = tr), sp = space, st(s) = stitch(es), RS/WS = right/wrong side. Adjust hook and yarn for drape: cotton for summer, wool/blends for warmth.
1. Crochet Granny Triangle Bandana Pattern
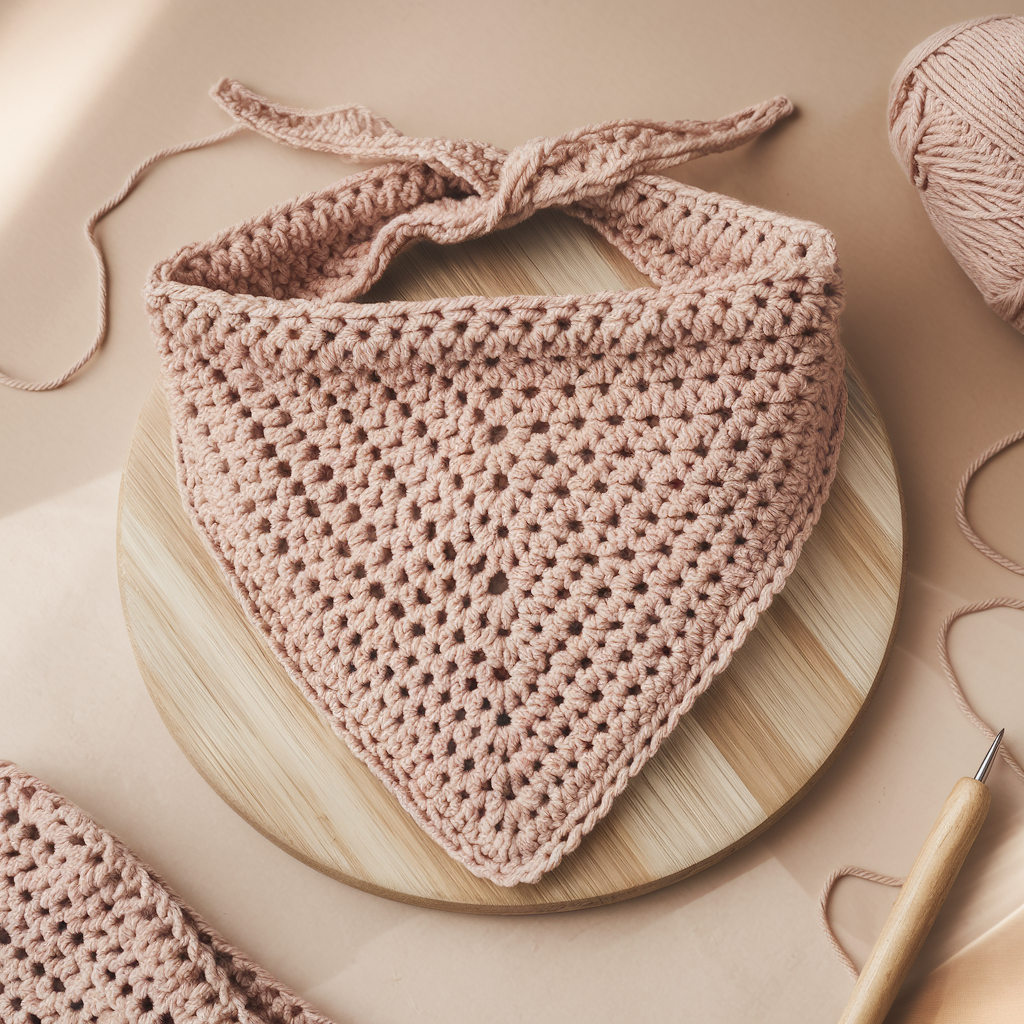
Skill level: Beginner → Easy (classic granny clusters, very forgiving)
Finished size (adult): Base (top edge) approx 20–22 in / 50–56 cm; height (center point to top) approx 9–11 in / 23–28 cm. Adjust chain/rows for smaller/larger sizes.
Materials & gauge:
- Worsted weight cotton or cotton blend (#4) — ~120–180 yards (depends on fullness and fringe)
- 4.0 mm (G) hook (use smaller for firmer fabric, larger for drapier)
- Tapestry needle, scissors, optional fringe scissors or tassel maker
- Gauge: not strict; one granny triangle repeat ~1.25–1.5 in per side cluster with sample yarn.
Idea in one line
A classic, triangular granny motif worked corner-to-corner producing a traditional bandana shape — fast, textured, and reversible.
Step-by-step (corner-to-corner granny triangle)
This is the familiar triangle granny where you start with a little center and work outward in rows, increasing at the center and at each end to shape a triangle.
- Start (center tip): Make a magic loop (or ch 4 and join). Into loop work: ch 3 (counts as dc), 2 dc, ch 2, 3 dc — you’ll create the first corner cluster. If using ch 4 ring: ch 3, 2 dc, ch 2, 3 dc into ring. Join with sl st into top of starting ch-3. (This is Round 1: one corner cluster.)
- Round 2: Turn RS. Sl st into the ch-2 corner space, ch 3 (counts dc), 2 dc, ch 1, 3 dc all into same corner space (this forms the new increase). Then move to the ch-1 space along the side and work (3 dc, ch 1) into each ch-1 space on the side (if any). At the tip you’ll work (3 dc, ch 2, 3 dc) into the top ch-2 — that increases the tip for the triangle. Continue working along the next side mirroring the first side: (3 dc, ch 1) in each side ch-1 space. Join with sl st to top of starting ch-3.
- Keep increasing rows: Each round/row you’ll repeat: slip to corner, work (3 dc, ch 1) into each side space, and at the tip work (3 dc, ch 2, 3 dc) to increase triangle width. With every round the top edge grows by two clusters. Continue until the bandana is the width you want for the base (for adult bandana aim for 20–22 in across — measure as you go). Typical number of rounds ~10–14 depending on yarn and hook.
- Finish top edge: When desired width is reached, work one round of sc across the top edge to create a tidy straight edge (work 3 sc into each corner ch-2 to avoid pulling).
- Optional fringe: If you like fringe, cut 18–24 strands (6–8 in each), fold in half and attach along the two short sides (or just the base) using lark’s head knots. Trim evenly.
Assembly & finishing
- Weave in ends on WS. Block lightly to square and flatten cluster stitches (cotton benefits from steam or wet-blocking).
- If you want ties instead of a triangle base, add a couple of long chains at the top corners (ch 50–70) and tie when wearing.
Tips & variations
- For a vintage vibe use variegated yarn or alternate two colors every 2–4 rounds.
- For a warmer bandana, use wool/mix yarn and drop hook size for denser fabric.
- To make a child size: stop at fewer rounds for a base of 14–16 in.
Care
- Cotton: machine wash gentle, reshape damp. Wool: hand wash and lay flat.
2. Crochet Diamond Lace Bandana Pattern
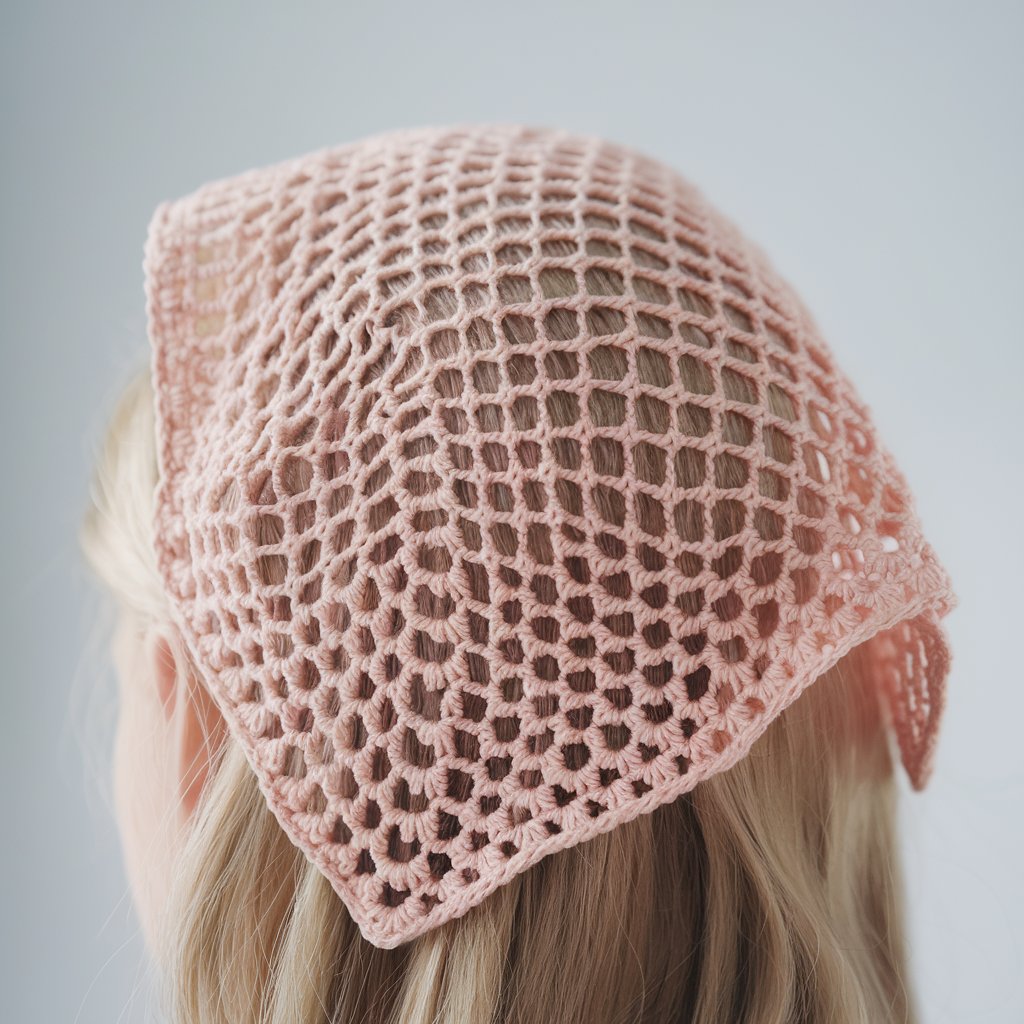
Skill level: Intermediate (lace stitchwork and blocking improve look)
Finished size (adult): Base approx 20 in / 50 cm; height approx 9–10 in / 23–25 cm. Lace bandana will be a bit more delicate (choose fingering/sport yarn).
Materials & gauge:
- Fingering or sport weight yarn (cotton, bamboo, or lace-blend) — ~250–350 yards (lacy stitches use yarn more)
- 3.0–3.75 mm hook (match yarn weight)
- Blocking wires/pins and blocking mat — essential for lace clarity
Design idea
Open diamond-motif lace worked outward from center into a triangle, producing a light, airily patterned bandana perfect for summer styling.
Step-by-step (center-start diamond lace triangle)
This uses a repeating diamond lace chart in rows that increase at the tip and ends to create a triangular shawl-like bandana.
- Foundation tip: Ch 4, join to form a ring. Round 1: ch 3 (counts as dc), 2 dc, ch 2, 3 dc into ring. Join. (You have the small starter triangle/wing.)
- Set up lace repeat: On each subsequent row you will: anchor with sc into chain spaces and work shell/dc clusters and chain spaces to form diamonds. A simple diamond repeat (multiple of 8 + corners) works well. Example lace row pattern (read as rows, RS only):
- Row structure (example): At row start sl st into corner space, ch 4 (counts as dc + ch1), dc in next st, ch1, dc in next st, ch3 (diamond center), dc in next st, ch1, dc in next st, ch1 — anchor each diamond with sc into the corner spaces along sides. At the top tip work (dc, ch3, dc) to make increasing center.
- Work in rows increasing at tip: on each RS row make the center increase (dc, ch3, dc) into the top ch-3 diamond to grow the triangle. On WS rows, work simple sc/dc anchors to stabilize pattern.
- Repeat rows until bandana reaches desired base width (measure across top). The lace will open significantly when blocked, so stop ~10–15% narrower than finished target and block to target.
- Edge: Finish with a delicate picot or scalloped shell edge. For picot: ch 1, sc across, and at every third stitch ch 3 and sl st back into base to form tiny points; join and fasten off.
Assembly & finishing
- Block the bandana wide using blocking wires to keep top straight and pin out diamonds so they are crisp.
- Weave in all ends. If you want ties, add on either end small chain ties or a narrow i-cord for a neat finish.
Tips & variations
- Add tiny seed beads to diamond centers by pre-threading beads onto yarn — place a bead inside the ch-3 diamond before completing that stitch for a shimmer.
- For a more farmhouse look, substitute an open shell lace (V-stitch) which is simpler to write as rows.
- For a heavier look, work the same lace in sport weight on a larger hook for drapier fabric.
Care
- Hand wash silk/bamboo blends; lay flat after blocking. Machine wash delicate only if yarn label permits.
3. Crochet Caribbean Boho Bandana Pattern
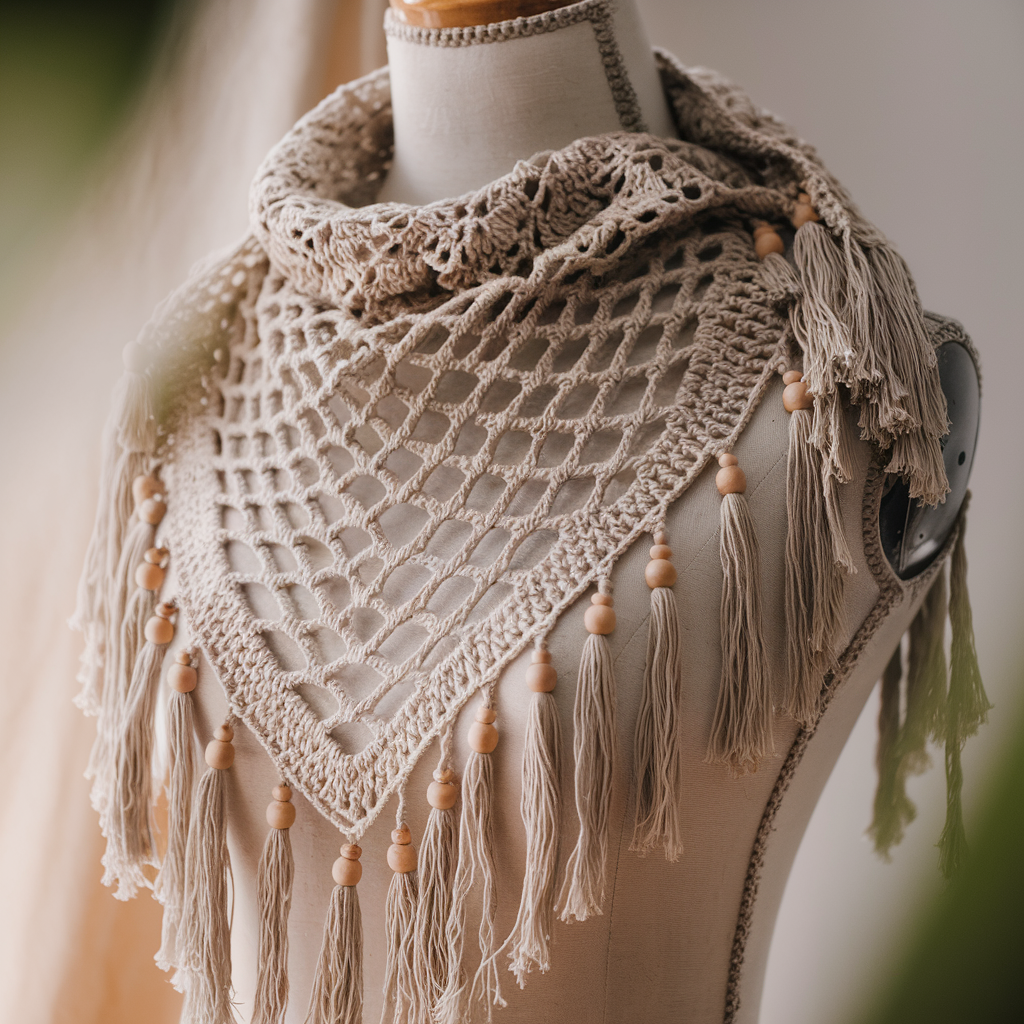
Skill level: Easy → Intermediate (openwork + fringe/tassels)
Finished size (adult): Base 20–24 in / 50–60 cm (boho generally a bit wider); height 9–11 in / 23–28 cm.
Materials & gauge:
- DK or light worsted cotton/linen blend — ~150–220 yd for airy stitches + fringe
- 4.0–5.0 mm hook (slightly larger hook for openwork)
- Tapestry needle, scissors, optional wooden beads for fringe ends
Design idea
An open-mesh, beachy bandana with a relaxed drape and long fringe — perfect for summer festivals or beach cover-ups.
Step-by-step (mesh triangle with fringe)
- Tip foundation: ch 5, sl st to form ring. Round 1: ch 3 (counts as dc), 2 dc, ch 2, 3 dc into ring. Join. (small triangle center)
- Mesh repeat rows: Each row increase with a center (3 dc, ch 2, 3 dc) at tip and along sides work dc, ch 2, dc in the chain spaces to create an airy lattice. Example row:
- Sl st into corner ch-2, ch 3 (counts dc), (2 dc, ch 2, 3 dc) in corner; ch 1, sk 1 st, dc in next ch-1 space, ch 2, dc in next ch-1 space, ch 1 — repeat across; at tip work (3 dc, ch 2, 3 dc); then mirror along other side. Join.
- Work until width reached: continue adding mesh rows until the base reaches 20–24 in (measure stretched lightly). Mesh grows faster the larger the hook, so try sample and adjust.
- Top edging & fringe: Work a round of sc along the top to tidy and add stability. Attach fringe: cut strands 8–12 in long, fold in half, lark’s head knot at base every 1–1.5 in along the two long edges or across the whole base if you want heavy fringe. Optional: thread a small wooden bead onto the fringe strand before knotting for a Caribbean/beachy accent.
Assembly & finishing
- Trim fringe evenly. Use light steam-block if fabric is cotton to settle mesh.
- If you prefer tassel clusters, group 3–4 strands, fold and secure as little tassels; attach across base.
Tips & variations
- Use cotton/linen rope yarn for a rustic boho look.
- Add a macramé-style braided cord across the top as a decorative tie.
- Make a matching scrunchie in the same yarn for a coordinated look.
Care
- Cotton/linen machine wash gentle; reshape fringe while damp to prevent tangling. Wooden beads: wipe clean and avoid soaking.
4. Crochet Anemone Flower Bandana Pattern

Skill level: Intermediate (motif making and joining)
Finished size (adult): Decided by number and size of flowers — a bandana made of roughly 6–10 medium flowers joined into a triangle will create a base of about 20 in / 50 cm. Flower diameter ~3 in each.
Materials & gauge:
- Worsted or DK yarn (cotton or acrylic) for flowers, contrasting yarn for centers — ~250–400 yd depending on motif size and density
- 3.5–4.5 mm hook depending on yarn for flowers and joins
- Tapestry needle, blocking pins, optional small buttons or beads for flower centers
Design idea
Create a striking bandana made by joining multiple anemone (layered flower) motifs into a triangular scarf — pretty, dimensional, and excellent for using a mix of colors.
Step-by-step (flower motif, join-as-you-go)
Flower motif (layered 2-round bloom)
- Center (Round A): Magic ring, ch 1, 8 sc in ring, join. (8 sc) — fasten off or continue as base for petals.
- First petal round (inner petals): Join color for petals (or same color), ch 3, (3 dc, ch 3, sl st) all into same st to create a puff/loop petal — repeat around to create 8 inner petals. Fasten off.
- Second petal round (outer petals): Join outer color on the back of the inner petals and work larger petal shells: ch 2, (sc, hdc, 5 dc, hdc, sc) into same space, sl st to next inner petal base — this yields a lush outer petal round. Fasten off leaving long tail for joining.
Each motif should be blocked lightly to make petals open and uniform.
Join motifs into triangle
4. Layout: Arrange motifs into a triangular layout (for example 4 + 3 + 2 + 1 rows — that’s 10 flowers). Place motifs with petals overlapping slightly so joins sit in the back of petals.
5. Join-as-you-go: Start joining row by row: on the final round of a motif you can slip-stitch into adjacent motif’s outer loop at corresponding points to create a neat join, or sew with mattress stitch through the back loops of the outer round. Aim for a flat join that keeps petals visible on RS. Continue until the triangle is complete.
Optional filler and backing:
6. For gaps use small filler motifs (tiny 3-petal flowers) or crochet a narrow mesh triangle backing and stitch flowers on top for a sturdier bandana. Backing makes it wearable for dogs/active use.
Assembly & finishing
- Blocking: Block each motif to identical size before joining.
- Backing: If you want a stable neck piece (especially for children or pets), crochet a light triangle backing (dc mesh) and top-stitch each flower to the backing. This gives a comfortable inside surface.
Tips & variations
- Make monochrome anemones for elegant texture or multi-color petals for festival flair.
- Sew small beads or buttons into centers for sparkle (secure with extra stitches).
- For a lighter wearable, only cover the front of the triangle with flowers and keep the back plain.
Care
- If you added beads, hand wash. Otherwise gentle machine wash and reshape while damp.
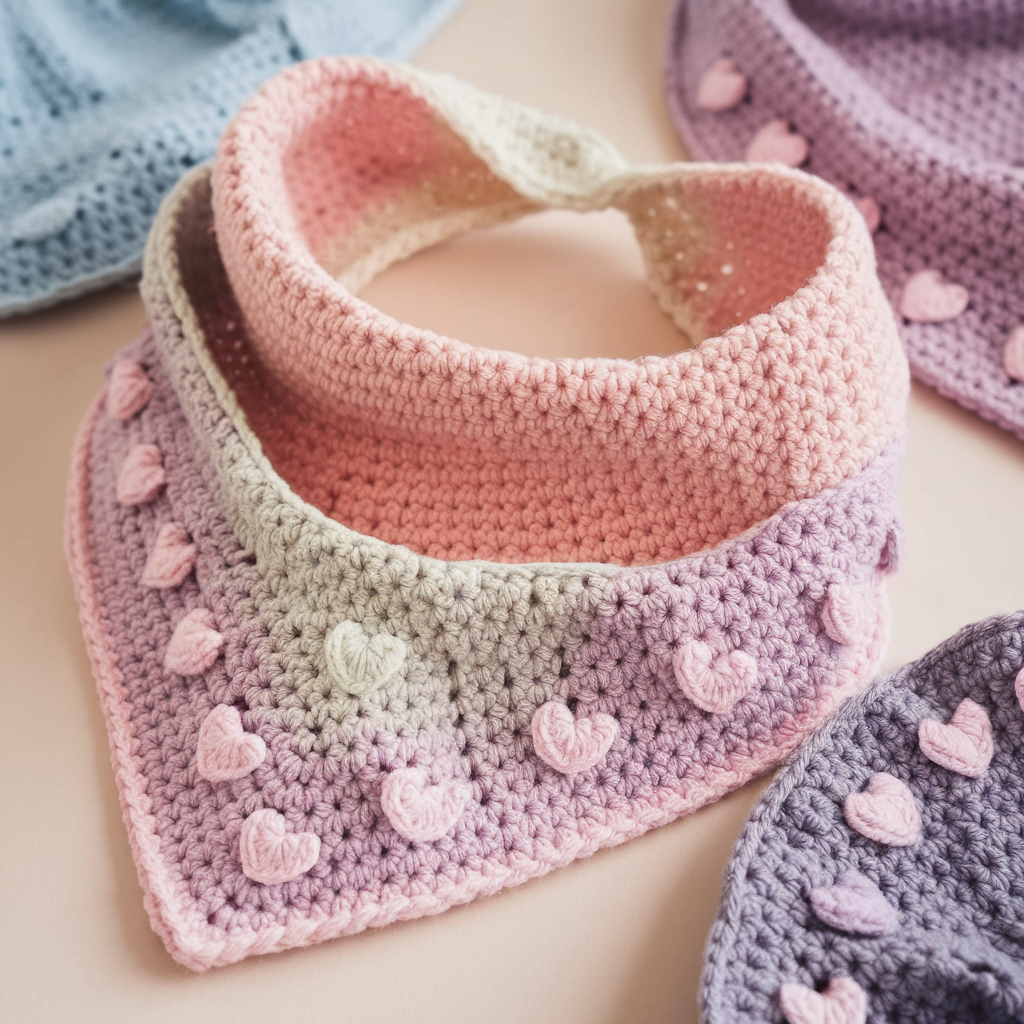
5. Crochet Sweetheart Bandana Pattern
Skill level: Easy → Intermediate (heart motif panels or heart edging)
Finished size (adult): Base approx 20 in / 50 cm; cardo pattern or heart repeat height ~9–10 in. Hearts can be arranged across bandana or used as a scalloped border.
Materials & gauge:
- DK or worsted yarn in main color and contrast for hearts — ~180–280 yd depending on motif arrangement
- 3.5–4.5 mm hook
- Tapestry needle, optional fabric for lining or ties
Design idea
A romantic bandana featuring tiny crochet hearts arranged across the triangle or made as an edged scallop border — sweet and giftable.
Step-by-step (heart motif & triangle assembly)
Option A — Hearts worked across a mesh triangle (hearts as appliqués)
- Mesh triangle base: Ch 5, join ring; or use classic granny triangle (see Pattern 1) in a simple sc or V-st mesh until base width ~20 in. This forms the backing.
- Small heart motif (applique): Magic ring, into ring work: ch 1, sc, ch 3, (3 dc, ch 3, sc) — repeat twice to create two lobes and then finish the point by chaining and sc to shape; adjust counts for size. Fasten off leaving a long tail to sew.
- Sew hearts across the front in a repeated pattern (row of hearts along top edge or a scattered motif). Sew hearts onto RS by stitching through center and underside of petals.
Option B — Heart lace bandana (hearts built into edge)
- Create triangle as in Pattern 1 or 2.
- Heart scallop border: On final round work a small heart shell into edging spaces: ch 3, (2 dc, ch 2, 2 dc) into same st, ch 3, sl st next st — this produces a peaked heart-like scallop. Repeat evenly around base for a sweetheart fringe.
Assembly & finishing
- Weave in ends and block to center hearts and scallops. For a clean backside, stitch a narrow lining or felt strip along the top edge.
Tips & variations
- Tiny hearts scattered over a bandana make a lovely Valentine or wedding accessory.
- Use tonal yarn (same color hearts slightly lighter/darker) for subtle texture.
- Add pearl or bead at heart centers for bridal bandanas.
Care
- Gentle wash recommended if hearts are embellished. Cotton machine safe; silk/linen hand wash.
Conclusion
Bandanas are one of the most versatile crochet projects: they’re portable to work, fast to finish, and endlessly customizable for seasons, styles, and recipients. The five bandanas above give you a range:
- The Granny Triangle — classic, robust, and great for beginners.
- The Diamond Lace — delicate, elegant, and shows off blocking skills.
- The Caribbean Boho — airy, fringed and perfect for summer or festivals.
- The Anemone Flower — dimensional and decorative, ideal for gifts or bridal parties.
- The Sweetheart — romantic motifs and borders for date-night styling or themed markets.
Final practical checklist before you publish or gift
- Measure as you go. Yarn and tension vary — try bandana on a headband or measure against a model.
- Block when needed. Lace & motifs look best when carefully pinned to shape.
- Reinforce joins & attachments. If making an anemone or heavy flower bandana, add a backing for comfort and strength.
- Label fiber & care. Add a small tag: fiber content + washing instructions — customers love this.