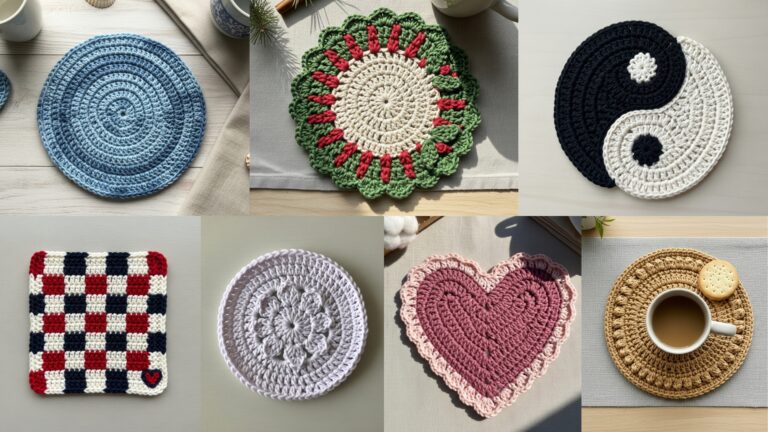
Small handmade boxes are some of the most charming crochet projects you can make. They are practical, decorative, and full of personality, which makes them perfect for holding rings, earrings, tiny keepsakes, and little gift items. A mini jewelry box also feels extra special because it combines crochet with structure, so the finished piece looks more like a handmade treasure than a simple storage item.
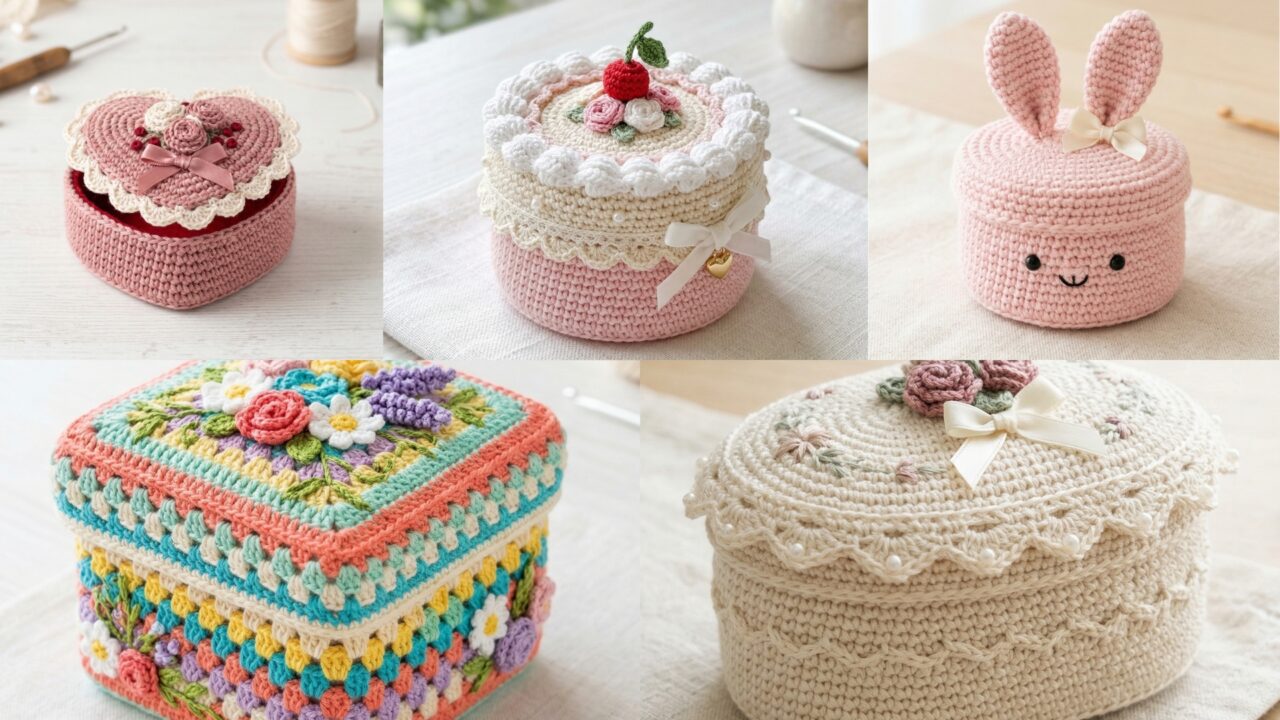
In this post, you will find five creative mini jewelry box patterns: a Coquette Cake Box, a Vintage Heart-Shaped Valentine Box, a Granny Stripes Floral Box, a Victorian Dresser Box, and a Bunny Inspired Box. Each design is written with clear, detailed steps so it is easy to follow, even if you are making your first structured crochet box.
A few quick notes before starting:
- For best results, use cotton yarn or a cotton-blend yarn because it holds shape well.
- These boxes work best with a firm inner structure, such as cardboard, felt, plastic canvas, or a small box insert.
- If the box is meant for jewelry, adding a soft lining is a great idea.
- A slightly smaller hook than usual helps the stitches stay tight and neat.
Common materials for all five boxes
- Cotton yarn or cotton-blend yarn
- Crochet hook, usually 2.5 mm to 4.0 mm depending on yarn
- Tapestry needle
- Scissors
- Cardboard, felt, or plastic canvas for structure
- Fabric glue or hot glue if needed
- Optional: embroidery thread, beads, ribbon, lace trim, or tiny buttons
Common abbreviations
- ch = chain
- sc = single crochet
- hdc = half double crochet
- dc = double crochet
- sl st = slip stitch
- inc = increase
- dec = decrease
- MR = magic ring
- st(s) = stitch(es)
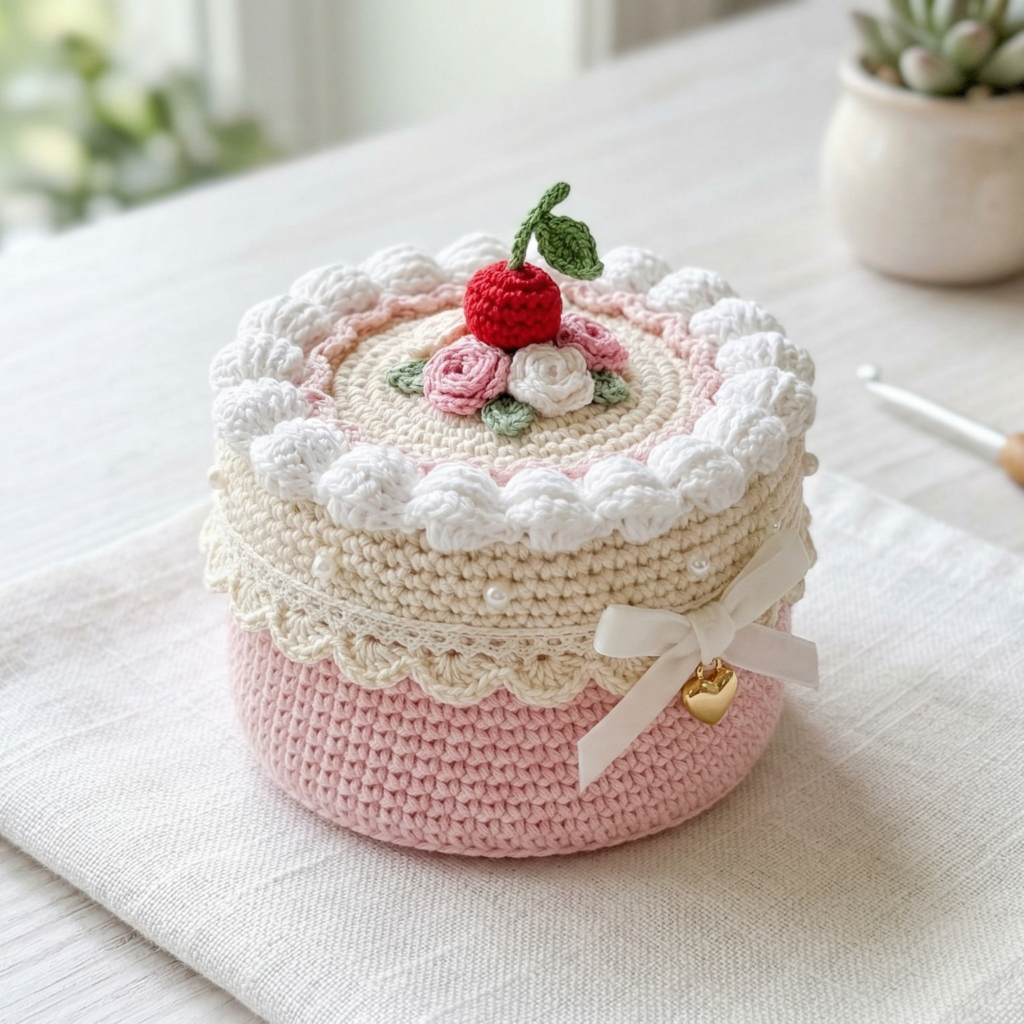
1. Crochet Coquette Cake Box Pattern
Skill level: Intermediate
Style: Sweet, girly, cake-inspired box
Best for: Tiny gifts, rings, hair accessories, or keepsakes
This coquette cake box is soft, charming, and decorative. It looks like a tiny celebration cake, which makes it a lovely gift box for birthdays or special occasions.
Finished size
About 3 to 4 inches wide and 3 inches tall, depending on yarn and hook size.
Materials
- Soft cotton yarn in pastel colors
- Crochet hook, 3.0 mm to 4.0 mm
- Tapestry needle
- Scissors
- Small piece of cardboard or plastic canvas for the base
- Felt or fabric for lining
- Optional ribbon, pearl beads, or lace trim
Step-by-step guide
Step 1: Make the base
- Start with a magic ring.
- Work 6 sc into the ring.
- Increase evenly in each round until the base reaches the width you want.
- For a round cake box, continue increasing until the circle is slightly larger than the jewelry you want to store.
Step 2: Build the side wall
- Once the base is the right size, stop increasing.
- Work sc around in each round to build the height of the box.
- Keep the stitches tight so the box stays firm.
- Continue until the wall is about 2 to 2.5 inches tall.
Step 3: Add the cake texture
- Use a second color to create a frosting look.
- Work one row of shell stitches or puff stitches around the top edge.
- This creates a soft, decorative cake-style border.
Step 4: Make the lid
- Crochet another circle the same size as the base.
- Work side walls on this circle, but make the lid slightly looser so it fits over the box.
- Add a decorative top with scallops, lace, or tiny rosettes.
Step 5: Line and reinforce
- Cut a small cardboard circle for the bottom and glue or sew it inside.
- Add felt or fabric lining to protect jewelry.
- Attach the lining carefully so it stays smooth.
Step 6: Decorate the cake box
- Add ribbon bows, pearl-style stitches, or tiny crochet flowers.
- You can also make the lid look like frosted icing with extra trim.
- Sew all decorations securely.
Finishing tips
- Pastel pink, cream, and white make this box feel very coquette.
- Add a tiny crochet cherry or flower on top for a fancy finish.
- Keep the lid snug but not too tight.
Quick variation
Make a layered cake version by adding a smaller decorative top tier.
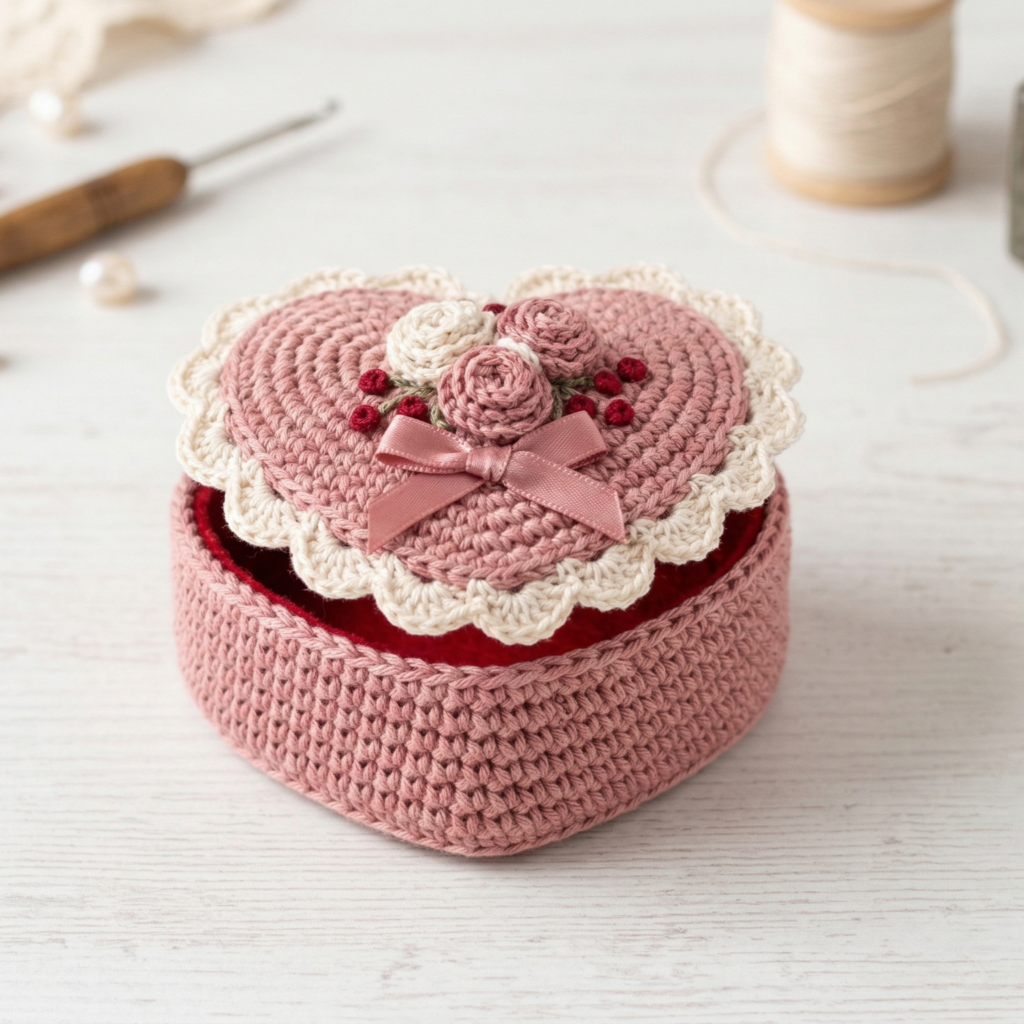
2. Crochet Vintage Heart Shaped Valentine Box Pattern
Skill level: Intermediate
Style: Romantic, vintage-inspired heart box
Best for: Valentine gifts, small trinkets, keepsakes
This heart-shaped box is beautiful for storing rings, love notes, or small special gifts. The shape feels romantic and classic, and it looks lovely in red, pink, cream, or dusty rose.
Finished size
About 3 to 4 inches across.
Materials
- Cotton yarn in romantic colors
- Crochet hook, 3.0 mm to 4.0 mm
- Tapestry needle
- Scissors
- Cardboard or felt for shaping
- Optional lace trim or tiny button
Step-by-step guide
Step 1: Make the heart base
- Crochet two small circles for the top lobes of the heart.
- Make a small triangle or pointed lower section for the bottom of the heart.
- Join the shapes together so they form one heart base.
- Smooth the joins with sc stitches or whipstitching.
Step 2: Build the sides
- Work sc around the edge of the heart base.
- Continue working in rounds to form the wall of the box.
- Keep the stitches firm and even.
- Shape the upper curves carefully so the heart shape stays clear.
Step 3: Create the lid
- Make a second heart base the same size.
- Add short side walls so it can sit over the bottom box.
- Make the lid slightly looser than the base for easy opening.
- Add a lace edge or scalloped border.
Step 4: Add structure
- Insert cardboard or plastic canvas into the base for stability.
- Add felt or soft fabric inside the bottom and lid.
- This helps the box hold tiny jewelry without sagging.
Step 5: Decorate
- Sew on a tiny bow, lace trim, or flower applique.
- Embroider a little center motif if you want a vintage finish.
- Make sure decorations are stitched securely.
Finishing tips
- Deep red and soft pink give a true Valentine feel.
- Cream with gold accents creates an antique-style box.
- A tiny satin ribbon around the lid makes it extra giftable.
Quick variation
Make a matching set of two heart boxes in different sizes for a stacked gift look.
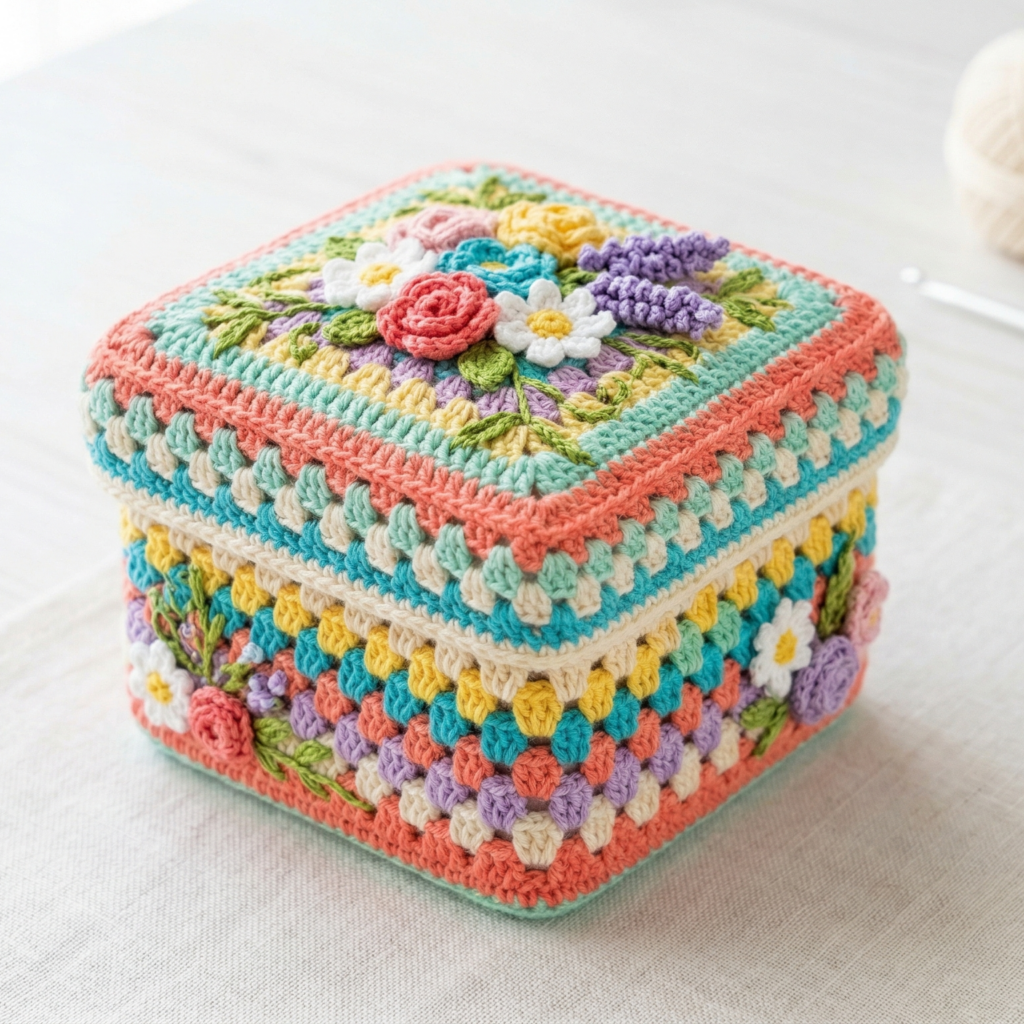
3. Crochet Granny Stripes Floral Box Pattern
Skill level: Beginner to intermediate
Style: Colorful, classic, handmade cottage look
Best for: Stash busting and cheerful gift boxes
This box uses granny stitch textures and floral details to create a bright, joyful look. It is a great project if you want to use leftover yarn and still make something beautiful.
Finished size
Around 3 inches tall and 3 to 4 inches wide.
Materials
- Cotton yarn in several colors
- Crochet hook, 3.0 mm to 4.0 mm
- Tapestry needle
- Scissors
- Cardboard base insert
- Optional flower appliques or small buttons
Step-by-step guide
Step 1: Crochet the base
- Start with a magic ring.
- Work granny-style clusters around the center.
- Increase in each round until the base is the desired size.
- Keep the circle flat as you go.
Step 2: Build the striped body
- Switch colors every 1 or 2 rounds for a striped effect.
- Work granny stitch rounds or cluster rounds up the sides.
- Continue until the box reaches the height you want.
Step 3: Make the lid
- Crochet a second round base the same size.
- Work short side walls for the lid.
- Add more stripes to match or contrast the bottom.
- Keep the lid a little larger so it fits over the base smoothly.
Step 4: Add floral details
- Crochet tiny flowers separately or embroider flowers onto the box.
- Sew flowers around the top edge or lid.
- Add leaves if you want a more garden-inspired style.
Step 5: Add structure and lining
- Place a cardboard circle into the bottom.
- Line the inside with felt or soft fabric.
- Reinforce the edges so the box stays upright.
Finishing tips
- Bright colors make the stripes pop.
- Pastels give the box a soft vintage feel.
- Use one main color and several accent colors for a balanced look.
Quick variation
Make a matching set of small boxes in different colorways for earrings, rings, and tiny keepsakes.
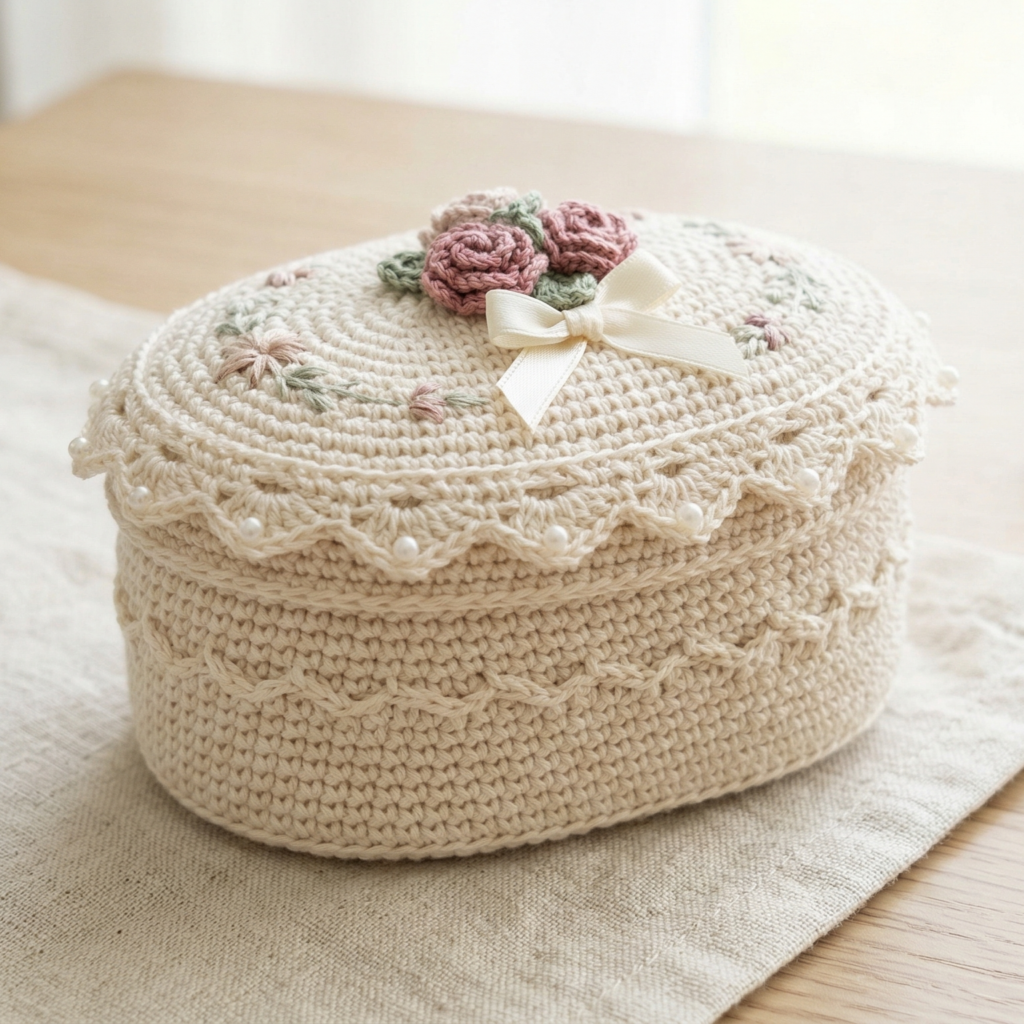
4. Crochet Victorian Dresser Box Pattern
Skill level: Intermediate to advanced
Style: Elegant, antique-inspired, feminine
Best for: Dressing table storage, jewelry display, gift boxes
This Victorian-style box is full of charm and detail. Think lace edges, soft curves, and decorative touches that make it feel like a keepsake from another time.
Finished size
About 4 inches wide and 3 to 4 inches tall.
Materials
- Fine cotton yarn or light DK yarn
- Crochet hook, 2.5 mm to 3.5 mm
- Tapestry needle
- Scissors
- Lace ribbon, pearl beads, or embroidery thread
- Stiffener, cardboard, or plastic canvas for support
Step-by-step guide
Step 1: Make the base
- Crochet a tight round or oval base depending on the shape you want.
- Keep the stitches close together for strength.
- Add a cardboard insert to help the base stay flat.
Step 2: Build the box body
- Crochet upward in sc or hdc rounds.
- Keep the stitches tight and even.
- Add a subtle textured row if you want a fancy surface.
Step 3: Shape the lid
- Make a matching top piece.
- Add slight shaping so it sits neatly over the base.
- The lid can be flat, domed, or slightly lifted for a dressier effect.
Step 4: Decorate in Victorian style
- Add lace trim around the top edge.
- Sew on tiny pearl beads if desired, making sure they are very secure.
- Add a crochet rosette, ribbon bow, or embroidered floral detail.
- Use delicate edging to create a vintage look.
Step 5: Line the box
- Cut a lining to fit the interior.
- Sew it in carefully so it looks smooth and polished.
- This gives the box a more refined jewelry-box finish.
Finishing tips
- Soft cream, ivory, dusty rose, and sage work beautifully here.
- Keep the details elegant rather than crowded.
- A little lace goes a long way in this design.
Quick variation
Turn it into a vanity box by making the lid slightly taller and adding a decorative handle or top knot.
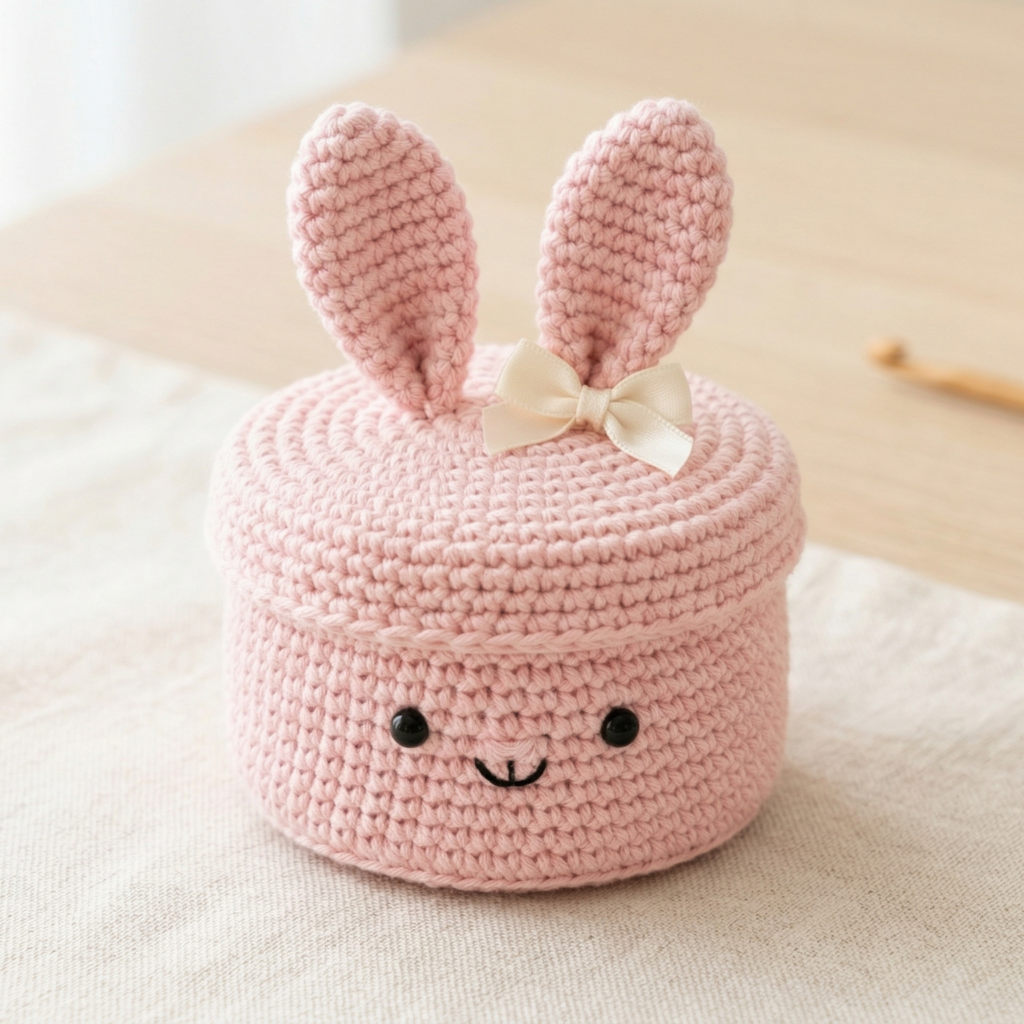
5. Crochet Bunny Inspired Box Pattern
Skill level: Beginner to intermediate
Style: Cute, playful, gift-ready bunny box
Best for: Spring gifts, Easter décor, baby shower presents
This bunny-inspired box is sweet and whimsical. It is perfect if you want something fun and soft-looking, especially in pastel colors.
Finished size
About 3 to 4 inches wide.
Materials
- Cotton yarn in pastel or neutral shades
- Crochet hook, 3.0 mm to 4.0 mm
- Tapestry needle
- Scissors
- Felt or cardboard for structure
- Optional tiny ribbon or embroidered face details
Step-by-step guide
Step 1: Make the box base
- Crochet a round or oval base depending on the shape you like.
- Add even increases so it stays flat.
- Continue until the base is the right size.
Step 2: Build the walls
- Work sc rounds upward to form the box sides.
- Keep the walls firm and even.
- Make the box tall enough to hold jewelry or tiny treats.
Step 3: Create the lid
- Crochet a matching top piece.
- Make it slightly larger than the base.
- Add side rounds to give the lid a fitted shape.
Step 4: Add bunny details
- Crochet two long bunny ears separately.
- Shape the ears by making them slightly tapered.
- Sew them onto the lid.
- Add a tiny embroidered face or bow if desired.
Step 5: Reinforce and line
- Insert cardboard or plastic canvas in the bottom.
- Add soft lining to both the base and lid.
- Make sure the ears are sewn on tightly so they stay upright.
Finishing tips
- Soft pink, cream, white, and beige give the bunny box a gentle look.
- Add a tiny bow between the ears for an extra sweet finish.
- Keep the face simple and cute.
Quick variation
Make a matching bunny family set in different sizes.
Conclusion
Mini crochet jewelry boxes are such a lovely way to combine practicality with handmade charm. They are small enough to finish without too much time, yet special enough to feel like a true gift. Whether you prefer the sweetness of the Coquette Cake Box, the romance of the Heart Valentine Box, the playful feel of the Bunny Box, or the elegance of the Victorian Dresser Box, each design gives you a chance to make something both useful and beautiful.
These little boxes are especially good for gifts because they can be personalized with colors, trims, and embellishments to suit the person receiving them. They are also great for storing rings, earrings, tiny keepsakes, and other small treasures in a way that feels thoughtful and handmade.