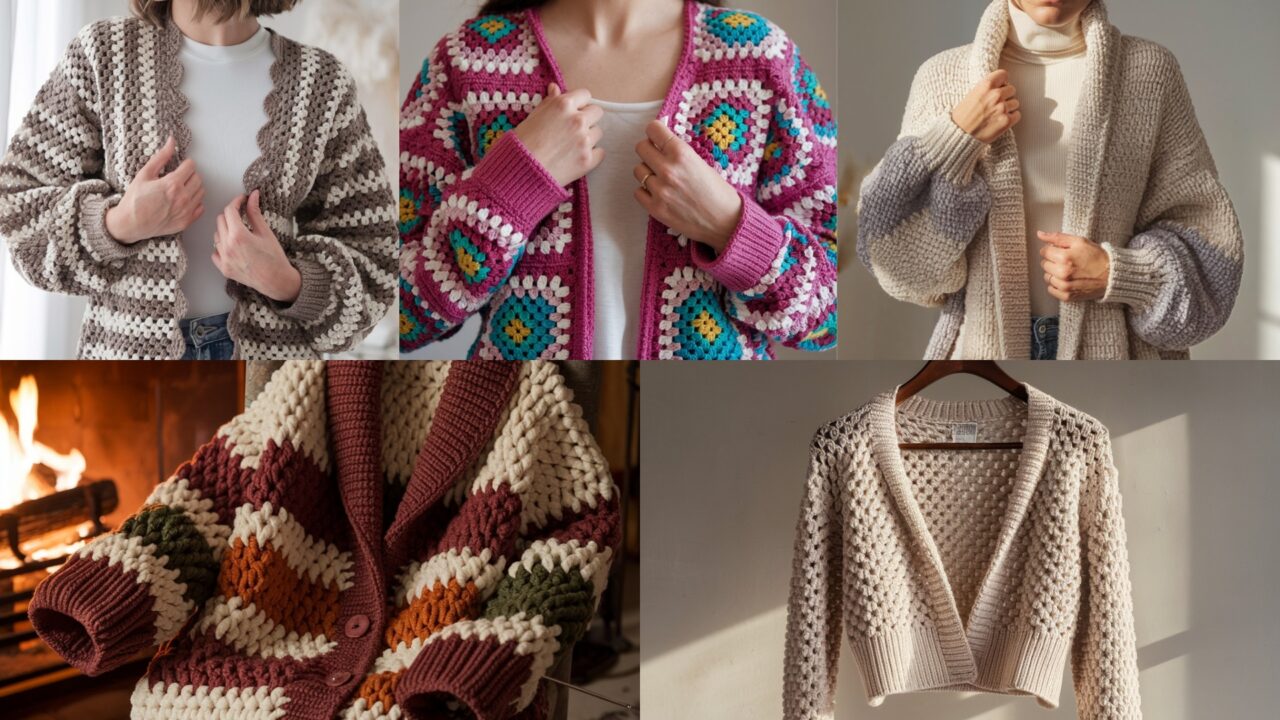
Handmade cardigans are the wardrobe workhorses nobody thanks you for making until it’s cold and you’re the only one with a functioning sense of warmth. Below are five full patterns — from cropped and cute to hulking fireside-love — each given as a complete, clear project you can make now. I include sizes S–M–L–XL and notes if you want to scale. Read the gauge, swatch it, then proceed. No magical thinking.
Before you start — universal info (read this, it matters)
- Sizes & finished chest: S (34″), M (38″), L (42″), XL (46″). Adjust ease if you want fitted or oversize.
- Yarn recommendations: I give suggested weights; swap fiber thoughtfully. Wool/ blends = warmth; cotton = lighter drape; acrylic = easy care.
- Hook & gauge: Always swatch. Patterns use common gauges; changing yarn weight means recalculating stitch counts (I give multiples where possible).
- Swatch: 4″ x 4″ in the stitch used for the body. If your swatch differs, change hook size until it matches.
- General assembly: Pieces are crocheted flat and seamed, unless noted. Use mattress stitch or whip stitch for seams; mattress stitch gives a neater finish.
- Blocking: Essential. Block pieces to final measurements to set gauge and ease finishing.
- Abbreviations: ch (chain), sc (single crochet), hdc (half-double crochet), dc (double crochet), tr (treble), sl st (slip stitch), sk (skip), BLO/FLO (back/front loop only), st(s) (stitch/es), RS/WS (right side/wrong side), rep (repeat), dec (decrease), inc (increase), fpdc/bpdc (front/back post double crochet).
1) Crochet Cropped Cardigan Pattern
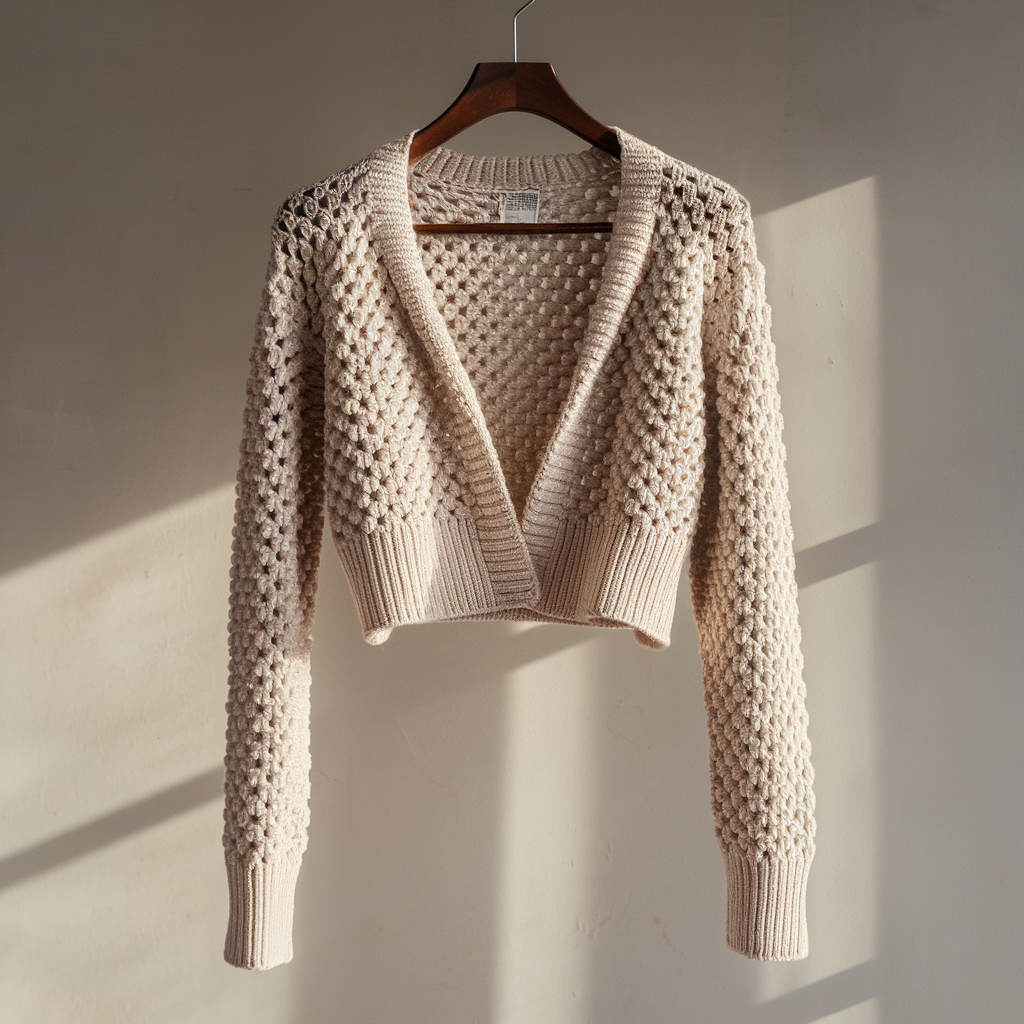
Short, polished, and wearable with everything. Pattern uses hdc for structure; ribbed hem for fitted feel.
Skill level: Advanced Beginner
Yarn: Worsted / Aran (Category 4) — 700 (800, 900, 1000) yards for S (M, L, XL)
Hook: 5.0 mm (or to obtain gauge)
Gauge: 16 hdc × 18 rows = 4″ (10 cm) in hdc worked in rows
Finished measurements (approx)
- S: 34″ chest (0–2″ positive ease for cropped), length 18″ from shoulder
- M: 38″ chest, length 18.5″
- L: 42″ chest, length 19″
- XL: 46″ chest, length 19.5″
Construction overview
- Make Back panel (worked flat)
- Make two Front panels (mirror)
- Make two Sleeves (worked flat)
- Seam shoulders, set sleeves, seam sides
- Add ribbed hem and button band/collar
Detailed step-by-step
Back panel
- Chain 68 (76, 84, 92). This is the starting chain; the number is chosen to match gauge and finished chest minus front bands. If your gauge yields a different starting number, make chain to reach the desired width measured flat.
- Row 1 (RS): hdc in 3rd ch from hook and in each ch across, turn. (66, 74, 82 hdc)
- Rows 2–48 (2–50, 2–52, 2–54): ch 2 (counts as hdc), hdc in BLO of each st across, turn. Work until back measures 12″ (12.25″, 12.5″, 12.75″) from cast-on (for cropped waist). Adjust for preferred cropped length. End after a WS row.
Front panels (make 2)
- Chain 36 (40, 44, 48). Row 1: hdc in 3rd ch from hook and across (34, 38, 42 hdc).
- Rows 2–48 (match number of rows on Back). On the side that will be neckline, work decreases to create slight slope: on RS rows, dec 1 st at the neck edge every 6th row x 4 times. This gives a gentle neck shaping. Keep the outer edge straight. Match final length to back.
Sleeves (make 2)
- Chain 34 (36, 38, 40) — this is cuff width. Row 1: hdc across.
- Work in rows increasing 1 st each end every 6th row until sleeve width reaches 46 (48, 50, 52) sts or desired upper arm width. Continue without increases until sleeve length measures 17″ (17.5″, 18″, 18.5″) from cuff to top. Option: for fitted cuff, work 6 rows of sc at the start, then continue hdc.
Assembly
- Block all pieces.
- Seam shoulders: align and sew the front panels to back across the topmost 6″ (6.25″, 6.5″, 6.75″) to leave reasonable neck opening.
- Set sleeves: fold sleeve piece in half widthwise; align center top with shoulder seam; sew sleeve into armhole.
- Seam sides: from cuff up to underarm, then from underarm to hem, leaving front band area free.
Hem & Collar / Ribbing
- With RS facing and smaller hook (4.5 mm), join yarn at one hem edge; sc evenly around bottom edge for 1 round to tidy.
- Work 6–8 rounds of hdc BLO ribbing: ch 2, hdc in BLO around, sl st to join each round. This creates a slightly elastic rib. Or work fpdc/bpdc ribbing for a chunkier look.
- For front bands: pick up sts along front edge and work 12–14 rows of fpdc/bpdc ribbing for a neat band. Add buttonholes: on right band, create 4 buttonholes spaced evenly: ch 2 at appropriate positions and skip 2 rows to create hole, or use sc2tog over space as buttonhole.
Finishing & Care
- Weave in ends; block gently.
- Care: hand-wash cold or machine wash gentle in a mesh bag if yarn permits. Lay flat to dry.
- Tips: If you want longer length, add rows to back and front panels before seaming. For a looser fit, increase starting chain by stitch multiples matching gauge.
2) Crochet Granny Stitch Cardigan
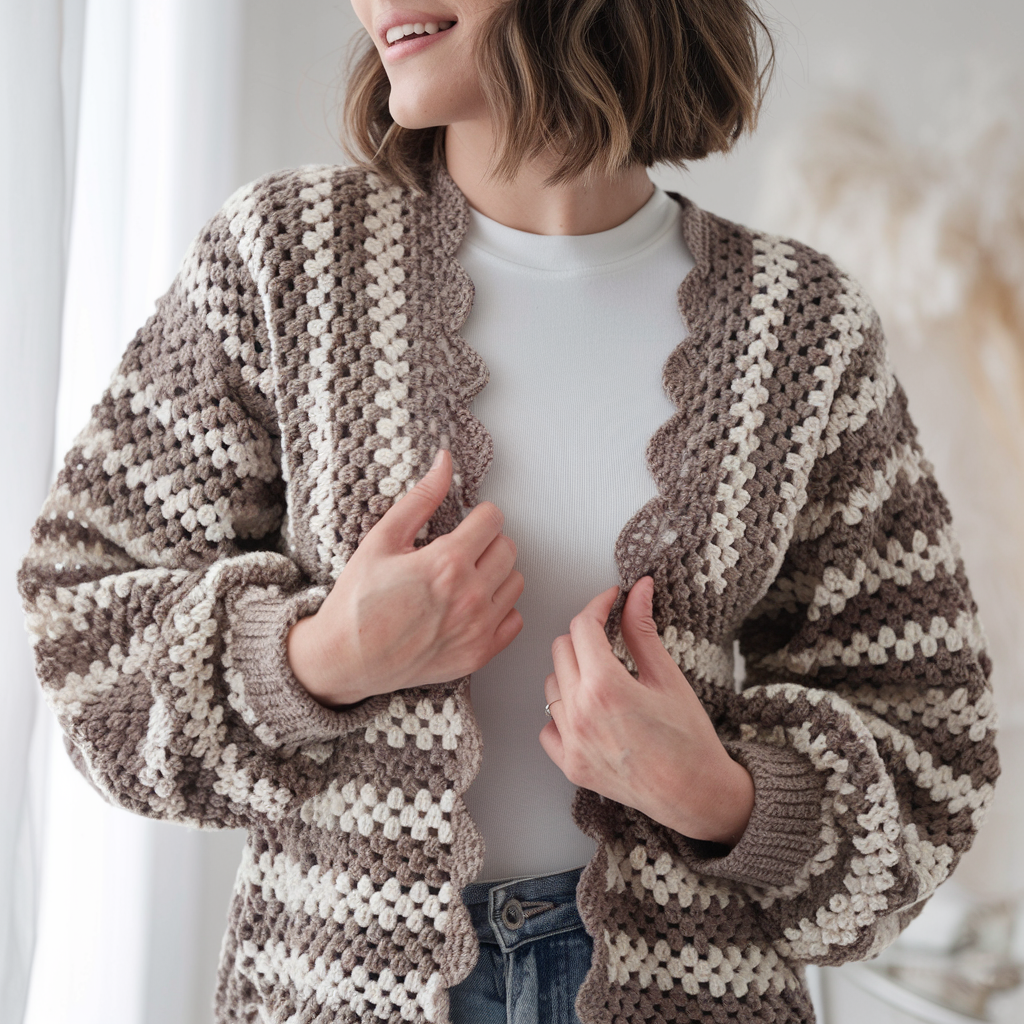
Granny clusters give stretch and lovely airiness. This is great for layering.
Skill level: Confident Beginner
Yarn: DK / Light Worsted (Category 3) — 900 (1000, 1100, 1200) yards
Hook: 4.5 mm
Gauge: 12 granny clusters × 10 rows = 4″ (cluster = [3 dc, ch 1] cluster pattern; swatch in pattern)
Construction overview
- Work back as a rectangle in granny cluster motif
- Work two front panel rectangles
- Crochet sleeves in granny cluster or in dc for less bulk
- Join using mattress stitch or join-as-you-go
Stitch for granny cluster (pattern)
- Granny cluster: (3 dc, ch 1) into a ch-space or into a group where pattern directs. Rows are worked into chain spaces or previous cluster spaces.
Detailed step-by-step
Back panel
- Start with a foundation chain in multiples of 6 + 3 for edge, chain 75 (87, 99, 111). This yields approx width.
- Row 1: dc in 4th ch from hook (counts as dc), ch 1, skip 2 ch, 3 dc in next ch, rep across ending with dc in last ch. Turn.
- Row 2: ch 3 (counts as dc), 3 dc in ch-1 space (cluster), ch 1, 3 dc in next ch-1 space across. Repeat rows until piece measures 17″ (17.5″, 18″, 18.5″). End on WS.
Front panels
- Chain half back width +1 (for overlap) = chain 38 (44, 50, 56). Row 1 and onward: work same granny cluster rows until panel reaches same length as back minus 2″ for neck shaping.
- For neckline shaping: when the panel reaches shoulder height minus 1″, reduce one cluster at neck edge every 8th row x 3 to create gentle slope. Keep outer edge straight.
Sleeves
Option A (matching granny): Make rectangles in granny clusters, starting with chain that fits cuff; make tube by joining short ends if preferred. Option B (simpler): work in dc rounds: join yarn to armhole and work evenly until sleeve length reached. Granny sleeves look prettier but may be more open.
Join
- Block squares well — blocking opens clusters uniformly.
- Place panels together; join using whip stitch or join-as-you-go to create an almost seamless look. For join-as-you-go, join each new granny cluster on the first pass.
Edging
- Add a 3–4 row border of sc around openings to stabilize.
- Add a 2-row scallop (5 sc in 1 st, skip 2, sl st) for a vintage look.
Finishing & Care
- Granny stitch stretches. Hand-wash and reshape while damp. Store folded, not hung.
- Tip: Use a solid main color for balance, then carry a contrast color for every 4th row for subtle stripes.
3) Crochet Oversized Draped Cardigan
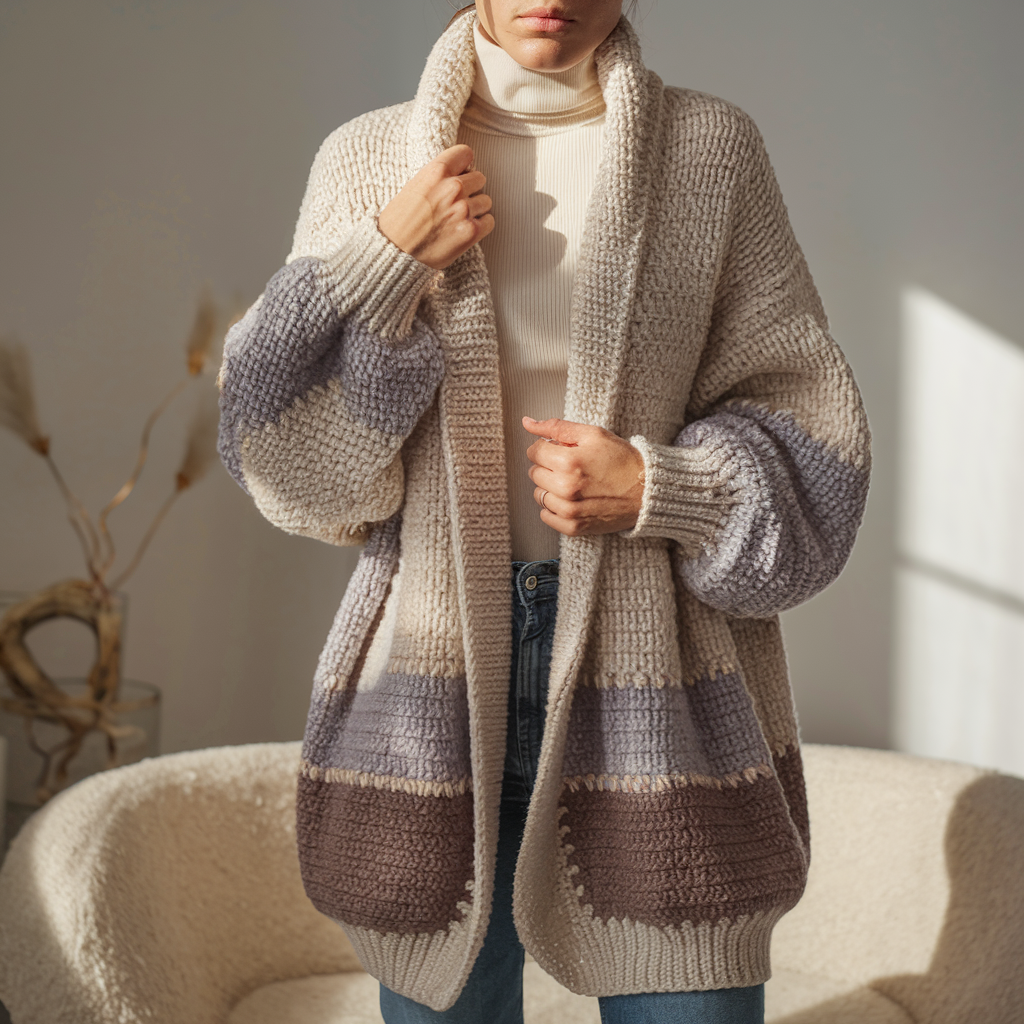
This is the “throw-it-on-and-look-cool” cardigan. Minimal shaping, lots of drape.
Skill level: Beginner to Intermediate
Yarn: Bulky (Category 5) or Super Bulky (Category 6) — 1200 (1300, 1500, 1700) yards depending on length
Hook: 6.5–8.0 mm (use larger for more drape)
Gauge: 10 dc × 8 rows = 4″ in dc
Construction overview
- Make one large rectangle, fold in half for shoulders (or make two panels for shoulders), seam sides partially to form armholes, attach sleeves or crochet sleeves in the round from armhole.
Detailed step-by-step
Main rectangle
- Chain 85 (95, 105, 115). This gives plenty of width for drape; chains are approximate — you can make it wider for more wrap.
- Row 1: dc in 3rd ch from hook and each ch across. Turn.
- Rows 2–44 (approx): ch 3, dc in each st across. Work until rectangle measures 26″ (28″, 30″, 32″) from cast-on (this is back length to mid-thigh; shorter or longer as desired). For dramatic drape, add 4–8″ to length.
Folding & seams
- Fold rectangle lengthwise to align short edges (shoulder seam centered). Seam top 6–8″ each side to create a neck opening and leave middle portion open. Alternatively: fold in half across the long dimension so the fold becomes back neck, seam each side leaving large armholes.
Sleeves (simple set-in)
- Measure armhole opening; pick up yarn and dc into armhole space evenly around; join and work in rounds decreasing 2 sts at start of first round to shape. Work until sleeve length 16–18″. Finish with a couple rows of sc for a neat cuff.
Collar / dramatic drape
- Add a wide band around the front opening and collar: pick up stitches along the opening and work 10–14 rows of hdc in BLO to produce a soft rolled collar. For a heavier collar that stays put, do 4 rounds of fpdc/bpdc ribbing.
Finishing & Care
- Block lightly — drape benefits from relaxed blocking to even stitch tension.
- Tip: Use neutral palette or bold color blocks. For extra coziness, add large patch pockets.
4) Crochet Granny Square Cardigan
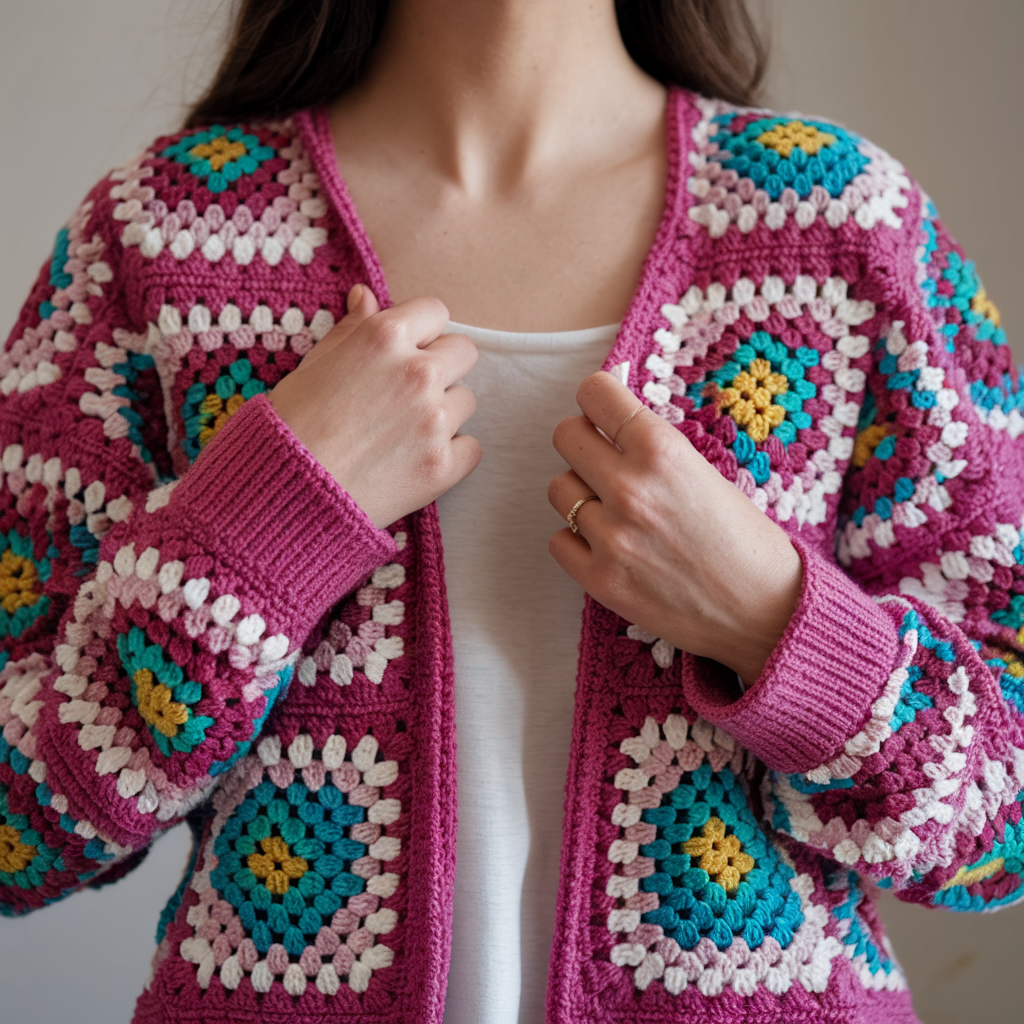
Perfect for stash-busting and colorwork joy. Make squares, join them into panels.
Skill level: Intermediate (organization + seaming skills)
Yarn: Worsted / Aran — 1200 (1400, 1600, 1800) yards depending on size & number of colors
Hook: 5.0 mm
Square size: 5″ finished square recommended
Construction overview
- Make granny squares (~5″ each) — number depends on size & layout
- Block squares to uniform size
- Join into front, back, sleeves, seam
How many squares?
- Example layout for S: Back = 3 × 3 squares (9), each front = 3 × 2 squares (6 each front), sleeves = 3 × 2 each (6 each sleeve) -> totals ~33 squares. For larger sizes, add columns/rows.
Granny square pattern (simple)
- Round 1: magic ring, ch3 (counts as dc), 2 dc, ch2, 3 dc, ch2 rep 3 times, sl st to top of ch3. (4 clusters, ch2 corners)
- Round 2: sl st into next ch2 sp, ch3, 2 dc, ch2, 3 dc into same corner; in next ch2 corner: 3 dc, ch2, 3 dc around. For color changes, switch color at start of round. Continue until square is 5″ or desired.
Join method
- Block all squares to exact size.
- Use whip stitch or mattress stitch for seam invisibility. For a smoother join, use the Join-As-You-Go (JAYG) method on last round, joining squares by slip stitch through loops of adjacent square. This yields a flat join suitable for clothing.
Assembly
- Decide layout: common is 3 across × 3 deep for back. Make two front panels of same height but 2 columns wide.
- Arrange squares on flat surface to check alignment and color balance.
- Join rows first, then join rows into panels. Leave armhole spaces consistent (e.g., 2 squares tall).
- Add sleeves by joining squares in a tube then attaching to armhole or work sleeve rows crocheting directly onto joined edge.
Edging & finishing
- Add a 4–6 row single crochet border in main color around body edges to unify look.
- Add button band: pick up stitches along right front and work 10–12 rows hdc or use sc for a subtle band. Add buttonholes as required.
Finishing & Care
- Granny square cardigans are heavy; choose yarn accordingly.
- Hand wash cold; avoid wringing; reshape and dry flat.
- Tip: Keep a single unifying color for round 4 to prevent visual chaos and to stabilize joins.
5) Crochet Fireside Cardigan Pattern
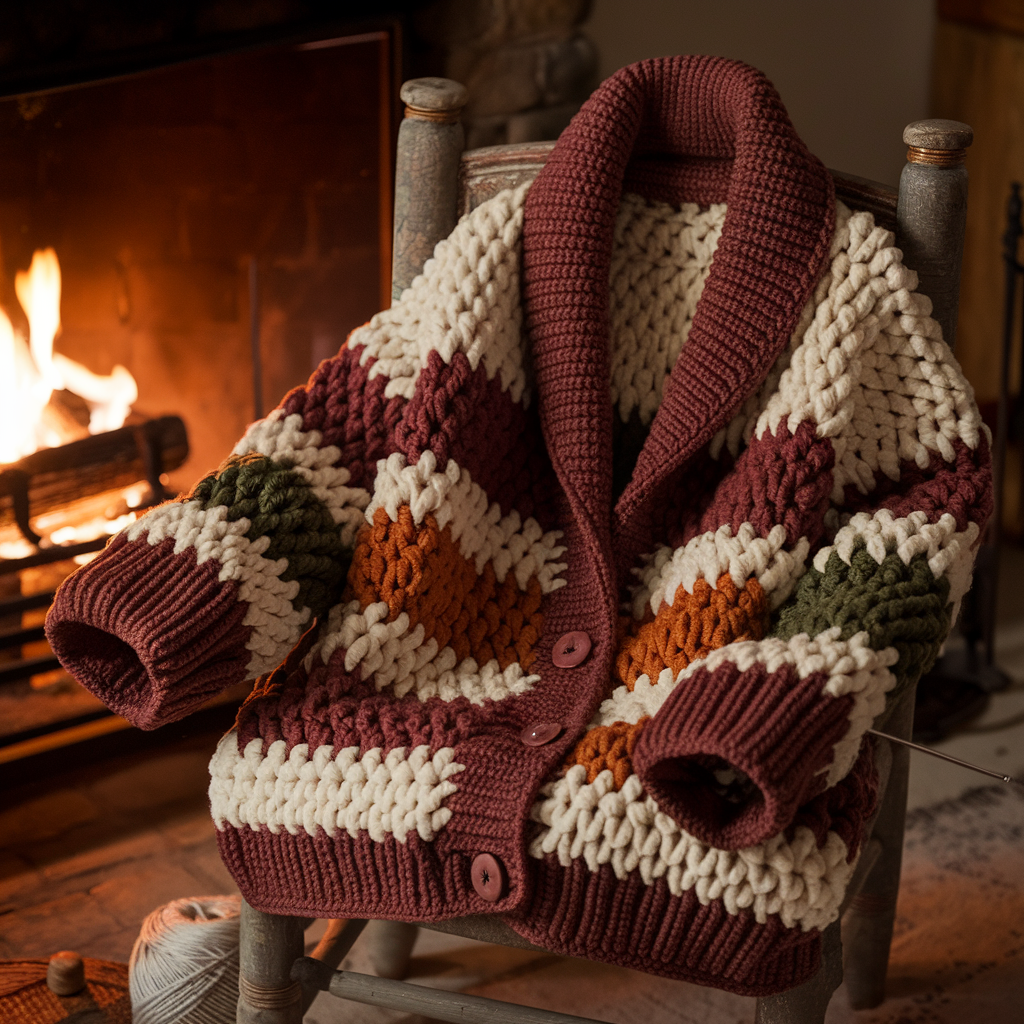
Big yarn, large stitches, big buttons. This one is a project that rewards endurance with warmth.
Skill level: Intermediate
Yarn: Super Bulky (Category 6) — 1000 (1200, 1400, 1600) yards for S (M–XL)
Hook: 8.0 mm or 9.0 mm
Gauge: 10 hdc × 9 rows = 4″ in hdc BLO ribbing or 8 dc × 6 rows in dc for a looser drape
Construction overview
- Structured panels with deep collar and thick button band
- Use front-post/back-post ribbing for collar and buttonband for stability
Body panels
Back
- Chain 50 (56, 62, 68). Row 1: hdc in 3rd ch from hook across. Turn.
- Rows 2–44 (or until desired hip length): ch 2, hdc in BLO across to create a compact fabric. Stop when back length 24″ (25″, 26″, 27″). For a cropped fireside, reduce to 20–22″.
Front panels (2)
- Chain 26 (29, 32, 35). Work hdc in BLO matching back length. Leave extra width on left front band for overlap: add 6 extra chains on right front for extra button band if you plan to sew a turned-under band.
Sleeves
- Chain cuff width, work in rounds or rows increasing slightly to create roomy upper sleeve. For a bell sleeve, increase every 4th row by 2 sts until desired width; stop increasing and work even until sleeve length hits wrist.
Collar & Buttonband (the important bit)
- After seaming shoulders and sides, pick up stitches along front and neck opening. Work one round of sc evenly to stabilize.
- Work 10–14 rounds of fpdc/bpdc ribbing around the front opening and continuing up and around the neck to form a thick shawl collar. Use large wooden buttons (1.5″–2″) and make buttonholes in the band by chaining 3–4 at spaced intervals and working the next row across the chain-spaces.
Assembly
- Seam shoulders and sides; set sleeves.
- Attach collar band and button band as above.
Finishing & Care
- Because of bulk and stretch, wash gently. Re-block after a first wash to set collar.
- Tip: Use a wool blend that blooms slightly; super-bulky acrylic will be easier care but less cozy.
Final section
- Weave in overheads neatly: Thread ends through the same color fabric using a tapestry needle; bury ends in purl bump for security.
- Neaten seams: Use mattress stitch for side seams — it gives a nearly invisible join and more stretch across the body.
- Stabilize button bands: If your yarn is very stretchy, include a lining of tricot tape or a narrow strip of fabric sewn to the inside where the buttons go. No droopy fronts.
- Blocks & pins: Use T-pins and a flat surface; pin to exact finished measurements, not “close enough.”
- Replacing buttons: When adding heavy buttons, reinforce the button band with a small rectangle of interfacing or a strip of yarn worked into band to prevent ripping.
Care summary
- Wool / wool blends: Hand wash cold, lay flat to dry; steam-block if needed.
- Acrylic / acrylic blends: Machine wash gentle if label allows; reshape and lay flat.
- Cotton / bamboo: Can be heavier when wet—dry flat and avoid wringing.
- Always follow the yarn label for temperature/bleach warnings. Store folded to avoid shoulder stretching.
Conclusion
You now have five complete, usable cardigan blueprints: cropped, granny, draped oversized, granny-square patchwork, and chunky fireside. Each pattern gives you the structure and stitch-by-stitch directions to make a garment that fits and lasts — assuming you actually swatch and follow the numbers instead of winging it like some wild yarn anarchist.