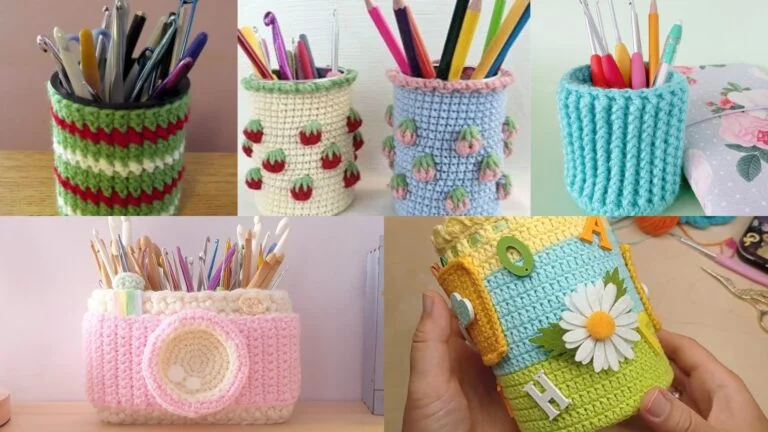
Small, quick, and endlessly satisfying, crochet coasters are the perfect weekend project — they use scrap yarn, make great gifts, and instantly upgrade your coffee table. This post gives you five fully worked coaster patterns with materials, skill level, exact step-by-step instructions, finishing tips, and clever variations: a paw print, a lucky shamrock, a turtle, a watermelon slice, and a trendy avocado. All are designed to be useful, pretty, and easy to follow.
Before you start, read the quick notes and abbreviations so every pattern is straightforward.
Quick notes & abbreviations (read first)
- Yarn: 100% cotton or cotton blend is ideal for coasters — it’s absorbent, washable, and holds shape. Use worsted weight (category 4) unless a pattern specifies otherwise.
- Hook: most patterns use a 4.0 mm (G/6) hook — change size if you want denser looser fabric; smaller hook → denser, more heat-resistant coaster.
- Finish: I recommend blocking and finishing with a round of single crochet for neat edges. Optionally glue a small felt circle to the back for extra grip and protection for delicate surfaces.
- Heat note: Crochet coasters protect surfaces from condensation and light heat but are not oven mitts — avoid placing extremely hot pans directly on cotton coasters.
- Abbreviations: ch = chain, sl st = slip stitch, sc = single crochet, hdc = half double crochet, dc = double crochet, st = stitch, rep = repeat, MR = magic ring (magic circle), inc = 2 sc in same stitch, BLO/FLO = back/front loop only.
1. Crochet Paw Coaster Pattern
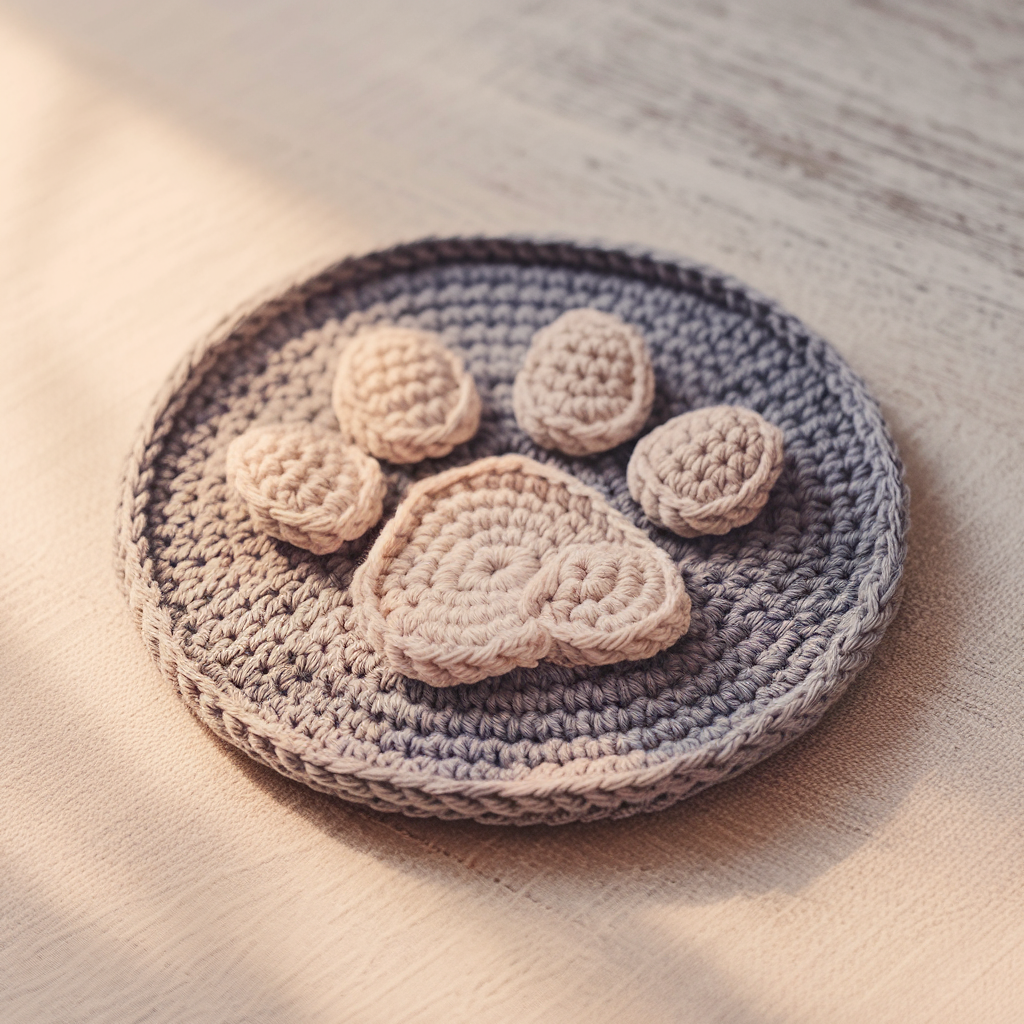
Cute, playful and perfect as a hostess gift — a circular coaster with an appliquéd paw print.
Skill level: Beginner
Finished size: ~4″ (10 cm) diameter
Materials: cotton worsted yarn (main color for background + small amount of contrast for paw), 4.0 mm hook, tapestry needle, scissors, felt circle (optional).
Pattern — base coaster (worked in rounds)
- MR; ch 1, work 6 sc into MR. Pull tight and join with sl st to first sc. (6)
- Round 2: ch 1, inc in each st around (2 sc in each) — join. (12)
- Round 3: ch 1, sc in next st, inc in next st — repeat around — join. (18)
- Round 4: ch 1, sc in next 2 sts, inc in next st — repeat around — join. (24)
- Round 5 (optional for larger coaster): ch 1, sc in next 3 sts, inc in next st — repeat around — join. (30)
- Fasten off and weave in ends. Block lightly to flatten.
Paw pads (make 4 small pads + 1 large heel)
Small toe pad (make 4)
- MR; ch 1, 6 sc into MR. Pull tight and join. (6)
- Round 2: ch 1, inc in each st (12). Fasten off leaving long tail to sew. (12)
Large heel pad (make 1)
- MR; ch 1, 8 sc into MR (8). Pull tight and join.
- Round 2: ch 1, sc, inc around = 12. Round 3: sc around (12). Fasten off leaving tail.
Assembly
- Arrange pads on the finished coaster so the large heel sits near the center-bottom and the 4 toe pads arc above it (like a paw). Play with spacing until pleasing.
- Sew pads down with long tails using whipstitch; anchor with several passes so pads lie flat. Hide tails underneath.
- Optional: add contrast embroidery around paw or outline pads with surface slip stitch for definition. Glue a felt circle on the back for protection.
Variations & tips
- Make paw pads in fuzzy yarn for a plush look (but use a contrasting fabric backing so the coaster doesn’t snag).
- For quick version, surface-crochet the paw using a contrasting yarn: outline the paw shape with surface slip stitch rather than appliqué.
2. Crochet Shamrock Coaster Pattern
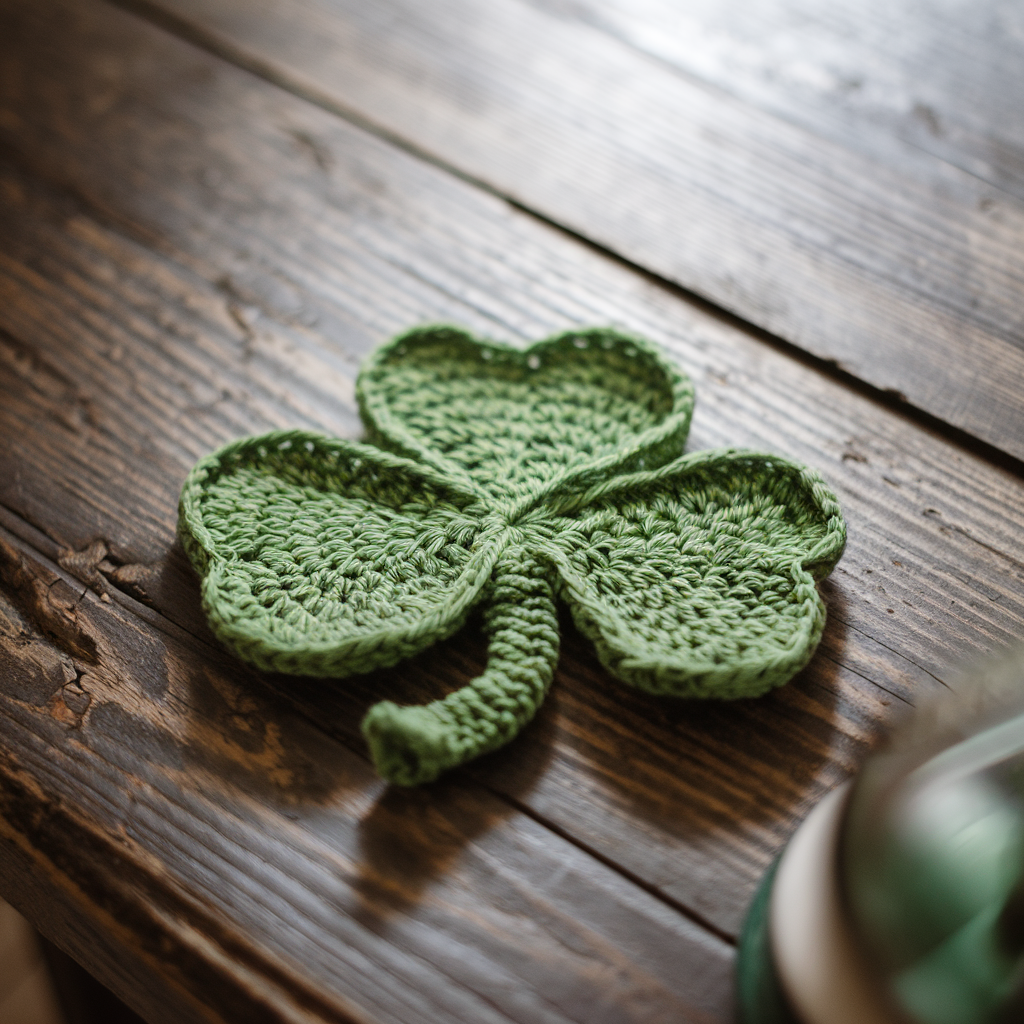
A small shamrock/cozy leaf coaster — great for St. Patrick’s Day or year-round luck accents.
Skill level: Beginner → Intermediate (simple shaping)
Finished size: ~4–4.25″ across (10–11 cm)
Materials: cotton yarn in green shades, 4.0 mm hook, tapestry needle.
Pattern concept
The shamrock is built from three heart/leaf petals worked separately and joined at the center, with a short stem.
Leaf/petal (make 3)
- MR; ch 1, work 8 sc into MR, pull tight and join. (8)
- Round 2: ch 3, sl st into next st — repeat around so you have 8 ch-3 loops (or adjust to 6 loops for fuller petals). Join.
- Petal shaping: join yarn into one loop, sl st to base, ch 1, (sc, hdc, 3 dc, hdc, sc) into the loop — fasten off. This creates one rounded petal. Repeat for each loop until you have 8 petals — for a shamrock you only need 3 larger petals; skip extras or make the initial MR with only 3 loops: alternative simpler method below.
Simpler three-petal method (recommended)
- MR; ch 3, (sc, hdc, 3 dc, hdc, sc) in loop — do this 3 times into the magic ring spaced evenly; pull ring tight and join. You’ll have three rounded petals arranged like a club. Fasten off.
Stem
- Join yarn at base between two petals, ch 6 (or more for longer stem), sl st back along chain to create a short twisted stem. Fasten off and weave in.
Finishing & join
- If you used the 8-loop method, remove extra loops and join three larger petals to form a shamrock. Sew backs together at center and secure with neat stitching.
- Add a round of sc around the entire shamrock (carefully working into petal edges) to tidy and create a small flat coaster feel. If you want a sturdier coaster, add a second round in sc to increase thickness.
Tips & variations
- Make two rounds of sc around the shamrock for a more solid coaster.
- Use variegated greens for a natural, leafy look.
- Block flat to open petals and ensure the coaster sits evenly.
3. Crochet Turtle Coaster Pattern
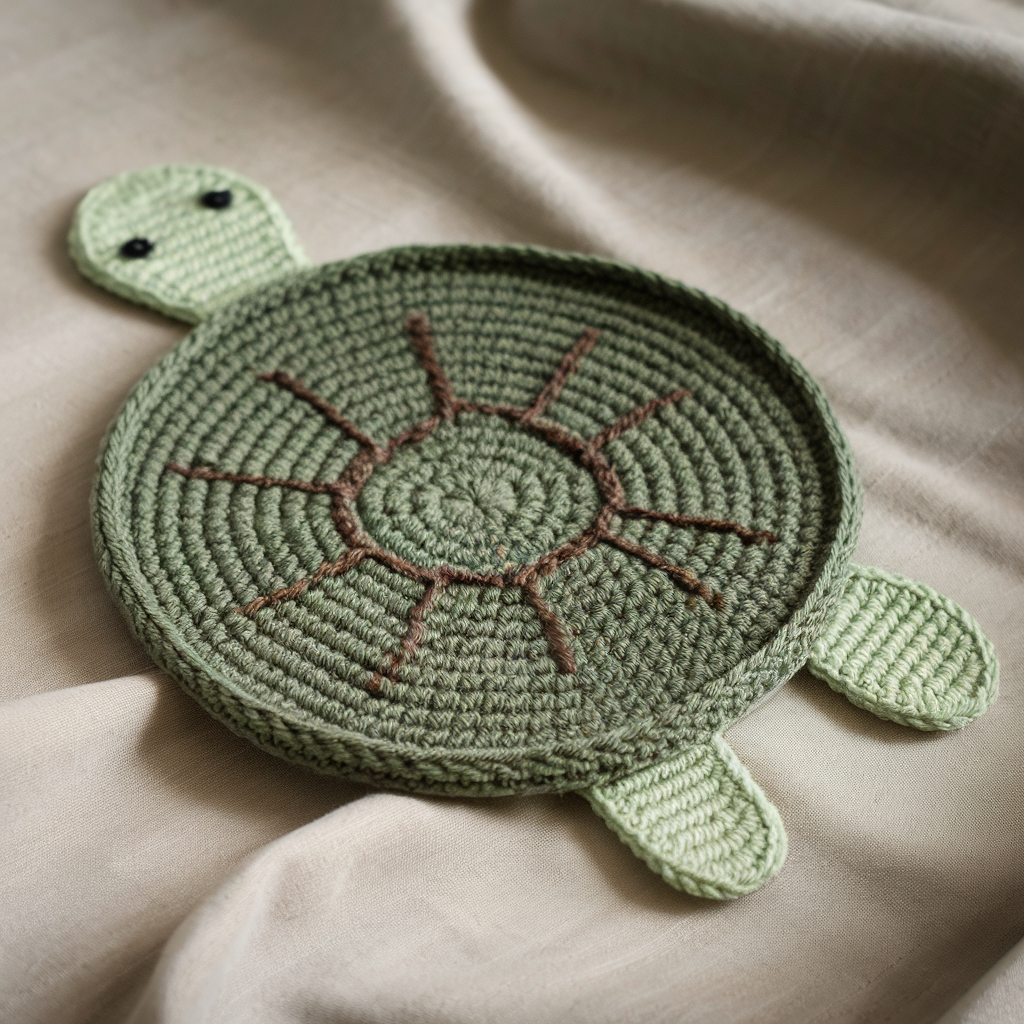
A charming turtle-shaped coaster — flat shell with embroidered segmentation and little appliqué legs/head.
Skill level: Intermediate (appliqué + surface embroidery)
Finished size: ~4.5″ shell diameter (11–12 cm) including legs ~5.5″ wide with legs
Materials: cotton yarn — green for shell, lighter green for limbs, brown/olive for shell lines, 4.0 mm hook, tapestry needle.
Shell (main coaster)
- MR; ch 1, 6 sc into MR. Pull tight and join. (6)
- R2: ch 1, inc in each st — (12)
- R3: ch 1, sc in next st, inc in next st — rep around — (18)
- R4: ch 1, sc in next 2 sts, inc in next st — rep — (24)
- R5: ch 1, sc in next 3 sts, inc in next st — rep — (30)
- R6: ch 1, sc around (30) — fasten off and weave in ends. This round creates a stable circular shell base.
Shell segmentation (surface embroidery)
- With a contrasting yarn (darker olive or brown) and tapestry needle, stitch a small central pentagon or hexagon and radial lines outwards to create the shell pattern. Use backstitch or chain stitch embroidery. Keep stitches flat to preserve coaster function.
Head & legs (make 5: 1 head, 4 legs)
Small oval leg (make 4)
- ch 5; sc in 2nd ch from hook and next 3 ch (4 sc). Turn and sc back across. Work 2–3 rows total to get a small oval — fasten off leaving tail to sew. Alternatively: MR, 6 sc; round 2 sc around to 8 for tiny rounded leg.
Head
- MR, 6 sc in ring; Round 2: sc, inc around = 9 sc. Fasten off leaving tail. Embroider tiny eyes with darker yarn (or sew small beads for adult purposes only).
Assembly
- Position head at the front edge of the shell and legs evenly spaced around the bottom edges. Sew securely, anchoring through the shell base so pieces lie flat.
- Optionally, add a small raised bobble on the shell center by making a tiny puff stitch circle, or use a tiny button sewn at the center for interest (avoid button if child will handle).
Finishing touches
- Block lightly to ensure shell is flat.
- Attach a small felt backing if used under hot drinks to prevent water seeping through stitches.
4. Crochet Watermelon Coaster Pattern
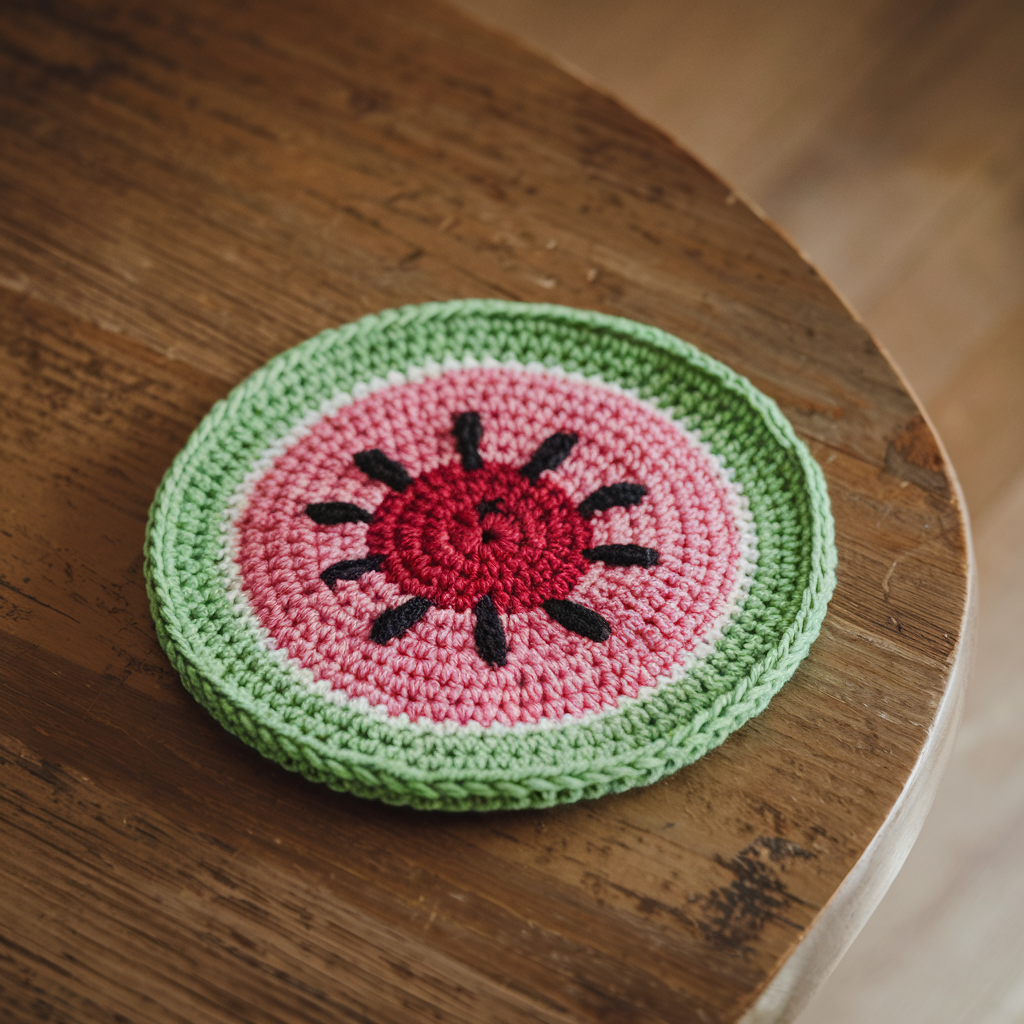
A bright, round watermelon coaster — pink/red center, white pith ring, green rind, and embroidered seeds.
Skill level: Beginner → Intermediate (simple color changes + embroidery)
Finished size: ~4″ diameter (10 cm)
Materials: cotton yarn in pink (or red), white/cream, outer green and dark green (for rind), black or dark brown for seeds, 4.0 mm hook, tapestry needle.
Pattern — worked in rounds (color changes)
- MR; ch 1, 6 sc into MR. Pull tight and join. (6) — (Pink center)
- R2: ch 1, inc in each st (2 sc in each) — join. (12)
- R3: ch 1, sc in next st, inc in next st — rep around — join. (18)
- R4: ch 1, sc in next 2 sts, inc in next st — rep — join. (24)
- R5: join cream/white yarn (fasten color change after joining), ch 1, sc around in white for one round to create the pith ring. Join and fasten off white. (24)
- R6: join green yarn, ch 1, sc around in green for one or two rounds depending on desired width of rind; for a thicker rind do two rounds. Join and fasten off green. (24 or 30 if you added another increase round before the green)
- Optional increase round before green: If you like a larger coaster, add one more increase round before switching to white: sc in next 3 sts, inc — rep — giving 30 sts, then white round, then green round(s). Final size ~4–4.25″.
Seeds (embroidery)
- Using black or dark brown yarn or embroidery floss, stitch tiny teardrop seeds scattered across the pink center. Make short satin stitches or French knots elongated into tiny seed shapes. Space them evenly; 10–12 seeds looks balanced on a 4″ coaster.
Finishing
- Work one final round of sc in green or a contrasting color to tidy the edge. Fasten off and weave in ends. Block flat.
Variations & tips
- Make mini watermelon coasters (reduce number of rounds) as drink markers.
- Use variegated pink yarn to get natural color variation.
- Add a small felt backing if you want a non-slip underside.
5. Crochet Avocado Coaster Pattern
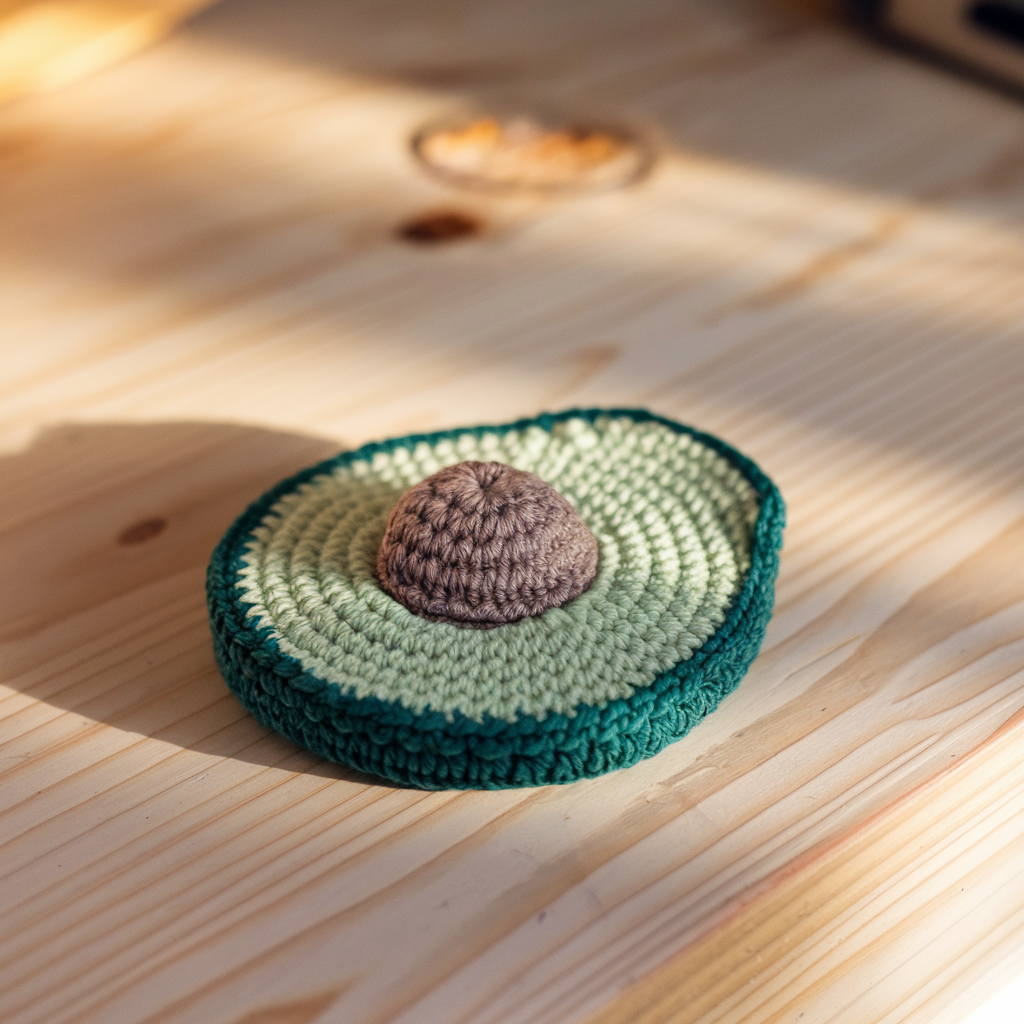
Trendy and cute — an avocado-shaped coaster with a soft bobble pit.
Skill level: Intermediate (oval shaping + bobble)
Finished size: ~4″ tall × 3.25″ wide (10 x 8 cm)
Materials: cotton yarn green (outer), light green (flesh), brown (pit), 4.0 mm hook, tapestry needle.
Oval body (worked around a foundation chain)
- Foundation: ch 12.
- Round 1: sc in 2nd ch from hook and across the chain — 11 sc. Now work around the opposite side of the starting chain: 3 sc in last chain (to round the end), sc across the opposite side (11 sc), then 3 sc in the first chain to shape the other rounded end. Join with sl st to first sc. Total stitches: 11 + 3 + 11 + 3 = 28 sc. (This produces an oval.)
- Round 2 (increase slightly for size): ch 1, sc in next 6 sts, inc in next st — repeat around four times (because four rounded corners need increases). That means: 6 sc x4 = 24 sc plus 4 extra from the incs = 28 + 4 = 32 sc. Join.
- Round 3 (shape flesh area): ch 1, sc around in light green (or join light green on top half to represent flesh) for one round; if you only want outer green rim, use the outer green yarn here and switch to light green for the inner rounds. Continue one or two rounds to build height (sc around each round). Usually 3–5 rounds total will yield a 4″ tall coaster — measure as you go.
- Optional Round 4: sc around in outer green to form a defined rim. Fasten off and weave in ends.
Pit (bobble)
- Make a bobble/round pit: MR; ch 1, 6 sc into MR, join (6). R2: ch 1, inc in each st = 12 sc. Fasten off leaving tail. Alternatively make a small puff/bobble: yo, insert hook, pull up loop, repeat 4 times, yo pull through all loops, ch 1 to make a single 5-loop bobble; make 3–4 bobbles and sew into a small circle for textural effect.
Assembly
- Position pit on the center-lower third of the avocado shape. Sew securely with long tail. Add a tiny satin stitch around the edge of the pit in a slightly darker brown to give it depth.
- If desired, embroider a thin highlight ring around the pit with light tan to add realism.
Finishing & tips
- Add a final round of sc around the whole avocado in outer green to tidy the shape.
- To make a two-sided coaster, make and seam two avocado shapes wrong sides together, leaving a small opening to stuff lightly for a plush coaster (not necessary for most coaster use).
- Block flat before use.
Blocking, Backing & Care (applies to all patterns)
- Blocking: Wet-block or steam-block cotton coasters to open stitches and flatten shapes. Pin to desired size and let dry completely.
- Backing (optional): Cut a circle of felt slightly smaller than coaster and glue or whipstitch to the wrong side — prevents sliding and protects delicate wood surfaces from dye transfer.
- Washing: Most cotton coasters are machine washable on gentle or handwash. Dry flat to retain shape. If you used embroidery threads, fasten ends well before washing.
Creative Uses & Gift Ideas
- Make a set of 4-6 matching coasters and wrap as a housewarming gift.
- Pair a themed coaster with matching mug or tea towel (watermelon + summer mug).
- Create holiday bundles: shamrock set for St. Patrick’s Day, avocado + green kitchen set for a trendy kitchen gift.
- Use as small decor: the turtle or paw coaster also works as a trivet for small planters or as a cute photo prop.
Conclusion
These five coaster patterns — Paw, Shamrock, Turtle, Watermelon and Avocado — are designed to be approachable, fast, and charming. They use simple techniques (rounds, small appliqués, surface embroidery and bobbles) that are perfect for using up yarn scraps and learning new stitches. Start with a simple round coaster and then add the fun elements: appliqué pads, embroidered seeds, or textured pits. Block them flat, add a felt backing if you like, and you’ve got small handmade accents that elevate any table and make beautiful gifts.