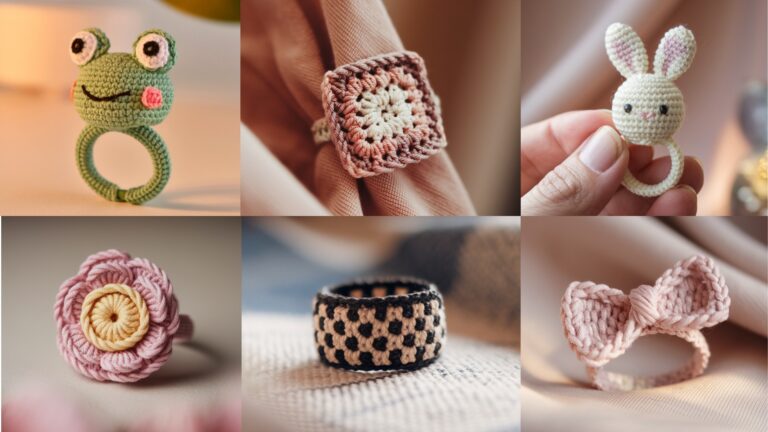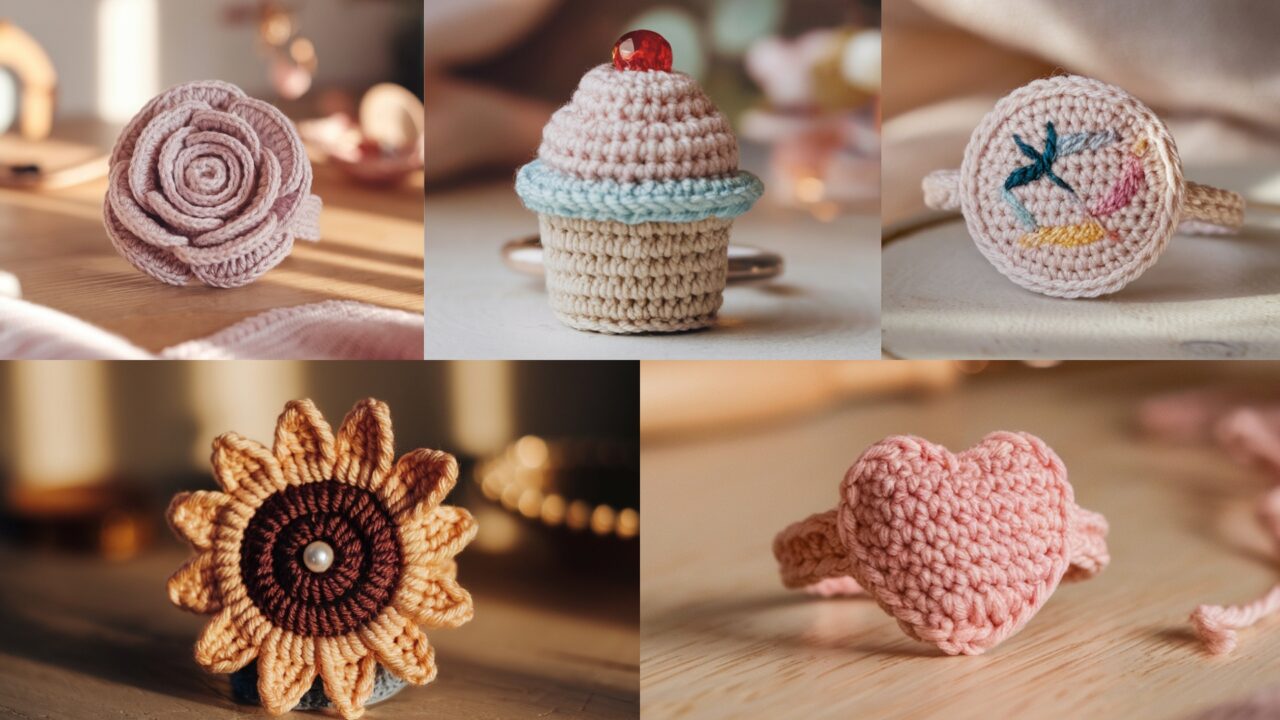
A crochet ring is tiny, delightful, and one of the fastest ways to turn leftover yarn into wearable art. Whether you want a sweet rose for date night, a playful cupcake for a gift, or a delicate embroidered band that looks like fine jewelry — crochet rings let you experiment with texture, color, and construction on a very small scale. This post gives five complete, copy-ready ring patterns with full materials lists, step-by-step instructions, finishing tips, sizing guidance, and care notes so each ring looks polished and lasts.
All patterns use US crochet terms. Abbreviations: ch = chain, sl st = slip stitch, sc = single crochet, hdc = half-double crochet, dc = double crochet, tr = treble, st(s) = stitch(es), FLO/BLO = front/back loop only. Use a fine yarn or thread and small hook so the rings are delicate — fingering yarn, sport, crochet cotton, or embroidery thread all work for different looks.
Before you begin — sizing + two easy construction options
Two popular ways to make crochet rings
- Sewn to a metal/adjustable ring blank (fastest, most consistent fit). Crochet the decorative motif or wrap a narrow tube around the blank and sew or glue it to the ring base. Great for craft-fair-ready pieces.
- Fully crochet band (adjustable or fixed). Crochet a narrow tube or flat band sized to the finger and attach the motif. Use a sliding knot or small seam to secure and finish.
How to size a crochet band (practical, repeatable method)
For a comfortable ring you need the inner circumference of the ring (the length around the finger) and the number of stitches per inch (your gauge). Here’s a simple formula and an example.
Formula:needed stitches = (finger circumference in inches) × (stitches per inch at your gauge) × 1.10
— multiply by 1.10 (10% extra) to allow a little give so the ring slides on.
How to get stitches per inch:
Make a small swatch with your chosen yarn/hook: ch 20, work 4 rows of sc (or the stitch you’ll use for the band), measure how many stitches there are across 1.00 inch.
Worked example (step-by-step arithmetic):
- Suppose your finger circumference measures 2.14 inches (this is about a U.S. size 7).
- Suppose your swatch measured 8 stitches per inch.
- Multiply 2.14 by 8:
- 2.14 × 8 = 17.12.
- Add 10% for comfort: multiply 17.12 × 1.10 = 18.832.
- Round to the closest whole stitch: 19 stitches.
So you’d chain to about 19 stitches (or create a tube with 19 sc around) and check fit; adjust ±1–2 stitches if you want tighter or looser.
1. Rose Crochet Ring Pattern
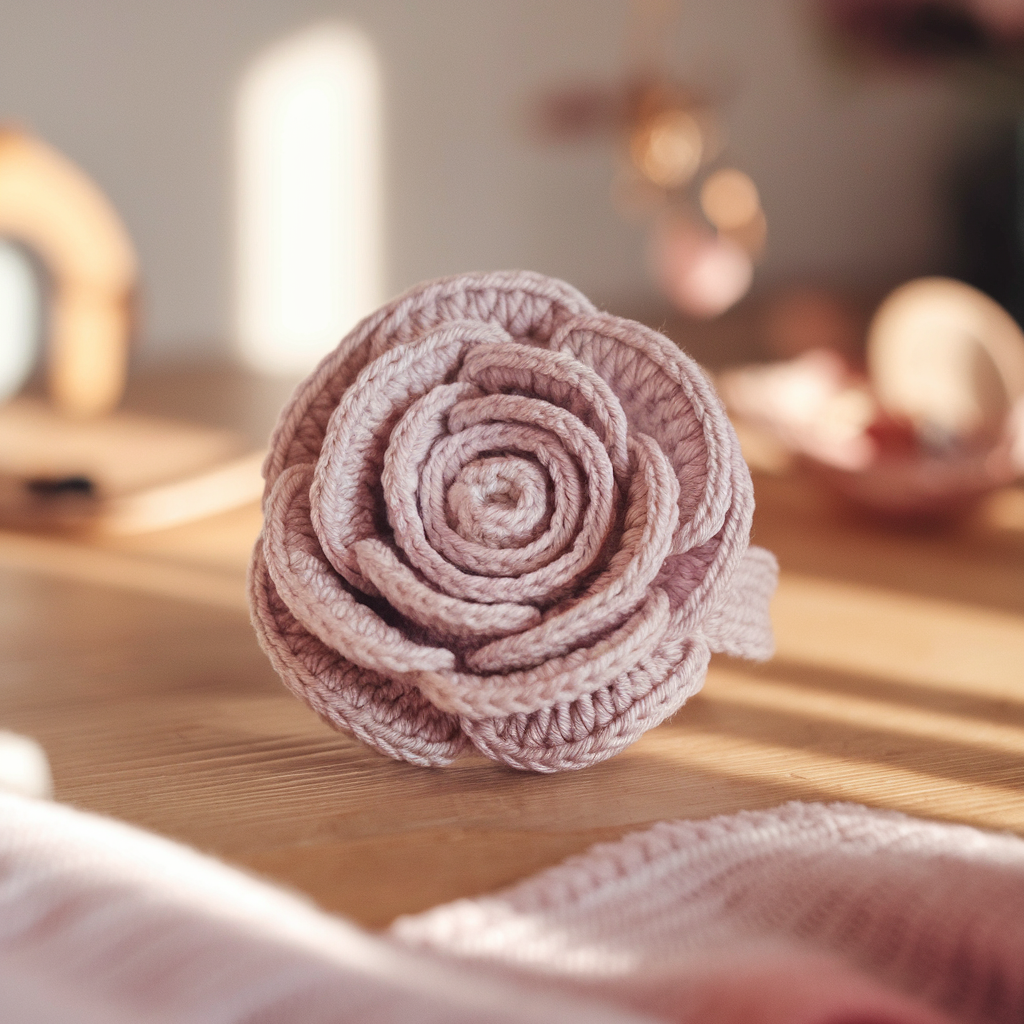
A classic rosette on a narrow band. Romantic, elegant, and great in cotton or mercerized thread.
Skill level
Easy–Intermediate (basic rounds, simple shaping, sewing)
Finished size
Make the band to match your finger (use sizing method above). Rosette diameter ≈ 0.8–1.2 in depending on yarn.
Materials
- Crochet cotton, fingering yarn, or embroidery thread (contrast for rose + base) — ~5–10 yd total
- Small hook: 1.75–2.75 mm for fine lace; 2.5–3.5 mm for fingering.
- Small adjustable ring blank (optional) or tapestry needle for sewing.
- Scissors, small amount of craft glue (optional).
Rose motif (layered spiral rose)
- Make a magic ring. Ch 1. Round 1: sc 6 into ring. Pull tight. Join with sl st. (6 sc)
- Round 2 (petal foundation): ch 3, dc in same st, ch 1, sl st in next st — repeat around to create tiny loops. You’ll have 6 little loop spaces. Join and fasten off if you like.
- Rose spiral (worked flat as a strip then rolled) — alternative (gives fuller rose):
- Ch 31. Row 1: sc in 2nd ch from hook and across (30 sc). Turn.
- Row 2: [ch 2, 3 dc in next st, ch 2, sl st into next st] across working one petal cluster per stitch; finish and fasten off leaving a long tail.
- Roll the strip from one end so the clusters form petals; tack with a few sewing stitches through the base as you roll to secure. Arrange petals to your taste.
- Optional second petal round: make a slightly larger round of petals and sew under the first for a layered bloom.
Band (two options)
A — Sew to a ring blank: Make a narrow crochet tube to cover the blank or simply sew the rose to felt, then glue/sew the felt to the ring base.
- Tube: Ch enough to wrap lengthwise around the blank (measure blank circumference). Join and work 1–2 rounds sc around for a snug cover; slip onto blank. Sew rose to top.
B — Fully crochet band (flat join):
- Ch the number of stitches computed for your finger (see sizing example). Join into a ring, careful not to twist.
- Round 1: ch 1, sc in each ch around. Join.
- Rounds 2–6: sc in each st until band height is about 4–6 rows (narrow band). Fasten off, seam ends with mattress stitch leaving an opening to insert motif base, then sew rose on top.
Finishing & assembly
- Hide raw ends inside the rose or band using a tapestry needle.
- For extra strength, place a small felt circle (1⁄2 in) behind the rose and sew through felt into band — this prevents stitches pulling out.
- Seal a small dab of craft glue on knots if the ring will be frequently handled.
Tips & variations
- Make mini buds by decreasing stitch counts for petite rings.
- Use variegated thread for tonal roses.
- For a vintage look, lightly steam the rose to open petals.
Care
- Hand wash cold and reshape petals while damp. Avoid machine washing if glued components are used.
2. Crochet Cupcake Ring Pattern
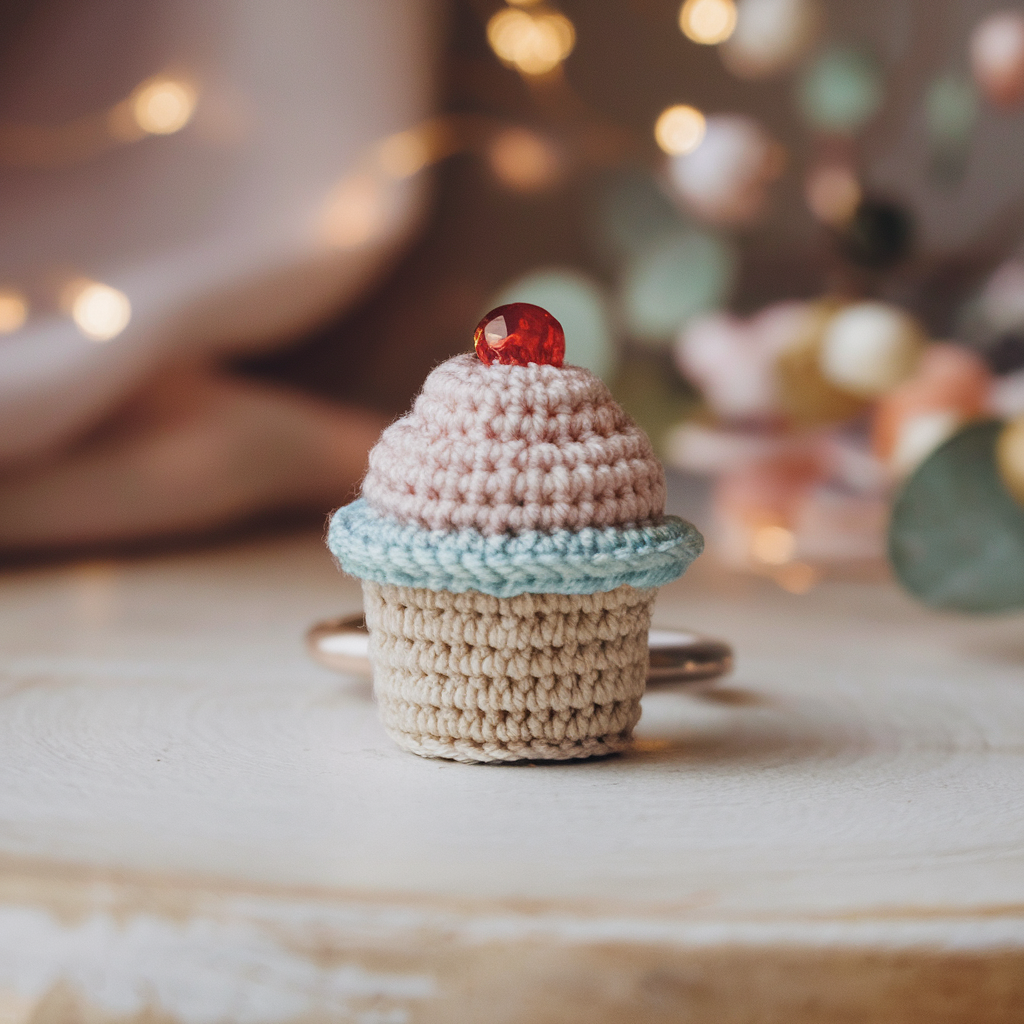
Playful and full of texture — a tiny “cup” base with a swirly frosting and a bead cherry on top.
Skill level
Easy–Intermediate (amigurumi-like cup + decorative puff stitch)
Finished size
Cupcake top diameter ≈ 1 in; band sized as shown earlier.
Materials
- Sport or fingering weight yarn (cup base and frosting contrast) — ~10–12 yd
- Hook: 2.5–3.25 mm
- Small red seed bead for cherry (or embroidery floss to stitch a cherry)
- Optional metal ring blank, tapestry needle, stuffing (small) if you want a puffier cupcake top
Cup base (worked in the round)
- Make magic ring. Round 1: ch 1, 6 sc into ring. Join. (6)
- Round 2: ch 1, 2 sc in each st around. Join. (12)
- Round 3: ch 1, sc in next st, 2 sc in next repeat to make ~18 sc. Join. (18)
- Round 4: ch 1, sc in each st around for 2 rounds to form the cup wall. Fasten off and weave in ends.
Frosting (swirl)
- Join frosting color in a top st. Ch 2, [tr, ch 1] x 3, sl st into next stitch to create a small puff cluster; continue around creating 6–8 small swirls. Or: make an icord-style spiral: chain 25, sl st back along chain to create a rope, then coil this rope on top of the cup and sew in place for a swirl.
- Optional: lightly stuff the frosting before attaching to make it plush.
Cherry
- Sew a tiny red bead or make a small french-knot style embroidered dot on top.
Band
- Use the ring blank: sew the cup bottom to a felt circle, glue/sew circle to blank. Or crochet a narrow tube as band and stitch cup to it.
Finishing
- Secure all pieces with small tight stitches. Add a tiny dab of clear craft glue on knot tails if desired.
Tips & variations
- Make “sprinkles” by sewing tiny embroidery stitches in bright colors on the frosting.
- Use boucle yarn for a fuzzy frosting effect.
Care
- Spot clean. If removable from ring blank, hand wash gently and reshape.
3. Sunflower Crochet Ring Pattern
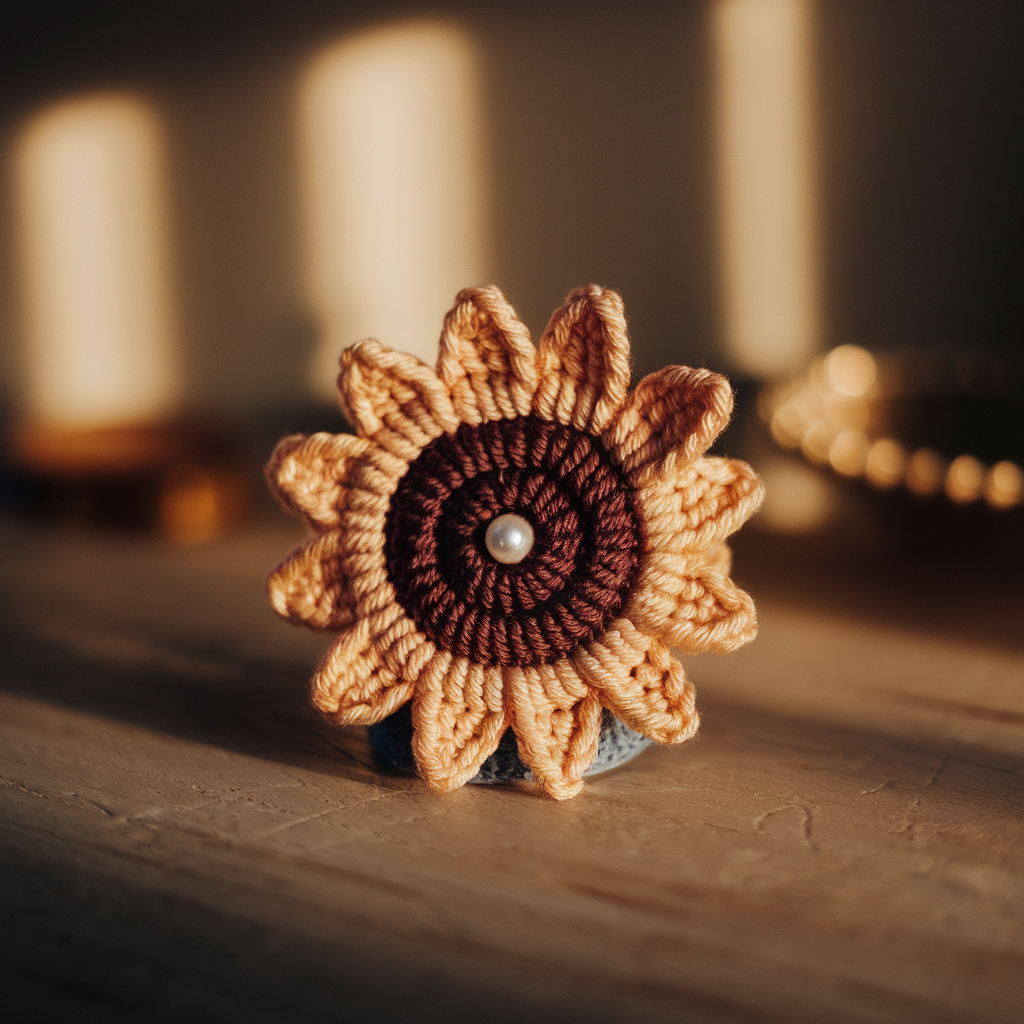
Bold center + pointed petals — a sunshine accent that photographs beautifully.
Skill level
Easy (round centre + petal rounds; great for contrast yarns)
Finished size
Sunflower diameter ~1.0–1.25 in (adjust by petal count/size).
Materials
- Worsted or cotton thread — brown/coffee for center, golden yellow for petals — ~8–12 yd total
- Hook 2.5–3.5 mm
- Optional small felt backing and ring blank or crochet band supplies
Center (flat disk)
- Magic ring. Round 1: ch 1, 6 sc into ring. Join. (6)
- R2: ch 1, 2 sc in each st around. Join. (12)
- R3: ch 1, sc in next st, 2 sc in next repeat around. Join. (18) — fasten off brown leaving tail for sewing.
Petal round (worked into outer round)
- Join yellow to any st on last round. Ch 2, (sc, hdc, 3 dc, hdc, sc) into same st, sl st into next st — repeat around producing 18 petals (one petal per stitch). Fasten off and weave ends.
- For more volume, add a second petal round offset between petals: join yellow in the loop between petals and repeat petal cluster smaller or larger to create layered look.
Band & assembly
- Sew the finished sunflower to a small felt circle, then attach to a metal ring blank, or sew directly to a crocheted band.
- If using a crochet band, make a narrow 6–8 row sc tube or make an adjustable chain and knot.
Tips & variations
- Use a small seed pearl or bead in the center for a jewelry look.
- Use variegated gold yarn for a rustic, farmhouse sunflower.
Care
- Cotton sunflowers machine wash gentle inside a delicates bag if sewn to a sturdy metal blank; otherwise hand wash.
4. Crochet Embroidered Ring Pattern
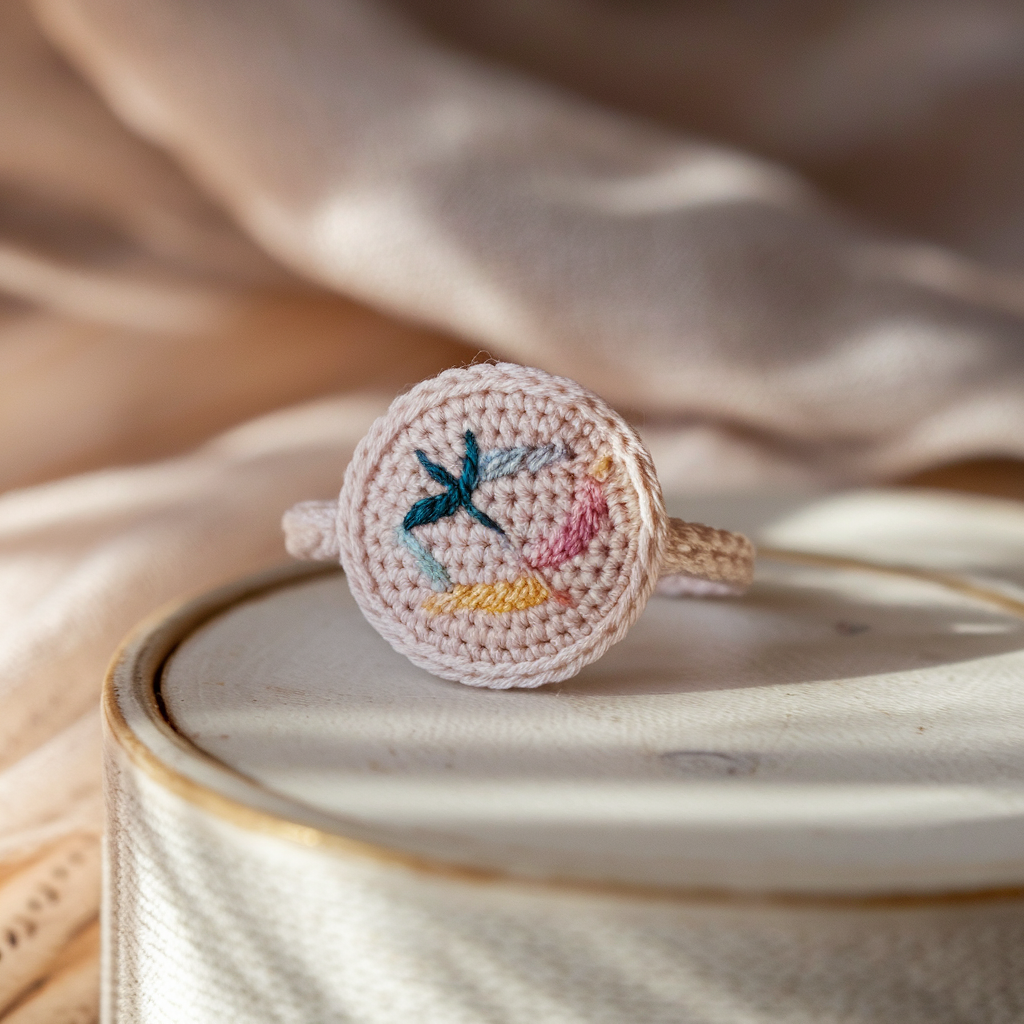
A flat crocheted disk becomes a mini canvas for embroidery — think tiny botanical or geometric motifs stitched on top.
Skill level
Intermediate (crochet disk + surface embroidery)
Finished size
Disk diameter 0.5–1.0 in; band sized to measurement.
Materials
- Lightweight yarn or crochet cotton (use a slightly firmer fabric so embroidery holds) — ~5–10 yd
- Hook 1.75–2.75 mm (smaller hook gives finer canvas)
- Embroidery floss or pearl cotton for stitching, tapestry needle, scissors
- Small ring blank or narrow crochet band
Disk (worked flat)
- Magic ring. Round 1: ch 1, 6 sc into ring. Join. (6)
- R2: ch 1, 2 sc in each st around. Join. (12)
- R3: ch 1, sc in next st, 2 sc in next repeat (18). Join. Fasten off leaving tail for sewing or continue one more round for larger disk.
Stabilize & embroider
- Lightly starch or iron disk flat (place a cloth between iron and disk) to make embroidery easier.
- Use small satin stitches, backstitch outlines, French knots, or seed stitch to embroider your design: tiny leaves, initials, dots, or a miniature rosebud. Because the canvas is small, keep motifs simple — 3–7 stitches often look best.
Attachment options
- Sew disk to ring blank (hide embroidery back with small felt circle).
- Or crochet a narrow band and sew disk to center, ensuring seams are tight and embroidery back is tidy.
Tips & variations
- For a metallic look, embroider with metallic thread — keep stitches short to avoid shredding.
- Make matched sets (two rings with mirror motifs).
Care
- Hand wash gently. Metallic embroidery may need extra care (spot clean).
5. Heart Crochet Ring Pattern
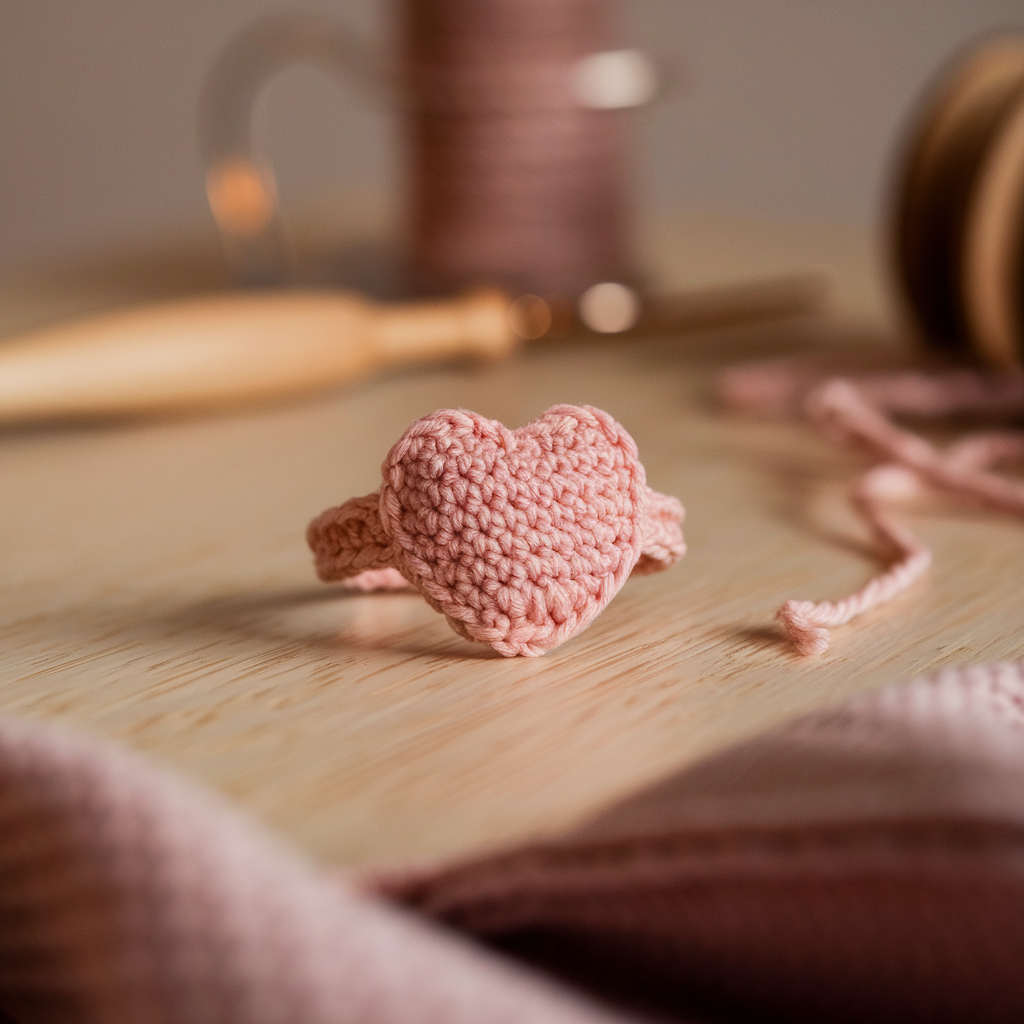
Sweet and simple — a tiny heart sitting on a slim band. Great as a gift or a stackable accent.
Skill level
Easy — small heart motif + simple band
Finished size
Heart about 0.5–0.9 in wide; band sized to finger.
Materials
- Crochet cotton or fingering yarn — small amount ~5 yd
- Hook 1.75–2.75 mm (adjust per yarn)
- Ring blank optional, small amount of felt for backing, tapestry needle
Heart motif (flat)
- Magic ring. Ch 1. Into ring work: sc, ch 3, (3 dc, ch 3, sc), sl st to next st — repeat once to form the two lobes, then work a short chain across to form the point and work scs back across to shape the lower point. (There are many small heart formulas; here’s a compact 6-st heart:)
Compact heart variant:
- Ch 4. Row 1: sc in 2nd ch from hook, sc in next, hdc in next, dc in last. Turn across opposite side of chain: dc, hdc, sc, sc. Join with sl st to base and pull to shape a small heart. Fasten off leaving tail to sew.
- Flatten and firmly sew the center stitches so the heart holds shape.
Band
- Crochet a narrow sc tube or make a small adjustable chain loop as in earlier patterns and attach the heart to top center.
Finishing
- Add a tiny bead or contrasting stitch in center for a focal point.
Tips & variations
- Make stacked heart rings (pair three narrow bands of varying colors).
- For children’s rings, sew heart to adjustable elastic ring blank for safety and fit.
Care
- Hand wash gently; cotton rings hold up well to mildly warm water.
Conclusion
Tiny, fast, and endlessly creative — crochet rings are the perfect projects when you want a quick jewelry fix or a beautiful handmade gift. These five patterns span romantic (rose), playful (cupcake), bold (sunflower), elegant (embroidered disk), and sweet (heart), so you can build a diverse ring collection or assemble a gift set.
Final practical checklist before you make a collection
- Swatch & size: Always make a quick band swatch to measure stitches per inch for the yarn & hook you plan to use — then use the sizing formula above.
- Reinforce attachments: Sew motifs through a small felt backing and into the band or ring blank for durability. Foam-stiff or glued edges can peel — sewing is best.
- Finishing polish: Weave in tails neatly on the underside and, if you use glue, allow full cure time before handling.
- Care tag: If you sell or gift rings, include a tiny care note: “Hand wash cold; reshape while damp. Remove before heavy chores or swimming.”
- Stacking & sets: These rings are delightful stacked — make sets of 3 (small rose + embroidered disk + heart) and package as a gift.