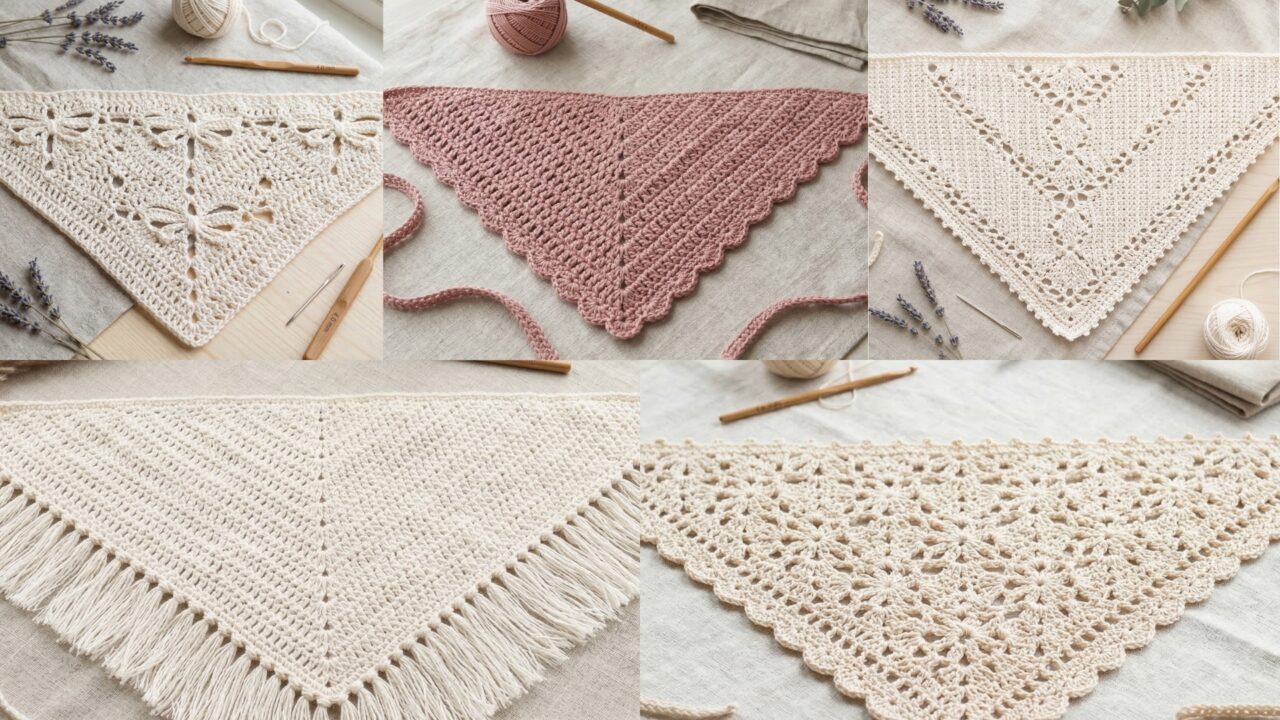
Handmade hair bandanas are a delightful mix of fashion and function: they’re light, portable, fast to make, and they gift beautifully. Whether your recipient likes vintage scallops, romantic lace, textured Tunisian stitches, playful dragonfly motifs, or a cozy fringe finish, this post contains five full patterns you can make start-to-finish. Each pattern below includes: skill level, finished size, materials, stitch list/abbreviations, very detailed step-by-step instructions (foundation, body repeats, edging, assembly), finishing & blocking, care tips, and variations so you can personalize for every taste.
Make a test strip before you commit to final sizing — yarn and tension affect finished width and drape. These bandanas are written to fit an adult medium head when tied as a triangle or folded as a headband; notes explain how to alter size for children or larger heads.
Quick shared notes (applies to all patterns)
- Abbreviations (US terms): ch = chain, sl st = slip stitch, sc = single crochet, hdc = half double crochet, dc = double crochet, tr = treble crochet, sk = skip, rep = repeat, st(s) = stitch(es), BLO/FLO = back/front loop only.
- Recommended yarn: cotton or cotton-blend (DK or sport) for crisp stitch definition and comfortable wear; fingering for delicate lace bandanas; worsted/bulky only for chunky fringe looks. Cotton is machine-washable and gift-friendly.
- Recommended hooks: specified per pattern; use a hook 0.5 mm smaller than label for tighter fabric or larger for drapier fabric.
- Finishing tips common to all: weave in ends neatly on WS; block to shape; include a small care tag when gifting (fiber, wash temp).
- Safety note: avoid tiny glued beads for bandanas meant for children under 3 — sew securely or omit.
1. Crochet Scalloped Hair Bandana Pattern
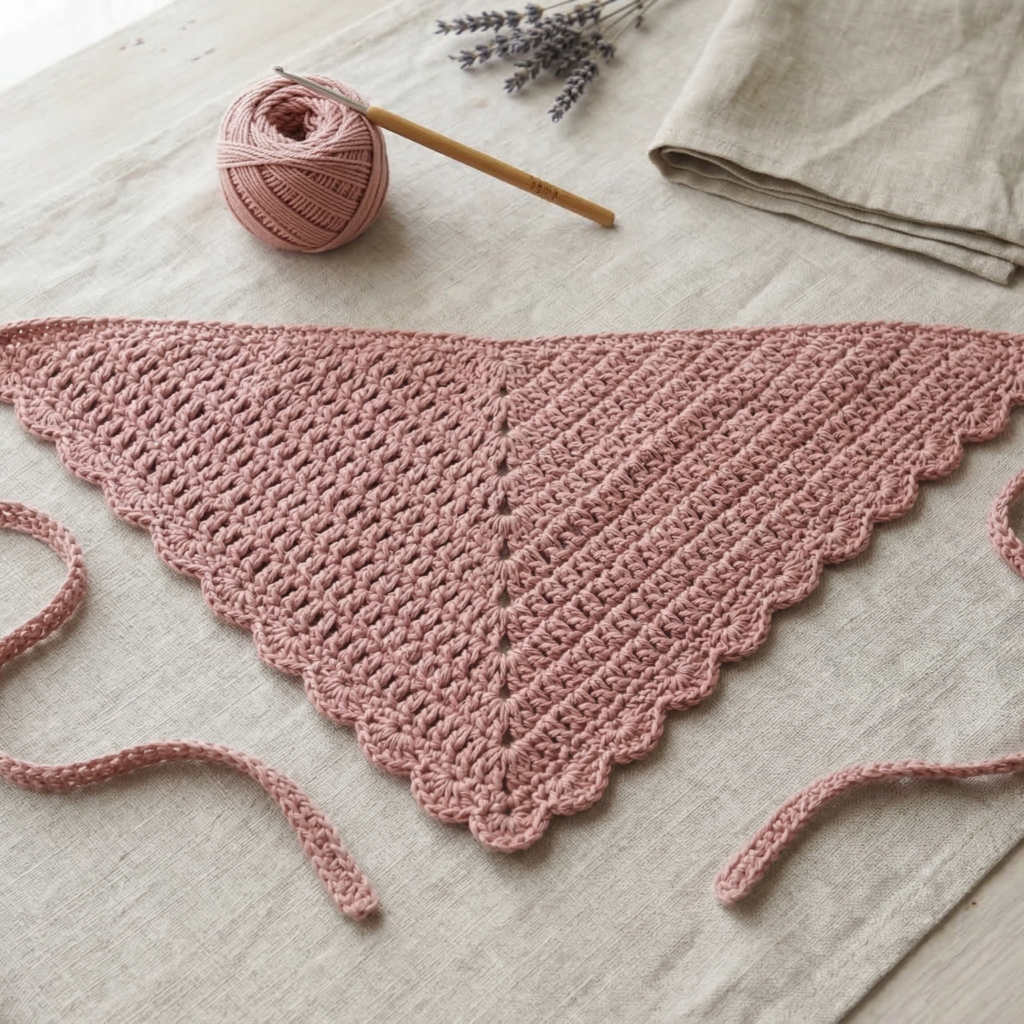
Skill level: Beginner — great first bandana using simple shells and scallops.
Finished size: Triangle bandana approx 22–24 in (56–61 cm) base × 12 in (30 cm) height (measured from base to point) — folds to a comfortable headband width when folded. Adjust chain count to change size.
Yarn & hook: Sport / DK cotton yarn, 150–200 yds; Hook 4.0 mm.
Materials: tape measure, tapestry needle, blocking pins.
Stitches used: ch, sc, dc, shell (5 dc in same st), sl st.
Pattern overview
You’ll make a centered triangle worked from the tip (point) up to the base using increases at edges and center. The scalloped shell border gives a decorative finish ideal for gift packaging.
Step-by-step
Foundation — magic chain for triangle tip
- Ch 4, join with sl st to form ring (or MR).
- Round 1 (tip): ch3 (counts as dc), 2 dc in ring, ch2, 3 dc in ring. Turn — you’ve formed the point (6 dc + ch2 corner).
Body — increase in center and edges (classic triangle granny logic)
- Row 2: Turn, sl st into first ch-2 corner space, ch3 (counts dc), 2 dc, ch2, 3 dc into same corner space (this makes the first corner at the point). Now ch1 (side space), 3 dc in next ch-1 space, ch1 — repeat across until you reach the opposite corner, then (3 dc, ch2, 3 dc) into corner space. Turn.
- Row 3+: Repeat Row 2, always working (3 dc, ch2, 3 dc) in each corner (there are always 2 corners) and placing 3-dc groups into each ch-1 side space. Keep repeating until the triangle measures desired height (check often; for 12 in height usually 18–22 rows in DK with 4.0 mm). Stop when base width ≈ 22–24 in.
Border — scalloped shell edge
- Fasten off and weave in loose tail temporarily. Attach yarn at one corner and work 1 round sc evenly around the triangle edge (work 3 sc in corner ch-2 spaces). Join with sl st.
- Next round (scallops): skip 2 sc, 5 dc in next sc (shell), skip 2 sc, sl st in next sc — repeat around. In corners, work shells spaced so they align nicely; you may do 3 dc shells in corner scs to avoid bunching. Fasten off and weave ends.
Optional headband finish
- Fold base up and tie behind head (classic bandana), or fold triangle base twice into a band and tie at nape for a headband style. If you prefer a fixed band, sew ends to a fabric loop with hidden stitches for a no-slip headband.
Blocking & finishing
- Wet-block pinned to triangle shape, especially scallops. Straighten shells so they form neat points.
- If you want a stiffer bandana, spray with diluted white glue or textile stiffener sparingly on shells — test on scrap first.
Variations
- Use two colors: make the triangle in main color and work scallop border in contrast for a framed look.
- For a narrower headband, stop when triangle is shorter and fold twice before tying.
Care
- Machine wash gentle for cottons; reshape and dry flat.
2. Crochet Lacy Floral Hair Bandana Pattern
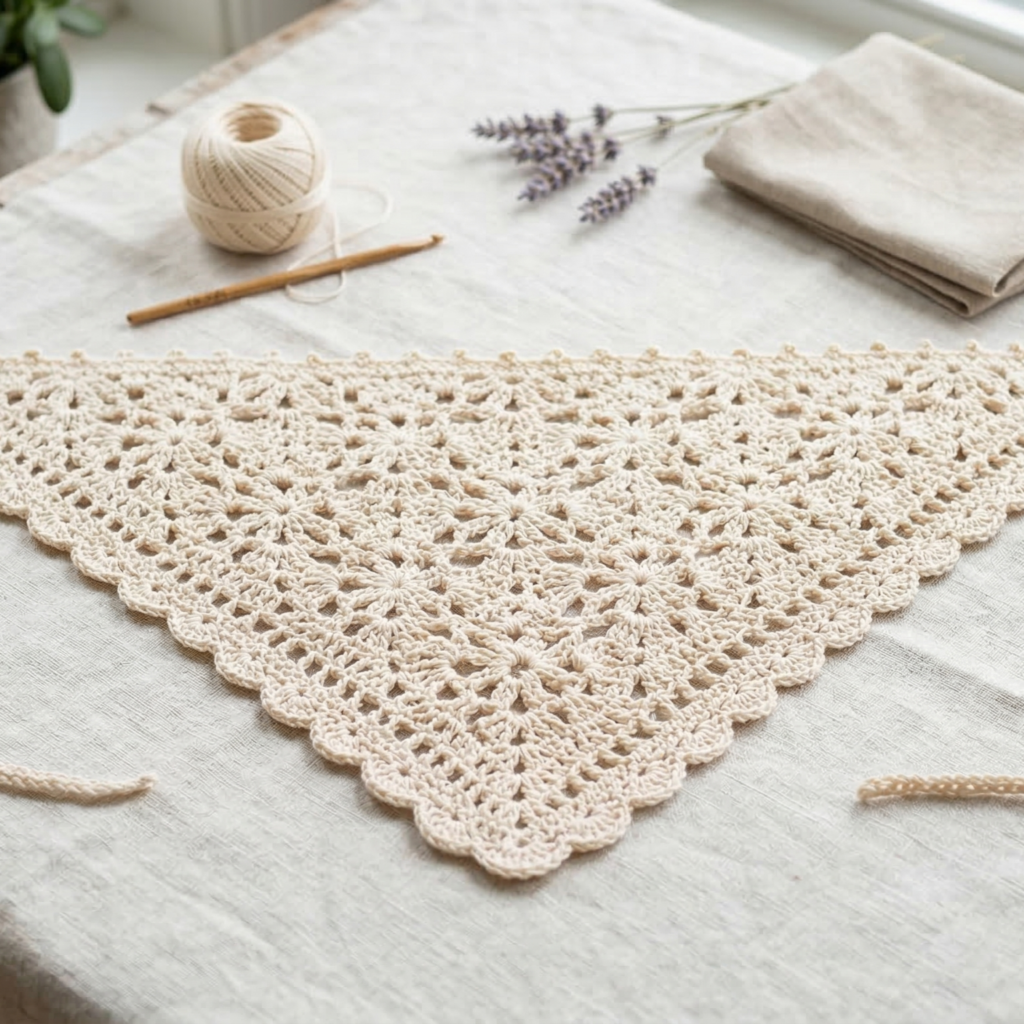
Skill level: Intermediate (lacy motifs + joining)
Finished size: Rectangular bandana (wrap style) approx 22–24 in wide × 8–10 in tall — easy to fold into a headband or tie as a small kerchief.
Yarn & hook: Fingering or light DK cotton for delicate lace; Hook 3.0 mm (or 2.75 mm for tighter lace). About 150–200 yds.
Materials: stitch markers, blocking mats, tapestry needle.
Stitches used: ch, sc, dc, tr, shell (3–5 dc), picot (ch3, sl st to create tiny point), V-st (dc, ch1, dc in same st).
Pattern concept
This pattern uses a repeat of lace rows that form floral arches — an open, romantic bandana that makes a lovely gift for spring. The bandana is worked flat as a rectangle and edged with a floral picot trim.
Step-by-step
Foundation
- Chain a multiple of 12 + 4. Example: ch 100 for 22 in width depending on gauge. Turn.
Row 1 (base)
- Row 1: sc in 2nd ch from hook and across. Turn.
Row 2 (setup for lace)
- Row 2: ch3 (counts as dc), sk 2, dc in next ch, ch2, dc in same st (V-st), sk 2, tr in next — repeat across ending with dc in final st. Turn.
Row 3 (arch formation)
- Row 3: ch1, sc across to anchor, make picot at top of each arch: sc in next 3, ch3, sl st into 1st ch to make picot, sc in next 3 — repeat. Turn.
Row 4 (floral shell)
- Row 4: join shells into ch-2 spaces: in ch-2 space work (sc, hdc, dc, hdc, sc) — this makes small floral clusters. Turn.
Repeat
- Repeat Rows 2–4 until bandana reaches desired height (~8–10 in). End with a finishing sc row.
Edge trim
- Work a round: sc along sides, and on top long edge work ch3, picot, sl st across for delicate points. At the base edge (bottom), add small scalloped shells: skip 2, 5 dc in next sc, skip 2, sl st.
Assembly
- Weave in tails. Lightly block with pins to open lace; use a spray bottle and leave to dry. Fold or roll into a headband or tie at the back.
Finishing touches
- Add a tiny crocheted flower sewn to one corner for focal interest. Use embroidery floss to make a few French knot accents in center of flowers.
Variations
- Work in mercerized cotton for luminous sheen or use very fine linen yarn for heirloom feel.
- For an edgier look, work a denser base and a single lace panel in the center as an inset.
Care
- Handle gently; hand wash if fine yarn used.
3. Crochet Tunisian Lacy Hair Bandana Pattern

Skill level: Intermediate (Tunisian crochet basics + lacy Tunisian stitches)
Finished size: Wide headband style or small bandana rectangle 22 in × 7–9 in depending on row count.
Yarn & hook: Sport or DK cotton; Tunisian hook (afghan hook) 3.5–4.5 mm; ~150–250 yds depending on size.
Materials: Tunisian / afghan hook, hook-cap or cable if needed, tapestry needle, blocking pins.
Stitches used: Tss (Tunisian simple stitch), Tfpg (Tunisian forward pass & return), Tks (Tunisian knit stitch), tps (Tunisian purl stitch), extended picots for edges.
Pattern concept
Tunisian crochet makes a firm but drapey fabric. This pattern uses Tunisian lace (openwork) repeats to create a soft bandana with a subtle ribbed back that grips hair well.
Step-by-step
Foundation chain
- Chain an even number plus 1 for turning: ch 85 for width ~22 in (adjust with gauge). Pick up on Tunisian hook.
Row 1 (forward pass)
- Forward pass: pick up loops in each chain: insert hook into 2nd ch from hook, yarn over and draw up a loop — continue across; keep all loops on hook (this is the forward pass).
Row 1 (return pass)
- Return pass: yarn over, pull through one loop (selvage), yarn over and pull through two loops across until one loop remains. This completes first Tunisian row.
Lace repeat (Tunisian lace motif)
- Row 2 forward pass (lace): Tss in next 2, yo, sk 1, tss in next 2 — pick up loops accordingly across following chart (Tunisian lace often uses yarn overs and skips to create holes).
- Return pass as usual.
Continue
- Repeat lace forward and return passes for selected number of pattern repeats until bandana reaches desired height (~8 rows of lace for 7–9 in height; Tunisian rows are taller than standard crochet rows so gauge matters). Finish with 1–2 rows of Tunisian simple stitch for a firm top and bottom edge.
Edge finishing
- Bind off Tunisian: work a Tunisian bind off: yarn over & pull through 2 loops method across to close edge neatly. Alternatively work a sc border with regular hook: attach yarn and sc around for tidy finish.
Assembly & sealing
- Weave in ends and block flat to open lace. If you want a headband (band) rather than triangle, seam the short sides with mattress stitch so RS faces out. For bandana, leave rectangle and fold/tie.
Why choose Tunisian?
- Tunisian lace bandanas are comfortable, keep shape well, and hold hairstyles without slipping. The fabric is slightly thicker than standard lace but drapes nicely.
Variations
- Use lighter yarn and a finer hook for delicate veils, or heavier yarn for a warm fall bandana.
Care
- Hand wash recommended for longevity; dry flat.
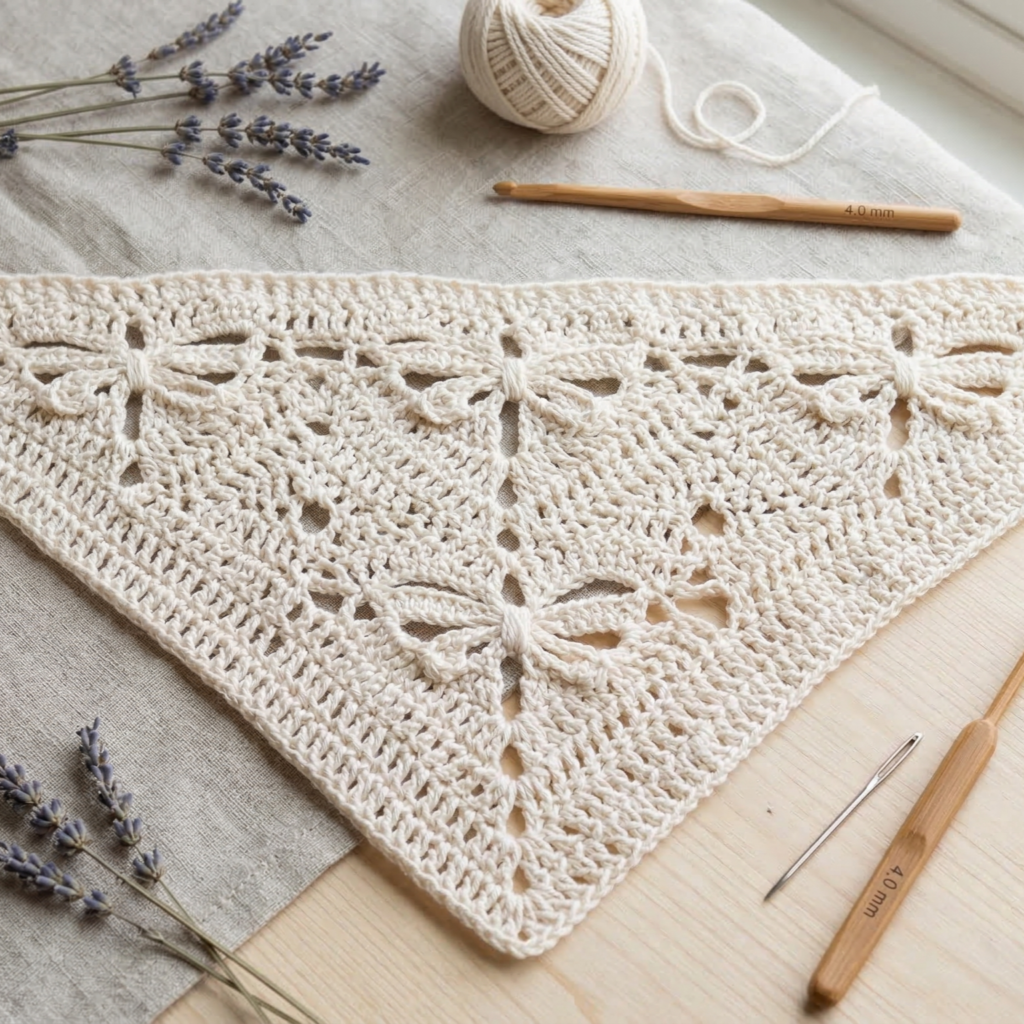
4. Crochet Dragonfly Stitch Hair Bandana Pattern
Skill level: Advanced-Beginner to Intermediate (textured repeat that resembles dragonfly motifs)
Finished size: Bandana rectangle approx 22–24 in × 8 in (works as headband when folded).
Yarn & hook: DK cotton, Hook 4.0 mm; ~150–200 yds.
Materials: measuring tape, tapestry needle, blocking tools.
Stitches used: ch, sc, dc, puff, dragonfly stitch (a cluster/puff combo), picot edge optional.
The dragonfly stitch (concept)
Dragonfly stitch is a textured cluster stitch that forms tiny wing-like groupings; worked in offset rows it reads as rows of dragonflies or little floral wings across the fabric. This pattern pairs dragonfly rows with grounding sc rows for structure.
Step-by-step
Foundation chain
- Chain a multiple of 6 + 4. Example ch 100 (or adjust for width). Turn.
Row 1 (base)
- Sc in 2nd ch from hook and across. Turn.
Row 2 (dragonfly unit setup)
- Ch3 (counts as dc), skip 2 sts, into next st work puff-cluster: (yo, insert, pull up loop) ×5 (5 loops on hook), yo and pull through all loops, ch1 to secure (puff), sk 2, dc in next — repeat across. Turn.
Row 3 (anchor)
- Ch1, sc across anchoring each puff below: sc in ch-1 space after each puff and sc in dc stitches across. Turn.
Repeat
- Repeat Rows 2–3 for desired height (about 8–10 rows for 8 in height). The alternating pattern gives texture and breathability.
Edge & picots
- Work a neat sc border around rectangle. To embellish, every 3rd sc work picot (ch3 sl st into first ch) for dainty points.
Assembly
- Fold, tie, or seam into a headband; for a triangular bandana, work the dragonfly pattern into a triangle by increasing at center and edges as in the scalloped pattern (advanced adaptation).
Finishing
- Light steam block to shape puffs nicely. For puff stability apply light starch if you prefer structured texture.
Variations
- Make dragonflies pop by using a slightly lighter or darker yarn for every other dragonfly row for subtle striping.
- Add tiny beads in center of some puff clusters for sparkle (sew beads on carefully and avoid for small children’s gifts).
Care
- Puff stitches can flatten with rough washing — hand wash or gentle machine wash in mesh bag; reshape while damp.
5. Crochet Ivory Fringe Hair Bandana Pattern

Skill level: Beginner — classic rectangle with soft fringe for boho gifts.
Finished size: Rectangle 24 in × 6–8 in plus fringe (fringe length optional 2–4 in).
Yarn & hook: DK or worsted cotton in ivory or off-white for warm look; Hook 4.0–5.0 mm; ~200–250 yds.
Materials: scissors, tapestry needle, ruler for fringe, comb (optional).
Stitches used: ch, sc, hdc, dc, extended dc rows for drape; fringe made from yarn strands.
Pattern concept
Work a simple open fabric with alternating dc/hdc rows for drape and attach even fringe across the base for a soft boho finish — a perfect gift for bridesmaids or cozy wardrobes.
Step-by-step
Foundation
- Chain 100 (or measure to desired width ~24 in). Turn.
Body (quick drapey repeat)
- Row 1: dc in 4th ch from hook and across. Turn.
- Row 2: ch2 (counts hdc), hdc across. Turn.
- Row 3: dc across. Turn.
- Repeat Rows 2–3 until band reaches 6–8 in in height. End on dc row for neatness.
Border
- Sc around entire rectangle to tidy. Work 3 sc in corners. Fasten off.
Fringe
- Cut yarn strands double the desired fringe length (e.g., for 3 in fringe cut 6 in strands). Group strands in sets of 4–6 for each fringe tassel (depending on yarn thickness). Attach using lark’s head knots through base stitches across the long edge: fold group in half, pull loop through base stitch, pull tails through loop and tighten. Space tassels 1/2–1 in apart for full fringe. Trim evenly.
Finishing & styling
- Optional: comb fringe lightly to separate strands for a feathery look. For a beachy vibe lightly twist each tassel with a small amount of water and let dry.
Variations
- Add bead at top of each tassel for glam.
- Make triangular bandana by shaping with increases on sides (advanced).
Care
- Fringe may tangle; wash in mesh bag and gently comb dry if needed.
Conclusion
These five hair bandana patterns give you a wide range of styles to gift and wear: classic scalloped triangles, romantic lacy florals, textured Tunisian lace, playful dragonfly motifs, and cozy ivory fringe. Each pattern is written so you can scale for children or larger heads, personalize yarn and color, and add finishing touches (fringe, beads, buttons, non-slip backing) to suit the recipient. A handmade bandana makes a thoughtful, compact gift — tuck it into a small box with a care tag and it’s ready for giving.