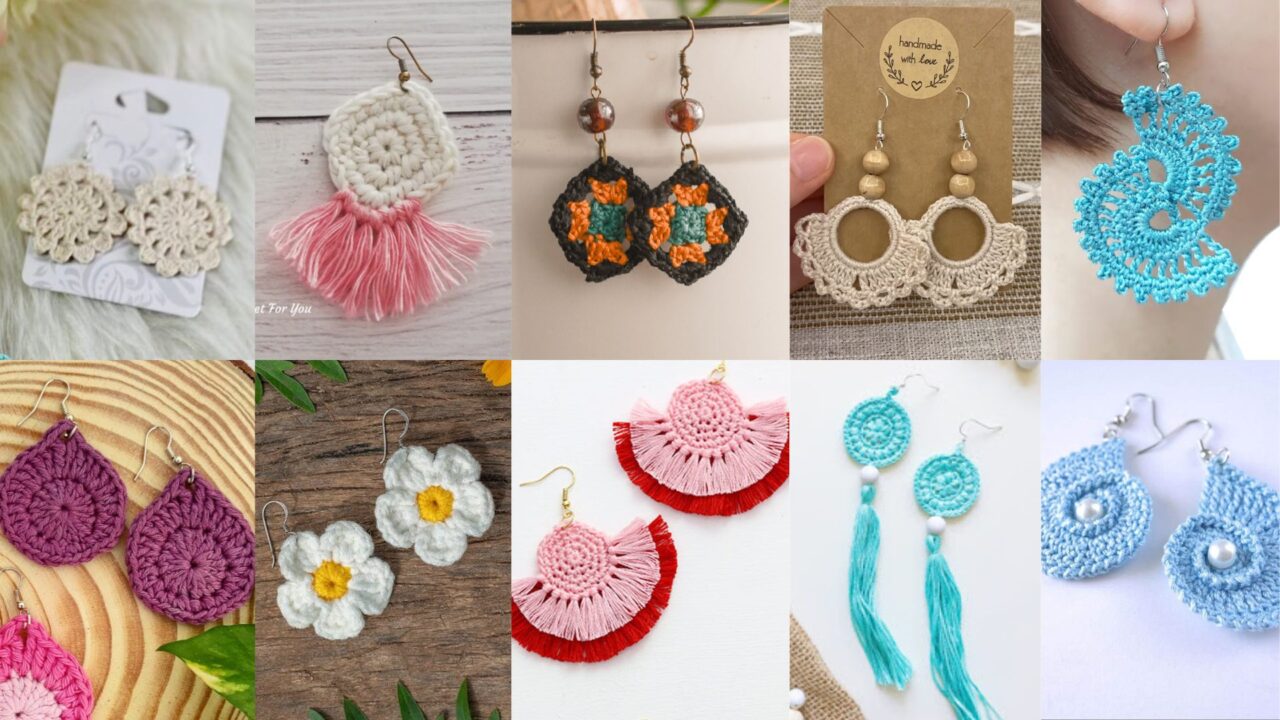
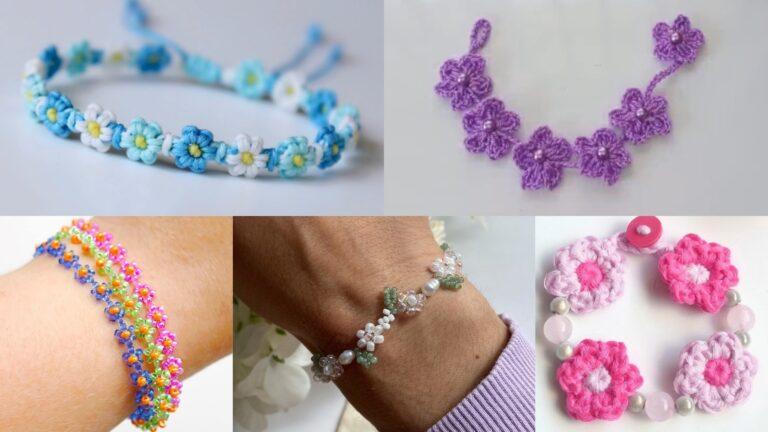
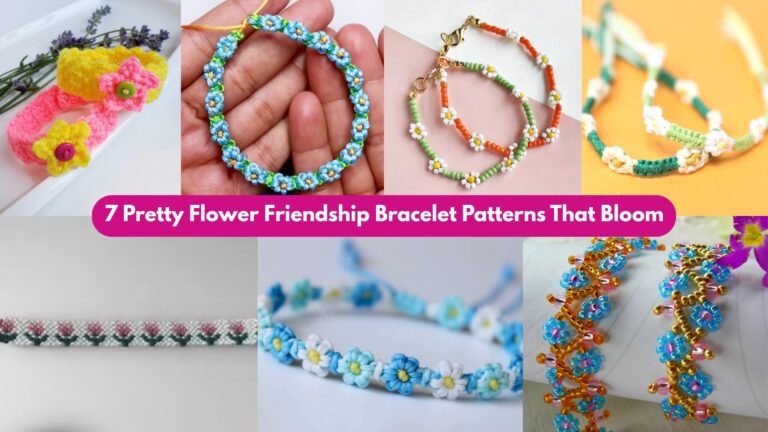
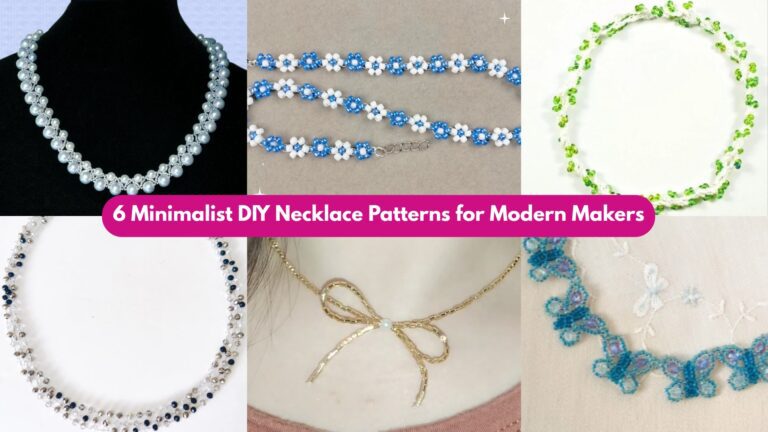
Small, lightweight, and endlessly customizable, crochet earrings are a fast way to add handmade flair to any outfit. For jewelry you want to wear, use mercerized cotton, embroidery floss, or fine sport/DK yarn with a small hook for crisp detail and light weight. In this post you’ll find ten stylish earring designs with full materials lists, stitch methods, clear step-by-step construction (US terms), plus Variations and Finishing & Tips for each design so your finished pieces look professional and feel great to wear.
Quick stitch legend (US terms): ch = chain, sl st = slip stitch, sc = single crochet, hdc = half double crochet, dc = double crochet, tr = treble, st(s) = stitch(es), inc = increase (2 sts in same st), dec = decrease (sc2tog), BLO = back loop only, FLO = front loop only.
1. Crochet Seashell Earrings with a Pearl Pattern
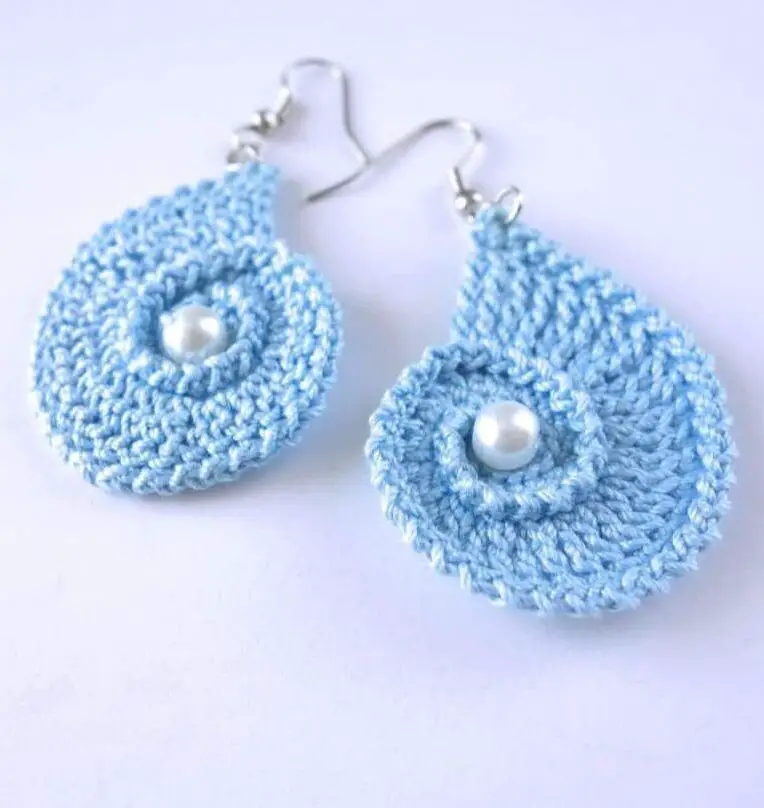
Skill level: Beginner → Intermediate
Finished size: ~2–3 cm shell + pearl drop (adjustable)
Materials
- Size 10 crochet thread or fine fingering cotton
- Hook 1.75–2.5 mm
- 2 small faux/glass pearls (3–4 mm)
- 2 headpins (optional) or beading thread for sewing pearl on
- 2 jump rings, 2 earring hooks, pliers, tapestry needle
Stitch method
Magic ring → fan/shell round (sc, hdc, 3 dc cluster, hdc, sc).
Step-by-step
- Make a magic ring. Ch 1, work 6 sc into ring; pull tight and join with sl st. (6 sc)
- Rnd 2: evenly make 3 (or 4 for a fuller fan) loop spaces with ch 2, sl st in next st; join.
- Rnd 3 (shell): In each ch-2 loop work (sc, hdc, 3 dc, hdc, sc). Fasten off leaving a tail for weaving.
- Pearl (dangle): Thread pearl on a short headpin, make a loop, attach to bottom center stitch with a small jump ring — or sew pearl into center with beading thread.
- Attach a jump ring through a top shell stitch and add the earring hook. Neaten and weave ends.
Variations
- Link two shells for a double-drop earring.
- Work in metallic thread for evening sparkle or pastel for beachy vibes.
- Sew tiny seed beads to the shell edge as accents.
Finishing & Tips
- Block gently to open fan shape.
- Keep shells small to remain lightweight.
- Use matte pearls for casual looks; glossy for dressy.
2. Dahlia Crochet Earrings Tutorial
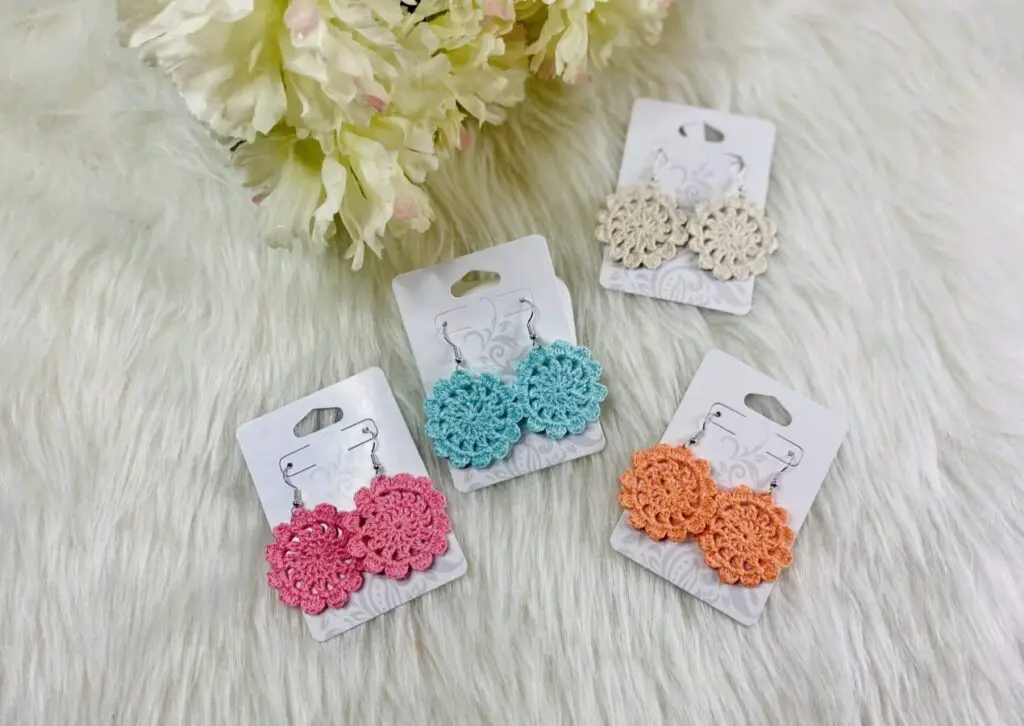
Skill level: Intermediate
Finished size: ~2–3.5 cm diameter
Materials
- Embroidery floss or fine mercerized cotton (center + petal color)
- Hook 1.75–2.25 mm
- Optional felt discs for backing, earring hooks, jump rings, tapestry needle
Stitch method
Center disk (sc rounds) → petal loop round → petal shells → picot or sc edging.
Step-by-step
- Center: MR, ch 1, 6 sc into ring; join. (6)
- Petal loops: ch 2, 2 dc in same st, ch 2, sl st in next st — repeat to create 6 looped bases; join.
- Petal shells: In each loop work (sc, hdc, 3 dc, hdc, sc); join.
- Optional 2nd layer: Join a contrast color between petals and make small shells between first-layer petals for fullness.
- Edge: Work 1 round sc around outer edge; add picots sc 2, ch 3, sl st at base of ch 3 for delicate points. Fasten off.
Variations
- Sew a tiny bead or pearl into the center.
- Make multi-layer dahlias by adding another petal round.
- Mount on a small metal stud disc for stud earrings.
Finishing & Tips
- Back with felt for stability before attaching hardware.
- Lightly stiffen with diluted fabric stiffener for crisp petals.
- Keep sizes under ~3.5 cm for wearable weight.
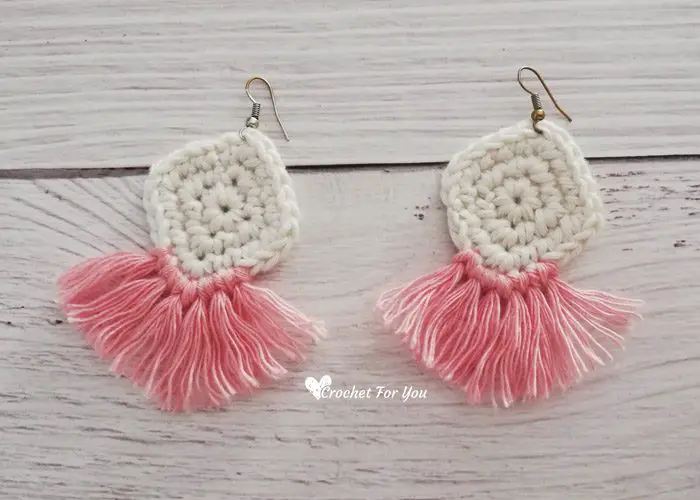
3. Boho Style Crochet Earrings Pattern
Skill level: Beginner → Intermediate
Finished size: variable (3–10 cm depending on fringe)
Materials
- Lace-weight cotton or embroidery floss (or thin cord for chunkier look)
- Hook 1.75–3.5 mm (depending on yarn)
- Optional metal half-hoop or wooden hoop, jump rings, earring hooks, small wood beads, pliers, comb
Stitch method
Tiny motif (micro-circle or micro-granny) → dense fringe attached with lark’s head knots.
Step-by-step
- Motif: MR, ch 1, 8 sc in ring; join. Work 1 round hdc/dc if wider base is needed. Fasten off leaving tail.
- Fringe: Cut many strands at twice desired finished length + 1–2 cm. (6–8 cm fringes are dramatic; shorter for subtle.)
- Attach fringe: Fold strand in half, pull fold through motif edge and pull ends through loop (lark’s head). Repeat across bottom edge.
- Add beads on some strands and knot below beads to secure. Trim and shape fringe. Attach jump ring and hook.
Variations
- Use a metal half-hoop and attach fringe to the hoop for structure.
- Combine different thread textures for contrast.
- Dye fringe tips for ombré effects.
Finishing & Tips
- Comb and trim for a polished look.
- Seal wooden beads with varnish to protect from oils.
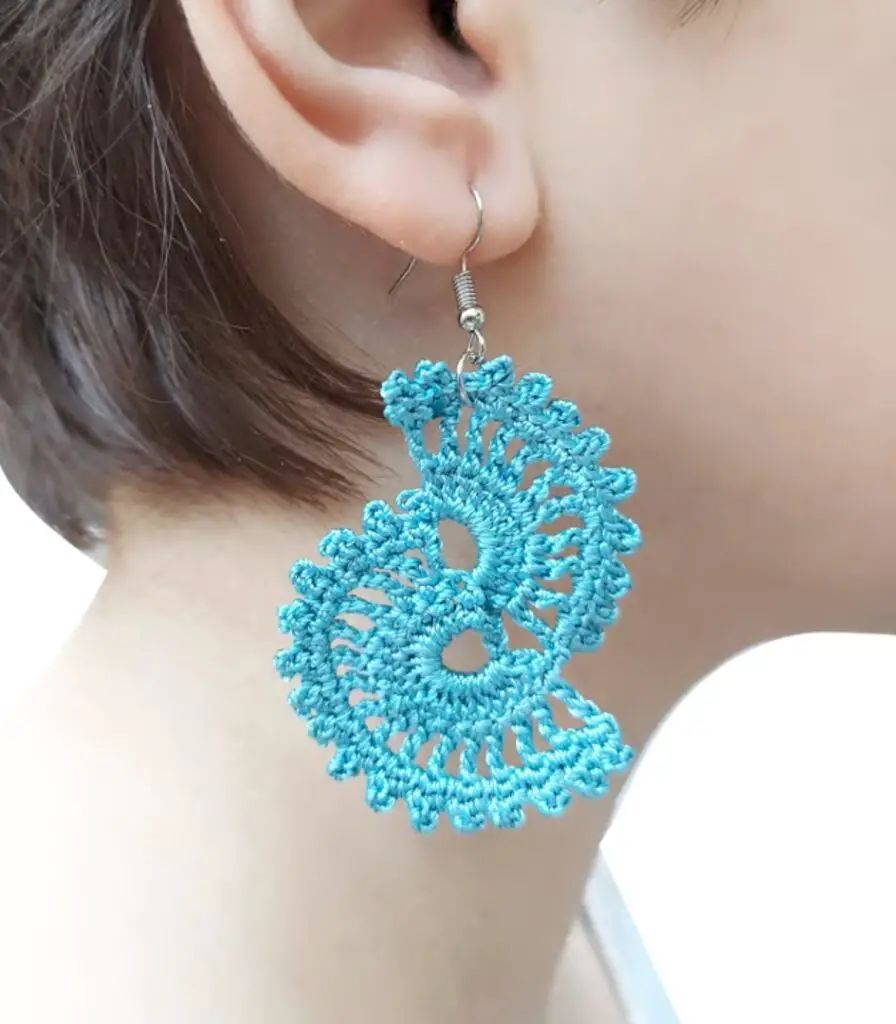
4. Crochet Spiral Earrings Tutorial
Skill level: Beginner
Finished size: 2–4 cm spiral (or longer coil drop)
Materials
- Embroidery floss or fine thread, hook 1.75–2.25 mm
- Jump rings, earring hooks, tapestry needle
Stitch method
Continuous spiral built from 3-dc clusters separated by ch-1 gaps (worked without joining).
Step-by-step
- Ch 4, sl st to form small ring. Ch 3 (counts as dc), work 2 dc in loop; ch 1, 3 dc in loop — repeat to make 5–7 clusters. Continue working in a continuous spiral (don’t join).
- Add clusters until desired diameter; fasten off and weave tail into center.
- Block flat or over a dome to set curvature. Attach a jump ring through an outer cluster and add hook.
Variations
- Make elongated spirals for drop earrings.
- Work with two colors spiraled together for a marled look.
- Sew a small bead at the spiral center.
Finishing & Tips
- Metallic thread highlights the spiral.
- If spiral resists flattening, steam-block lightly.
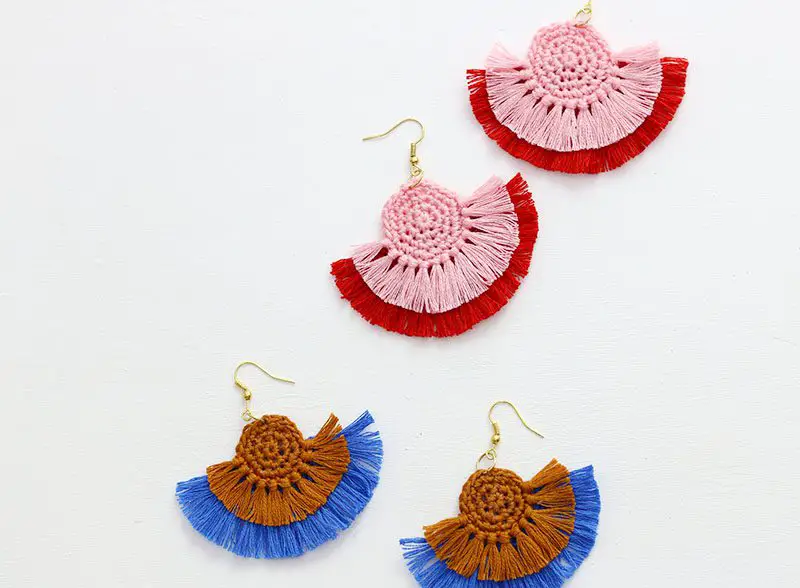
5. Crochet Fringe Statement Earrings Pattern
Skill level: Intermediate
Finished size: statement 6–10 cm (adjust to comfort)
Materials
- Fine cotton cord or mercerized cotton; metal bar or semicircle frame optional
- Hook 3–4 mm for base; finer thread for fringe if desired
- Jump rings, earring hooks, pliers, scissors
Stitch method
Firm top base (tight sc/hdc rounds or yarn-wrapped bar) → densely attached lark’s head fringe.
Step-by-step
- Top base: MR, ch 1, 10 sc in ring; join and work 1–2 rounds hdc to make a firm strip. Or wrap and cover a small metal bar with sc until covered.
- Cut many fringe strands to desired length ×2. Fold and attach using lark’s head knots across bottom edge.
- Shape fringe to V, U, or straight line; add a few beaded strands if desired. Attach jump rings and hooks.
Variations
- Mix rayon and cotton for sheen + matte contrast.
- Add beaded threads or metallic strands for sparkle.
Finishing & Tips
- Keep length comfortable and avoid too-heavy beads.
- Secure knots with a tiny dab of clear glue hidden under the base for longevity.
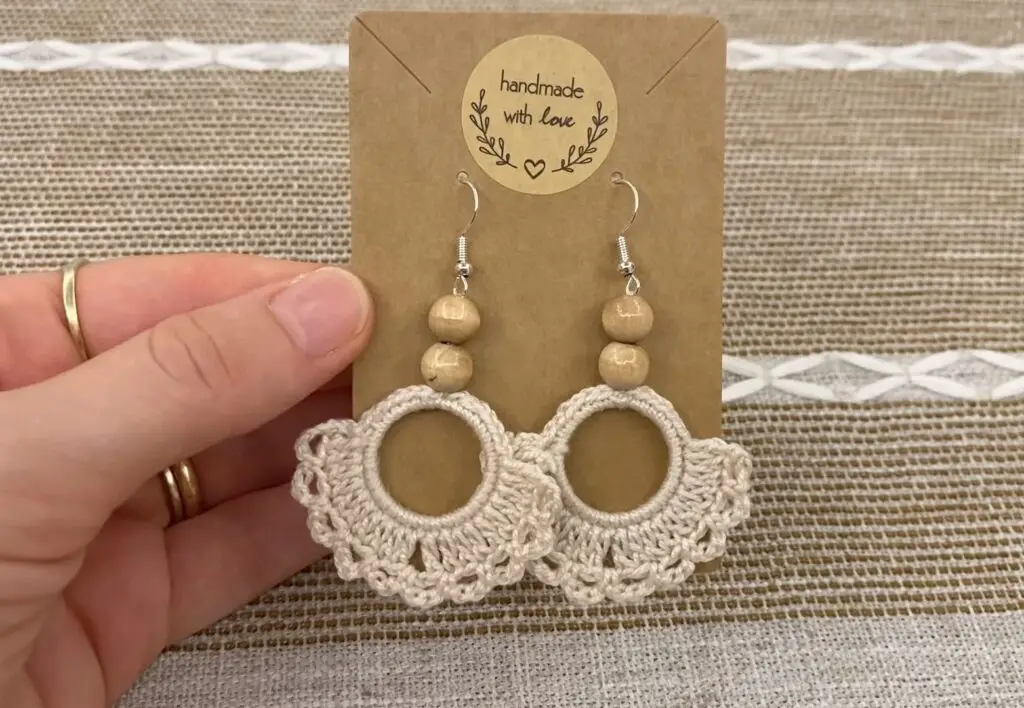
6. Boho Wood Beaded Crochet Earrings Tutorial
Skill level: Beginner
Finished size: 4–7 cm depending on strands
Materials
- Embroidery floss or fine cotton, hook 1.75–2.5 mm
- Small wood beads with large holes, jump rings, earring hooks, pliers
- Optional small metal spacer beads, varnish for beads
Stitch method
Small crocheted top loop or arc → multiple beaded strands attached by lark’s head knots or sewn.
Step-by-step
- Top loop: ch 12, join into ring and work sc across chain to make a firm loop; join and fasten off.
- Make bead strands: On doubled thread string 2–5 wood beads, knot below beads. Make many strands of varying lengths.
- Attach strands: Use lark’s head knots to secure strands along the loop; balance for symmetry.
- Add jump ring to top and hook.
Variations
- Alternate natural and painted beads.
- Add a small crochet tassel beneath the bead column.
Finishing & Tips
- Varnish beads to protect finish.
- Keep bead counts low (3–5) to minimize weight.
7. Mint Spirit Earrings Crochet Pattern
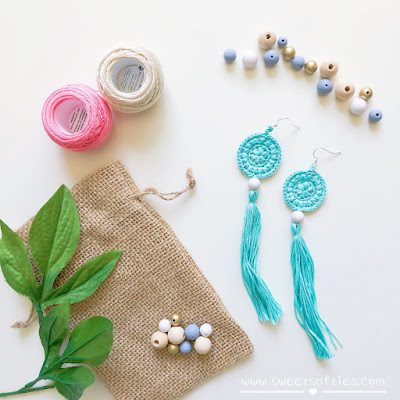
Skill level: Beginner
Finished size: ~2.5–4 cm teardrop
Materials
- Mint-green mercerized cotton or fine thread, hook 1.75–2.5 mm
- Small silver or glass bead for center, jump rings, earring hooks
Stitch method
Chain-arch base → petal shell fill → center bead embellishment.
Step-by-step
- Ch 12, join with sl st; Rnd 1: ch 1, sc in each ch around (12 sc); join.
- Rnd 2: ch 4, skip next st, sl st in following — make 6 arches; join.
- Rnd 3: In each arch work (sc, hdc, 3 dc, hdc, sc); join and fasten off.
- Sew a tiny silver/glass bead into the center and attach jump ring + hook.
Variations
- Use ombré mint thread for a modern gradient.
- Replace bead with a tiny pearl for dressy pairs.
Finishing & Tips
- Block over teardrop form for a crisp silhouette.
- Mint pairs beautifully with rose-gold findings.
8. Crochet Tear Drop Earrings Tutorial
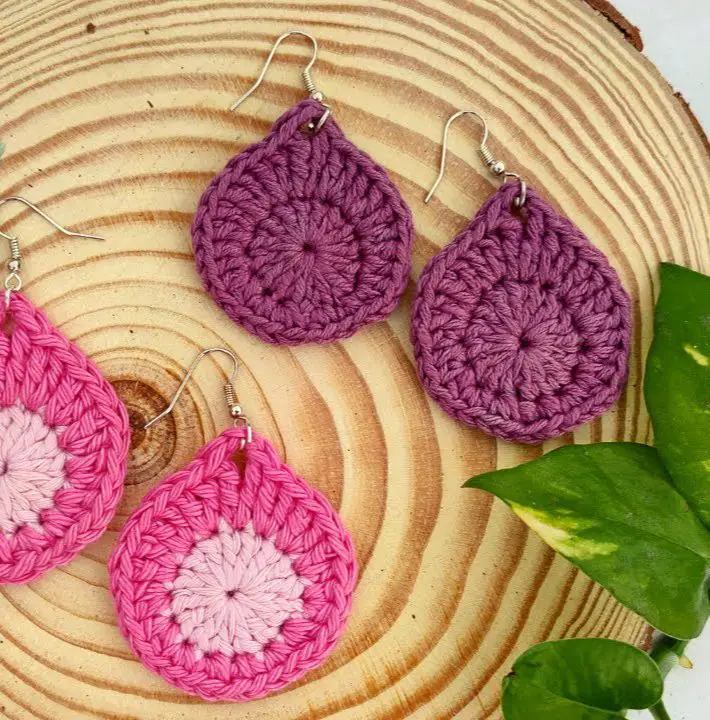
Skill level: Beginner
Finished size: 2–5 cm depending on increases
Materials
- Fine cotton thread, hook 1.75–2.5 mm, jump rings, earring hooks
Stitch method
Chain frame → shaped increase rounds → optional airy mesh interior.
Step-by-step
- Ch 12 and join to form loop. Rnd 1: sc in each ch around (12); join.
- Rnd 2 (shape): ch 1, sc 3, (hdc, dc) in next st, (dc, hdc) in next st, sc remaining; join. Repeat increases once to deepen teardrop curve.
- Fill interior with airy mesh (ch 3, sl st skip 1 repeats) or leave hollow. Fasten off.
- Block over cone and attach jump ring + hook.
Variations
- Suspend a small bead or charm inside hollow teardrop for motion.
- Stack two teardrops (small + large) for layered statement.
Finishing & Tips
- Mold shape by pinning and lightly spraying while blocking.
- Metallic thread makes them evening-ready.
9. Colorful Crochet Granny Square Earrings Pattern
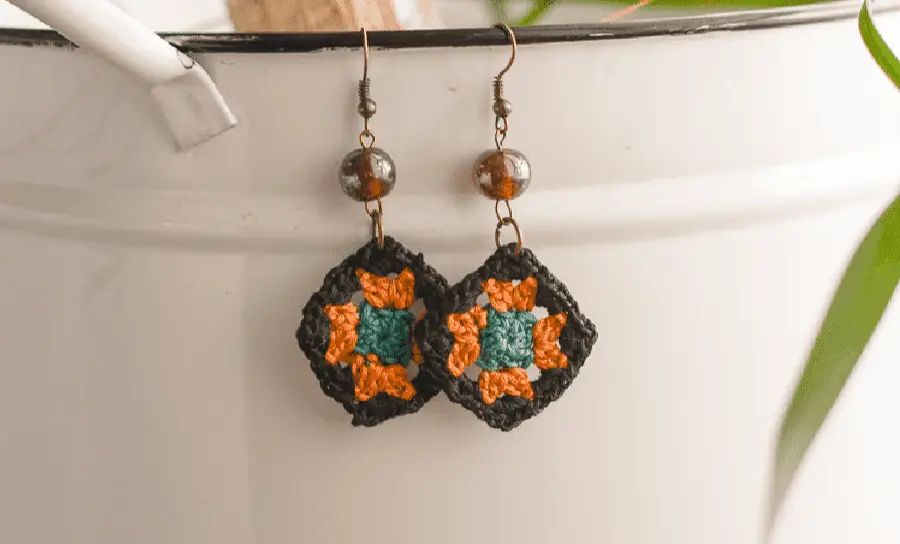
Skill level: Beginner
Finished size: 1.5–3 cm micro square
Materials
- Embroidery floss or fine cotton in 2–4 colors, hook 1.75–2.25 mm
- Jump rings, earring hooks, pliers, tapestry needle
Stitch method
Micro granny clusters — small center ring → 4-corner cluster → add rounds for size.
Step-by-step
- Ch 4, sl st into ring. Rnd 1: ch 3 (counts as dc), 2 dc in ring, ch 2 (corner); 3 dc, ch 2 repeat 3×; join.
- Rnd 2: change color; in each ch-2 corner work (3 dc, ch 2, 3 dc). Work 3-dc clusters on sides as needed; join and fasten off.
- Block flat to open clusters and attach a jump ring at one corner; add hook.
Variations
- Bright contrasting colors for festival looks or tonal palettes for elegance.
- Sew a tiny bead in center for sparkle.
- Stack two micro squares offset on one hook for a layered boho style.
Finishing & Tips
- Keep squares under ~3 cm for comfortable wear.
- Close jump rings securely so squares don’t slip off.
10. Crochet Floral Daisy Earrings Tutorial
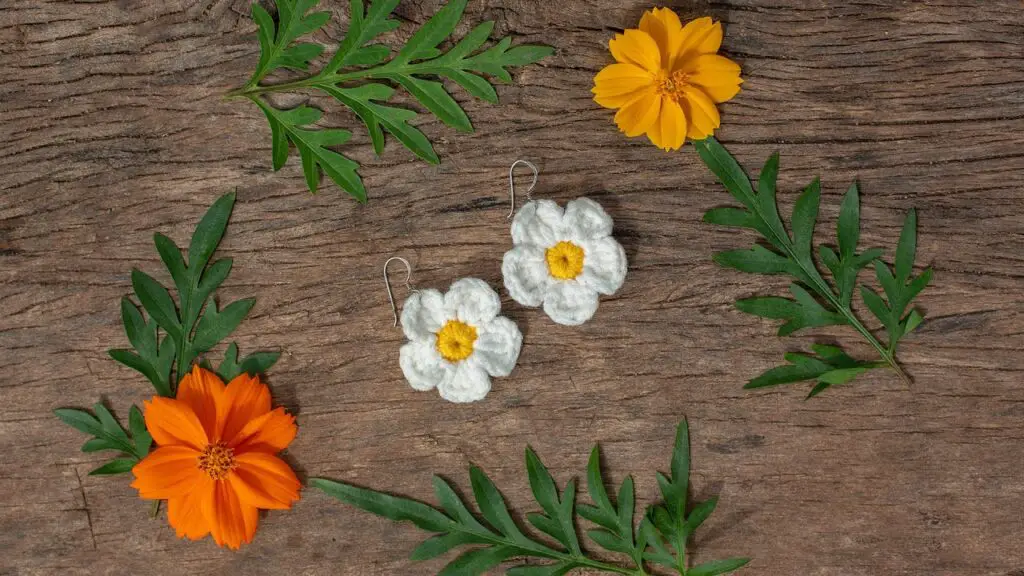
Skill level: Beginner
Finished size: ~2–3 cm per daisy
Materials
- Fine thread for petals (white or color), small yellow thread for center, hook 1.75–2.25 mm, jump rings, earring hooks, tiny center bead (optional)
Stitch method
Center disk (sc rounds) → petal loop round → petal shell fill (sc, hdc, 2 dc, hdc, sc).
Step-by-step
- Center: MR, 6 sc; join.
- Petal loops: ch 2, sl st in next st around to form 6 loops; join.
- Petal shells: In each loop work (sc, hdc, 2 dc, hdc, sc); join and fasten off.
- Sew a tiny bead into the center or embroider a yellow French knot. Attach jump ring through a top petal stitch and add hook.
Variations
- Cluster three daisies on one hook for playful clusters.
- Use pastel shades for a vintage feel or bold colors for modern flair.
Finishing & Tips
- Stiffen petals lightly if you want sculpted shapes.
- Back daisies with felt for extra stability if attaching heavier hardware.
Conclusion
Crochet earrings are a delightful, small-scale way to show off color, texture, and stitch knowledge — and they’re perfect for handmade gifts, market stalls, or refreshing your jewelry drawer. Start with an approachable motif (granny square, daisy, or seashell) to practice gauge and weight, then layer techniques: add beads to spirals, fringe under flowers, or pair wooden beads with fine crochet for earthy boho pairs. Always choose lightweight threads and keep diameters modest so earrings are pleasant to wear.
Block motifs for crisp shapes, back motifs with a small felt disc for durability, close jump rings securely, and test a single finished earring on a sensitive ear before producing a whole batch. Enjoy experimenting with color and texture — the best pairs are the ones you’ll keep wearing.
Happy stitching — can’t wait to see which designs you make sparkle on and off the blog! ????✨


