

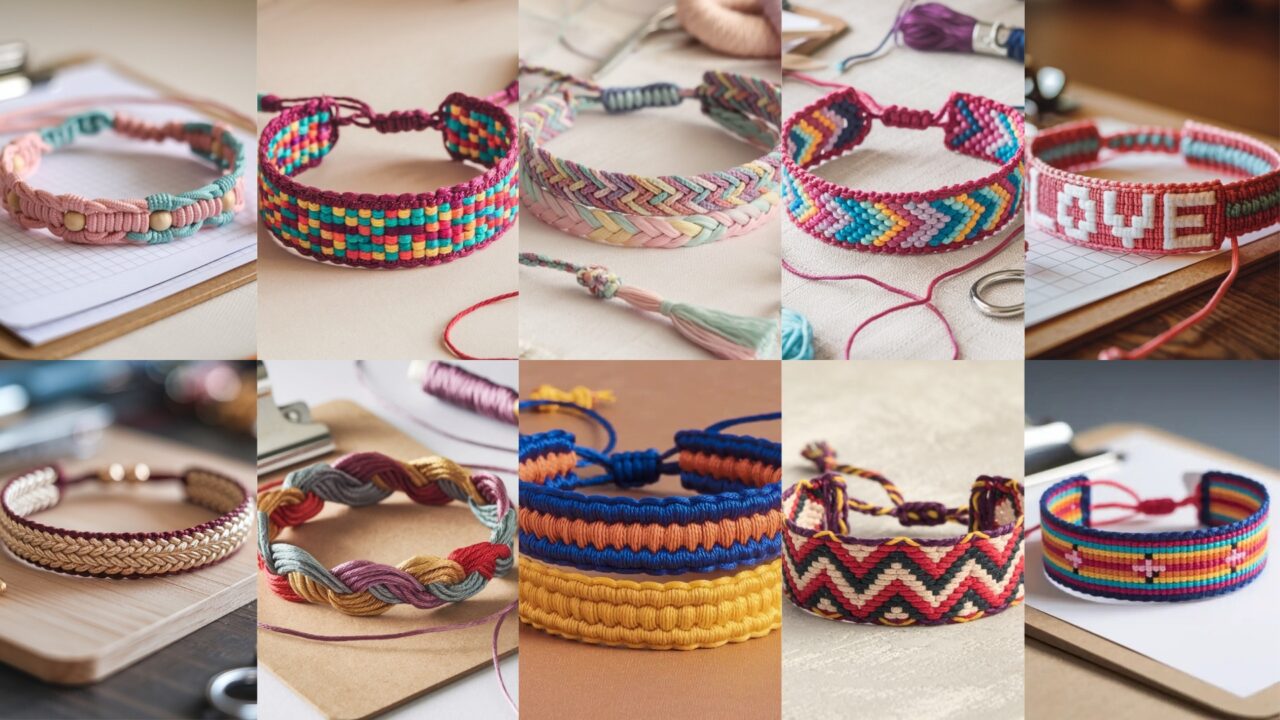
Friendship bracelets are the original handmade token: bright, personal, inexpensive, and endlessly tweakable. They’re perfect for learning knots, practicing patterns, using up scrap embroidery floss, and gifting to friends who will wear them with pride. This post walks you through 10 beginner-friendly bracelet patterns — each with a clear Skill level, Finished size guidance, Materials list, and a detailed, step-by-step how-to you can follow. I also include finishing methods, troubleshooting tips, and quick variations so you can make each design your own.
Abbreviations (used below, US terms):
FK = forward knot, BK = backward knot, FBK = forward-backward knot, BFK = backward-forward knot.
When tying a FK: make a “4” shape, pull through twice; BK is mirror image. These four basic knots are the building blocks for nearly every pattern here.
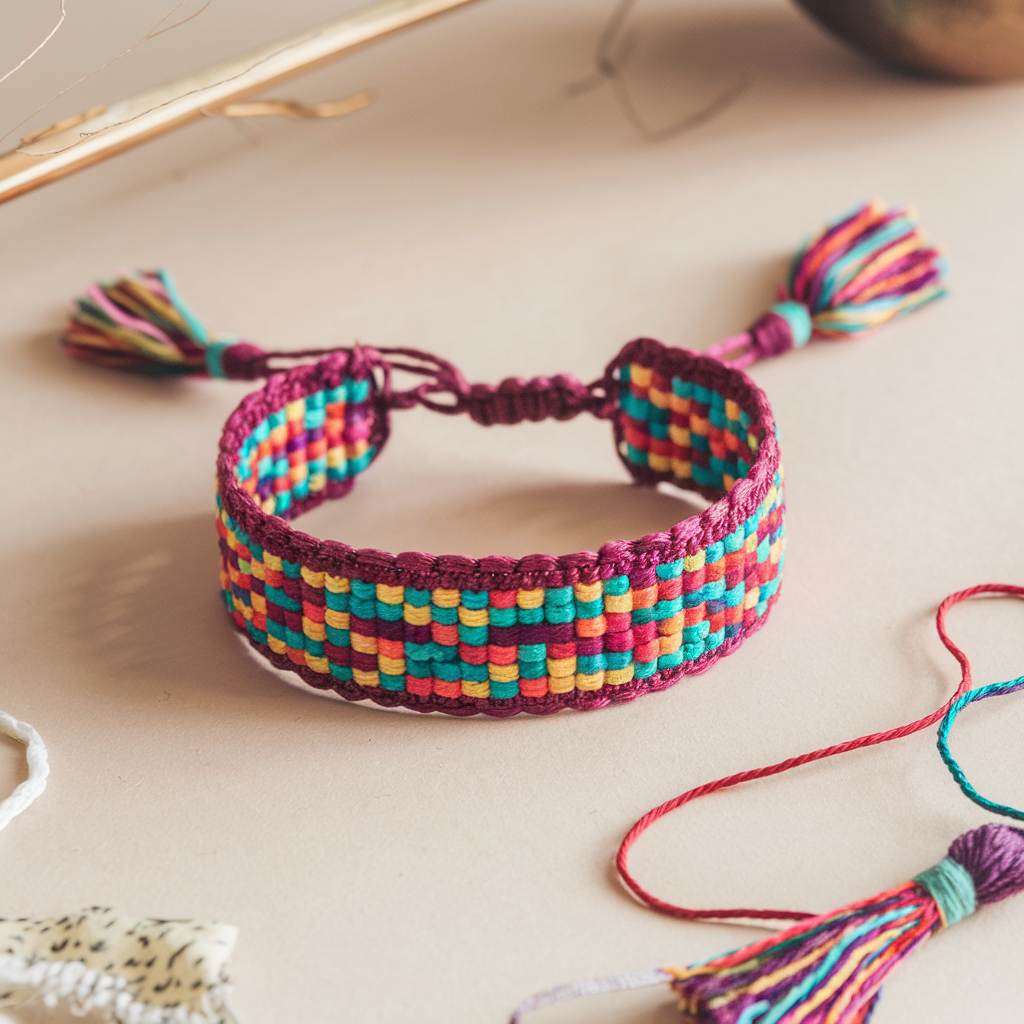
1. Basket Weave Friendship Bracelet Pattern
Skill level: Beginner → Easy (basic knots + blocky grid look)
Finished size: Adult wrist ≈ 7 in (measure wrist and add 1 in for comfort); pattern width depends on number of strands (sample uses 8 strands → ~1/2–3/4 in wide)
Materials
- Embroidery floss or craft thread, 8 strands (4 colors, 2 strands of each color) — about 30–35 in per strand for cuff length
- Tape or clipboard to hold work, small ruler, scissors
What it looks like
A woven, checkerboard effect that resembles a tiny woven basket — achieved by forming columns of knots and shifting colors row by row.
Step-by-step (8-strand sample; 4 colors A/B/C/D, left-to-right)
- Prepare strings: Cut each strand ~30–35 in. Fold in half and secure at top with a loop (for loop + knot closure) or just tape/clip a knot 2 in from top to leave tag tails. Arrange strands left→right: A A B B C C D D. You’ll work from left to right forming columns.
- Row method: The basket weave is easiest done as alternating blocks of forward/backward knots that hold color blocks in place.
- Row 1 (forming vertical columns):
- Pair strands into 4 column pairs: (A/A), (B/B), (C/C), (D/D). For each pair, make 4 forward knots with the left strand over the right for a compact column (or FK twice per pair to make two cross-knots). Do this across: column1, column2, column3, column4.
- Row 2 (stitch across to lock blocks): Reverse direction on every other pair: make backward knots on pairs 2 and 4 to form alternating blocks. This creates the brick/ basket effect.
- Row 1 (forming vertical columns):
- Shift blocks: To get the woven look, shift which pairs are grouped every 2–4 rows: after two rows, slide grouping one half-step (i.e., work a cross pair between the second and third strands) by making knots that connect adjacent strands — this mimics weave going over/under visually.
- Continue: Repeat rows until bracelet length equals wrist circumference minus 1″ (leave 1″ for tightening knot). Keep tension even: not too tight (bracelet will curl) and not too loose (gaps).
- Finish: Braid the last 1–1.5 in of strands into 3-strand braids (or tie an overhand knot) and trim ends.
Finishing & closure
- Loop + knot: If you made a loop at the top, finish with a solid knot at the end that will pass through the loop (slip knot style).
- Button closure: sew a small bead/button to the end braid and tuck the bead through the top loop.
Tips & variations
- Wider basket: use 12 or 16 strands.
- Color play: use high-contrast colors for clear checkerboard, or tonal colors for subtle texture.
- Use a clipboard for tension control.
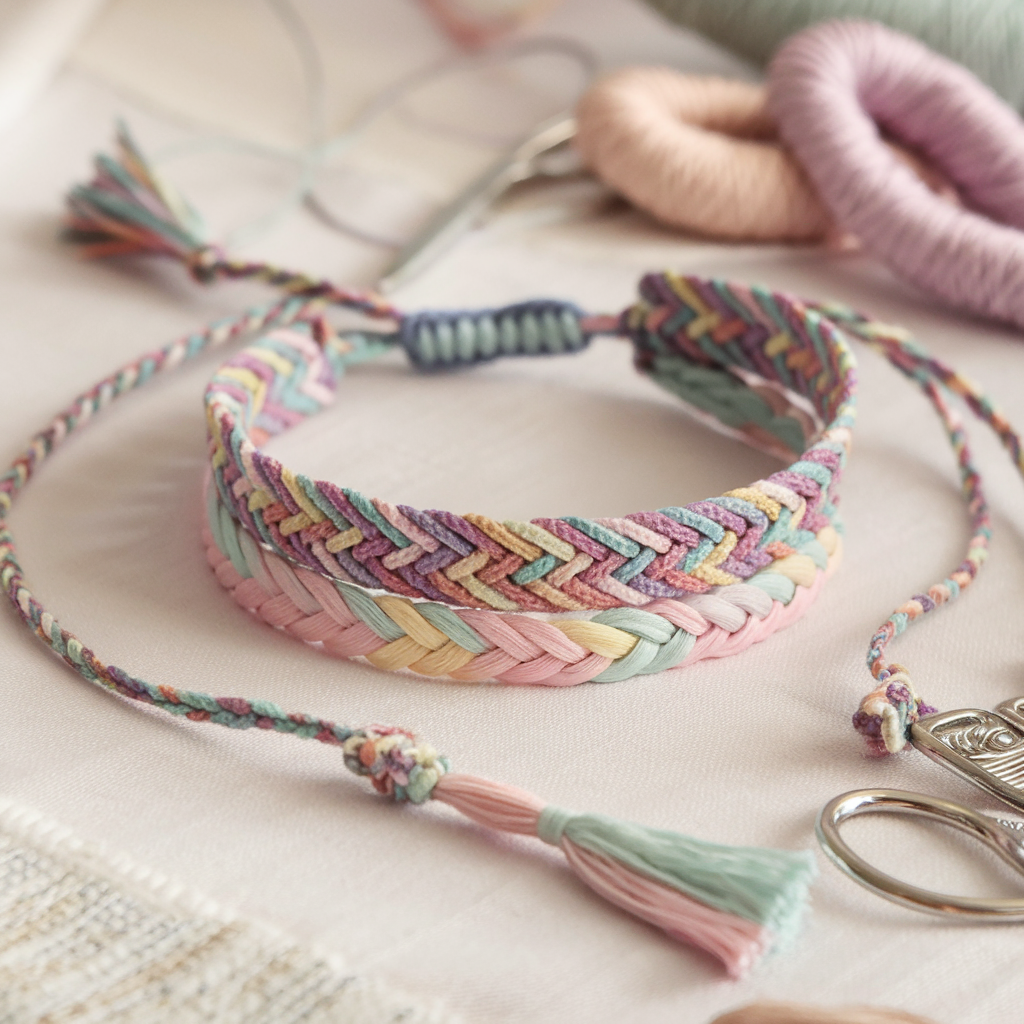
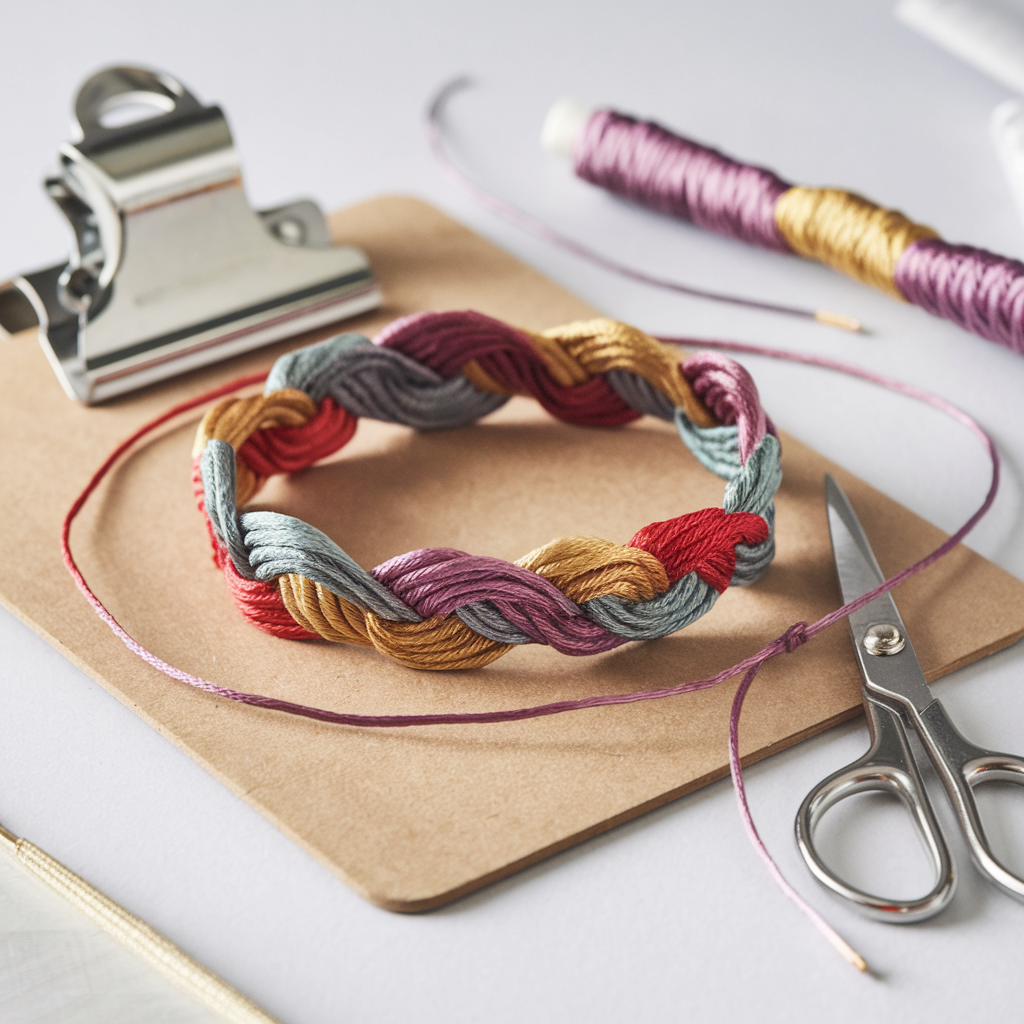
2. Braided Friendship Bracelet Pattern
Skill level: Beginner — simplest wearable braid
Finished size: Adult wrist ≈ 7–7.5 in; braid width depends on strands used (3-strand slim, 4-strand rounder)
Materials
- 3 strands of embroidery floss (or 6 strands folded to create thicker braid), each ~30–35 in
- Tape/clipboard, scissors
Two easy braids: Three-strand and Fishtail
Three-strand braid (quick):
- Secure three equal-length strands by a knot at the top and tape to surface.
- Label strands L, M, R. Cross L over M (new order M, L, R), then cross R over the new M (order M, R, L). Repeat until length reached.
- Knot and finish with a simple overhand knot or small braid tie.
Fishtail braid (looks woven & tidy):
- Secure two bundles (or 4–6 strands split into two bunches). Take a thin strand from the left outer edge and pass it over into the right bundle; then take a thin strand from the right outer edge and pass to the left. Repeat.
- Keep tension even; fishtail produces a flat woven look reminiscent of macramé.
Finishing
- Braid to desired length, tie off, tuck tail into loop or add bead closure.
Tips
- Use metallic or nylon thread for glossy look.
- Make double braid: two fishtails sewn side-by-side for chunky cuffs.
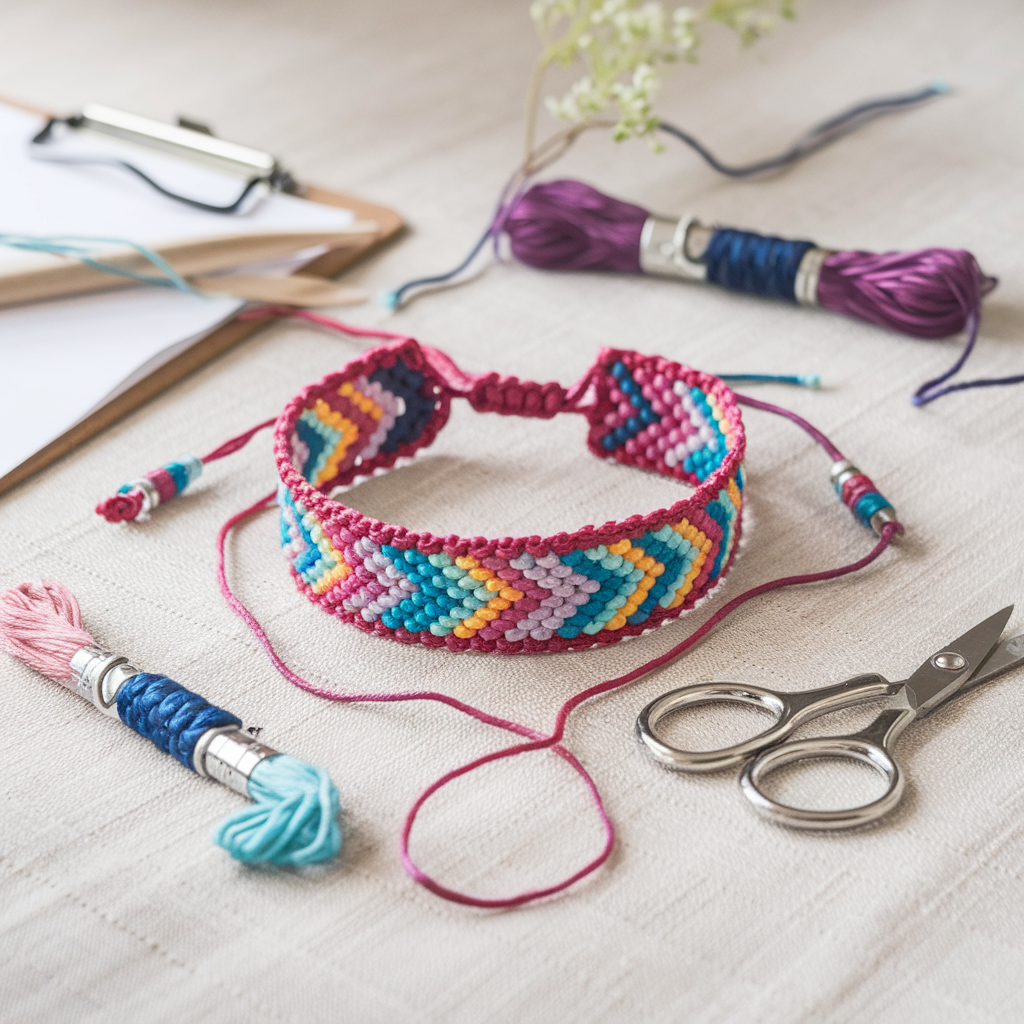
3. Zig Zag Friendship Bracelet Pattern

Skill level: Beginner → Easy (uses forward + backward knots in sequence)
Finished size: Sample 8 strings → width ~3/4 in; length as above
Materials
- 8 strands (4 colors that form repeating diagonals) — about 30–35 in each
- Tape/clipboard, scissors
How the zig zag is made
Zig zag pattern is a sequence of diagonal chevrons that alternate direction, producing a wavy chevron that looks like zig zags across the wrist.
Step-by-step (4 color chevron zig zag)
- Set up strings: Arrange left→right: A B C D D C B A (mirror). Secure top.
- Make forward knots to the center: Starting from leftmost A, make FK on the next strand moving right until you reach center; do the same with rightmost A using BK toward center — meet in center and tie FK/BK knot together (makes the center join). This forms the simplest chevron.
- Create zig zag instead of straight chevron: On the next set of rows, offset which strand starts the diagonal by skipping the first stitch and beginning on the second; this will create a stepped diagonal (zig) and the following row will create the zag as you step back.
- Repeat rows: Alternate the offset every 2–3 rows to create high/low zig points. For a pronounced jagged look, use single-row offsets.
Finishing
- Braid ends; use loop & button closure.
Tips & variations
- Use thicker thread or two strands together to make bold zig zags.
- For smoother curves, use many fine strands and offset gradually.
4. Chevron Friendship Bracelet Pattern
Skill level: Beginner — classic pattern; excellent first project
Finished size: Width depends on number of strands (8 strands → moderate width)
Materials
- Even number of strands in alternating colors (sample uses 8: A B C D D C B A) — 30–35 in each
- Tape/clipboard, scissors
The classic chevron (the go-to friendship bracelet)
- Secure strings with mirror layout. Identify center two strings.
- Left half: Use leftmost string, make a series of FK toward center across each strand until it reaches the center.
- Right half: Use rightmost string, make a series of BK toward center until it reaches the center.
- Center knot: When both outer strings reach center, tie an FK (or BK) between them to lock the row. That completes one chevron row.
- Repeat: Continue with the new outermost strings (previously second from edge) to build layers of V’s. Keep tension even for crisp points.
Finishing & closure
- Make a braid or two simple knots for adjustable closure.
- For neat ends, tie a double knot and trim.
Tips & variations
- Make thinner chevrons by adding more color repeats (A A B B …)
- Add beads on center knots occasionally for sparkle.
5. Word Alpha Friendship Bracelet Pattern

Skill level: Intermediate (grid/alpha technique)
Finished size: Width = number of letters high; an alphabet bracelet can be narrow (single word row) or full alphabet band
Materials
- Embroidery floss in two colors: background color + letter color — many letters need more yarn; 50–70 in per strand recommended for longer words
- Clipboard or knotting board, tape, tapestry needle (for neat finishing)
What’s an Alpha bracelet?
Alpha (or “word”) bracelets form letters using a grid approach: you hold background strings vertical and weave a working string horizontally to create pixel-like letters.
Step-by-step for a simple word (“LOVE”, center row)
- Decide dimensions: Standard alpha uses 1 letter height = 7–9 rows tall for clarity. For a single-row word, you’ll build a strip maybe 7 rows tall and as wide as needed for letters.
- Prepare base strings: Cut 12–16 background threads (longer than usual, these will be the vertical warp). Secure them and keep them taut → these form the “columns” that the lettering will sit on.
- Working string (weft): Use a second color (contrasting) that you will weave across row-by-row to form pixels. The working string forms knots around each base string: two types of knots used — forward/backward knots to go left/right around the column.
- Make first row: Start at left, for each column decide: background (do nothing) or letter (knot with contrasting color). For a letter pixel, wrap the working string around the base thread using FK or BK depending on direction. Move across completing the row.
- Next row: Change direction or use FB/BFK to anchor edges. Use chart: alpha patterns are easiest with a chart mapping letter pixels.
- Finish word: After last row, reverse process to fill the rest with background color to frame the letters. Secure ends with knots and braid tails.
Tips for alpha
- Use pre-made alphabet charts (many free grids online) to map letters to pixel rows.
- Keep working string long; weaving can use a lot of thread.
- Practice a single letter first (e.g., “A”) before committing to a long phrase.
Finishing
- Braid ends and add adjustable knot or a button.
- Sew on a fabric-backed label on reverse for extra polish.
6. Spiral Friendship Bracelet Pattern
Skill level: Beginner — uses half-hitch or spiral twisting technique
Finished size: Slim spiral cuff; width 1/4–1/2 in depending on strands
Materials
- 4–6 strands (two colors for pronounced spiral) — about 30 in each
- Tape/clipboard, scissors
How the spiral forms
The spiral is made by repeating the same knot direction across the row so the bracelet naturally twists into a spiral column.
Step-by-step (half-hitch spiral)
- Setup: Secure 4 strands, e.g., Left to Right: A B A B (two colors alternating).
- Spiral row: Use the leftmost string as working string and tie a series of forward knots across all other strings (FK on each). Because you always use the same string direction and it gets pulled around the others, the whole band will twist into a spiral.
- Continue: Repeat with the same working string until the spiral becomes long enough to wrap wrist minus about 1″. For a thicker spiral, use two working strings in parallel.
- Finish: Once the working string is used up, continue with the next outermost string to maintain uniform spiral.
Tips & variations
- Use a shiny nylon or metallic thread as the working string for a luxe spiral.
- Make a chunky spiral by combining multiple strands for each color.
7. Two Colored Friendship Bracelet Pattern

Skill level: Beginner — stripes and simple diagonal knots
Finished size: Width depends on number of strands; two colors create classic striped bands
Materials
- Two colors floss (A & B), 8 strands total (4A + 4B), 30–35 in each
- Tape/clipboard, scissors
Simple two-color diagonal stripe
- Arrange colors left→right: A A A A B B B B.
- Make forward knots starting with the leftmost A: FK across the row into the center, and backward knots starting from the rightmost B toward the center. When the A and B meet in the center, tie a knot to lock the row. This builds diagonal bands: the more rows per color, the thicker the stripes.
- To get solid stripes, do several rows using A as the main working color before switching to B.
Tips
- For a crisp two-tone look, use high contrast (black + white).
- For gradient effect, add a third color as an accent stripe occasionally.
8. Knotted Chain Friendship Bracelet Pattern (Macramé Chain)

Skill level: Easy → Intermediate — macramé square knots or chain knots
Finished size: Adjustable; macramé gives wide cuffs easily
Materials
- Two thicker cords (paracord, nylon thread, or embroidery floss held doubled) — 2 long cords for core, 1 or 2 working cords — each ~40–50 in for wider cuffs
- Clipboard or ring, scissors
Square Knot (classic macramé cuff)
- Set up core: Lay two core cords parallel and secure. These stay straight; size determines bracelet length.
- Working cord: Use another cord to tie square knots around the two core cords. A square knot is: FK with left cord over cores, then BK with right cord; then BK with left, FK with right to finish. Repeat.
- Chain width: Add additional rows side by side or use multiple working cords for a wider cuff.
- Finish: Tie off with a tight overhand knot and braid the tails as a tie closure, or glue/solder ends into a metal clasp for a permanent fixture.
Tips & variations
- Use wooden beads between knots for decorative spacing.
- For a “knotted chain” look, use half-knots repeatedly so the work spirals (similar to the spiral earlier).
9. Gold Fish Nylon Thread Friendship Bracelet Pattern

Skill level: Beginner → Easy (fishtail or nylon braid for glossy finish)
Finished size: Slim bracelet; length standard ~7 in
Materials
- Metallic nylon thread (gold) and one contrasting nylon or thread (black or color) — nylon is slippery so keep tension even
- Tape/clipboard, scissors, small bead or clasp (optional)
Interpreting “Gold Fish” idea
This pattern uses a fishtail braid technique with metallic nylon thread (gold) to create a shiny, fish-scale-like shimmer — perfect for trendy, jewelry-like friendship bracelets.
Step-by-step (fishtail + metallic accent)
- Cut two gold threads and two contrasting threads, fold and knot at top. Secure.
- Fishtail method: Split into two bundles (left and right). Take an outer strand from left, pass under center, over to right bundle; then take outer from right, pass under center to left. Alternate quickly. Keep even tension.
- After a few inches, add a second gold strand into both bundles so gold threads run through center to accent.
- Continue until desired length, tie an end knot.
Finishing & jewelry touch
- Add a small lobster clasp by sewing a loop or using a crimp bead; or finish with a single bead that catches into a top loop.
- Nylon doesn’t absorb dye well — choose pre-colored metallic threads.
Tips
- Nylon is slippery — keep clips tight or use a clipboard.
- Use a drop of clear nail polish on knots to secure ends if you’re not going to braid them into tails.
10. Horizontal Friendship Bracelet Pattern
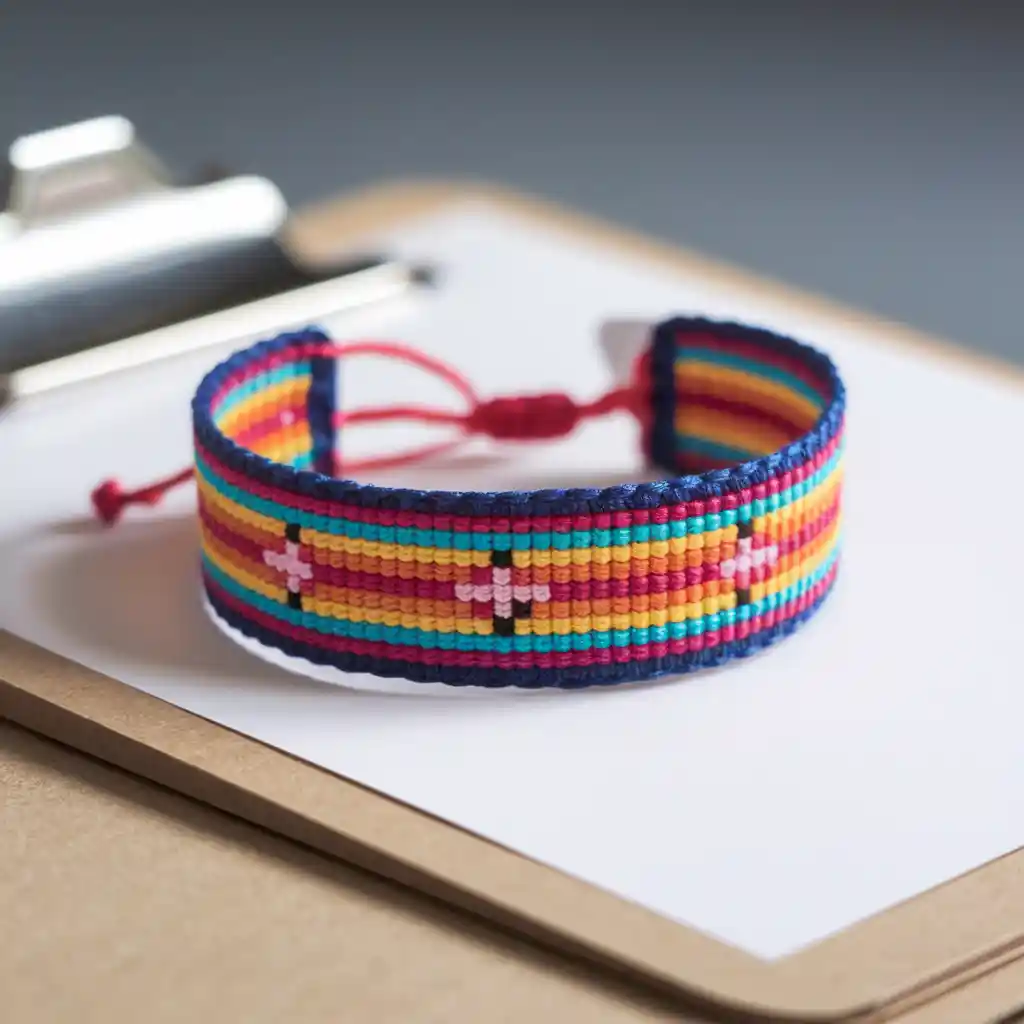
Skill level: Intermediate — forms horizontal stripes or rows across width rather than diagonal chevrons
Finished size: Width depends on number of horizontal rows — typically a wider cuff (1/2–1 in)
Materials
- Multiple colors of floss, about 30 in each (use many colors for bold horizontals)
- Tape/clipboard, scissors
How horizontal patterns differ
Instead of knotting diagonally, you build horizontal segments across the bracelet: the working strings run left-to-right forming rows. You can create stacked color bars, patterns, or even small pixel hearts.
Step-by-step (simple horizontal stripes)
- Prepare many threads (e.g., 12 strands) and secure top. These remain the “warp.”
- Row formation: Take a working string and make FK or BK across the row wrapping each warp thread to create a horizontal band of color. When you reach the end, change the working string to the next color and create the next band. For solid bands, do 2–4 rows per color.
- Transitions: To avoid big floats, terminate a band after a few columns and go back with background color to anchor. Or use weaving techniques to tie off and start new strings cleanly.
Tips & variations
- Horizontal pixel patterns allow small motifs like hearts or initials placed within rows.
- Keep weft lengths long (don’t switch colors mid-row unless you plan to weave ends).
General finishing, care & troubleshooting
Closures
- Loop + knot: fold one or more strands into a loop at the start; finish with braid/knots that will pass through loop.
- Button: sew a small button at the end of the braid and pass the button through the loop to close.
- Adjustable sliding knot: braid tails and tie a square knot with an adjustable loop for size flexibility.
Tension & appearance
- Even tension = best looking bracelet. Practice knots on scrap strings until your knots look uniform.
- If pattern curls, your knots are probably too tight or you’re using mixed thread thicknesses. Try a slightly looser hand or smaller thread combo.
Care
- Embroidery floss: hand wash or gentle machine wash in a laundry bag; air dry.
- Nylon/metallic: hand wash and dry flat. Securing knots with a dab of clear nail polish or Fray Block on ends prevents unraveling.
Yardage quick guide
- Short bracelet ~6–7 in wrist: 30–35 in per strand.
- Longer or anklet-style: increase to 45–50 in.
- Alpha/word bracelets need much more thread — plan for 60+ in per working strand depending on word length.
Conclusion
Friendship bracelets are one of the simplest, most meaningful crafts you can make: they teach knotting fundamentals, let you explore color and texture, and result in wearable gifts that carry intention. This guide covered 10 easy patterns from classic chevrons and spirals to alpha words and shiny nylon fish-tail braids. My final tips:
- Start with the Chevron or Spiral if you’re brand-new — they build confidence fast.
- Move to Alpha or Horizontal once you’re comfortable with regular knots and want to make words or pictorial motifs.
- Keep a small tool kit: clipboard, small scissors, tape, a bead or button stash, and a spool of clear fray seal.
- Make multiples in different colorways — people love sets.


Good way of telling, and nice paragraph to get facts on the topic of my presentation subject, which i am
going to convey in institution of higher
education.